Showing posts with label 5562 Journal Letter Die Set. Show all posts

Saturday, August 2, 2025

ILYSM! Applying a Cultural Trend to Cardmaking by Janet


Have you noticed the "ILYSM" acronym popping up lately? It stands for "I Love You So Much," and I think using it is such a sweet, modern take on a love-themed card. So, for today's post, I'm sharing my interpretation of this trend! As a bonus, this card also fits perfectly with our current "Stitches and Scallops" challenge, thanks to a lovely rounded corner die that imprints a polished stitched border.

I started by cutting a 5 1/2" x 4 1/4" piece of smooth white cardstock. To create an elegant gold floral border, I used stamps from the 6061 - Tulip Floral Set for the corner iris and tulip bunches, filling in between with smaller clusters from the 6055 - Water of Life Set. I stamped these with VersaMark ink, sprinkled on gold embossing powder, and then heat-set them for a beautiful, raised effect.

Next, I created a lovely pink gradient on the edges using two Oxide inks. I applied Picked Raspberry heavily on the very edges with a brush, then feathered out the lighter Worn Lipstick to create a soft transition to white in the center. After this, I gently buffed the piece with a cotton cloth to ensure the gold embossed images were perfectly clean and vibrant.

To achieve that pretty stitched, rounded corner look, I took the largest die from the 5062 - Rounded Rectangle A2 Double Stitched Dies, centered it on my inked and embossed panel, and ran it through my die-cut machine.

Then came the "ILYSM" letters! I used the perfect-sized letters from the 5562 - Journal Letter Die Set, carefully arranging and gluing them straight in the white area of the panel. Below that, I stamped a coordinating sentiment from the 5734 - Friend Sentiments Set, which I think pairs wonderfully with the ILYSM message.

For the final assembly, I created an A2 card base from white cardstock. I then layered a slightly smaller piece of pink shimmer cardstock on top, centered my inked and embossed panel on that, and adhered everything down. To add a touch of sparkle, I scattered several silver and blue sequins across the card.

This card turned out exactly as I'd hoped! It's simple to make, right on trend, and can easily be customized with your favorite colors. Plus, it was so relaxing to create. I can't wait to give it to someone special!
Thanks so much for stopping by today! Don't forget to find your favorite stamps, dies, papers and accessories at the Ai Store! You'll always find something that calls to you.

Happy crafting!

Janet YouTube - Blog - Facebook - Instagram - Pinterest 

Friday, April 18, 2025

This Easter Card is All Ears (and a Little Beak)! by Tasha

 Happy Friday Art Impressions friends!

Tasha here sharing an Easter card inspired by the current "ABC, 123" Challenge. The project features the fun 5401-Easter Chicks Set and these bunny ears are just too cute!!!

To go with the Challenge theme, I used the 5562-Journal Letter Die Set for the greeting. Instead of having the letters go straight across, I decided to have them curve around the oval frame. I think this looks awesome and love the pop of pastel blue!


Lastly, I attached layers of yellow, white, and pastel blue cardstock and a piece of carrot pattern paper to bring in tons of Spring colors. I also added a scalloped frame to complete the design. This card makes me happy and I can't wait to send it to someone special this Easter!

I hope you enjoyed today's card and will join in the "ABC, 123" Challenge.

Happy Easter!


Tuesday, April 1, 2025

New Baby card by Reneé Matarese

Hello Ai fans!
One of my coworkers recently had a baby.
We didn't initially have time to plan a shower for her because Baby D came REALLY early.
Fortunately, everything was okay. She's back to work now and we had time to plan a shower this time.

I wasn't sure what type of card I wanted to make for her until I saw her invitations.
The Pooh on my card was cut out of her invite and I proceeded from there.
I knew instantly that I wanted a red and yellow card to match Pooh. The Valentine paper worked perfect for this. Then I used a die set from another company to make the HUNNY pot. I spelled out HUNNY using the Journal Letter die set.


Of course if there's honey on your card then you MUST have BEES!!
And how do bees make honey, from flowers of course.

I used Watercolor Paper from Art Impressions to create the pot and used Tombow markers to WC it.
I used cardstock and Tombow markers to color the bees and flower images. All colors and products are linked below.


I used Wink of Stella on the bees wings and then added some Glossy Accents to them and the honey pot.


Tuesday, March 18, 2025

Bee Shakers by Reneé Matarese

 Hello Ai fans!

We're almost a week into our current I Like to Move It, Move It! challenge.

What ideas do YOU have for a card or project that has some sort of movement?

I chose to create two shaker cards.

I love bees and yellow and couldn't wait to make a shaker card duo using 5925 – Honey Bee Set.


For my first card, I turned my heart on its side to add a little interest.


Don't you just love the new 5972 – BJ Decorative Margin Dies? The 7" length makes them great for larger cards which I prefer to create. My cards today measure 6 1/4" x 5".


I've watched Karen Day from our Watercolor Design Team create wax seals over the last year and have finally gotten brave enough to begin trying them myself. I am in LOVE!


I have to cringe sometimes when I see enlarged versions of my coloring. My eyes aren't great and they look fine to me in person. Then I see them blown up and yikes! I maybe need to start thinking about one of those magnifiers that I've seen some crafters use.


This bee stamp seal was my first one and was gifted to me from Diane Mason.


I hope I've inspired you to try making a card with some movement on it. It can be a shaker, sliders, wobble, wiggle etc. There are so many possibilities. You might just win a free stamp set.

Tuesday, March 11, 2025

Personalized Treat Boxes by Reneé Matarese

 Hello Ai fans!

At work I have a "Soup Group." There are 7 of us and every Thursday one of us makes lunch for the other 6 members. We do soups, stews and chili in the fall and winter, and switch to salads and things like pulled pork sandwiches with slaw in the warmer months.


 It was my turn last Thursday and I made Italian Vegetable Beef soup.
It was DELIOUS! I didn't have cabbage so I added some spinach and diced zucchini. I also use pink beans instead of kidney beans.


We always plan a little something sweet for dessert and I wanted to present my treats in a special way. I made a little treat box for each teacher with 3 chocolate squares inside. I thought maybe they could store paper clips or something inside when the candy is gone.


Each member had their initial on the top of the box for a little personal touch.
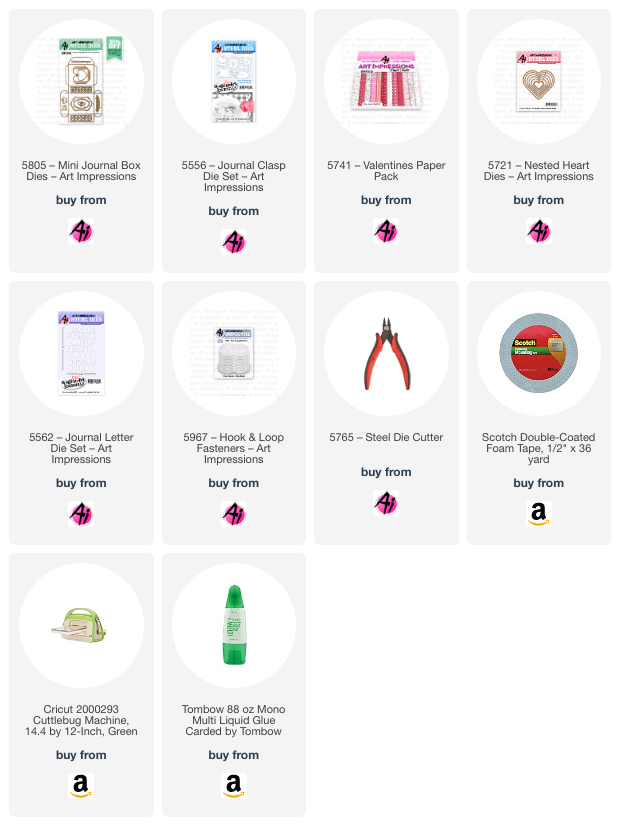
I used 5805 – Mini Journal Box Dies for the box, frame and butterfly. The letters are from 
5562 – Journal Letter Die Set and I held the little boxes closed with 5967 – Hook & Loop Fasteners.
The pretty little leaves and flowers are an old freebie die set from Art Impressions.
Everyone thought these were just the cutest thing!

I hope you're inspired to do something a little sweet for someone that you care about.
Enjoy your day and do something kind or crafty!


Thursday, February 13, 2025

Pull Up Valentine by Dori Mendiola

 Happy Thursday AI Friends!

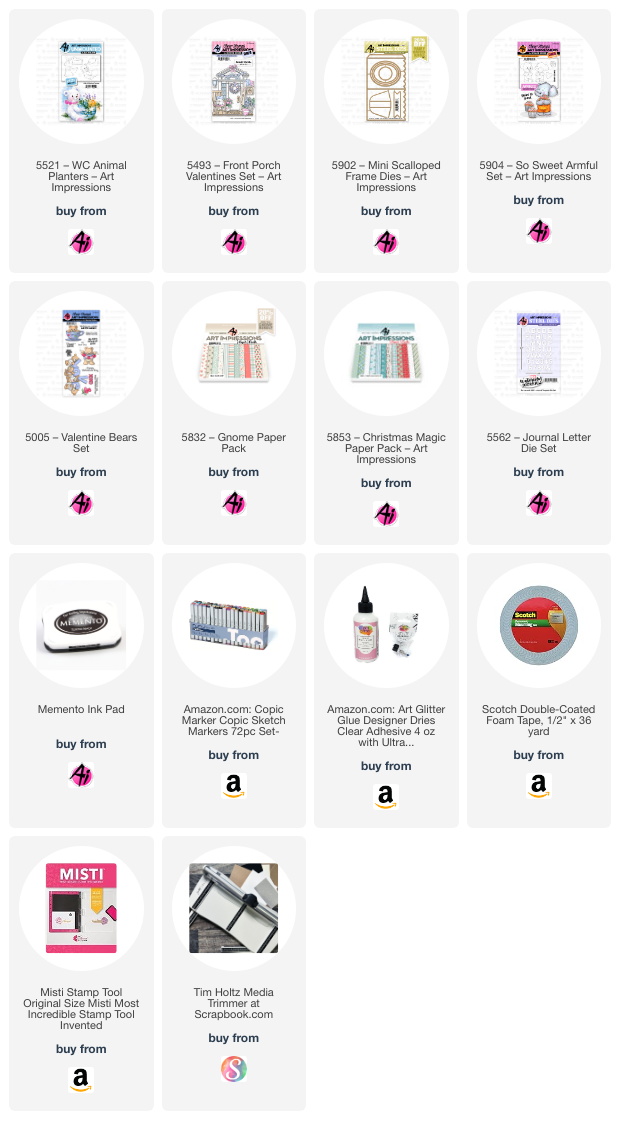
Valentine's Day is tomorrow.  Are you ready?  If not, I have a fun little pull up valentine for you with a cute little hidden sentiment using the #5902 Mini Scallop Frame die as well as many other sets listed below.  If you have already finished your valentine's, imagine this for other occasions using balloons, stars, etc. instead of hearts.  

To begin, I took the bear image from the #5521 WC Animal Planters set and stamped onto copic friendly paper with Memento black ink.  I also stamped him to create a reverse image so that I could make his back leg and his left arm since the stamp set has a flower pot hiding both.  To do this, I stamped him onto a smooth silicone mat and then took my paper and pressed it onto the stamped image on the mat.  This will create a reverse image.  Using a misti is helpful incase you need stamp again to darken the image.  I colored both images with my copic markers, listed below.  I then used a wash rag and dabbed some alcohol onto it and lightly pressed it against the body parts of the bear to make him look fuzzy.  I fussy cut all the pieces (bear, back leg and left arm) and pieced him together using some foam tape between his legs.  I also placed a heart box of candy (from the #5493 Front Porch Valentine) in his arms.  I just love this cute little bear!  
I cut the #5902 Mini Scallop Frame using the brown hearts paper from the #5832 Gnome Paper Pack.  I cut a heart shape for the window and placed acetate on the inside of the window.  I also stamped the "You're So Sweet" and added a couple little die cut hearts to the inside.  I then placed a thin line of foam tape to the inside bottom scallop edge so the streamer wouldn't fall through.  I glued up the side of the frame and it is ready to decorate.  Don't forget to attach the easel to the back so your frame/card will stand up on display.

To make the pull up heart streamer, I die cut 16 red hearts (front and back) and strung them onto a white thread leaving about 2 inches above the first heart.  I die cut the letters for the sentiment "Love You" from the #5562 - Journal Letter die set and attached each letter to a heart leaving a blank heart between words.  Perfect size letters to make a cute little sentiment.  I cut two fishtail banner pieces in red cardstock.  I then cut a square 2 5/8 inch piece of red gingham paper and glued it to the bottom half of the back side of one of the fishtail banner pieces.  Snip off any paper showing in between the fishtail.  Take the streamer and glue the top thread to the middle of the banner above the gingham paper.   Take the other fishtail banner and glue the top halves of the banners together leaving the bottom half open so it can rest over the top of the frame.  I added the heart banner and bows to the front banner for some cuteness.

  Gather the heart streamer together over the gingham paper and insert into the top slit of the frame.  Some of the letters will show through the window but the message will be a mystery until the recipient pulls from the frame.

I hope you enjoyed my card today and your imagination is running wild with other variations.
Have a great day and keep creating!

Copics used:  E21, E23, E25
R20, R22, R24, R27

Tuesday, January 28, 2025

Mini Journal Box Tutorial with 6x6 paper by Reneé Matarese

Hello Ai fans!
I have loved this little box since the moment I saw it.

This is the first time that I've created it using Art Impressions paper. The reason? The template is larger than 6"x6" which most Ai paper measures. But, where there's a will, there's a way! I figured out a way to make the template work using two sheets of Ai paper.


I wanted to create a cute little Valentine's Day treat box and this is what I came up with.


To make the template dies fit on a 6x6" piece of paper to create the box, I used two sheets of paper. The first piece cut the top and back flap.


The second piece of paper cut the base of the box.


Then, I overlapped the back panel from the top, with the back panel from the base, to create a full box.


Though this die set was designed to hold the mini journal, it makes the absolute cutest little gift box or treat box. I filled mine with Hershey Kisses.


Doesn't someone in your life deserve a little something sweet?


If you share something made with Art Impressions products be sure to tag them or use #artimpressions so that we see. We LOVE seeing all of your creations.
 

Tuesday, August 20, 2024

Happy Bee-Day! by Reneé Matarese

Hello Ai fans!


Today I'm sharing a card that I made for the current

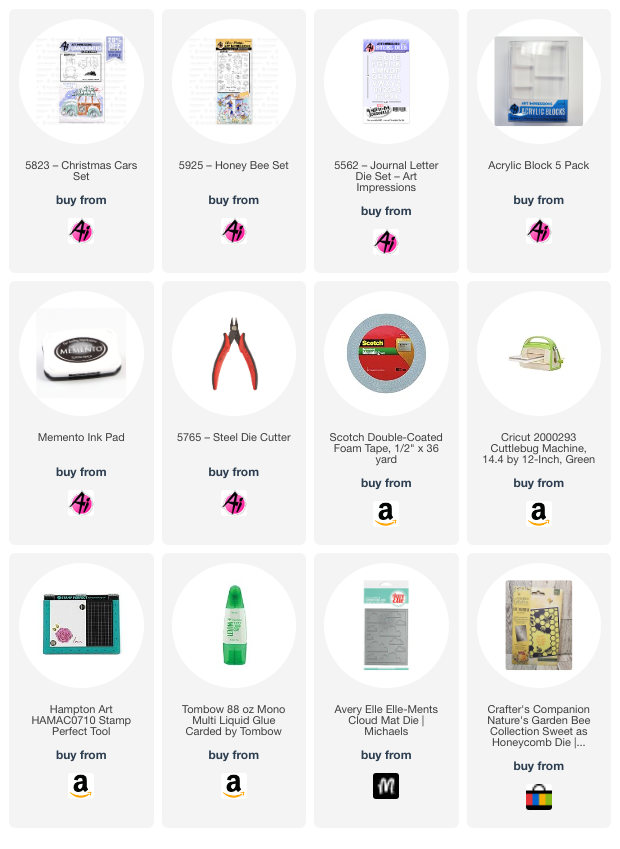
I recently pulled out the 5823 – Christmas Cars Set and fell
in love with the little Beetle.

What better way to decorate your BEEtle, than, well, with a BEE!


The bees, leafy vine in the lower left hand corner
 and the sentiment are from 5925 – Honey Bee Set.

I spelled BEETLE out with 5562 – Journal Letter Die Set.
I'll be honest guys. I lose things. My biggest fear when I 
ordered this set was losing a letter and having an incomplete
alphabet. My solution? Order two more sets! lol!
Yes, I have 3 sets and I store them on a magnetic sheet in
alphabetical and numerical order. Die cutting words goes SO
much faster now and if I do end up losing one, I'll still be 
able to make all the words.


This card is a little busy for my normal style...busy as a bee...
ha ha...get it? I'll show myself out...lol.
Seriously though, I don't normally make cards quite this busy
but I do really like it. It's my favorite colors, green and yellow
and it has bees, so how can you go wrong?


Avery Elle Cloud Mat Die
Nature's Garden Sweet as Honeycomb Die
Baby Blue Stickles on the headlights

Copics used:
B0000, B000, Y08, T1, 100


Tuesday, August 6, 2024

Never Have I Ever Used the Spooky Crew Set by Reneé Matarese

 Hello Ai fans!

Today I have a card that I made for our newest
challenge here on the blog.

Never Have I Ever.

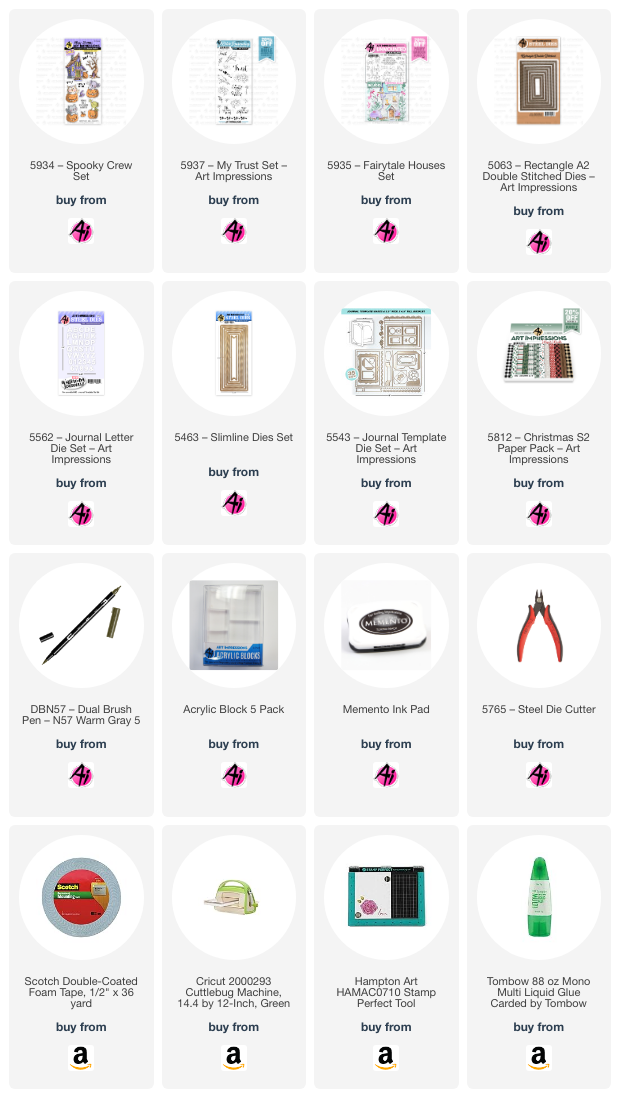
I've never used the new 5934 – Spooky Crew Set.
Halloween is one of my favorite times of year and 
I fell in love with this set instantly!


The frame behind the little critters was cut using 
5063 – Rectangle A2 Double Stitched Dies and I added
dots in green, yellow and turquoise using
5937 – My Trust Set.

You can enter the challenge by clicking on the banner.

The small sentiment was stamped on a little die from
5543 – Journal Template Die Set. I die cut the words 
Spooky Crew using 5562 – Journal Letter Die Set and
glued them onto a strip from 5463 – Slimline Dies Set.
If you notice the packaging, you'll see that these pumpkins
are actually jack-o-lanterns. I inked up the animals with Memento
Tuxedo black and then I used Tombow N57 to trace around the pumpkins.
Those came out very faint so I used my Micron 005 to trace over those lines.
I also added little dots here and there using my Twin Tone markers in
shades of gray, orange and sax blue.


The grass was cut from a die from 5935 – Fairytale Houses Set and
on the inside I stamped another sentiment from the Spooky Crew set along
with a tree and some more dots. The checked paper is from 
5812 – Christmas S2 Paper Pack.

Copics used:
Y000, Y02, Y08, Y18, Y28, YR21,
E44, E81, N0, C4, C7, RV21,
BG000, BG01, YG09, YG13, FYG1