Showing posts with label SugarShine Designs. Show all posts

Saturday, August 15, 2026

Bird Bookmark - Versatile and So Giftable! by Janet

 I completely adore the new 6209 - Corner Bird Bookmark! This die set makes a two-sided bird with a pocket between them. It allows pages of your favorite book, journal, or bible to tuck inside the two layers of the bird. It is both practical and beautiful which I think makes it brilliant. 

You can really create some different looks depending on the papers and patterns you choose to use. Today mine is colorful and summery thanks to using the 6205 - Floral Shop Paper Pack. Doing this in all crisp white and putting a small sprig, mini wreath, or mini bow in it's beak would make a wonderful holiday dove. I am looking forward to making some like that to share in a future post. They would be gorgeous sitting on your Christmas dinner plate don't you think?

This die set is cleverly designed to both cut your papers and crease the fold lines at the same time so assembly is quite easy. If you're unsure though, the full color photo of a finished bird is on the package to take away any guesswork.

I love the simplicity and practicality of this bookmark! It's so unique too. These would make super handcrafted gifts tucked into a package with a great book, a journal, or tablet. So many possible ideas exist with this set. 

Thanks for stopping by and spending time with me and Art Impressions today. Please visit the Ai store to pick up your favorite stamps, dies, papers, accessories, and supplies, including all the supplies I used in this card. 

Happy Crafting!


Saturday, August 8, 2026

All Things Beautiful by Janet

Hello Ai fans and welcome to the weekend and the Ai blog! Today's project features several new sets now available at the store. It shows off images from several sets and how they can be combined to create pretty collages and scenes.

My card starts with an aqua A2 card base. I cut a slightly smaller rectangle out of the 6205 Floral Shop PP. Then I used a die from the 5727- Nested Oval Set to cut out a frame which nests all my card elements nicely. I used a punch to the shaped corners on the soft striped paper which I mounted with foam tape on the blue card base.

Next I stamped and colored the flower image from the 6220-Sing to the Lord set. I colored the flowers to resemble one of my garden favorites, blue hydrangeas. I stamped the bible verse from the 6218-BJ Long Stems set in a frame found in the 6222-Frameworks Set 4. Then I colored a bird from the 6216-Mercy Set. I fussy cut all the images and arranged them in the oval window. As filler, I added a few silk leaves and a matching bright blue and white polka dot bow. Finally a few blue glitter enamel dots were added as accents.   

This card is full of dimension, pretty colors, nature images and a reminder of God's role in making all things in the world including the earth's bountiful and beautiful natural birds and fauna.

Thanks for stopping by and spending time with me and Art Impressions today. Please visit the Ai store to pick up your favorite stamps, dies, papers, accessories, and supplies, including all the supplies I used in this card. 

Happy Crafting!

Saturday, August 1, 2026

Bee Inspired - Floral Frenzy Challenge

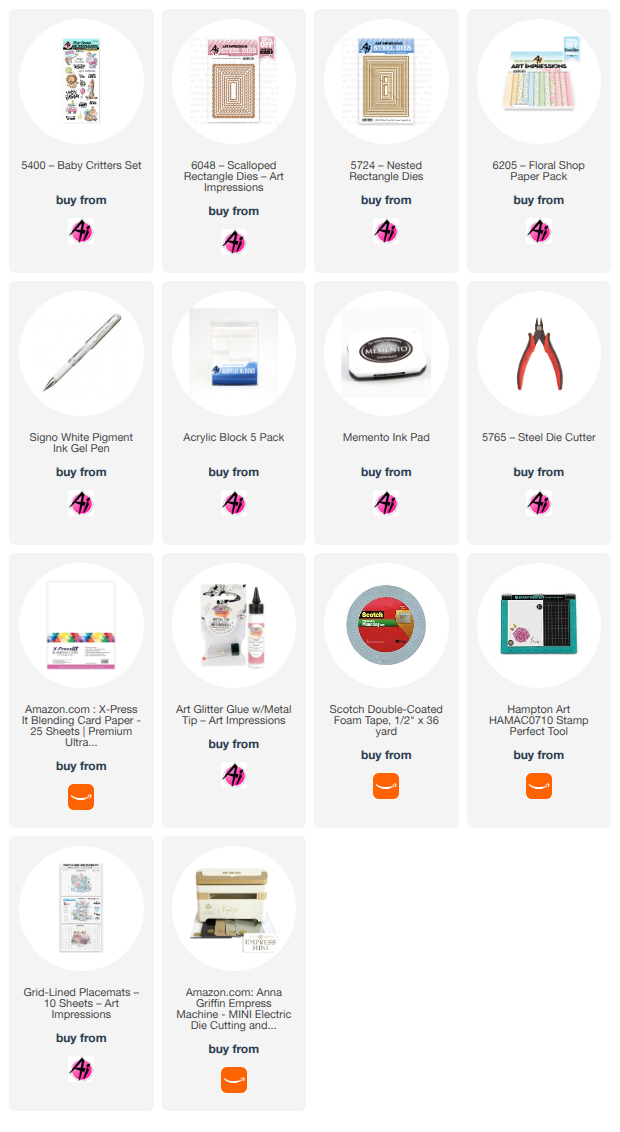
I've got one more card fitting the Floral Frenzy challenge on the blog. For this one, I primarily used 5925 - Honey Bee Set. I also added the 6170 - Honey Bear Freebie from the first half of the year. If you don't have this one, you could use another bear freebie from 2026, including the 2nd set of bears now available as gifts with purchase.

I started this with a piece of gold cardstock cut 4 1/2" square. I embossed it with a honeycomb folder and then brushed orange ink across it to darken the raised portion of the pattern. Once done, I trimmed it down to 4" square. Next I stamped and colored all the stamps that I had chosen. I cut them them out with the included dies. I fussy cut the Honey Bear. Then I cut a piece of grass out of  cardstock and blended two colors of green ink on the piece so it didn't look so flat and lifeless. I arranged the images to my liking and glued them all in place making sure there was a little room at the top of the grass to tuck in the pieces. I stamped the sentiment in orange ink from the stamp set. I added some vines from the set and then decided to add three more bees and mount them on foam tape. The last step was to cut a 5" white top fold card base. I added a gold metallic and additional white mat before placing the focal panel on top with foam tape.

I like the colors in this card and how it turned out. I hope you're inspired to enter your entry for the Floral Frenzy challenge. Link up your creation here.

Thanks for stopping by and spending time with me and Art Impressions today. Please visit the Ai store to pick up your favorite stamps, dies, papers, accessories, and supplies. 

Happy Crafting!


Saturday, July 25, 2026

Summerween Window Peeking by Janet


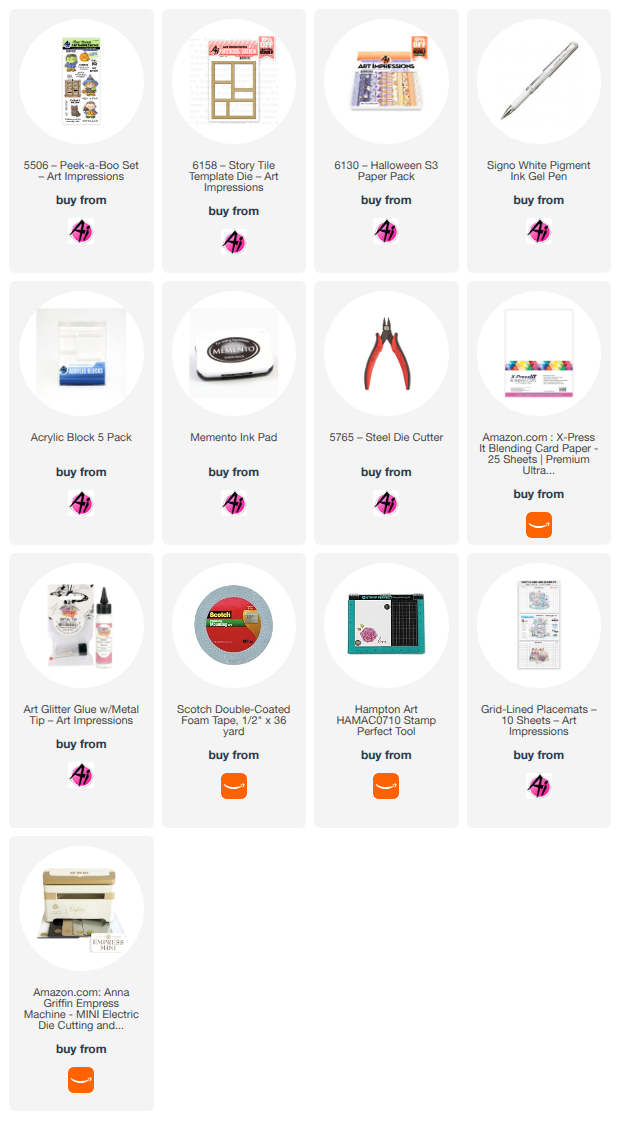
Hello Ai fans! Today the Summerween fun continues with another Halloween card. I thought it would be fun to use the shutter peeker feature and characters in the 5506 Peek-A Boo Set on the 6158 Story Tile Template Die. To my delight, the shutter is just the right size to cover one of the tiles.

To make this, I first stamped and colored several of the characters in the Peek A Boo set including the witch, pumpkin, Frankenstein, cat, and the shutter. I used the included dies to cut them out and set them aside.

Next I cut the story tile frame out of orange cardstock. I used the pieces it cut out of each frame to trace around patterned papers in the 6130 Halloween S3 Paper Pack. This made it easy to use different papers that fit perfectly in the tile openings without much waste. Then I placed the images and the sentiments in the tiles. Last I glued little Frankenstein into the middle tile and then glued the shutters over the frame section. Now Frankie waves hi when the shutters are opened! Cute! Finally I added two puffy glittered stars and one metallic star for accents.


I hope you enjoyed seeing a little Halloween in the middle of summer! I invite you to join in and enter your Summerween creation in the Ai Challenge. Just link it up to the post for it. Easy peasy! 

Thanks for stopping by and spending time with me and Art Impressions today. Please visit the Ai store to pick up your favorite stamps, dies, papers, accessories, and supplies. 

Happy Crafting!

Saturday, July 18, 2026

Summerween Challenge - Franky by Janet

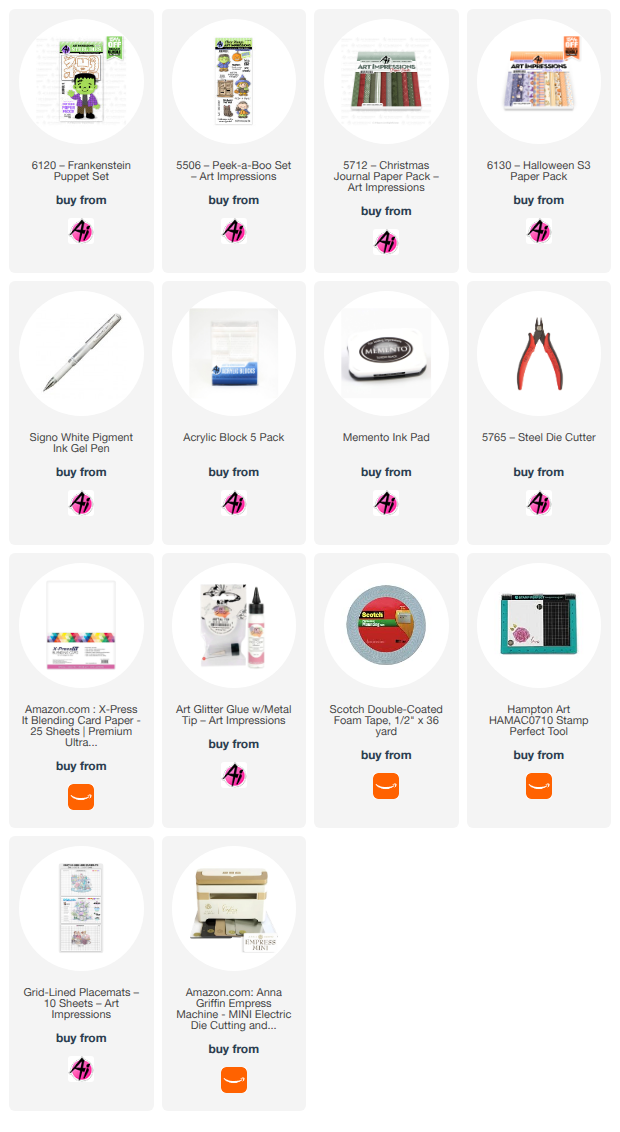
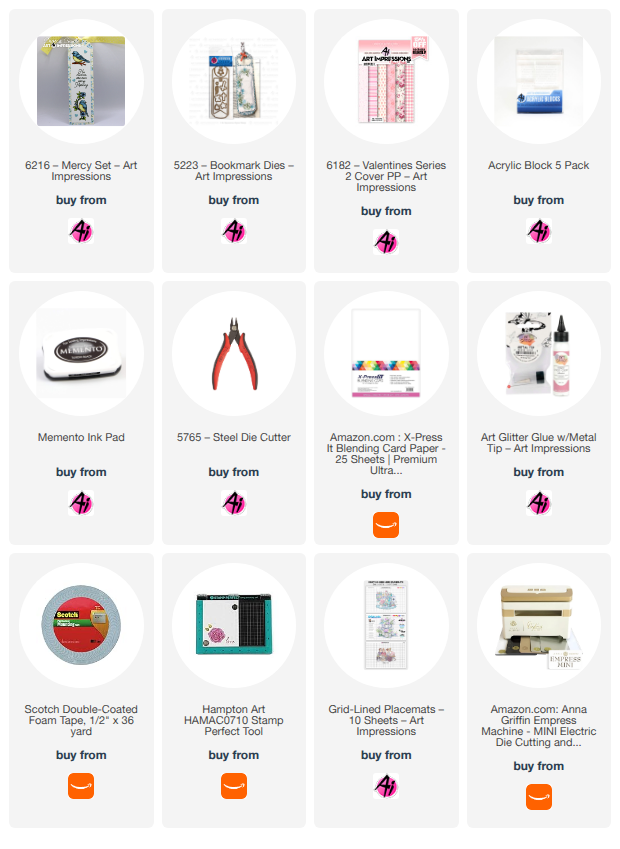
Are you loving the latest Ai Challenge? It's Summerween. Clever isn't it? I have had the 6120 -  Frankenstein Puppet in my stash but ordered it after the season so I was thrilled to have a reason to break this one out and give it a try. This is a die set and is easy to put together, especially since the packaging indicates what all the pieces are so there's no guesswork.

I used a couple of paper packs for this card. The background is a piece from the 6130 Halloween S3 PP. The diamond pattern also comes from this pack. Frank's pants, jacket, shoes and shirt are all cut from the 5712 - Christmas Journal PP. This just shows again how packs that are seasonally themed can be used for so many other occasions and themes. This is because the papers always have several neutrally themed patterns that can be used for anything.

I cut the diamond paper from 5062 - Rounded Rectangle A2 Double Stitched Dies. I matted that on top of my card base which was covered in the pumpkin patterned paper that I had inked the edges on before attaching to the card base. Then I placed an orange mat and the diamond patterned mat on top of that. 

Next I cut and pieced together Franky. This was super fast and easy to do. I used a black paint pen to draw the facial details and a little bit of Signo White Gel Pen on the eyes. I added some green blush with chalk and he was ready! I traced around him on a piece of clear vellum and cut it out. I mounted Franky on foam tape and attached him to the vellum. Then that was glued on to the front of the card. For a sentiment, I stamped the phrase from the 5506 - Peek A Boo Set and trimmed it out with a border before attaching it to Franky. Finally, I added four green glitter enamel dots to two of the corners. 

I hope you enjoyed seeing a little Halloween in the middle of summer! I invite you to join in and enter your Summerween creation in the Ai Challenge. Just link it up to the post for it. Easy peasy! 

Thanks for stopping by and spending time with me and Art Impressions today. Please visit the Ai store to pick up your favorite stamps, dies, papers, accessories, and supplies. 

Happy Crafting!

Saturday, July 11, 2026

Christmas In July Challenge - Santa Gift Card Holder by Janet


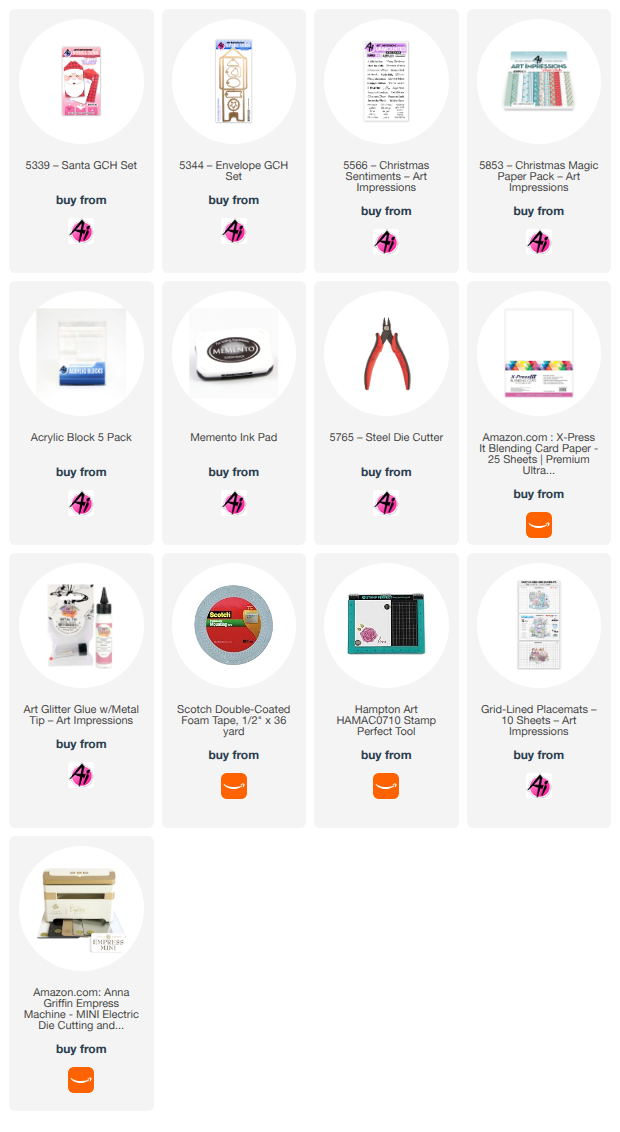
It's the second week of the Christmas in July Challenge. I love getting a jump start on holiday card making and it's also a good time to make some gifts like my Santa gift card holder. This is a fun little project you can make in so many ways. You can use any colors or kind of paper you want. For mine, I imagined him in his Christmas pajamas that have messages of peace, hope and joy. These are sentiments the world really needs right now. This cheerful paper pattern can be found in 5853 - Christmas Magic PP.

I made this using two Ai Gift Card Die Sets. The base is created using 5344 - Envelope GCH Set. The Santa face is created using the companion set 5339 - Santa GCH Set. I just love his mustache and his rosy cheeks! To make his cheeks a little more rosy, I broke out the old fashioned chalk set I've had for decades. It still comes in handy once in a while!

The gift card holder is pretty easy to assemble but once you glue the envelope together, I find that it's best to start by adding the hat pieces and next work from the bottom up. This way, I'm able to make sure his facial features are in the right places and not too crowded. I also added a tag to his hat. The die for that is included in the envelope set, along with other handy shapes you can cut and use on the gift card. I chose the sentiment from the 5566 - Christmas Sentiments set. Love how it turned out!

Thanks for stopping by and spending time with me and Art Impressions today. Please visit the Ai store to pick up your favorite stamps, dies, papers, accessories, and supplies. 

Happy Crafting!

Saturday, July 4, 2026

Christmas in July Challenge - Christmas Keepsake by Janet

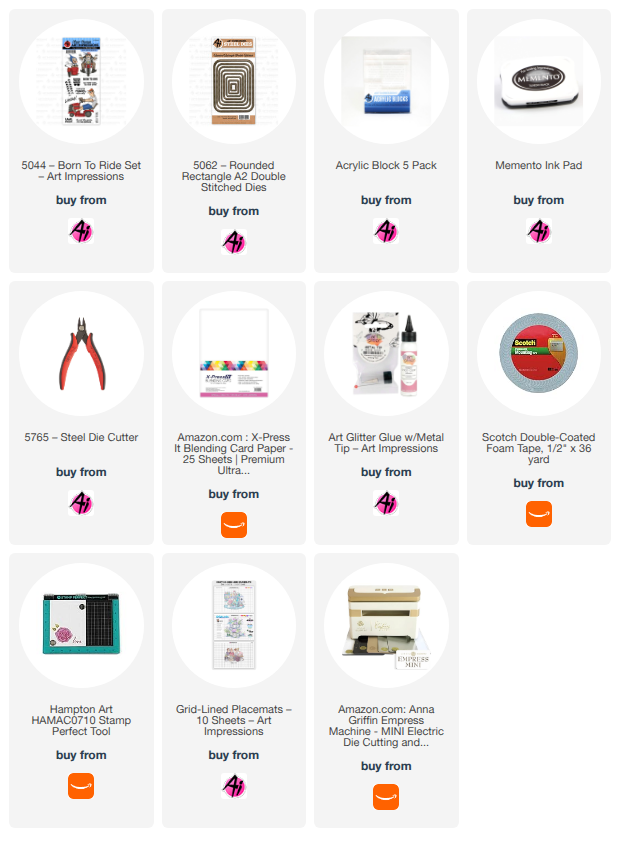
It's July and that means I can break out the Christmas sets without ANY sheepishness for being into Christmas early! Like many of you, holiday cardmaking is my favorite time of the year so when July rolls around, it's time for Christmas in July projects. Conveniently, Art Impression's current challenge is Christmas in July so I'm taking full advantage of it!

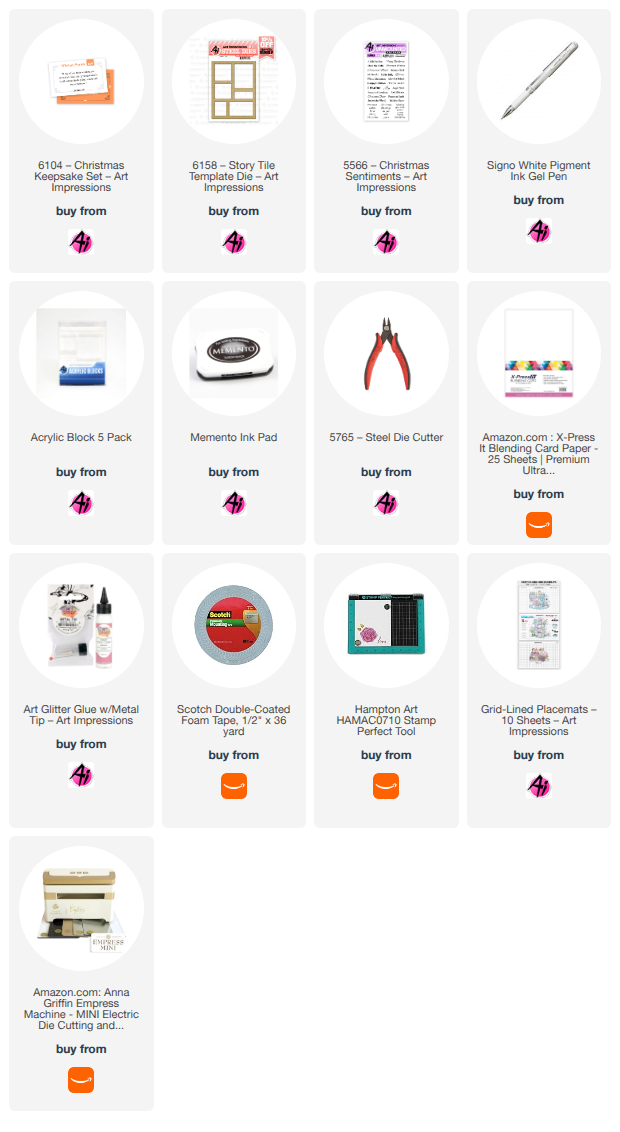
This charming little Christmas Set is 6104 Christmas Keepsake. It come with matching dies so after I stamped and colored the images, I cut them out so I could place them in the frames of  6158 - Story Tile Template Die. Before I placed the frame and images on a card base, I used a stencil to create a background that reminds me of pine boughs. Then I put some of the images straight on to the card and others are lifted on foam tape for additional dimension. I stamped the sentiment from the 5566 - Christmas Sentiments set. I added some white highlights using a Signo White Ink Gel Pen. Finally I added some red and green bling in the corners and the middle to add a little more shine to the project.
I hope you'll join us for this super fun challenge. I look forward to seeing all the projects that are created.

Thanks for stopping by and spending time with me and Art Impressions today. Please visit the Ai store to pick up your favorite stamps, dies, papers, accessories, and supplies. 

Happy Crafting!


Saturday, June 27, 2026

Tiny Teapot House by Janet

Have you seen the latest Ai challenge? It’s the Artful Architecture challenge. I was really excited for this one because there are just so many Ai stamps that feature whimsical houses. For my card, I chose to use the adorable teapot house found in the 5935-Fairytale House set. It’s a great set because it comes with matching dies for all the images. Just so cute and convenient!

To make this, I first decided on a circle shape to stamp the teapot. It works well on a circle because of the rounded bottom of the pot. To cut the circle I used 5726-Nested Circle Dies. The smallest was cut from marker friendly cardstock. I cut another circle out of plain white cardstock with a circle die in the set that is three circles larger. To create a set of stacked circles, I cut two more scalloped circles out of blue frosted cardstock using 6045-Scalloped Circle Dies. I cut, stamped, and shaded two fence images and did the same with three flowers, a butterfly, and bee images. It’s so great to have the stamps and the dies for all these little accents.

The next step was to stamp the teapot house and color it with Copic markers. I’m not that great at creating grass with markers so I used the grass dies in the set and tucked the grass cuts into the base of the scene. I trimmed excess that hung over the circle. I then layered all the circles in graduating sizes. I glued the two fence pieces in place which slightly overhang the first circle. This gives a more finished effect with a touch more dimension and texture. I added the flowers and bee to the scene. Before gluing the butterfly, I folded the wings up and glued the center to the scene so that the wings pop up and give even more dimension. I will point out that I used the white Signo Pigment Ink Gel Pen from the store to draw in the white stripes on the teapot, reflections in the windows, and accents on the butterflies.

I chose a preprinted patterned card base and glued in a strip of delicate cream crocheted lace. I collect old buttons and I had this beautiful shabby chic blue button in my stash. It’s just perfect as an accent to the lace and the house. The finished card is whimsical and full of color and texture.

Thanks for stopping by and spending time with me and Art Impressions today. Please visit the Ai store to pick up your favorite stamps, dies, papers, accessories, and supplies. 

Happy Crafting!


Saturday, June 20, 2026

Walk Humbly by Janet

Something happened to me this week that really brought home that humility is something that's hard to live at times but should always be remembered. The bookmark I made serves as a reminder of that for me. It's residing in my work journal to remind me to be less judgmental and to be humble.

The bookmark base is made using 5223-Bookmark Dies. The feathers and cross are just two of several embellishment dies in this set. They add really nice touches as decorative bookmark elements. The bird and sentiment are from the new set released this week, 6216-Mercy Set. If you love birds and nature, you will enjoy this stamp set. It's perfect to color with water color, markers, or pencils.

Thanks for stopping by and spending time with me and Art Impressions today. Please visit the Ai store to pick up your favorite stamps, dies, papers, accessories, and supplies. 

Happy Crafting!
 

Saturday, June 13, 2026

Enjoy the Ride! by Janet


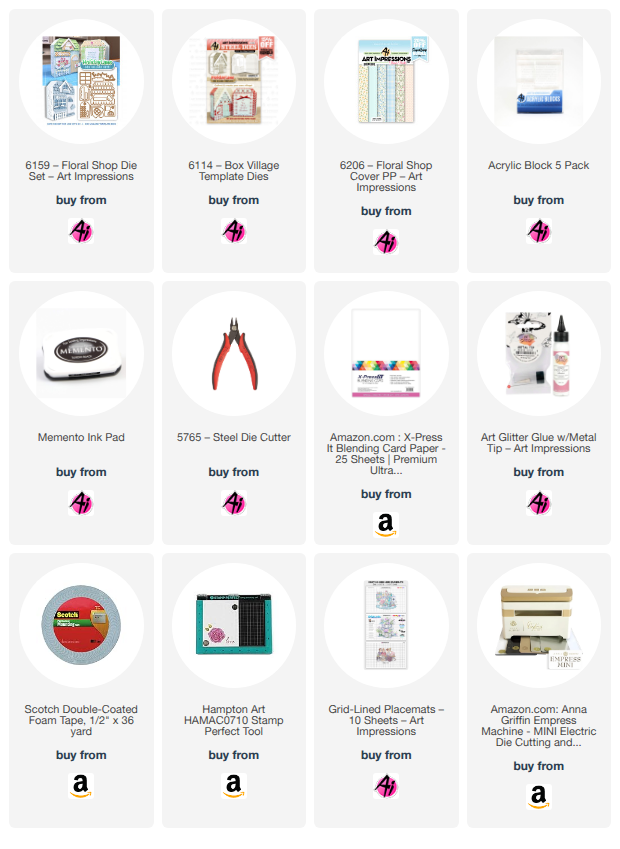
 Hello Ai Fans! I'm so happy to be here today to share my card for the new Ai challenge, Enjoy the Ride. I was super excited for this challenge because I knew I was going to break out one of my all time faves, 5044 - Born to Ride.

To make this, I started by stamping the motorcycle guy on a piece of marker friendly cardstock. I really enjoyed putting him in a leather coat and jeans. This guy actually reminds me of an old boss I once had. He looked so much like this biker and he also loved his Harley. 

Once colored, I cut him out with the 5062 - Rounded Rectangle A2 Double Stitched Dies. I also stamped the two sentiments and cut them into strips with angled ends. I used a stencil in my stash and three different colored inks to make a background that is bright and has movement, perfect for my motorcycle guy! 

What will you make for the challenge? We can't wait to see! You get to show off your talent and get a chance to win a free stamp set. Win! Win! 

Thanks for stopping by and spending time with me and Art Impressions. Please visit the Ai store to pick up your favorite stamps, dies, papers, accessories, and supplies. 

Happy Crafting!

Saturday, June 6, 2026

House of Blooms by Janet


Hi Ai Fans! It's Saturday, my favorite day of the week and today I'm celebrating the passing of spring into summer. I've created a super cute box which is designed to hold a journal. The box itself is made with the 6114 - Box Village Template Dies. This set gives you everything you need to make a charming house box that perfectly fits a journal with many embellishments. Both the box and the journal dies come in this set. 

Cleverly, another companion decorative set was recently released called 6159 - Floral Shop Die Set. This includes everything you need to decorate the original box with a floral theme! It's so fun that there's more than one way to decorate this charming box. I can't wait to see if we will get a fall set as well. A spooky haunted house would be so cool for this box design.

To start this project, I first used a brick stencil and a dark brown ink pad to create the brick background on a dark orange piece of cardstock. This became the front of my house. Then I used the die from the 6114 - Box Village Template Dies to cut it out. I cut a matching piece out of blue checked paper from 6206 - Floral Shop Cover PP. These two pieces glue together to form the box.

After cutting the first piece for the front, I went ahead and cut all the Floral Shop elements out of colored cardstocks. I then decorated the front of the box with all the house elements. It was a lot of fun to use different colors to create a colorful scene that is so cheerful and full of bright blooms.

Once decorated, I glued the two box pieces together to form the finished box. I would recommend you decorate your front piece first like I did because it makes it easier to decorate with all the flower shop embellishments. It really turned out adorable!

Thanks for stopping by today. Please visit the Ai store to pick up your own Floral Shop Dies. While you're there, you'll be sure to find your new favorite stamps, dies, papers, and accessories.

Saturday, May 30, 2026

Strong, Loving, and Amazing by Janet


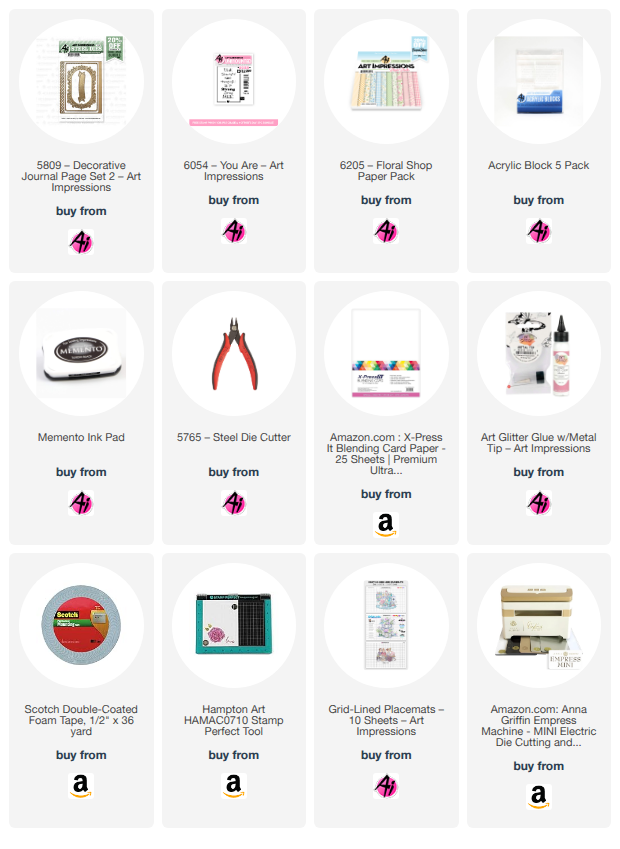
 I have been so happy with the die sets that Art Impressions have been releasing. The collection continues to grow with many options including shapes, alphabets, journals and more. Many of the dies can be used for more than their announced intention. Take 5809 - Decorative Journal Page Set 2. I used this set to create a delicate lacy mat for the 6054-You Are sentiment.

This card is perfect for the newest Ai challenge, Yellow, with its yellow and gold cardstocks. You can enter your own card in this challenge. Just link it up following the directions on the challenge blog post.

To make this card, I created the card base using 6206-Floral Shop Cover PP. I die cut the Z-fold connector piece and die cut the mats out of yellow polka dot paper from the 6205-Floral Shop Paper Pack. I made a Z-fold card base out of more floral paper from the pack. Then I glued it to the card base.

   The star of the show is the scrolled frame. I die cut it out of gold cardstock and then cut it again in Brown cardstock. I pieced the small scroll cuts into the negative spaces. This is a little tedious but to me the end result is worth it. I cut the frame again out of white, using only the middle section this time. I stamped the sentiment on it, and secured it to the middle of the frame with foam tape. This gives it a great dimensional look. 

I cut the largest piece of the die set out of bronze cardstock. Then I trimmed off the piece that is meant to be folded to put into a journal. I adhered it to the Z-fold piece to create the front of the card.

Thanks for stopping by today. I hope you will enter into the Yellow Ai Challenge by uploading a card that includes the color. You might win a free set of stamps for your efforts!

As always, please find your favorite stamps, dies, papers, and accessories at the Ai Store!

Happy Crafting!
+

Saturday, May 23, 2026

Father's Day Fishing by Janet


Ahoy my friends! Today I have a Father's Day card that's made for the Dad who is "Keepin it Reel!" My card also happens to fit nicely in the current challenge, Yellow.

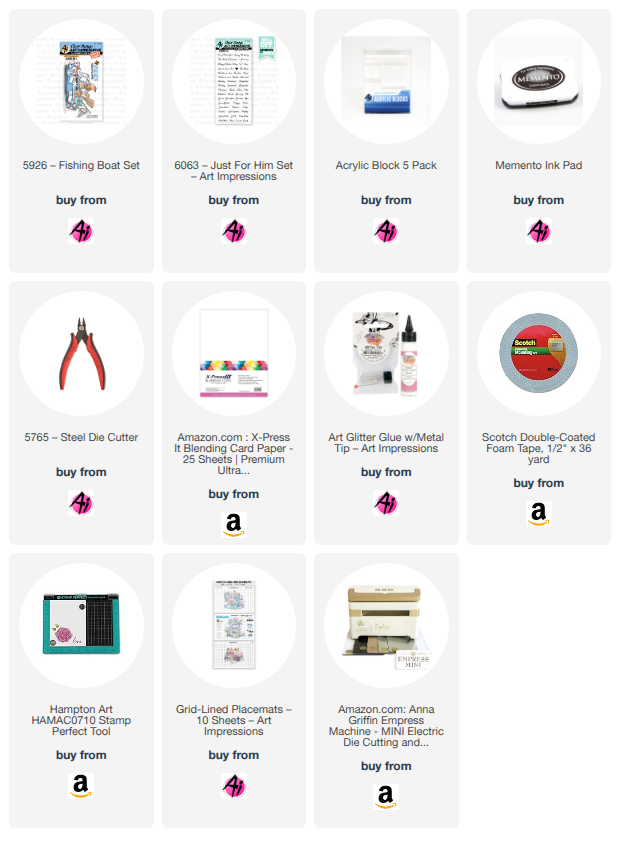
To make this card, I started by creating a gnarly water scene using a stencil and several colors of ink. Then I stamped, colored and cut the fishing images in the 5926-Fishing Boat Set. I arranged all the fishing themed items in the boat and glued them in place. Then I cut open a wave with my craft knife, so I could slip in the boat that is heading home into the sunset after catching a pail full of fish. I heat embossed the Keepin it Reel sentiment in white on the boat and stamped and trimmed out the Happy Father's Day sentiment from the 6063-Just For Him Set. Finally I added three colors of enamel dots to balance the scene out.

Thanks for stopping by today. I hope you will enter into the Yellow Ai Challenge by uploading a card that includes the color. You might win a free set of stamps for your efforts!

As always, please find your favorite stamps, dies, papers, and accessories at the Ai Store!

Happy Crafting!


Saturday, May 16, 2026

Pansy Garden by Janet


Hi everyone! Today I'm participating in the current challenge, Mix and Match. To participate, your entry simply needs to include two or more Ai products. My challenge card actually uses four products. It's so easy to combine Ai sets to tell the customized story you want.

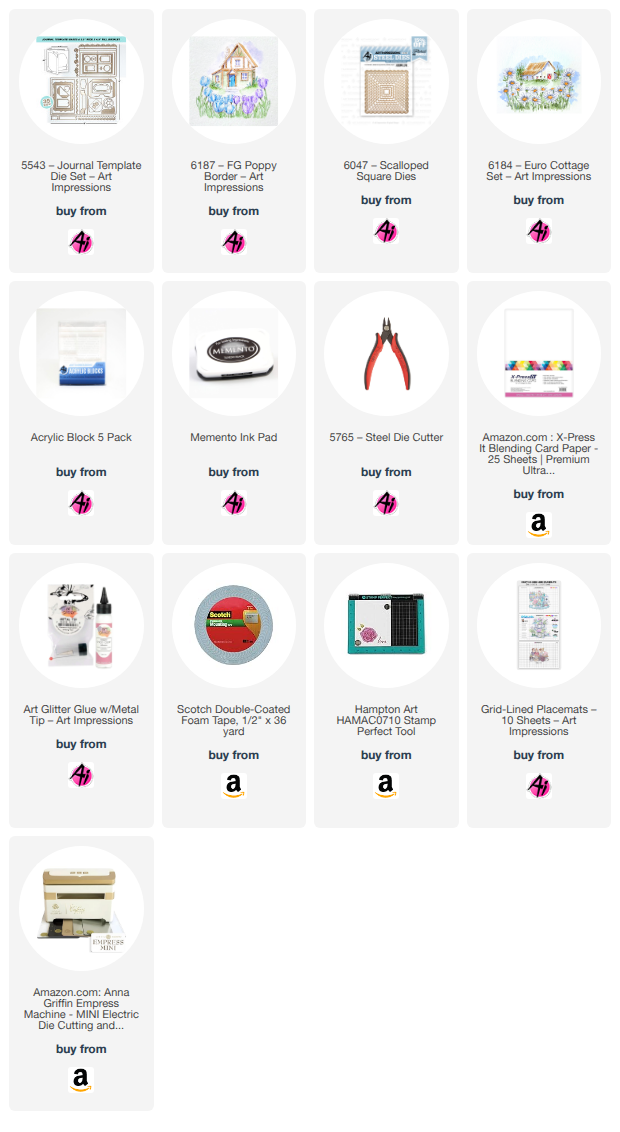
This card features two stamps that happen to be used together, although they also work well by themselves too. I started the card by choosing a house from the 6184-Euro Cottage Set. It comes with 2 houses and I really love the one I used here. It reminds me of the stucco homes and buildings that are traditional German and Swiss style. After stamping it, I added the 6187-FG Poppy Border. It looks like your card has pansies you say? Yes! By changing the way I colored them, it was easy to turn the poppies into pansies. My favorite pansy is lavender and yellow so that's the colors I chose to use. I was thrilled that I could adjust the image to come out this way. I colored this scene with Copic Markers. It doesn't show up well in the photo but I used a light gray marker to create swirl marks that you expect to see in stucco. Isn't it cool how the house is tucked into the pansy border. The perspective works so perfectly. 

Next, I created a fresh green 4 1/4" square card base and cut a peak-a-boo window in the front. Then inside, I added the scene that I cut out using the larges square in the 6047-Scalloped Squares Dies. By doing this I created a window that allows the image to show partially. Once opened, you see the whole image. I also stamped the sentiment in the Poppy Border set on clear vellum. I attached it to the inside of the card and covered my glue spots with butterfly cuts from the 5543-Journal Template Dies Set. Finally on the front of the card, I added a looped bow with a little purple button on top. 


Thanks for joining me on the blog today. As always, find your favorite stamps, dies, papers, and accessories at the Ai Store!

Happy Crafting!
 

Saturday, May 9, 2026

Pretty Peonies by Janet


I love peonies. They are so pretty but unfortunately so fleeting. They bloom for such a short time, usually no more than about 2 weeks. Yet peonies have captured our imaginations. That's pretty amazing for a flower that comes and goes so quickly. Good thing we can make the magic and beauty of peonies last a long time in images like the 6164 Peony Margin Set from Art Impressions!

I made my card by stamping the ornate and beautiful margin stamps on a single piece of alcohol friendly cardstock. I left enough room in the middle so that I could put the golden words of loved and grace in the center. These beautiful scripted words come from the 6155 - Ornate Margin Dies set. 

I colored the peonies in dark pinks and reds. I filled in the delicate scrollwork around the peony images with a gold Signo Pigment Ink Gel Pen from the Ai Store. Then I used the most pale pink marker in my collection to create the light pink background on the panel. I used a very pale blue marker to apply the background surrounding the peonies. 

Although lovely, I thought a splash of gold over the panel was a nice final touch. To do that, I added water to Winsor Newton Gold Ink and flicked it on the panel with a brush. After drying, I cut out the words from gold metallic cardstock and applied them in the middle. I used the same gold cardstock as a mat as well and then applied the two pieces on my dark pink card base. Finally, I used a white Signo Pigment Ink Gel to add highlights to the peonies. I used it liberally and it makes the flowers seem to glisten. 

Thanks for joining me on the blog today. As always, find your favorite stamps, dies, papers, and accessories at the Ai Store!

Happy Crafting!

Thursday, May 7, 2026

Mix & Match Challenge #427 Week #1

Hello Ai fans and welcome to our latest challenge.


All you need to do is use at least 2 different items from Art Impressions.
2 different stamp sets, a stamp and a die set, papers and dies...etc.
Mix & Match all your favorite products.

Our Featured Designer this week is Janet and she has a really fun birthday card to share with you.
After you check out her lovely card and tutorial, be sure to look and see if you were one of our winners from the last challenge.

Welcome to Art Impression's newest challenge, Mix and Match! It's an opportunity to mix at least 2 Art Impression's sets together in a creation. For this challenge I've chosen two sets for my card. The first is 6178 - Birthday Wishes. This set has several cute birthday related images to choose from and I picked the cake with a pot that's waiting to be filled with the flowers of your choice. To fill the pot, I picked a stamp from the 4868 - WC Flower Set 2.


This card is full of many layers. Below are all the pieces that I cut to make the card front. These are layered on an A2 card base in order from 1 to 6, with the bottom layer starting with 1. The circle layer is cut with 5726-Nested Circle Dies and the scallop circle is cut with 6045-Scalloped Circle Dies. 

I stamped the birthday cake image on the plain circle. I masked off the top of the pot and stamped the flowers into it. I added a full stamped flower image and then added another 1/2 of the flowers in order to fill the pot entirely. I used Tombow Dual Brush markers, #346 and #526 for the flowers. The cake and pot was colored with Copic markers.

Copic Markers Used:
BV000, BV02, BV04
BG000, BG11, BG15
BG01, BG5
BV23, BV31, C1, Y17, 
plus Tombow Twin Tone-Blue

While I was working on the cake, my darkest blue Copic marker leaked a large drop of ink as shown in the picture below. I'm sharing this boo boo to show that I made this work by placing blue enamel dots to cover this and saving the time and work that I'd put into the card. When something unexpected like this happens, think creatively on how you can recover. Usually there is a way to strategically recover as I did in this example.


Next I stamped the balloons and sentiment from the birthday set and colored them with markers. The sentiment was cut out with 6048-Scalloped Rectangle Dies and layered with a piece of light brown cardstock. I fussy cut the balloon image. I then arranged all the elements on the card to complete the project.
I hope you've enjoyed today's tutorial. I invite you show off your own creation using two or more Ai sets and upload it to the Mix and Match Challenge. You can win free stamps for your efforts!

For our Top Spot we selected: Kathy R.
We loved her gorgeous little hummingbird!


Please contact Leah at Feedback@artimpressions.com
to claim a free stamp set of your choice!!
Be sure to grab your winner's badge to display on your social media.


Our Lucky Random Winner was: Lynn C.


Please contact Leah at Feedback@artimpressions.com
to claim a free stamp set of your choice!!

Be sure to grab your winner's badge to display on your social media.

Congratulations to both of our winners and thank you
Janet for the amazing inspiration for the new challenge!


Now for our new challenge!

 ✻ Please make a new card or handmade crafty creation using either stamps, dies and or designer paper from Art Impressions. You can make any item you wish; this is not limited to cards! (unless specified)

✻ Limit two submissions per person.
✻Top Spot Winner and Lucky Random Winner each receive a free stamp set from Art Impressions
 ✻Please include your first name and last initial on your submission. You may include your entire last name, but it's not necessary.
✻We love to comment on your entries, but keep in mind if you use a private group or a platform that you need to sign up for, we probably won't be able to.
✻ The Ai Challenge is open to everyone, international submissions are welcome!
✻ Include a link back to the Ai Blog or grab our button on the top right of our sidebar!
✻ Share the Ai love if you can, by clicking and commenting on your fellow crafters.
✻ Make sure to get your link up by the deadline to enter your creations.
✻ Good luck and happy stamping! 
You are invited to the Inlinkz link party!

Click here to enter