Showing posts with label Janet Axtman. Show all posts

Saturday, August 1, 2026

Bee Inspired - Floral Frenzy Challenge

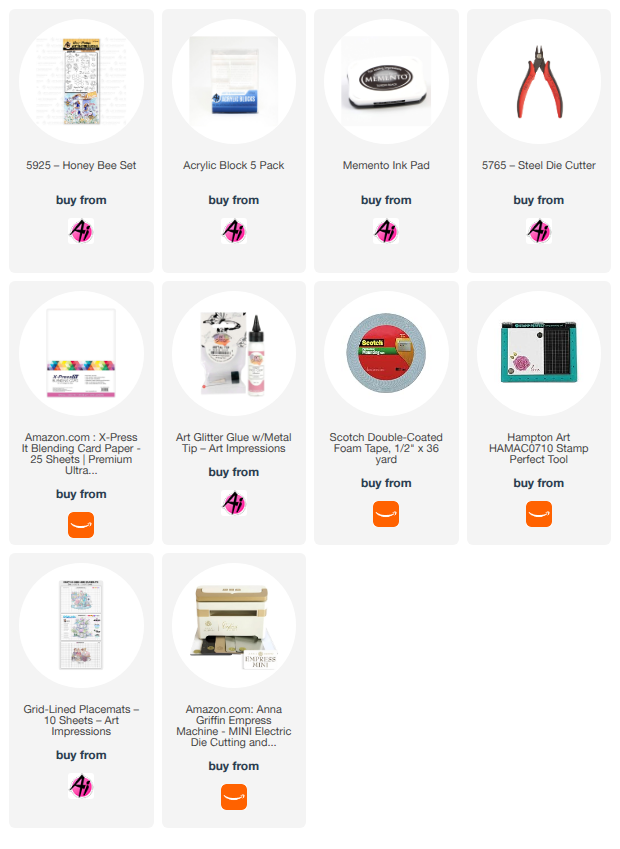
I've got one more card fitting the Floral Frenzy challenge on the blog. For this one, I primarily used 5925 - Honey Bee Set. I also added the 6170 - Honey Bear Freebie from the first half of the year. If you don't have this one, you could use another bear freebie from 2026, including the 2nd set of bears now available as gifts with purchase.

I started this with a piece of gold cardstock cut 4 1/2" square. I embossed it with a honeycomb folder and then brushed orange ink across it to darken the raised portion of the pattern. Once done, I trimmed it down to 4" square. Next I stamped and colored all the stamps that I had chosen. I cut them them out with the included dies. I fussy cut the Honey Bear. Then I cut a piece of grass out of  cardstock and blended two colors of green ink on the piece so it didn't look so flat and lifeless. I arranged the images to my liking and glued them all in place making sure there was a little room at the top of the grass to tuck in the pieces. I stamped the sentiment in orange ink from the stamp set. I added some vines from the set and then decided to add three more bees and mount them on foam tape. The last step was to cut a 5" white top fold card base. I added a gold metallic and additional white mat before placing the focal panel on top with foam tape.

I like the colors in this card and how it turned out. I hope you're inspired to enter your entry for the Floral Frenzy challenge. Link up your creation here.

Thanks for stopping by and spending time with me and Art Impressions today. Please visit the Ai store to pick up your favorite stamps, dies, papers, accessories, and supplies. 

Happy Crafting!


Thursday, July 30, 2026

Floral Frenzy Challenge #433

Hello Ai fans!
Welcome to our new challenge.

FLORAL FRENZY

Let's see your floral creations.
Remember, they don't have to be cards. You can create anything you like as long as you use something from Art Impressions. We'd love to see your gift card holders, gift tags, boxes and bags, bookmarks, place cards, cake picks, designer paper, framed art and more. Anything with flowers.

This week Janet is our Featured Artist and she took the theme to heart,
creating the most amazing floral card.
After you browse through her photos and picture tutorial,
be sure to see who the winners from our last challenge are.


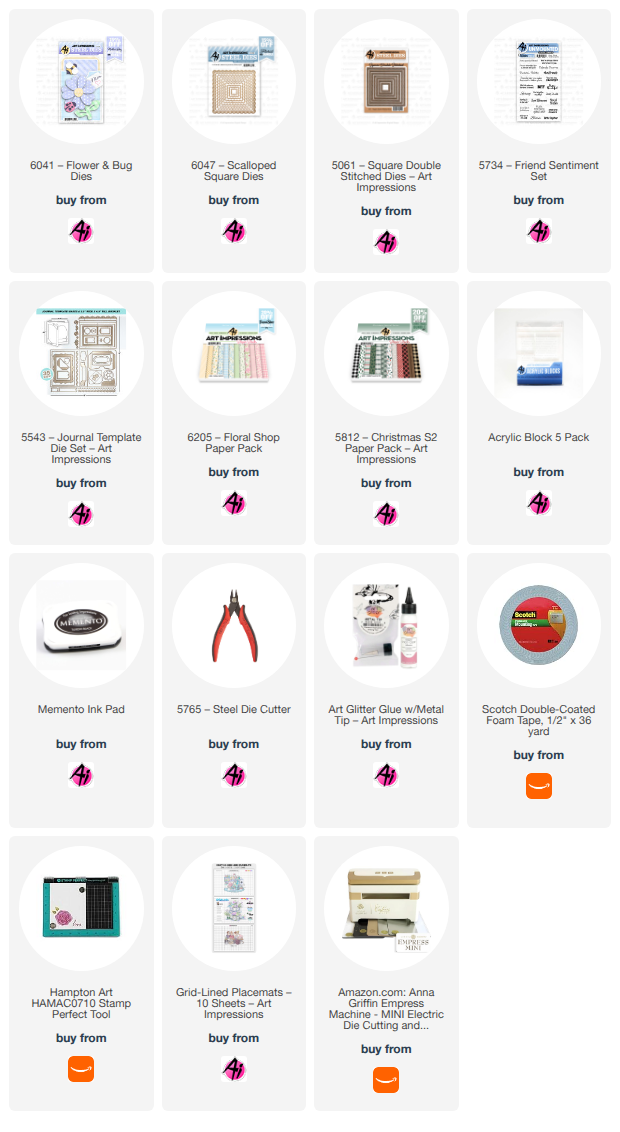
Hi everyone! It's time for the newest Ai Challenge - Floral Frenzy. With so many floral stamps and dies to work with, this one is super easy to participate in. For inspiration I've created a card made almost entirely with dies. The only stampingare the two sentiments. Sometimes it's nice to take a break from coloring and with all the great die sets in the store, it's not hard to make something awesome out of imagination and cardstock! For my challenge project, I used 6041 - Flower and Bug Dies with a little help from some other Ai sets.

This card starts with a unique fancy fold. I learned about it from Tarabeth Stamps' blog. It folds flat for mailing but when open, the right front flap tucks under something, in my case buttons. When tucked, the card pops forward thanks to the scored folds in the front panel. When the card is open, there is lots of room to stamp a message and a strip of cardstock plus the buttons just makes it even more charming to open.

Here you can see the dimension of this card when it's opened for display. The center portions of the card front pop out to move the focal point of the card out. It's a little bit surprising as you don't necessarily expect that at first. Tuck the right edges of the card under the buttons and the magic happens!

Start with a 4 1/4" x 11" of cardstock and score 6 lines moving from right to left: 3/4", 2", 3 1/2", 4 3/4", and 5 1'2" as shown here.

Fold the scores so that you create a flat mountain shape in the center of the card front.


Then glue the last scored section and close the card. This creates a flat left edge to the card base.


Next come the mats. Since it's a floral challenge I naturally chose 6205 - Floral Shop Paper Pack. Pick three patterns that coordinate and cut them all at 4 1/8" high. Cut the strips in these widths in the order shown: 5/8", 1 1/8", 1 3/8", 1 1/8", 5/8", and 3/4". This is the same order the strips go on your folds moving from left to right.


Here are the first five strips. The sixth strip is used on the inside but will peak through when the card is tucked and displayed.


Next I created the mats where the flower and bugs will rest. For this I used a die from 6047 - Scalloped Square Dies and another square from 5061 -Square Double Stitched Dies which nests on top of the scallop square.


I cut all the cardstock shapes from the 6041 - Flower and Bug Dies set. I cut two of the flower pieces and once of everything else. I cut the gold cardstock circle for the flower but decided to use a brad instead at the last minute. For the bee's wings, I used vellum so they would be translucent.


I assembled the flower, the bee and the ladybug. I secured the two flowers together with a clear jewel brad and placed the pieces on the matted square. You might think my buttons are real but they're just cardstock! I used woodgrain paper from the 5812 - Christmas S2 Paper Pack. For this, I used a button die found in the 5543 - Journal Template Die Set. I cut two more buttons which I glued under the woodgrain button. One layer was brown to give the buttons a little more rigidity and I cut a round circle in blue cardstock which peaks through the button holes. For this I used the flower center in the Flower and Bugs set. I also cut the tag from a die in this set and matted it on green cardstock. I cut out the interior white piece 4 9/16" x 4 1/8" and glued the sixth paper strip on the right side. I stamped BFF and the inside sentiment using stamps from 5734 - Friend Sentiment Set.


To finish the card, I glued the finished focal point at a slight angle only to the striped center panel. Don't let your glue go beyond this because if you do, it'll stop the pop-out feature from working. Then I glued the inside sentiment piece. Just the right edges of each button on the inside strip of patterned cardstock are glued. Do not adhere the entire button down because you need room to slip the right front edge of the card under the buttons. Here's another look at the card in case you've forgotten after all the instructions!


This is a simple but unique fancy fold that I think is a fun presentation to someone. You can use anything for the tuck pieces. I used buttons but you could use hearts, stars, flower shapes - basically whatever your heart desires or will work with your theme.

I hope you enjoyed my creation for the Floral Frenzy challenge! I invite you to join in and enter your floral creation in this challenge. Just link it this post in the next two weeks to participate. Easy peasy! 

Thanks for stopping by and spending time with me and Art Impressions today. Please visit the Ai store to pick up your favorite stamps, dies, papers, accessories, and supplies. 
Happy Crafting!


This is such a pretty card and the fun fold just enhances its beauty.
Thank you Janet!

Now, let's see who won our Christmas in July challenge.

For our Top Spot we selected #5
Marianne H.
for her amazing spooky scene.


Please contact Leah at Feedback@artimpressions.com
to claim your free stamp set.


Our Lucky Random Winner was #13 Lynn C.
(which proves the #13 isn't always unlucky...lol!)


Please contact Leah at Feedback@artimpressions.com
to claim your free stamp set.

Congratulations to our winners!
Enjoy your new stamps.

Now, onto the details of our new challenge.

Please make a new project featuring any floral themed
stamps, dies or paper from Art Impressions.
We can't wait to see what your beautiful creations.

Here are the rules...

✻ Please make a new card or handmade crafty creation using either stamps, dies and or designer paper from Art Impressions. You can make any item you wish; this is not limited to cards! (unless specified)

✻ Limit two submissions per person.
✻Top Spot Winner and Lucky Random Winner each receive a free 
stamp set from Art Impressions
 ✻Please include your first name and last initial on your submission. You may include your entire last name, but it's not necessary.
✻We love to comment on your entries, but keep in mind if you use a private group or a platform that you need to sign up for, we probably won't be able to.
✻ The Ai Challenge is open to everyone, international submissions are welcome!
✻ Include a link back to the Ai Blog or grab our button on the top right of our sidebar!
✻ Share the Ai love if you can, by clicking and commenting on your fellow crafters.
✻ Make sure to get your link up by the deadline to enter your creations.
✻ Good luck and happy stamping! 


You are invited to the Inlinkz link party!

Click here to enter

Saturday, July 25, 2026

Summerween Window Peeking by Janet


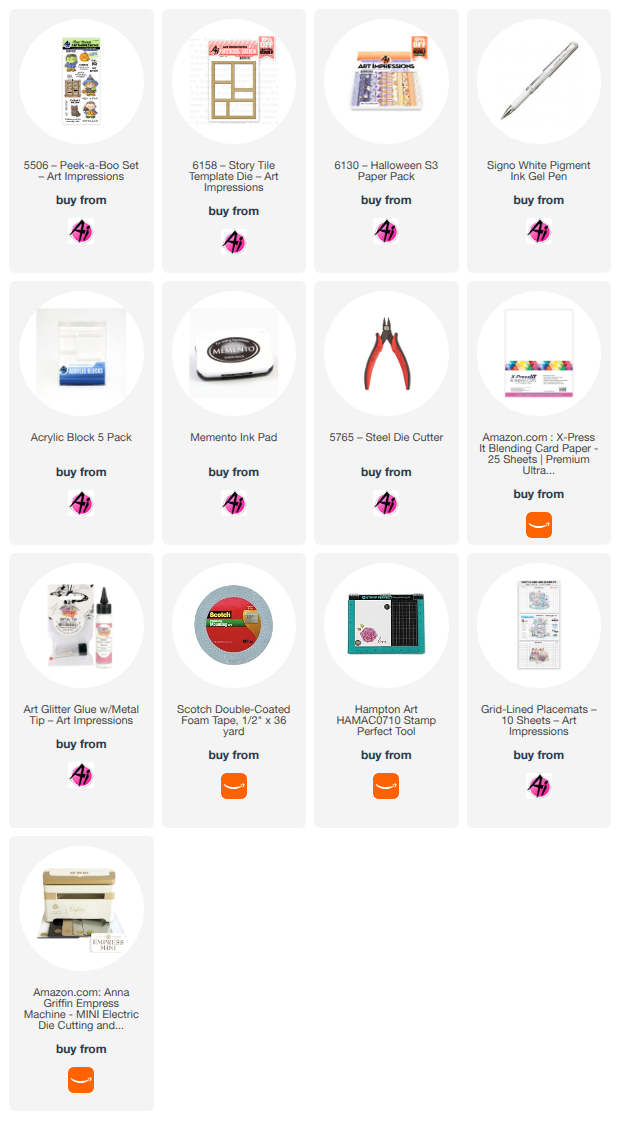
Hello Ai fans! Today the Summerween fun continues with another Halloween card. I thought it would be fun to use the shutter peeker feature and characters in the 5506 Peek-A Boo Set on the 6158 Story Tile Template Die. To my delight, the shutter is just the right size to cover one of the tiles.

To make this, I first stamped and colored several of the characters in the Peek A Boo set including the witch, pumpkin, Frankenstein, cat, and the shutter. I used the included dies to cut them out and set them aside.

Next I cut the story tile frame out of orange cardstock. I used the pieces it cut out of each frame to trace around patterned papers in the 6130 Halloween S3 Paper Pack. This made it easy to use different papers that fit perfectly in the tile openings without much waste. Then I placed the images and the sentiments in the tiles. Last I glued little Frankenstein into the middle tile and then glued the shutters over the frame section. Now Frankie waves hi when the shutters are opened! Cute! Finally I added two puffy glittered stars and one metallic star for accents.


I hope you enjoyed seeing a little Halloween in the middle of summer! I invite you to join in and enter your Summerween creation in the Ai Challenge. Just link it up to the post for it. Easy peasy! 

Thanks for stopping by and spending time with me and Art Impressions today. Please visit the Ai store to pick up your favorite stamps, dies, papers, accessories, and supplies. 

Happy Crafting!

Thursday, July 23, 2026

Summerween Challenge #432 Week #2

  Hello Ai fans and welcome to week #2 of our challenge.

(posting a little early today, because...why not?)

SUMMERWEEN!!

Summerween is a new expression for me that Tasha brought to light.
Just like there's Christmas in July, a lot of people like to have a mini
celebration of Halloween in the summer. (It's usually in June but I couldn't
fit it in.)

I loved this idea, so here we are. Let's see your best Halloween (or Fall) creations.
Cards, treat bags, boxes, gift card holders and more!

Also...did you see??
It's that time of year when the second set of Freebies become available.
Check out the cuteness overload on these bears!
My personal favorite is the Study Bear.
You can select one of these free stamps when you spend $30 or more on the

Last week Tasha was our Featured Artist and she created a darling Story Tile card.

Tasha also created this cute card.
Janet created 2 cards as well. Her first card is an adorable Frankenstein puppet card.


Her second card is a Story Tile card like Tasha's. Janet used the following sets to make hers.


A lot of our designers made 2 cards this week. Please enjoy these watercolor cards from Neema.
Her first card used:


Her second fun card used:


This fabulous window card is from Diane.
6111 – Spooktacular Set
6130 – Halloween S3 Paper Pack
5065 – Oval Double Stitched Dies


Next up we have the cutest little slider card from Sharon!


I made a ghostly tunnel card that you can find the details for here.


And...last but not least, Dori has an incredible little box with a lid that opens not once, but twice!
Please click HERE and view her video to see how it works. She's SO CREATIVE!!


I hope that something here has inspired you.
Art Impressions has the most amazing Design Team. They care so much about 
bringing you fresh ideas that are easy for you to create, help you think outside the box
and use the supplies you have while still keeping current.

Please make a new project featuring any Halloween or Fall themed
stamps, dies or paper from Art Impressions.
This is going to be a fun one! I can't wait to see what you create.

Here's the rules...

✻ Please make a new card or handmade crafty creation using either stamps, dies and or designer paper from Art Impressions. You can make any item you wish; this is not limited to cards! (unless specified)

✻ Limit two submissions per person.
✻Top Spot Winner and Lucky Random Winner each receive a free 
stamp set from Art Impressions
 ✻Please include your first name and last initial on your submission. You may include your entire last name, but it's not necessary.
✻We love to comment on your entries, but keep in mind if you use a private group or a platform that you need to sign up for, we probably won't be able to.
✻ The Ai Challenge is open to everyone, international submissions are welcome!
✻ Include a link back to the Ai Blog or grab our button on the top right of our sidebar!
✻ Share the Ai love if you can, by clicking and commenting on your fellow crafters.
✻ Make sure to get your link up by the deadline to enter your creations.
✻ Good luck and happy stamping! 

You are invited to the Inlinkz link party!

Click here to enter

Saturday, July 18, 2026

Summerween Challenge - Franky by Janet

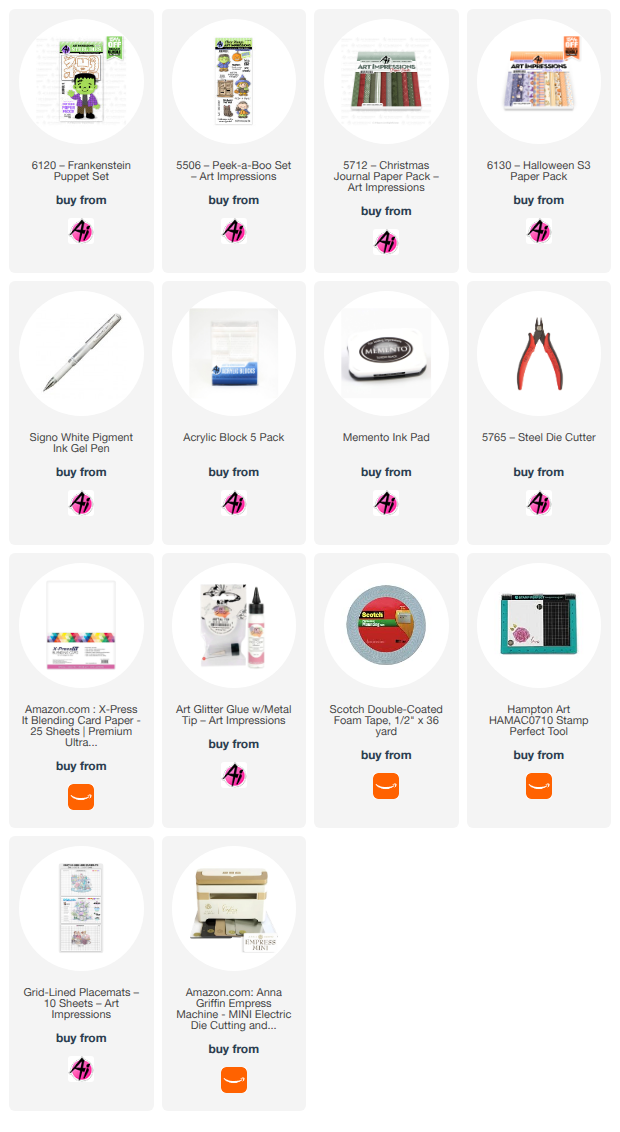
Are you loving the latest Ai Challenge? It's Summerween. Clever isn't it? I have had the 6120 -  Frankenstein Puppet in my stash but ordered it after the season so I was thrilled to have a reason to break this one out and give it a try. This is a die set and is easy to put together, especially since the packaging indicates what all the pieces are so there's no guesswork.

I used a couple of paper packs for this card. The background is a piece from the 6130 Halloween S3 PP. The diamond pattern also comes from this pack. Frank's pants, jacket, shoes and shirt are all cut from the 5712 - Christmas Journal PP. This just shows again how packs that are seasonally themed can be used for so many other occasions and themes. This is because the papers always have several neutrally themed patterns that can be used for anything.

I cut the diamond paper from 5062 - Rounded Rectangle A2 Double Stitched Dies. I matted that on top of my card base which was covered in the pumpkin patterned paper that I had inked the edges on before attaching to the card base. Then I placed an orange mat and the diamond patterned mat on top of that. 

Next I cut and pieced together Franky. This was super fast and easy to do. I used a black paint pen to draw the facial details and a little bit of Signo White Gel Pen on the eyes. I added some green blush with chalk and he was ready! I traced around him on a piece of clear vellum and cut it out. I mounted Franky on foam tape and attached him to the vellum. Then that was glued on to the front of the card. For a sentiment, I stamped the phrase from the 5506 - Peek A Boo Set and trimmed it out with a border before attaching it to Franky. Finally, I added four green glitter enamel dots to two of the corners. 

I hope you enjoyed seeing a little Halloween in the middle of summer! I invite you to join in and enter your Summerween creation in the Ai Challenge. Just link it up to the post for it. Easy peasy! 

Thanks for stopping by and spending time with me and Art Impressions today. Please visit the Ai store to pick up your favorite stamps, dies, papers, accessories, and supplies. 

Happy Crafting!


Saturday, July 11, 2026

Christmas In July Challenge - Santa Gift Card Holder by Janet


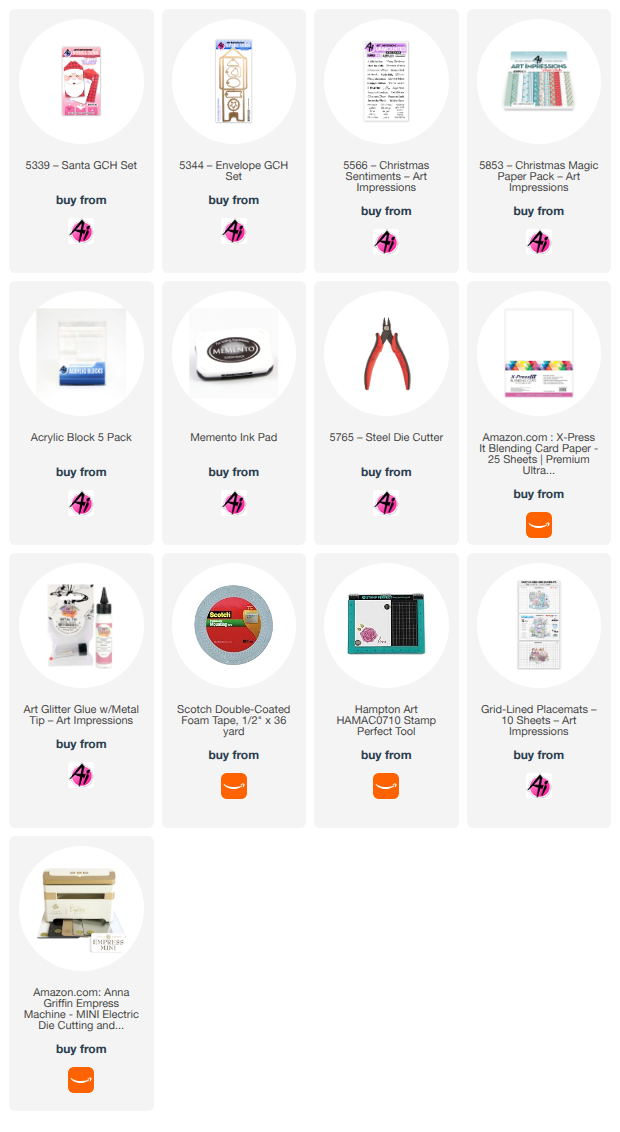
It's the second week of the Christmas in July Challenge. I love getting a jump start on holiday card making and it's also a good time to make some gifts like my Santa gift card holder. This is a fun little project you can make in so many ways. You can use any colors or kind of paper you want. For mine, I imagined him in his Christmas pajamas that have messages of peace, hope and joy. These are sentiments the world really needs right now. This cheerful paper pattern can be found in 5853 - Christmas Magic PP.

I made this using two Ai Gift Card Die Sets. The base is created using 5344 - Envelope GCH Set. The Santa face is created using the companion set 5339 - Santa GCH Set. I just love his mustache and his rosy cheeks! To make his cheeks a little more rosy, I broke out the old fashioned chalk set I've had for decades. It still comes in handy once in a while!

The gift card holder is pretty easy to assemble but once you glue the envelope together, I find that it's best to start by adding the hat pieces and next work from the bottom up. This way, I'm able to make sure his facial features are in the right places and not too crowded. I also added a tag to his hat. The die for that is included in the envelope set, along with other handy shapes you can cut and use on the gift card. I chose the sentiment from the 5566 - Christmas Sentiments set. Love how it turned out!

Thanks for stopping by and spending time with me and Art Impressions today. Please visit the Ai store to pick up your favorite stamps, dies, papers, accessories, and supplies. 

Happy Crafting!

Thursday, July 9, 2026

Challenge #431 Christmas in July Week #2

  Hello everyone and welcome to week #2 of our
Christmas in July challenge!


ALL things Christmas!
Show us your cards, tags, gift boxes and bags,
gift card holders, ornaments and more!

Before we get to our challenge inspiration, let's take a look at the newest releases.
It's always such an exciting time when there're new products!


Stay tuned in the coming days and weeks for lots of DT inspiration for these new items!

Now, back to our challenge.

I was the Featured Artist last week, and I created fun multi-domed shaker card.

Now let's take a look at what the rest of the Design Team created.

Simone lives in Florida so she went with a tropical, sandy snowman.

5120 Palm Tree Set
5571 Christmas Snowmen set
5461 Christmas Slimline set (sentiment)
WC 0426 Coastal Birds exclusive (retired)
substitute with 5473 – Seagull Set5069 – My Fortress Set 
or 5399 – Gull-Friends Set

5853 Christmas Magic pp
5063 double stitched rectangle die


Dori's snowman is wishing for snow.

Gennette created a snowy cabin scene.


Tasha made a darling Christmas pig.
5180 – Barnyard Animal Cubbies
6143 – Woodland Christmas Paper
5726 – Nested Circle Dies
5171 – Sleigh Ride Circlet MTF
✻ Please make a new card or handmade crafty creation using either stamps, dies and or designer paper from Art Impressions. You can make any item you wish; this is not limited to cards! (unless specified)

✻ Limit two submissions per person.
✻Top Spot Winner and Lucky Random Winner each receive a free 
stamp set from Art Impressions
 ✻Please include your first name and last initial on your submission. You may include your entire last name, but it's not necessary.
✻We love to comment on your entries, but keep in mind if you use a private group or a platform that you need to sign up for, we probably won't be able to.
✻ The Ai Challenge is open to everyone, international submissions are welcome!
✻ Include a link back to the Ai Blog or grab our button on the top right of our sidebar!
✻ Share the Ai love if you can, by clicking and commenting on your fellow crafters.
✻ Make sure to get your link up by the deadline to enter your creations.
✻ Good luck and happy stamping! 


You are invited to the Inlinkz link party!

Click here to enter