

Hello Ai Friends!
Welcome to another Watercolor Weekend! I’m excited to share today’s project with you. This one was especially fun to create, and, as you probably know by now, I really enjoy finding new ways to use the Story Tile Die.
I actually had no plans to use it this time, but you know how crafting goes—plans can change once you start looking through your supplies! I had pulled out the Portfolio Template Die Set, and that’s where my idea began. Since the Portfolio is the perfect size for an A2 card, I realized the Story Tile Die would fit beautifully inside it.
I started by choosing the patterned paper I wanted to use and then selected the stamp set designed to coordinate with the Story Tile Die. The Portfolio Template Die Set includes instructions for assembling the base, and it only requires two pieces to be glued together. If you are using directional patterned paper, just be sure to pay attention to the angle when cutting the two pieces so the pattern is facing the correct direction.
For all of my watercolor images, I used Canson Watercolor Paper and stamped the images using Distress Ink Lost Shadow. The Tombow colors I used are listed below for each individual image.
I began by cutting a frame from my chosen patterned paper using the Story Tile Die and adhered it to the center of the Portfolio. I then cut a piece of Canson Watercolor Paper using the same die. Using my stamp positioner, I stamped each image onto the individual tiles, making it easy to get everything lined up correctly. Once all the images were colored, I glued the finished tiles into the Portfolio.
Next, I worked on the two folded sections of the Portfolio. Using the same scalloped die I used for the Portfolio base, I cut another piece from patterned paper and trimmed away the folded section. I applied adhesive along the edges, leaving the scalloped edge open, and adhered it to the left side of the Portfolio. This created a pocket that can hold a gift card, a note, or, as I chose to use it, the Mini Bookmark and envelope.
To decorate the top of the pocket, I used the long scalloped-edge die included with the Portfolio Template Die Set and cut a piece from Canson Watercolor Paper. I stamped the long-stem flower, colored it, and then selected a sentiment to stamp using Versafine Clair Lilac Bloom. I adhered the finished piece to the front of the pocket.
On the right side, I used the same die with a piece of patterned paper. Once it was adhered, I decided to add another pocket for a bookmark.
The Mini Bookmark I created had to be shortened after an unfortunate water spill! Thankfully, it happened on the bottom portion, so the bookmark was still usable. The finished bookmark measures 3 7/8" long, and I used a corner rounder to give it a more finished look.
For the front cover of the Portfolio, I cut a piece of paper measuring 2 3/4" × 3" and rounded the corners. I then selected the square frame die from the Portfolio Template Die Set and cut two frames—one from watercolor paper and one from patterned paper. I adhered the two frames together and then attached them to the paper piece.
I adhered the finished cover piece to the front of the Portfolio, attaching it only halfway so it could function as a flap. On the opposite side, I added two thin Velcro dots to create the closure.
For the back of the Portfolio, I cut a piece of Strathmore Bristol Smooth Paper using the largest Scalloped Rectangle Die and stamped the Peony image onto it. This creates a nice space to write a personal message.
Back on the inside, I stamped two quotes from the BJ Long Stem Set onto Bristol Smooth Paper using Versafine Clair Avocado. I used a die from the Portfolio Template Die Set to cut them out and adhered one to the right-side pocket and the other to the Mini Bookmark.
The Mini Bookmark is very easy to make since it is simply cut and folded. To make it stay securely on a page, I added magnets to the inside. I used a magnet sheet and a 1" circle punch. I punched one circle from the magnet sheet, then placed the punched piece back onto the sheet to find the matching position for the second magnet. Once I found the correct placement, I punched the second circle and adhered the magnets inside the bookmark.
The Mini Journal Template also includes a small clasp, which I used to attach a little dangle to the Mini Bookmark.
Finally, I assembled the envelope included in the Portfolio Template Die Set. It is also a simple cut-and-fold project. I added a small Velcro dot to keep the envelope securely closed.
I love how this project combines so many different elements into
one A2-sized Portfolio. It gives you space for watercolor artwork, a
personal message, a bookmark, an envelope, and even a gift card or
note. It would make such a thoughtful handmade gift!


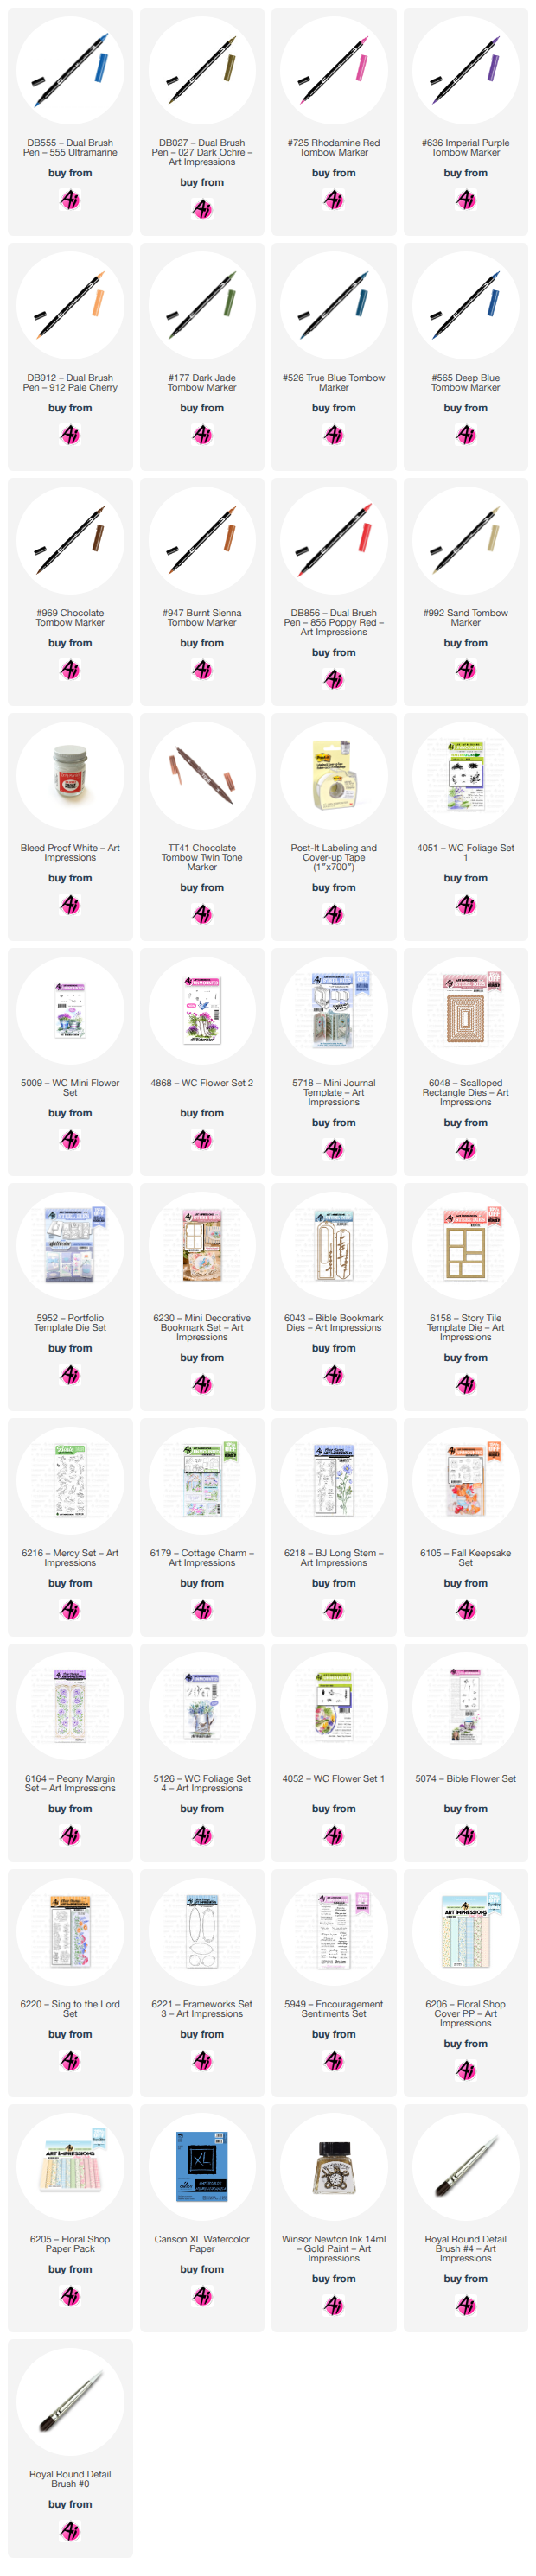
Materials Used
Stamps & Dies
• 5718 – Mini Journal
Template
• 6048 – Scalloped Rectangle Dies
• 5952 –
Portfolio Template Die Set
• 6230 – Mini Decorative Bookmark
Set
• 6043 – Bible Bookmark Set
• 6158 – Story Tile
Die
• 6216 – Mercy Set
• 6179 – Cottage Charm
•
6218 – BJ Long Stem
• 6105 – Fall Keepsake Set
•
6164 – Peony Margin Set
• 5136 – WC Sentiment Set 2
•
4051 – Foliage Set 1
• 5126 – Foliage Set 4
• 4868
– Flower Set 2
• 4052 – Flower Set 1
• 5074 –
Bible Flower Set
• 5009 – Mini Flower Set
Paper
• 6206 – Floral Shop Cover
Patterned Paper
• 6205 – Floral Shop Patterned Paper
•
Canson Watercolor Paper
• Strathmore Bristol Smooth Paper
Inks & Mediums
• Distress Ink – Lost
Shadow
• Versafine Clair – Avocado
• Versafine Clair
– Lilac Bloom
• Versafine Clair – Nocturne
• Winsor
& Newton Gold
• Dr. Ph. Martin's Bleed Proof White
•
TwinTone Markers – Brown, Pink
• Pitt Artist Pen – Black
•
Velcro Thin Dots
• Corner Rounder
• Brushes – #4, #0
Tombow Markers
• 985, 946, 636, N49, 725,
177, 947, 565 – Bicycle
• 947, 027, 177, 815, 565 –
Fence
• 947, 985, 452, N49, 027, 177 – Birdbath
•
985, 947, 565, 725, 177, 526 – Pots
• 636, 985, 946, 177 –
Daisies
• 817, 985, 177 – Peony
• 947, N49, 452, 526,
177, 636, 815, 565 – House
• 947, 985, 856, 596, 177 –
Birds
• 947, 992, 912 – Cat
• 815, 177 – Petunia
Finished Sizes
• Portfolio: A2 size
•
Mini Bookmark: 3 7/8"
• Front Cover Square: 2 3/4" ×
3"
For my second card, I decided to create a simpler design using the Sing to the Lord Set. I wanted to let the beautiful floral image take center stage and add just a few touches of gold for a little extra detail.

Materials Used
Stamps & Dies
• 6220 – Sing to the
Lord Set
• 6221 – Frameworks Set 3
• 5949 –
Encouragement Sentiment Set
• 6157 – Hope and Faith
Paper
• Strathmore Bristol Smooth
Cardstock
Inks & Mediums
• Distress Ink –
Antique Linen
• Versafine Clair – Nocturne
•
Stamperia Contour Gold
• Winsor & Newton Gold Ink
Tombow Markers
• 555, N15 – Flower
•
177 – Leaves
• 526 – Sky

3 comments:
These are gorgeous Simone!!
I just had a great idea. I will make a portfolio for a friend, but let her do the artwork. I will just make the "innards" and let her finish it. Brilliant!
Beautiful work!
Post a Comment