Happy Thursday AI Friends!
When I saw these a-MAZE-ing Village stamps and coordinating sets, my mind went way back to my childhood. They reminded me of the fun little maze puzzle games I use to play with when I was a kid.
(I think I just dated myself. LOL!)
Hope some of you remember those puzzle games, but if not, hope you get inspired to create one of these for your kids/grandkids (or even yourself).

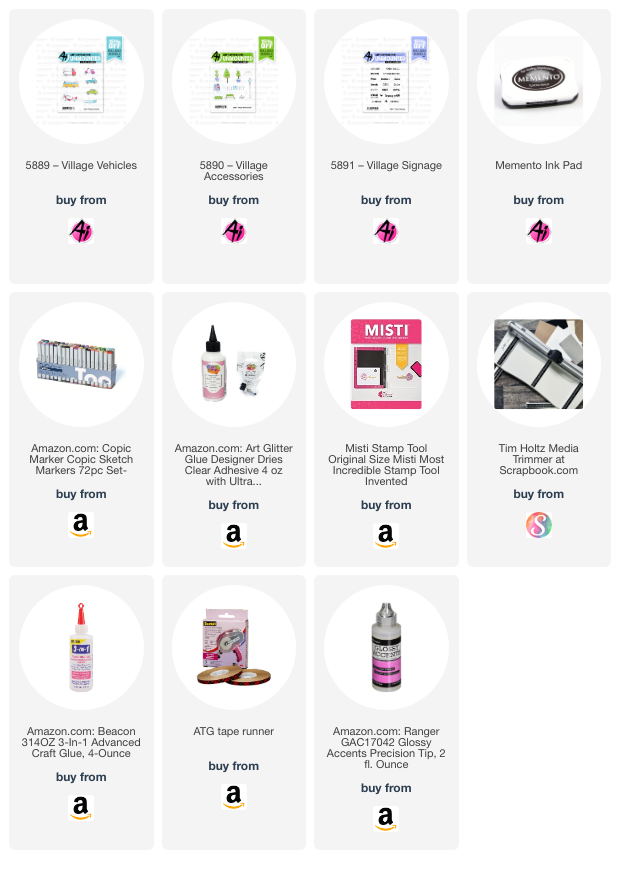
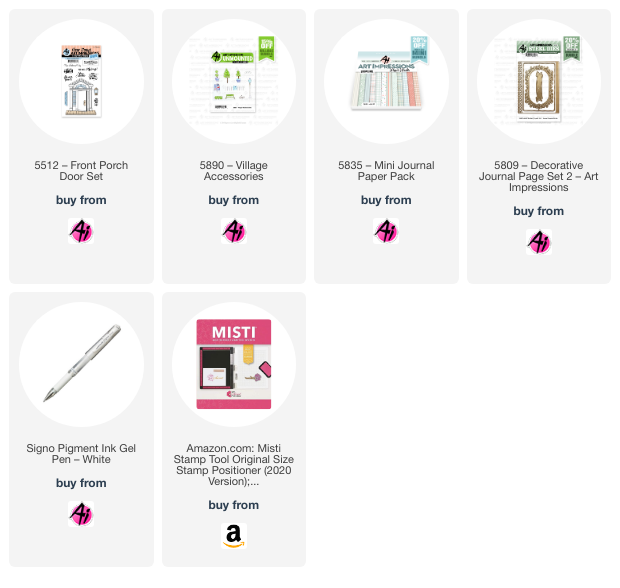
I began by stamping many images from the #5889 - Village Vehicles and #5890 - Village Accessories sets, as well as the Exclusive (freebies) buildings (#5877-#5882) with Memento black ink onto cryogen white cardstock and colored with copic markers (listed below). The Exclusive buildings are available for free each time you make a purchase of $30 or more from
Art Impressions. These are soooo darn cute!!
After coloring each of the images, I fussy cut each one. Took me about 20 minutes to cut them all out, so very easy and no time at all. I lightly ran (from behind) the coordinating color marker along the sides to give a nice finished edge and added glossy accents to the windows of all images. I die cut 3 black craft foam and one white cardstock with a maze die that I had in my stash. Hint: when cutting the craft foam, only run it through your cutting machine once as it tends to stretch if you run it back and forth and will distort the maze. Adhere a piece of acetate between the white cardstock and one of the black foam pieces and then glue the other two black foam pieces to stack upon each other. The layer should be white cardstock, acetate and three black craft foam. Before glueing all of this base to the black cardstock on the back, make sure to slip a small ball (or BB) into the maze. At this point, you can decorate the top of the puzzle with the colored images however you wish.
Here is a video with the ball moving within the maze just by turning and tipping the puzzle.
Here is a video using a magnetic wand to move the BB around the puzzle. I just glued a magnet to the end of a dowel.
Thanks for stopping by and I hope this brings back great memories for you!
Have a great day!!
Copic markers used:
N1, N3, N4, N7
E21, E23, E25, E27, E55, E57
B0000, B01, B02, B05
R22, R24, R27
G40, G43, G36
YR16, YR61, YR65, YR68
Y13, Y15, Y19
<