Showing posts with label 5728 Mushroom Cubbies. Show all posts

Tuesday, September 9, 2025

Hi Friend! by ReneƩ Matarese

 Hello Ai fans!

I love mushrooms and instantly thought of the Mushroom Cubbies set for the Art Impressions "When One Door Closes" challenge.


I grabbed mushrooms and other elements from a few different Ai sets to complete both the front and inside of my card.


I know most people think of brown when they think of mushrooms but they come in MANY different colors and I love trying out different combinations. In my woods we have orange, white, black, red, yellow, and purple. Probably more if I looked hard enough. We've picked and eaten the Chanterelles and Black Trumpet mushrooms.


 I wanted to make this card extra special so I decorated
the inside of the card pretty elaborately too.


I'm kind of wishing now that I had a little fairy tucked in there somewhere too.
Next time, I guess...


Monday, July 14, 2025

New Corner Bookmark Dies by Sharon Caudle

 Hello AI Fans!

If you haven't seen the new Corner Bookmark Die set from Art Impressions, I think you're in for a real treat!! These are so beautiful and look amazing when you slip it into your book to mark your page. Just grab a few pages in your book and slip it right over the corner.  They go together so easily and I think they make a big impression when you see them. They're beautiful either painted with your water colors or with Copic markers as these are. I just had fun and chose some cute images from the Mushroom Cubbies to use on this batch.  But I really love the one I made just using the flower dies that come with the Bookmark Set. I think a set of these would be a perfect gift for that book lover in your life!! 


Thanks so much for stopping by for a visit today and until next time - stay crafty!!


Sunday, March 9, 2025

Spring Card and Cross &Tomb MB


Welcome to Watercolor Weekend!  The month of March can go so many ways, weather wise. Most years it is the start of the tug-of-war between winter and spring. The hopes of warmer days ahead and some serious snow storms. I think I hit spring fever the instant snow started to fly at the beginning of the season. I am more of a spring and fall girl myself, but I am grateful for each day I have. 

My first card is, most definitely, screaming spring. Nothing like some bright colors and flowers to warm a cold winter day. I started out with cutting out three 2 inch squares on watercolor paper, with dies I have on hand, and masking off the decorative edges. For the top square I used 5728 Mushroom Cubbies for the gnome and bee. The gnome was stamped in 565/969 combo up in the corner, after I stamped off once. For the hat I used 177 and 969. The nose, 850, 910, and a small touch of 969. 565 was used on the beard for the shadows. The bee from the same set was stamped on watercolor paper in 565/969 combo and stamped off once. I always save my small scraps of watercolor paper for these when I know I am going to die cut them out.  When working with either high pigment (think red) and darker colors, I always paint my lighter colors first. For the yellow on the bee I used 055, and 025. The wings I used 526, and 565.  A black micron was used on the antennas and I painted the rest of the bee with N15.  For the middle square I stamped in 5918 Floral Long Stem Bouquet in N49, stamping off once.  I used 526 for the petals, 177 and 249 for the stems and leaves. For the centers of the flowers I used 025, and 026. 5870 Peeking Bunny Set was used for the bunny, stamping this also in N49 and stamping off once. Coloring the main body with N79 and shading with N49. For the “toe beans” I used 772. Dr. Ph. Martin’s Bleed Proof White was used on the tail. I then used 565 for definition on the tail and shadows on the feet. The flower vine from 5486 Front Porch Garden Set was stamped in N49 and stamped off once, coloring the flowers in 905, the stem and leaves with 177. The bird is from 5561 Birds and Bugs Set, stamped in N49 and stamped off once. 526 was used for the main part of the bird, 025 for the beak, 565 for the shadows, and a black micron for the eye and legs.  Now for the bottom square I used 5488 Front Porch Easter Set and used the daffodils, stamping in N49 and stamping off once.  For the flowers I used 055, 025, and 026 for the shadows. For the leaves I used 249, the pail 565/969 combo, and the stool I used 947, 969 and 565 for the shadow.  The background for all 3 squares was done in 126 and the edge outlined in 969 to give the effect that the inside of the square is sunk in.  


I matted my card with paper from 5873 Mini Birthday PP, die cut the bee, bunny, vine, and bird with the coordinating dies and I used foam tape on the bee and bunny. Then assembled my card making it look like the bee and bunny are entering into their squares.

The recently released 6015 Cross and Tomb Matchbook was so amazingly designed, what a perfect depiction for Easter. The MB’s require 2 other additional sets, the 5317 MB Template Dies and the 5318 MB Envelope Dies, these work with all of the other MB sets in Ai’s line. I started out with permanent black ink, mixed media paper, a #1 and #4 brush. I prefer to stamp my images first, color them, and then use the enclosed dies to cut them out.  For the palm trees I used 249, 947, and 969.  The other trees I used either 177, or 249, with 879 for the trunks.  For all of the rocks and boulders I used a combination of 565 and 969.  For the dresses I used 526, 947, and 969.  The basket, 879, and the head dressings I shadowed with 565.  For their skin I used 912.  The crosses I used 969, and highlighted with a touch of 993. For the hillsides and tomb I used a combination of 346, 249, and 993 for the highlighted areas.  The pathway was done with 947, and going over the top of that towards the top 993.  For the sun I used 055, 993, and 933.  I also used those same colors with a touch of 946 for the light in the tomb.  993 was used to highlight the surrounding areas. For the shadows of the crosses I used a mixture of 565, and 969. Once everything was colored, I then used the included dies. The dies have score lines so that you can easily fold the tabs on each piece. I also used the 5317 Template die with 5892 Easter S2 PP and assembled the Matchbook. If you would like to see a tutorial on how to put these together, Bonnie has a wonderful tutorial that you can watch HERE. Don’t hesitate to ask if you have any questions, I will do my best to answer if I can. Thank you for joining me today! Until next time, Create….Share….Inspire!


Monday, August 12, 2024

All occasion magical card for anything by Sharon Caudle

 Hello AI Fans!

I hope you're having a great start to your week! I've got a card for you today that features those adorable Fairies from #5915 Woodland Fairies Set! They are just too adorable! That single adorable daisy is from #5935 Fairytale Houses Set, and that oh so cute caterpillar is from #5728 Mushroom Cubbies Set. Just a super quick and easy card to color up and put together! Added a couple little pearls and a little flower in the center of the bow and called her done! That beautiful paper is from #5939 Fairy Garden Paper Pack. Aren't they just goregous??!! I do apologize as I failed to note the Copic colors I used to color up these cuties! I'm so sorry! 


So that's it for me today. Thank you so much for stopping by for a visit today and until next time - stay crafty!!


Thursday, July 18, 2024

All A-Buzz Challenge #383

 Hello Ai fans and welcome to our newest challenge,

All A-Buzz!


We want to see your crafty projects using INSECTS!
Bees, butterflies, snails, ladybugs, caterpillars, dragonflies, spiders (yes, I know that they're not
actually an insect but they count) Any creepy crawly.
 
Before I show you my feature, let's see who won our Magical Creatures challenge.

Our Top Spot went to Deanna F.
She used 5345 – Fairy Cubbies Set


Congratulations!

Please contact Leah at Feedback@artimpressions.com
to claim a free stamp set of your choice!!Also, be sure to grab our badge to display on your blog, Facebook or Instagram!

Our Lucky Random Winner was:


Please contact Leah at Feedback@artimpressions.com
to claim a free stamp set of your choice!
Also, be sure to grab our badge to display on your blog, Facebook or Instagram!

-----------------------------------------------------------------------------------------------------------------------

Hello everyone and welcome to my feature.
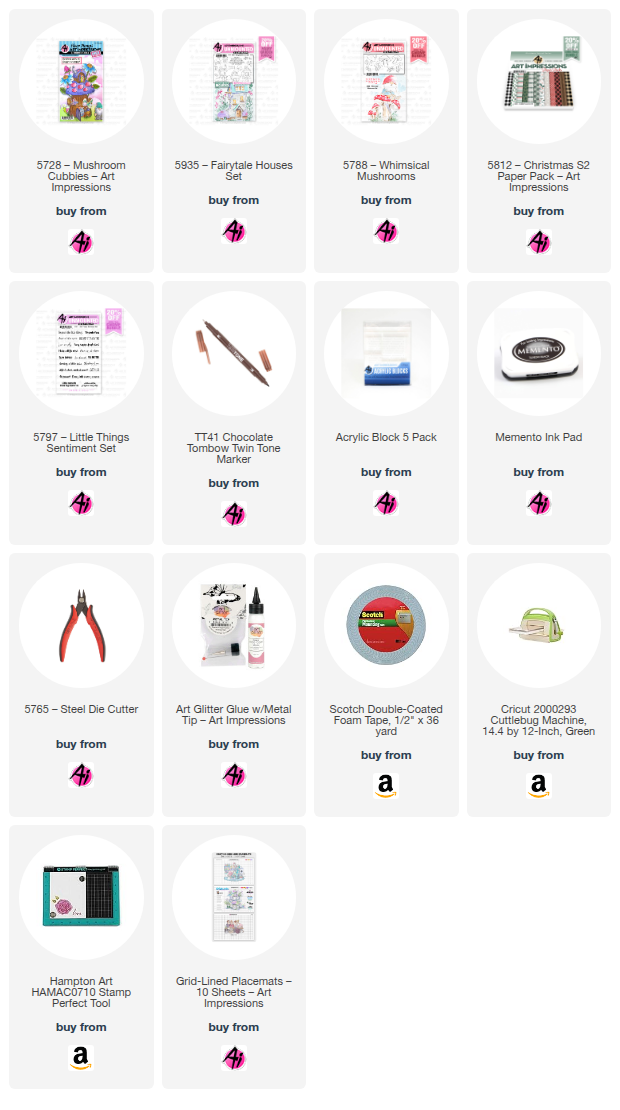
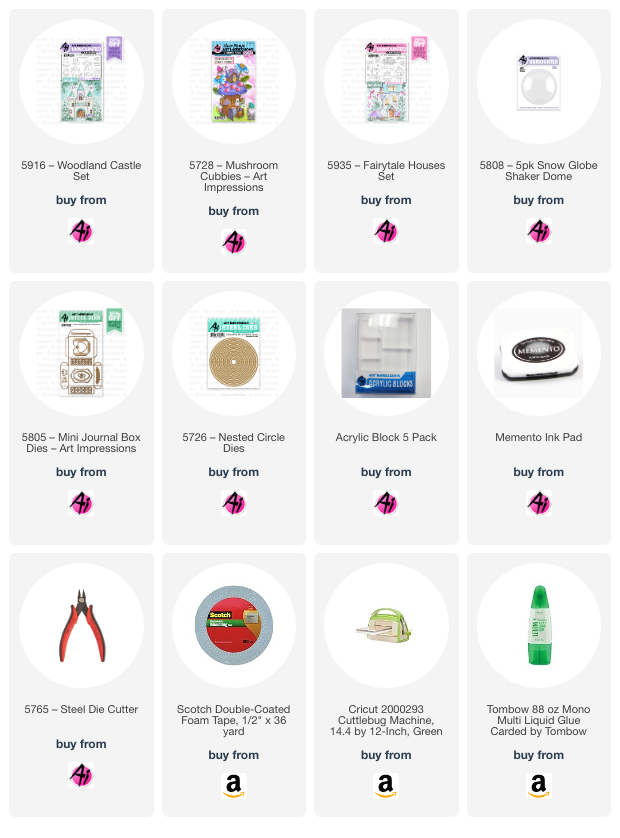
Today, I've created a shaker card using the little domes from
Art Impressions. They aren't JUST for snow globes!


I began by coloring the images that I wanted to put inside
the dome. I cut a circle slightly smaller than the dome and
adhered the little house, flower, fence etc. to that.
Then, I cut a white circle the same size as the circumference 
of the dome and glued my smaller circle to that.


Using the same two circle dies, I cut a little frame to go on the outside
of the dome. It's covered in a protective plastic film to keep it free of
fingerprints until you're ready to use it. I roughed mine up a bit so you
could see what I mean. Be sure to remove this BEFORE adhering your
frame to the outside.


My next step was to lay out my pieces and kind of get an idea
of where I wanted things. At this point I decided I wanted a sentiment
on the front so I scooched things up a bit to accommodate that.


Now I have everything glued down EXCEPT for my dome.
It's time to put the beads in. I selected the amount that I wanted
and laid them on top of the little scene. 


Then I peeled the backing off of the dome and placed 
it over it. At this point I added the green 
frame to the outside of the dome.


I used a different sentiment on the inside. I love finishing
the insides of my cards too.


I hope you enjoyed my shaker card and will give this challenge a try!
I can't wait to see what you create.

Copics used:
BG000, B05, C1, C5, Y08, YR12, 
E30, E53, YG09, YG13, RV06

Twin Tones:
Black
Gray

✻ Please make a new card or handmade crafty creation. You can make any item you wish; this is not limited to cards!

✻ Limit two submissions per person. You will receive extra votes if you use Art Impressions stamps!
 ✻Please include your first name and last initial on your submission.
✻We love to comment on your entries, but keep in mind if you use a private group or a platform that you need to sign up for, we probably won't be able to.
✻ The Ai Challenge is open to everyone, international submissions are welcome!
✻ Include a link back to the Ai Blog or grab our button on the top right of our sidebar!
✻ Share the Ai love if you can, by clicking and commenting on your fellow crafters.
✻ Make sure to get your link up by the deadline to enter your creations.
✻ Good luck and happy stamping! 


You are invited to the Inlinkz link party!

Click here to enter

Friday, May 17, 2024

Gnome Magnet Treat Box by Dori Mendiola

Happy Friday AI Friends!

Today I have a fun little treat (pun totally intended - LOL) that goes with the "Just For You" challenge.  Who doesn't LOVE Gnomes?  I decided to make a little gnome magnet to go with this treat box.  He's tucked away in a little pocket but can be removed to reside on the fridge, a teacher's whiteboard or in your scrapbook room on a magnetic surface.  

He's so darn cute!  


I used the Art Impressions #5832 Gnome paper pack for the treat box as well as the pocket that the gnome sits in.  The Gnome is from the #5785 Gnome set which has the matching dies.  I stamped the front only of this little gnome onto copic friendly paper and colored him with copic markers (see color list below).  After coloring the gnome, I covered him with a piece of clear packing tape to protect the coloring and make him sturdy.  I then die cut him with the coordinating dies and also cut a corresponding piece of adhesive magnet to attach to his back side.  I colored and die cut a few other images from #5728 Mushroom Cubbies and #5221 Sending Love Cubbies to decorate the pocket, which is from the #5718 Mini Journal Template set.  

Treat box:  Dimensions 5 x 1 1/4 x 1.  Use one piece of 6x6 paper.  Score (pattern facing up) at 1, 2 3/4, 3 3/4 and 5 1/2.  Turn clockwise (pattern facing to the right) and score at 1, 4 1/2 and 5 1/2.  Score each of the lines with your bone folder.  With pattern facing up, cut off the bottom right corner piece (s/b 1/2" x 1"). Then across that same row, snip each score point up to the nearest fold to create the bottom of the box when folded in.  Put glue on the pattern side right edge 1/2" piece (above the cut off corner).  Fold into a box shape and seal the glued edge inside.  Lastly fold in the slit pieces (small pieces first) then glue inside of one large piece and seal to create the bottom.

Fill the box with candies and give to a teacher, friend or just for you.   

Hope this brings you a smile!  Thanks for stopping by!
Copics used:  C00, C01, C02
E00, E02, E11, E53, E55, E57
 B91, B93, B95
R22, R24, R27 
YR21, YR23, YR24
YG03, YG17, YG63


Monday, August 21, 2023

Mushroom Cubbies by Sharon Caudle

 Hello AI Fans,

For my card today, I featured the Art Impressions Mushroom Cubbies Stamp Set! This set has the absolute cutest little critters in it that have ever existed! So much fun all wrapped up into one little bundle! I stamped all the images onto Cryogen white paper and colored them with Copic markers. The dies to cut out all these cuties are included in the set. So it just couldn't be any easier! 


Thanks so much for stopping by to visit today and until next time - stay crafty! 


Copics used:

R00, R20, R21, R22, R24, R27, R81, R83

Y13, Y17

YR61, YR65

BV00, BV02

E00, E11, E33, E35, E37, E50, E51, E53, E55, E57

G43, G46

C1, C3, C4, C5

B000, B00, B12, B14

BG11, BG13

YG00, YG21, YG23