Showing posts with label 5797 - Little Things Sentiments. Show all posts

Tuesday, September 9, 2025

Hi Friend! by ReneƩ Matarese

 Hello Ai fans!

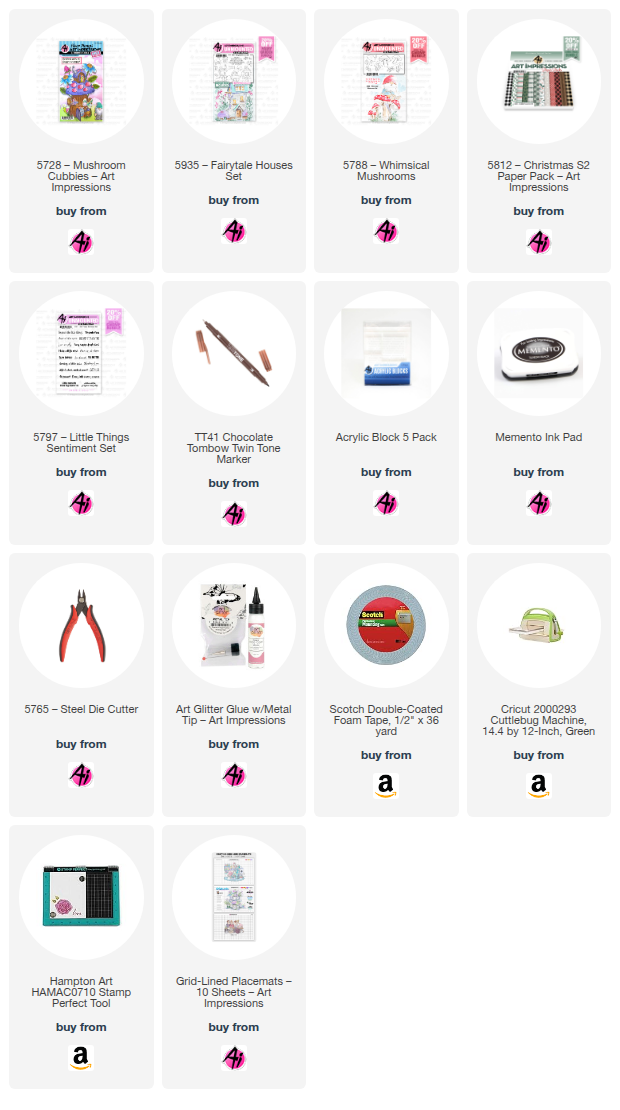
I love mushrooms and instantly thought of the Mushroom Cubbies set for the Art Impressions "When One Door Closes" challenge.


I grabbed mushrooms and other elements from a few different Ai sets to complete both the front and inside of my card.


I know most people think of brown when they think of mushrooms but they come in MANY different colors and I love trying out different combinations. In my woods we have orange, white, black, red, yellow, and purple. Probably more if I looked hard enough. We've picked and eaten the Chanterelles and Black Trumpet mushrooms.


 I wanted to make this card extra special so I decorated
the inside of the card pretty elaborately too.


I'm kind of wishing now that I had a little fairy tucked in there somewhere too.
Next time, I guess...


Thursday, January 30, 2025

Highlights! Challenge #396 Week #1

 Welcome to week #1 of our Highlights Challenge.

We want to see you use either a white gel pen or Dr. Ph Martin's paint to add some highlights to your projects. We all know that a little highlight here or there can add so much dimension to a project. Let's see what you've got!

Before we see what our Featured Artist Tasha has in store let's see who won our Monochromatic challenge.

For our Top Spot we selected


Please contact Leah at Feedback@artimpressions.com
to claim a free stamp set of your choice!! ***Leah is out of the office until further notice***
but someone is covering for her. Please be patient if there is a slight delay.
Also, be sure to grab our badge to display on your blog, Facebook or Instagram!

Our Lucky Random Winner was #13
(who says 13 is unlucky...lol!)


Please contact Leah at Feedback@artimpressions.com
to claim a free stamp set of your choice!! ***Leah is out of the office until further notice***
but someone is covering for her. Please be patient if there is a slight delay.
Also, be sure to grab our badge to display on your blog, Facebook or Instagram!

Congratulations to you both! Enjoy your new stamps.

Tasha is our Featured Artist and for those of you who don't know, she is the QUEEN of white gel pens. 
I just know that you're going to love what she created. I learned something from her. I didn't know that white gel pens come in different sizes like Microns or other markers. Cool!

--------------------------------------------------------------------------------------------------------------------------------------------------------


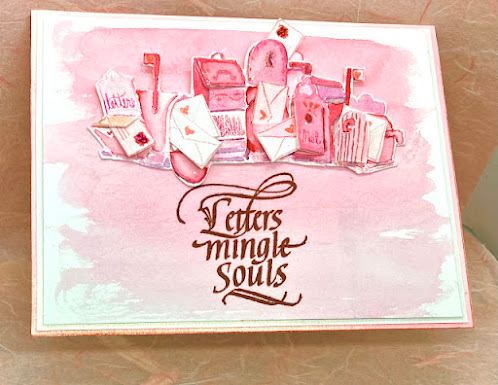
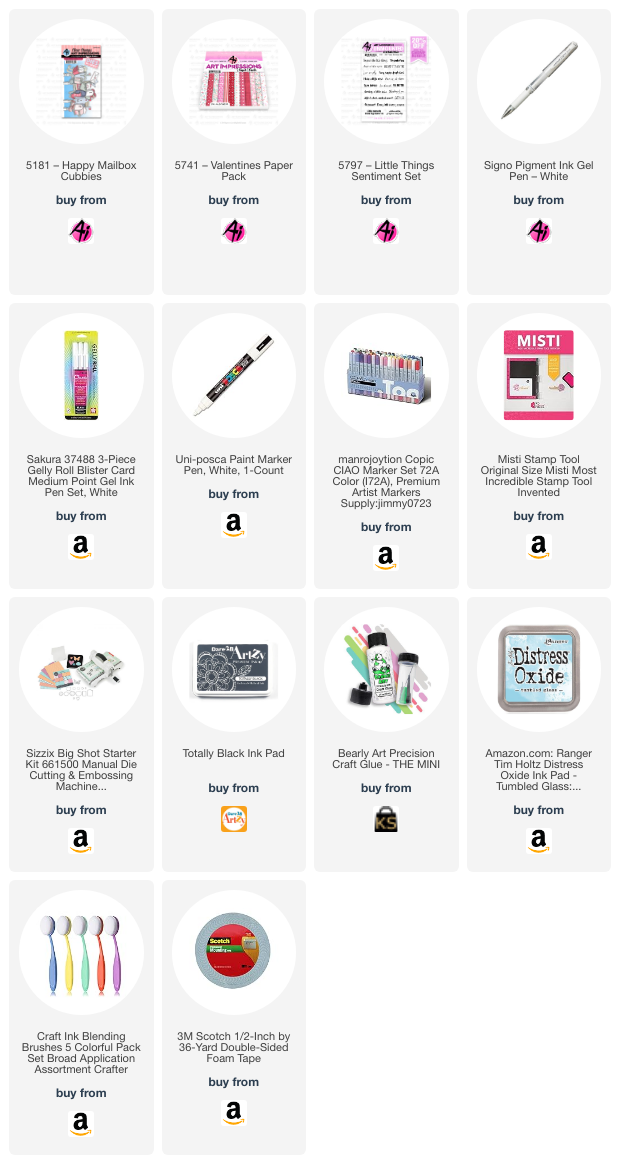
Hi everyone, Tasha here sharing a new card created with the fun Happy Mailbox Cubbies Set. I love all the mailboxes and it was so much fun customizing the envelopes with my white paint/gel pens!

I started by stamping all the images with black hybrid ink and used the included coordinating dies to cut everything out. The dies cut everything perfectly and makes the mailbox openings, so all you need to do is decorate!

After I had all the images cut, it was time to start coloring. I used Copic Markers and my white gel pens for my project. I am a big fan of adding white accents to my cards and this challenge is the perfect time to get really creative with white details!

I used different types of white ink pens to make my designs. My favorites include a fine paint pen and the #5, #8, and #10 sized white gel pens, I usually mix and match these on my cards. the #5 is really small and is great for eyes, or adding cute details to small critters or floral stamped images. 


For the background, I made puffy clouds with Distress Oxide Ink and a cloud stencil. I just used one color of ink for the sky and love the soft blue and white color combination.


For the ground, I used a slimline grass die and green polka dot pattern paper. The dots add so much detail and go with the highlights theme.

For the greeting, I stamped "Sending a Little Hello" on to white paper and added layers of glitter paper and pink card stock to bring in more color and sparkle. I also attached the greeting to the card with foam tape to raise it up a bit. 

Lastly, I added a pretty pastel pink scalloped frame and attached additional layers of silver glitter paper, deep pink card stock, and a piece an Art Impressions heart pattern paper. I love the tiny hearts and the colors coordinate well with the shades used on the mailboxes. 

I hope you enjoyed todays project and are inspired to join in the "Highlights" Challenge!


You are invited to the Inlinkz link party!

Click here to enter

Monday, January 13, 2025

Making memories by Sharon Caudle

 Hello AI Fans,

As I grew older, I started to realize that I wasn't just out with family and friends having fun, but that we were making memories. Yes, for myself, but mostly for my kids and grandkids. During really special moments, I would think to myself, my heart just took a picture. These are the things that people will look back on and smile. Is there anything more special? I don't think so. And it's the smallest little things that seem to leave the biggest marks on our hearts. My card today represents that.  I've always said that Bonnie has an amazing gift for capturing such joy in her images! Look at those precious faces enjoying their ride in the snow! They are from #5953 Woodland Critters Set. I added a wonderful sentiment from #5797 Little Things Sentiment Set. The images are stamped with Memento Ink Tuxedo Black ink and then colored with Copic markers which are listed below. 


So that's it for me today. Thank you so much for stopping by for a visit, and until next time - stay crafty!!


Copic markers used:
R02, 22, 24, 27, and 29
Y23, 26, 28, 35, and 38
BG53 and 57
BV02 and 04
B00, 32, and 34
G82 and 85
E30, 31, 33, 35, 37, 50, 51, 53, and 55


Tuesday, August 13, 2024

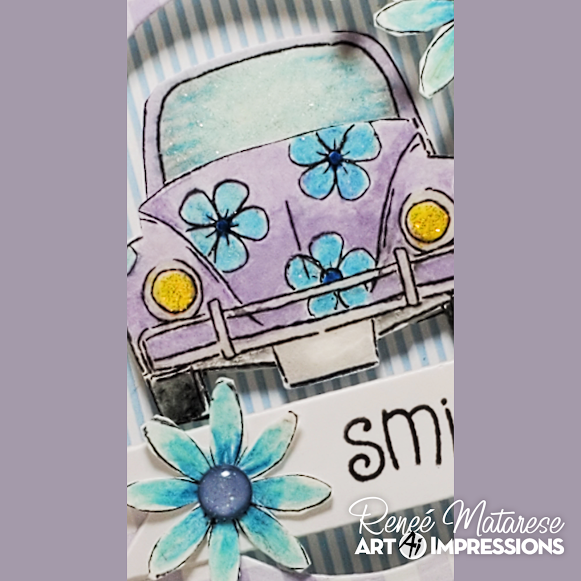
Punch Bugs make me SMILE! by ReneƩ Matarese

Hello Ai fans! 

I've been having fun with the Never Have I Ever
challenge going on right now on the blog. There
are still a couple days to enter. You could win a
free stamp set.

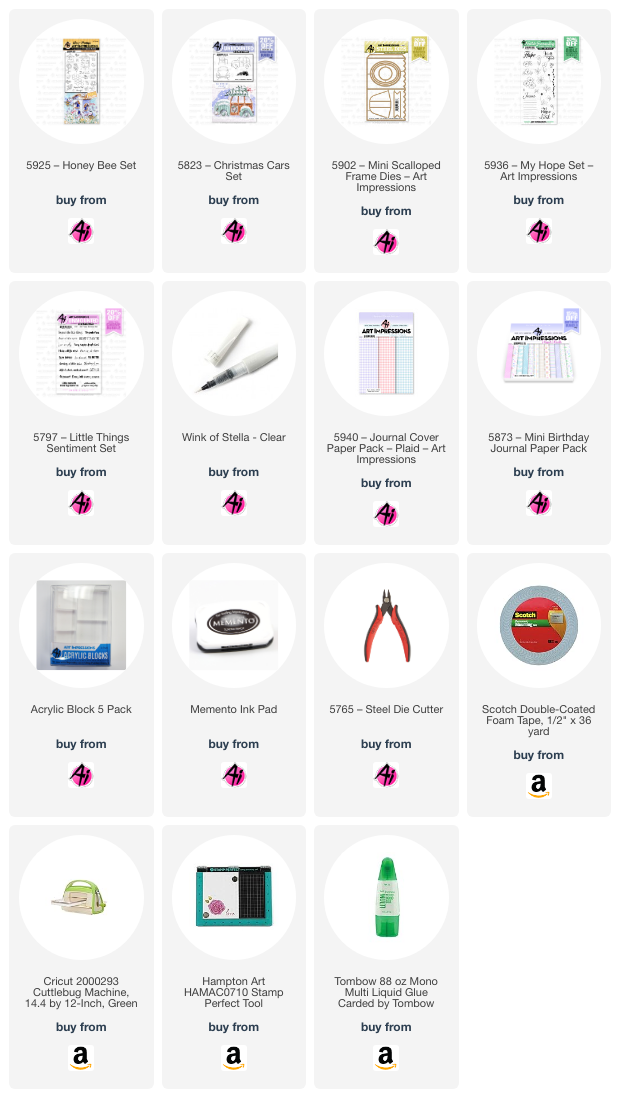
I have had the 5823 – Christmas Cars Set since last summer
but just used it for the first time. It's so cute! Also, as you can
see, it's not just for Christmas.


The second item on my cards that I have never used
is the 5902 – Mini Scalloped Frame Dies. These little
frame dies are the perfect size for so many Art Impressions
images. There are multiple dies so you can adjust the size
of the opening.


The flowers are from 5936 – My Hope Set.
SMILE is from 5797 – Little Things Sentiment Set.


the windshield so that it had a more "glassy" look. The cute little
flowers on the bug are a tiny stamp in the 5925 – Honey Bee Set.


There is an easel to attach to the backs of the frames so that
they are free standing. What a great little piece of art they create.


Derwent Watercolour Pencils
Scarlet Lake 12
Light Violet 26
Kingfisher Blue 38
Turquoise Green 40
Ivory Black 67

Staedtler Watercolor Pencils
80, 124

Copic Markers
Y04, T2, B0000, B000, BV000, BV00

TwinTone
Gray, Sax Blue

Micron 005


Sunday, June 16, 2024

“Hit the Road” and “Buzzing by to Say Hi!” Cards by Diane Mason

Hello, and welcome to another Watercolor Weekend!

It’s Father’s Day here in the U.S. – shout out to all the amazing Dads out there! My first card today is inspired by Father’s Day. At first glance, it might look like a travel card, but let me explain. For many years while my children were growing up, we often found ourselves traveling for summer vacation, typically celebrating Father’s Day morning in some random hotel room along our journey. The bright summer colors of this card make me smile and take me back to all those fun summer vacations with my family.

"Hit the Road" Card:

I just love how a car stamp from a Christmas set (5823 – Christmas Cars Set) and a stamp from a travel set (5508 – Travel Accessories) can pair so well together to make an adorable travel scene! I started by inking the car stamp with N79, leaving off just a little of the top of the roof, and stamped it onto my Canson XL watercolor paper. Next, I inked the stack of suitcases in N79 and stamped them onto the roof of the car. Since the stamp is clear, I didn't need to use a stamp positioner. It was fun to color the suitcases in different colors for each family member. Guess which one is mine – lol! Starting from the top, I used the following colors: (case 1) 725, 977, and N25, (case 2) 403, 977, and 026 for the buckle, (case 3) 977 and N25, (case 4) N35 and N25. For the rope, I used 977 and a touch of 026. The car body was painted with 403 and I used 565 for the windshield. The tires were painted with N35. The headlight frames and bumper were colored in with a silver Signo gel pen. The license plate and headlights were shaded with 565.

I brushed in a watery sky in 403 and added shadows below the car in 565. Fine details were added where needed using a brown, black, or gray TwinTone marker. I stamped the “Little Moments” sentiment from 5797 – Little Things Sentiment Set onto teal cardstock and die-cut with a banner die. The multi-colored background paper is from 5892 – Easter S2 Paper Pack. I popped up the car panel and sentiment banner with foam tape.

For the interior of my card, I stamped the sentiment and the suitcase in Versafine Onyx Black ink on white cardstock and adhered it to the inside. While I think this would be a nice Father’s Day card for my husband, for most it would make a great Bon Voyage or encouragement card. Now on to my next project…

"Buzzing by to Say Hi!” Card:
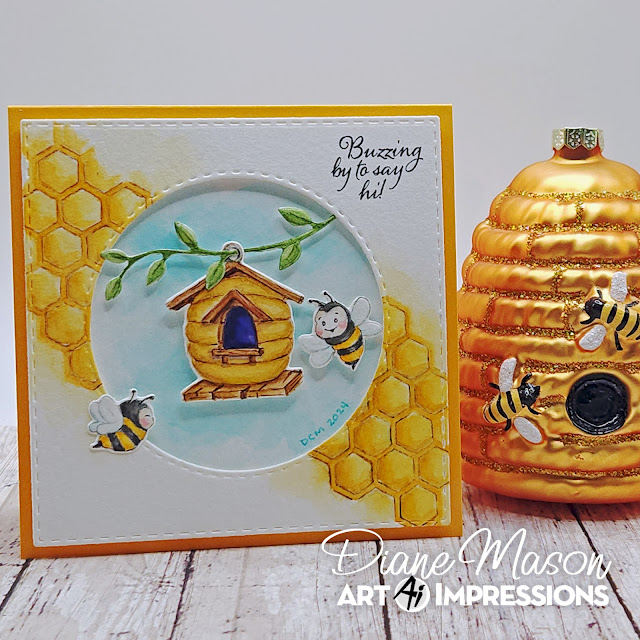
Just when I thought I couldn’t possibly love a new set more than the 5785 – Gnomes Set, Bonnie went and released the adorable 5925 – Honey Bee Set! Move over gnomes, hello bees! This fabulous new set includes multiple bees, sentiments, florals, a honeycomb, a honey pot, two beehives, and dies! I decided to make a “just bee-cause” type of card.

I started by die-cutting a piece of Canson XL watercolor paper using the largest square die from 5061 – Square Double Stitched Dies. Next, I inked the honeycomb stamp in 969 and stamped the image on the top left and again on the bottom right. With a damp brush, I pulled some color to shade the inside of the hexagon shapes of the honeycomb. I added 025 and then 985 to the hexagons to look like honey in the comb. For the areas surrounding the honey, I used 985. With a damp brush, I pulled out some color from the edges of the honeycomb to blend into the background. Where needed, I added a little 025. Next, I die-cut the center of the painting with an approximate 2.75-inch circle from 5064 – Circle Double Stitched Dies to create a window and set the circle aside for the interior of the card. I stamped the “Buzzing by to say hi!” sentiment in the top right using Versafine Onyx Black ink.

On another piece of watercolor paper, large enough to fill the window area and beyond, I brushed in a watery sky using 403. On another piece of watercolor paper, I stamped the bees in N79 and the hanging hive in 969. Using a scrap of watercolor paper, I die-cut a branch using the vine die from the Honey Bee set. The branch was painted with 177. Both bees were painted in the same way. N25 for the black areas and 025 and 985 for the yellow areas. I brushed the faces with a light mix of 977. Once dry, cheeks were added lightly with a small amount of 856. I used a black Micron pen to darken the antenna and facial features. A light amount of 403 was applied to the shadowed areas of the wings. For glimmer, I brushed the wings with Spectrum Noir Clear Sparkle pen.

Using a damp brush, I pulled color from the edges of the hive to add shadows and contours. For the roofs and decking, I used 977. The ring on top of the hive was lightly painted with N25. For the hive, I used 026 and 969. The opening was painted in 565. Additional shadows were added with 565. Details were added using a brown TwinTone. To assemble the 4 x 4-inch card, I glued the branch in place. I snipped the branch where the hive would hang down. I then glued the left end to the ring meeting the right interior. I glued the right end of the branch to the backside of the hive. Now the hive appears to be hanging from the branch. Foam tape was added to the frame, hive, and branch, attached to the sky piece, and then adhered to the card base. The bees were also adhered with foam tape.

For the interior of the card, I utilized the circle we set aside earlier. I stamped another bee with N79 and painted it in the same way as the other bees. The sentiment was stamped with Versafine Onyx black ink. I die-cut another square from white cardstock and matted the circle with gold cardstock and adhered it to the cardbase.

Thank you for joining me for another Watercolor Weekend! I hope you’ve enjoyed these cards. Remember, always take the scenic route and have a bee-utiful Sunday. Until next time, Happy Painting!

For the Hit the Road Card:

For the Buzzing by to Say Hi! Card: