I love mushrooms and instantly thought of the Mushroom Cubbies set for the Art Impressions "When One Door Closes" challenge.
I grabbed mushrooms and other elements from a few different Ai sets to complete both the front and inside of my card.
I know most people think of brown when they think of mushrooms but they come in MANY different colors and I love trying out different combinations. In my woods we have orange, white, black, red, yellow, and purple. Probably more if I looked hard enough. We've picked and eaten the Chanterelles and Black Trumpet mushrooms.
I wanted to make this card extra special so I decorated the inside of the card pretty elaborately too.
I'm kind of wishing now that I had a little fairy tucked in there somewhere too. Next time, I guess...
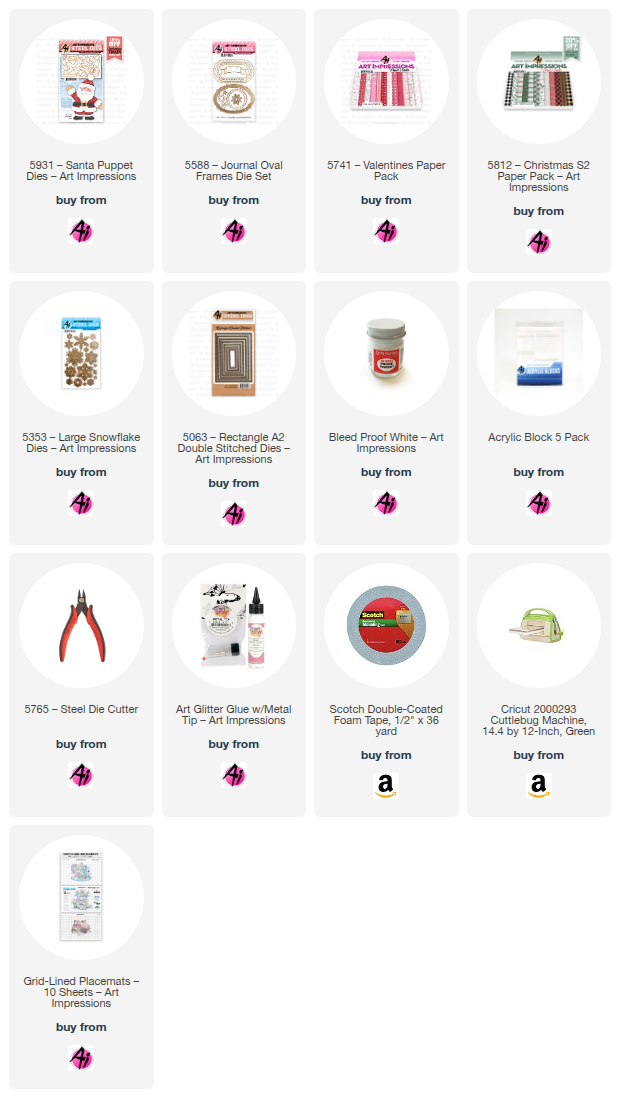
I made my two puppet cards for the current Stitches & Scallops challenge.
My stitched rectangle and little zig zag stitches make my card qualify for the challenge.
My little sack is actually the Santa head.
It doubles nicely as a perfect little bag for all the toys.
I wanted to make my first Santa a more "fun" Santa and this one is a more traditional St. Nick. I used two little Diamond Dots for his eyes.
You still have about a day and a half left to enter the challenge. If you can't make that deadline, be sure to check in on the blog after noon EST for the new challenge.
Hello Ai fans and welcome to our latest challenge!
LEON Day!
You might be asking yourself "What is LEON Day?"
I just recently learned myself.
Leon Day takes place on June 25th. Leon is Noel spelled backwards and June 25th is halfway to Christmas. So, we're asking you to make something Christmas or winter themed for our challenge.
June 25th will be extra special for me next week because my daughter's birthday is June 25th and she's turning 25, it's called a Golden Birthday. This is because the day of your birth (25th) matches the age you are turning (25). She even has an extra 25 in hers because the year matches as well so hers is called a Beddian birthday. Super cool.
Lynn is our Featured Artist for this challenge and she created the cutest little gift tags and has a wonderful video tutorial for you.
Be sure to scroll all the way down to find the winners of our last challenge.
Now, let's look at Lynn's fabulous Christmas gift tag project!
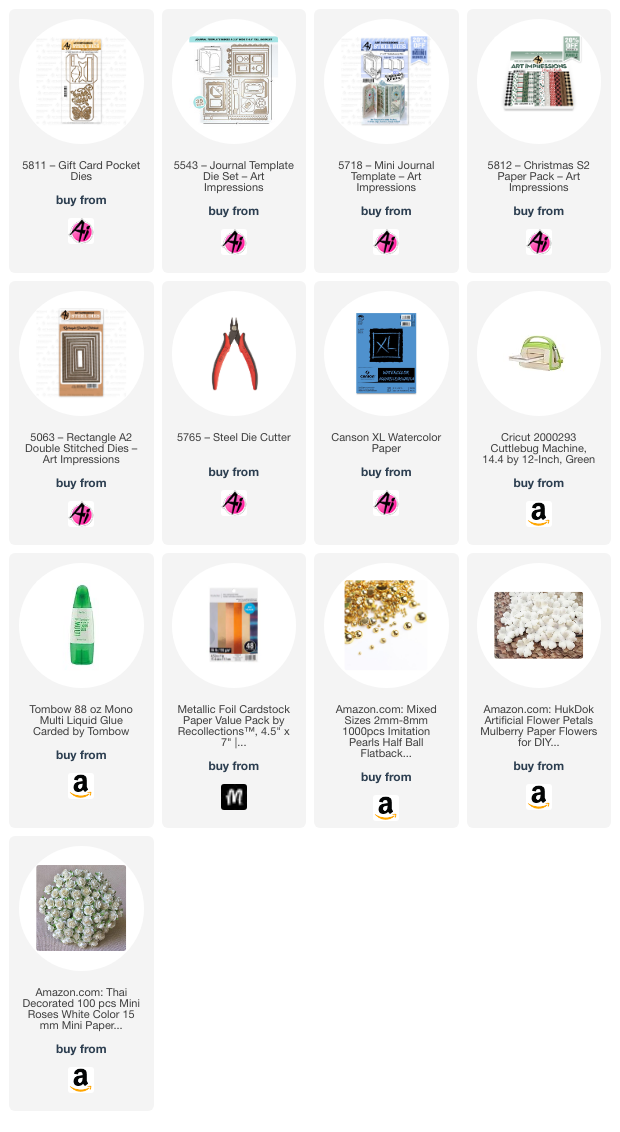
I know it's only mid-June but... today's tags were inspired by the current Ai "LEON Day!" Blog Challenge! Leon is Noel backwards and is a great way of celebrating the half-way point to Christmas and the holidays!
I thought this would be a fun way to get a bunch of holiday gift tags done and ready to add to Christmas gifts! We will create 6 tags, and I will talk a little bit about mass producing these tags in an easy and efficient way in today's video!
We will be using the Ai Mini Christmas Village Set (5977) to create all 6 of these tags. These tiny little images will be perfect for some quick and easy coloring and cutting. This set is part of the Ai Village Series and will coordinate perfectly with your Village Freebies, and the three add-on sets (Ai Village Signage, Ai Village Vehicles, and Ai Village Accessories).
Let's begin by stamping and coloring all of the images using the Zig Clean Color Real Brush Pens in the following colors: Blender, Sugared Almond Pink, Deep Red, Scarlet Red, Peach Pink, Yellow, Lt Green, Green, Ice Blue, Lt Blue, Cobalt Blue, Violet, Lt Brown, Beige, Mid Brown, Dk Gray.
For the tags we will be using the stitched label die from the Ai Decorative Journal Page 1 Set (5768). Let's die-cut these from some Kraft 100lb cardstock.
Next, we will add some white ink around the edges of the tags, to soften the look a bit. Then we will use the Dr Ph Martin's Bleed Proof White Ink to spatter some "snowflakes" around each of the tags.
Now let's stamp a bunch of sentiments from the Ai Christmas Sentiments Set (5566) and cut these into thin sentiment strips. We will be attaching these to some pretty holiday papers from the Ai Christmas Paper Pack S2 (5812). This is the fun part.... just selecting some fun patterned papers to go behind each of the sentiments! We can attach these to each of the tags!
Let's pop up each of the images on our tags and then for some sparkle and bling we will add some clay peppermint candies and some pretty gems.
Finally, we will add some red/white baker's twine to each of the tags. These are an easy and fun project to make ahead and to have on the ready for the holidays or to give as a gift to a friend!
Thank you so much for joining me today! Have a fun and crafty day!!!
We hope you love Lynn's little tags and tutorial as much as we do!
Not quite ready for Christmas? This idea could be changed up for any occasion.
Now let's see who won our Blossoms & Blooms challenge.
Our Top Spot went to Betty Crunk for her FABULOUS window sills lined with flowers. 5511 – Floral Truck Set
Please contact Leah at Feedback@artimpressions.com
to claim a free stamp set of your choice!!
Be sure to grab our badge to display on your social media too!
Our Lucky Random Winner was Gabriella B.
Please contact Leah at Feedback@artimpressions.com
to claim a free stamp set of your choice!!
Be sure to grab our badge to display on your social media too!
Be sure to enter your creation for the chance to win a free stamp set from Art Impressions.
We award one Top Spot and one Lucky Random Winner and each will win a free stamp set from Art Impressions.
✻ Please make a new card or handmade crafty creation. You can make any item you wish; this is not limited to cards! (unless specified)
✻ Limit two submissions per person.
✻Please include your first name and last initial on your submission. You may include your entire last name, but it's not necessary.
✻We love to comment on your entries, but keep in mind if you use a private group or a platform that you need to sign up for, we probably won't be able to.
✻ The Ai Challenge is open to everyone, international submissions are welcome!
✻ Include a link back to the Ai Blog or grab our button on the top right of our sidebar!
✻ Share the Ai love if you can, by clicking and commenting on your fellow crafters.
✻ Make sure to get your link up by the deadline to enter your creations.
I think that every crafty person on the planet would agree that Craft Time is Golden! My craft room is my happy place.
I always feel the need for a little extra bling around New Years.
I had fun with this one. Even though it's kind of over the top with bling and gold I still feel like it's pretty simple. I hope you like it. All Art Impressions products that I used are linked below. Be sure to enter the challenge for your chance to win a free stamp set. We choose a Top Spot and a Lucky Random Winner.
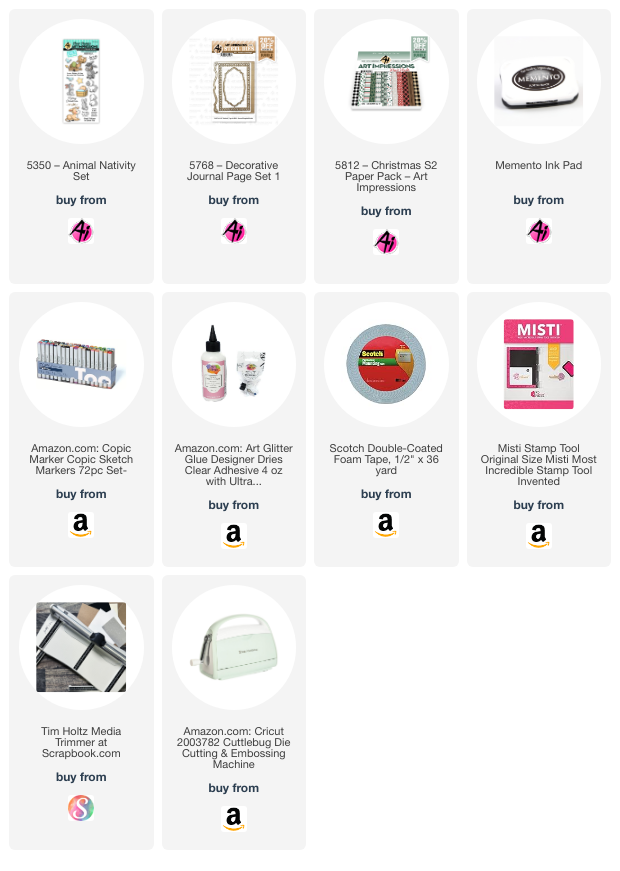
Happy Monday! I hope this finds you well and enjoying this wonderful fall weather! I always love it when I can turn off the air conditioning and open up the windows and doors to let that cool fall air into the house! It's getting quite chilly at night though, and we have gotten some good frosts and freezes here in Reno. You know I'm getting ready to ask you if you've entered the Tres Chic challenge going on right now, right? LOL! You've got just a few more days to enter to win a free stamp set of your choice! So if you haven't entered yet, I urge you to do so! Who doesn't love getting what you want for free??!! So I made this card for this challenge using the wonderful 5350 Animal Nativity Set, one of my favorite Christmsas stamp sets! I stamped the images onto Copic friendly paper and colored them with Copic markers which are listed below. To frame the scene, I used 5768 Decorative Journal Page Set 1. I love the lacy look. The paper is from 5812 Christmas S2 PP. See links to products used below.
Thank you so much for stopping by today and until next time - stay crafty!!
I hope you all had a fabulous Christmas and a Happy New Year.
Every year, I'm in charge of decorating my elementary school. It's a huge undertaking but it's fun. I discovered some paper bag snowflakes that I fell in love with. I tweaked the design a bit to make them a little more "Valentinsy." lol...
I apologize for the dark photos. It's January in upstate NY and the sun RARELY comes out. These were far too big for my light box so I did my best.
Here's a step-by-step photo tutorial for how I made these.
You need 8 paper bags. Any size, any color. Lay the first bag down with the flap underneath.
Place glue in an upside down T pattern and glue the second bag on top, pressing to secure. Repeat until you have 4 bags glued together.
Once I had 4 bags glued together, I used 5721 – Nested Heart Dies to trace the heart pattern on.
I did this on both sides.
I used a larger heart from the set on top to create a finial.
Next, I cut along the lines I had drawn. Then I glued the last 4 bags on in the same fashion, flap side down and cut those out following along the shapes I had already cut.
I did the same thing on my larger white bags but used a scalloped pattern on the top.
I don't usually get too into Valentine's Day but for some reason, this year I can't seem to get enough. Last week I shared a garland that I made for my fireplace mantle. You can find that here. Check back later today for week two of our Clean Slate (anything goes) challenge.


.jpg)

.jpg)
.jpg)
.jpg)