Here is my First Card!
The Magic Starts at Santa's Workshop


Hello Crafty Friend,
I am excited to share two cards I created for you this week using stamps from the latest release. And one of the cards lights up. I used Canson XL watercolor paper and painted the images with Tombow markers.
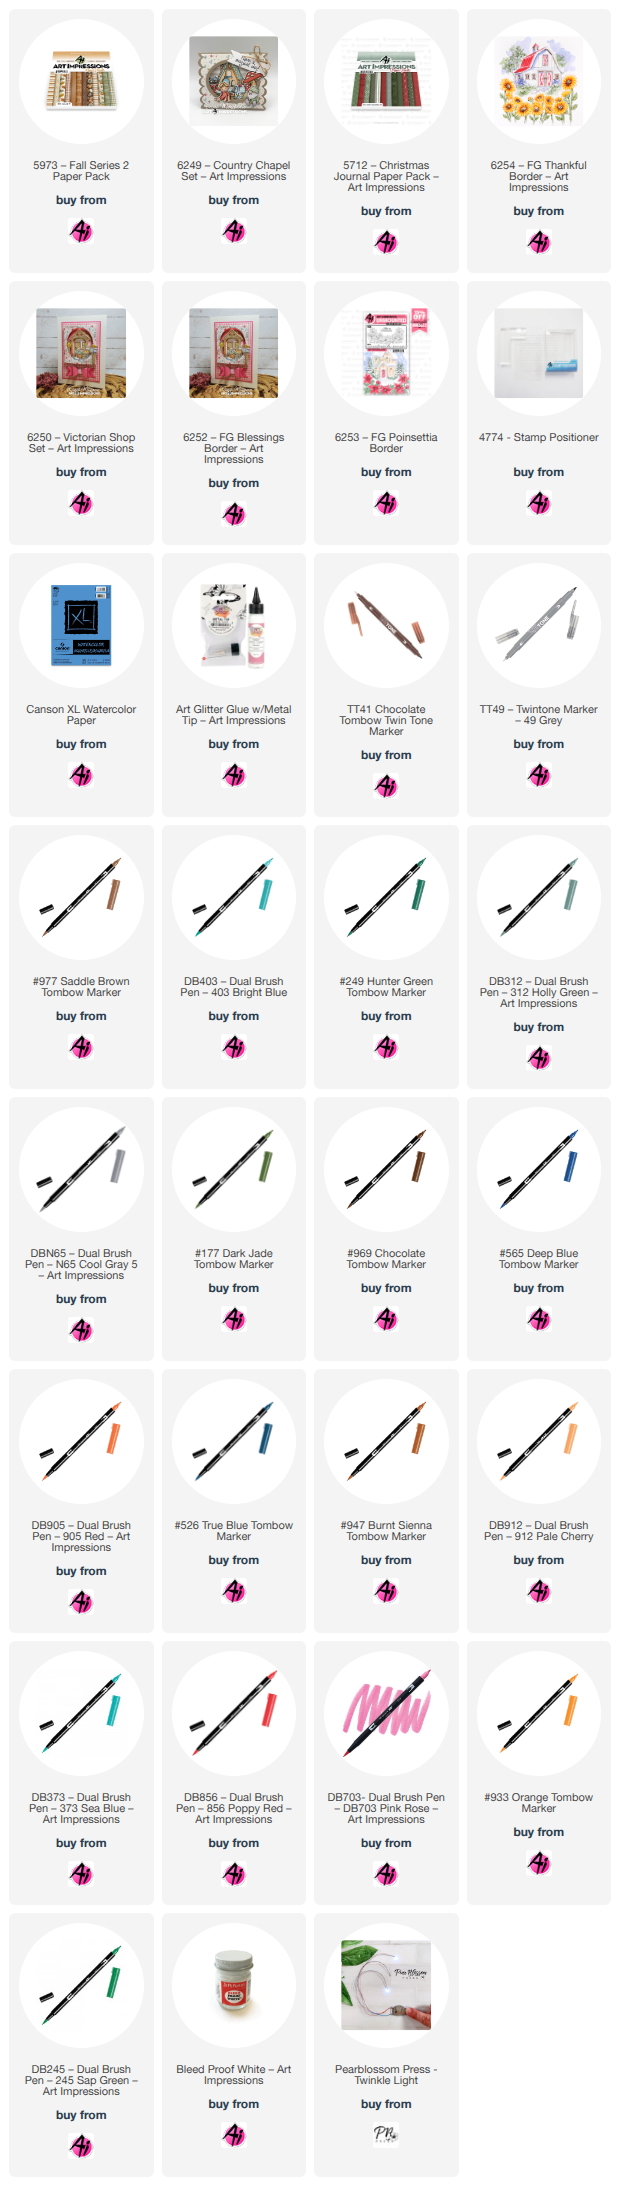
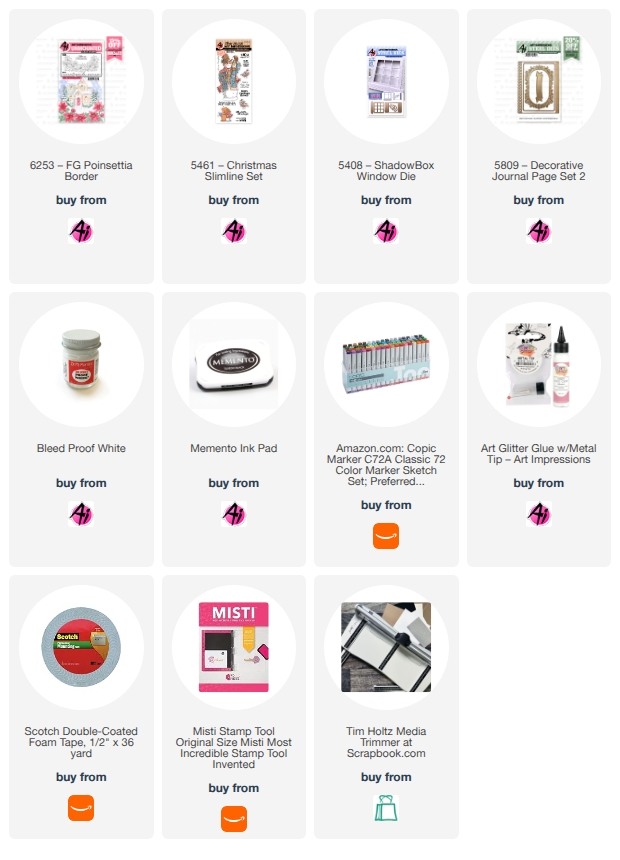
Here are the step-by-step instructions for the first card, which features Santa's Workshop (stamp #6250), Poinsettias (stamp #6253), and the Christmas Blessing set (stamp #6252), along with light fixtures from Pear Blossom Press:
1. Stamp Santa's workshop in the middle of the paper.
2. Color the stamped image using Tombow markers.

3. Stamp the poinsettias above Santa's workshop, and the gate and trees below it. Lightly sketch a pebble path from the workshop to the gate using a pencil.
4. Color the elements with Tombow watercolor markers and paint the sky light blue.

5. Carefully cut out the windows and light fixtures using an X-Acto knife.
6. Apply Dr. Ph. Martin's Bleed Proof White to create a snow effect.


7. Poke small holes in the Christmas trees for the lights.
8. Cut a piece of vellum and color it with a yellow alcohol marker.
9. Glue the vellum to the back of the painting, ensuring all cut-out areas are covered. Use a gel pen to draw the window's frames.

10. Cut a piece of cardstock to match the size of the card panel.
11. Tape the Pear Blossom Press Twinkle Lights to the cardstock, positioning one light for Santa's workshop and one for each tree, with the push button centered at the bottom, (I moved it down after I took the picture)
12. Apply foam tape around the workshop and tree areas.

13. Test the lights to ensure proper positioning, then adhere the cardstock cut on step # 10.
14. Cut a card base measuring 5.5 x 5.5 inches.
15. Cut a piece from the Christmas Journal cardstock collection slightly smaller than the card base, glue it to the base, and center the painted panel on top.

The best way to appreciate this card is through a video. Use the link below to watch a short YouTube video of this card, and while you are on that page, check out other videos that I have made using Art Impressions Stamps on my channel, Crafts and Designs by Neema.
My second Card!!!!
For the second card, I created a Thanksgiving design using the barn from set #6249 and the Thankful and Blessed set #6254.

I hope you enjoy these projects! You can find the links to all the supplies below. Please let me know if you have any questions.
Stay crafty, and I will see you in the next project!
Neema