Showing posts with label Castle Cubbies. Show all posts

Thursday, January 16, 2025

Unicorn Carousel by Dori Mendiola


 Happy Thursday AI Friends!

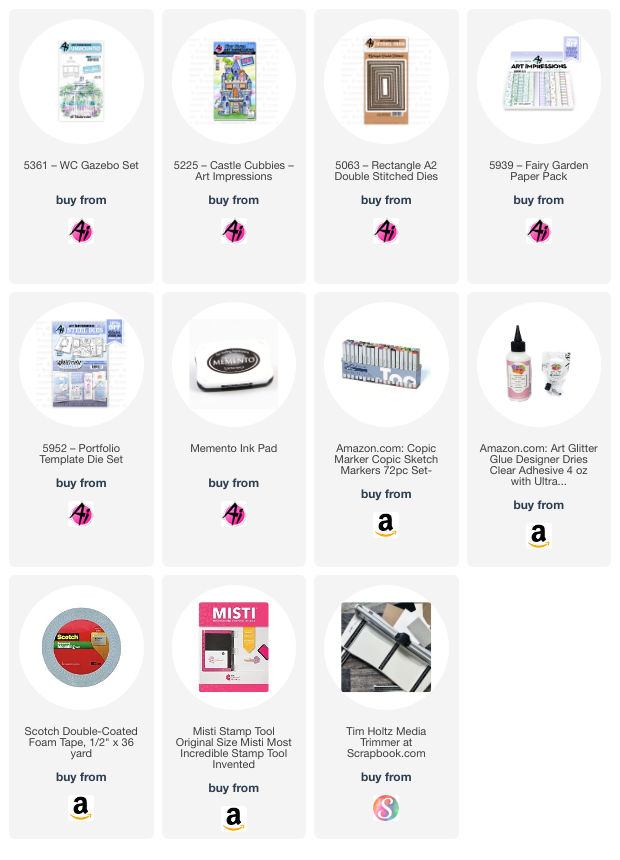
Have you ever taken an image or die and put a twist on it?  When I saw the AI gazebo die (#5361 WC Gazebo set), it reminded me of the horse carousel at the fair.  So I decided to make the gazebo a carousel and the horses are now unicorns.  šŸ˜„ 

My card was fun to make but a little challenging due to the interactive mechanism.  This card can be just as adorable without making it move.


I die cut the gazebo with gold foiled cardstock and cut the slits to extend the bars behind the unicorns.  I decorated the gazebo with patterned papers from the #5939 Fairy Garden PP.  For each layer of the background, I cut slits for the mechanism by placing the gazebo die cut over each and marked with a pencil.  Then I roughly cut slits out of each so that the mechanism will work through all layers.
  
                                                        Pic 1

 I then made little tabs for the unicorns to ride along by cutting four 1/2" discs from cardstock and four 1 x 1/4" strips (see Pic 2).   Fold the strips and adhere to the paper discs as shown in Pic 2.  Feed the strip part through the slits to the back layer and adhere a round paper disc.  At this point, you can test to make sure these discs slide nicely up and down.  If they get stuck, just take an X-acto knife and shave a little off the sides of the bars to widen the track.
 I used the My Favorite Things Up and Down interactive dienamic as a template for my card.  Since this die set is for a larger mechanism, I had to make my own "T shaped" mechanism (Pic 3) to make it work for this card.  This was my challenge but I finally got it to work.  I used the MFT plastic spinning discs where the track goes through the disc.  A bead or button may work better and you wouldn't have to feed the track through, but I didn't think of that until later.  

                    Pic 2                                                            Pic 3

  Place double layered foam tape around the edges on the back side, making sure you don't hinder the mechanism.  Place onto the card base.

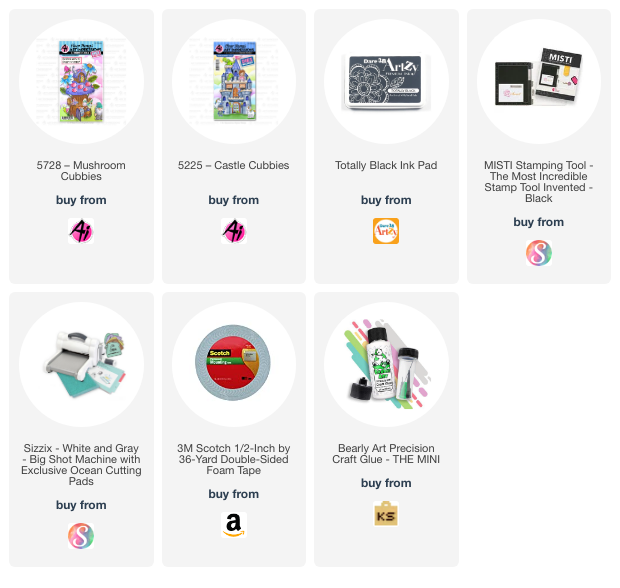
I stamped the unicorns (#5225 - Castle cubbies) with memento black ink onto copic friendly paper and colored them with my copic markers listed below.  After coloring them, I die cut with the coordinating dies as well as die cut an extra one of each with heavy duty cardstock to layer behind for stability.  Adhere each of the unicorns onto the paper discs showing through the front side of the card.


So, that's my card for today.  Hope you enjoy it!
Remember to put a "twist" on some of your stamp/die sets.  It's fun to see where your imagination might take you.  Make sure to share with us by entering the bi-weekly challenge for your chance to win a free stamp set.

Copics used:  N0, N1, N2
R20, Y11, G40, BG000

Sunday, December 17, 2023

ReneƩ's Top 10 of 2023

 2023 is coming to an end and that means it's time
to share my Top 10 cards from this year.

My top picks are in no particular order.
It's just how they loaded here when I selected the photos.
You can click on the title or the photo to be taken to the original posts for details.

It's a GIRL! Let's Celebrate!

This was made for the nurse at my school. Little Emersyn just turned 1!


Here's the inside.


Spooky Halloween Journal
Be sure to click on this to see a full video "flip through" of the inside.


Flying Fairies
Be sure to click this to see a video of the fairy under the sun flying.


Here's the inside.


This one is possibly my favorite card this year.
The Mushroom Cubbie set is one of my ALL TIME favorites!!


I hope you enjoyed this stroll down memory lane as much as I have.
Have a very happy, safe and healthy holiday season and check back here in 2024.
There is so much more inspiration to be shared!


Sunday, August 27, 2023

Flying Fairy by ReneƩ Matarese


Flying fairies for Clara Dawn!

Hello everyone and Happy Sunday!

My friend's granddaughter is turning four in September and guess what she likes?  Pink, gems, unicorns and fairies.  Shocking!  lol!


Check out how the fairy really flies!


Here's the left side of the inside.


The right side of the inside.


I filled a little bag full of gems for my friend to give her with the card.


I put a little heart, star and butterfly inside the doors and windows that open up.


I made a second card to send to Ai which was created with the current All Wrapped Up challenge in mind.  Use either real or stamped ribbon or bows.


The right side of this one was done using all Ai stamps and dies.


Now I have two mini picture tutorials for you.

I've had a few people talk about not getting a stamp and die to line up.  (I'm not just talking about Annie, who has replacement dies coming)  Here's a quick little tutorial on how to get perfect stamp and die alignment.

BEFORE stamping, cut out the die cut.
Place the negative space in your stamping platform.


Place the stamp in the cut out space.


Close your platform cover to stick the stamp to it and then open it back up.


Place the die cut back into the cut out space.


Ink up the stamp, close the cover and stamp your image onto the die cut.
Viola!  You have a perfectly stamped and die cut image.


My next tutorial is on how to create the little flying fairy.  Last fall I made two cards with flying images.  One was a Halloween card with flying bats and one was a spring card with a bird and bee.  You can click on each photo to be taken to the original posts.


To make these little cuties fly is really pretty simple.  I cut a hole with a hole punch into my cardstock and into a little piece of acetate.  (I save all my packaging from everything to cut up to make clear cards, shakers and things like this) 


I use a brad to attach the acetate to the cardstock.  Make SURE that you don't close it tightly or your acetate won't swing.  Test it before adhering anything to the card base.  I prefer not to see the brad so I always create something to go over it.  Make sure not to use your foam tape in any area that will stop the little "pendulum" from swinging.


I've used a cloud and only put the tape at the top.


You'll need to pop up the back as well so that the brad can maneuver around.
More foam tape makes that happen.  That's it!  Just a hole punch, a brad and some foam tape.
Wouldn't this be super cute with an angel on a Christmas card?!


Enjoy the rest of your weekend and be sure to share if you decide to make something FLY!!!


5463 – Slimline Dies Set for left hand border on side of card and for inside of Madelyn's card for the sentiments.
5721 – Nested Heart Dies
5562 – Journal Letter Die Set for Clara and Madelyn's names.

Copics used:
G03, G14, Y02, RV02, RV06, N0, N2, N4, E00, E33, E1, E95

Twin Tones:
Lime Green, Yellow, Gray, Sky Blue, Turquoise Blue,
Coral Pink, Princess Pink and Pale Rose


Thursday, April 13, 2023

April Showers Challenge #349

 Hello Ai fans!
It's time for a new challenge and this one is so fitting for this time of year in so much of the United States and maybe where you live as well.


We want to see your projects using raindrops, rainboots, rainbows, puddles, clouds, umbrellas etc.

Anything to do with April Showers.

Tasha, our featured artist, created one card with clouds and one card with rain.
Before we get to her darling cards we're going to announce the winners of our last challenge.

For our Top Spot we chose Ginger:


Please contact Leah at Feedback@artimpressions.com
to claim a free stamp set of your choice!
Also, be sure to grab our badge to display on your blog, Facebook or Instagram!


The random number generator chose


Please contact Leah at Feedback@artimpressions.com
to claim a free stamp set of your choice!
Also, be sure to grab our badge to display on your blog, Facebook or Instagram!


Congratulations to both of our winners!
Now,  let's check out Tasha's fabulous cards and then you can get busy creating your project for our April Showers challenge for your chance to win a free stamp set.

-----------------------------------------------------------------------------------------------------------------------

Hi Ai Fans!
Tasha here sharing two new cards inspired by the April Showers Challenge. For my projects I used the fun  5225-Castle Cubbies and the cute new 5728-Mushroom Cubbies

The first card is a magical castle scene created with the 5225-Castle Cubbies Set. Instead of ink blending or drawing clouds, I used a cloud pattern paper for the background to go with the challenge theme. This print worked great for the sky behind the castle and I like the light blue and pink color combination. 


All the images were stamped with black ink and colored with Copic Markers. I also used the included coordinating die set to cut all the images out. It's so cool to open the little doors and windows and add your stamped characters, and I love these little dragons!!!

Lastly, I added foam tape behind the castle to raise it up on top of the grass. I also layered silver glitter paper to the card and sentiment for extra sparkle; always need some sparkle!


The second card features the new 5728-Mushroom Cubbies set, but instead of clouds, I decided to use a rain drop pattern paper for the background. I also used bolder colors on this design to go with a darker rainy day scene. This totally reminds me of a rainy Spring day.

All of the images on this card were also colored with Copic Markers and I used foam tape again to raise the mushroom house up on top of the grass. This set has so many sweet little bugs to select from, but I adore these little snails and butterfly. 


Lastly, I added silver glitter and layers of pink, black, and purple plaid pattern paper to complete the card. I also layered silver glitter to frame the "Sending Lots of Bugs & Kisses" greeting. This sentiment is perfect to send to someone special this Spring or any time of the year!

I hope you enjoyed today's projects and will participate in the Ai April Showers Challenge!
Have a great day!

If you'd like to join in our challenge be sure to link your project below...

✻ Please make a new card or handmade crafty creation. You can make any item you wish; this is not limited to cards!
✻ Limit two submissions per person. You will receive extra votes if you use Art Impressions stamps!
 ✻Please include your first name and last initial on your submission.
✻We love to comment on your entries, but keep in mind if you use a private group or a platform that you need to sign up for, we probably won't be able to.
✻ The Ai Challenge is open to everyone, international submissions are welcome!
✻ Include a link back to the Ai Blog or grab our button on the top right of our sidebar!
✻ Share the Ai love if you can, by clicking and commenting on your fellow crafters.
✻ Make sure to get your link up by the deadline to enter your creations.
✻ Good luck and happy stamping!


You are invited to the Inlinkz link party!

Click here to enter