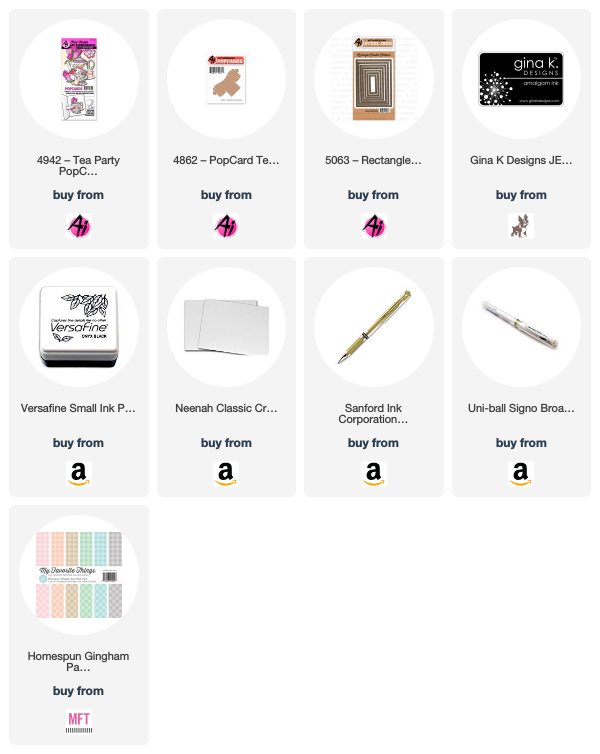
I have this sweet card today that uses the Tea Time PopCard set. The stamps in this set are so beautiful and could be used on a card for many different occasions.
The images were stamped with a Copic safe ink and colored with my Copics (colors listed below.) All of the dies that you need are included in the set. You do need the PopCard Template die that is sold separately. Also, all the directions to assemble this card are on the back of the packaging. If, however, you are a bit more of a visual learner like I am, I found a video on Scrapbook.com's YouTube channel that Kate did that shows all of the steps and is so helpful.
For my inspiration in coloring, I did a web search of "china tea sets" and saw so many beautiful sets! Almost all have some gold edges. You can see the shine of gold where I used a gold gel pen to go over some stamped lines and I drew in a few more lines. I used a white gel pen to add some highlights to the teapot and cups.
If you are wondering about the beautiful gold on the card front, I used the new Foil Quill Heat Pen by We R Memory Keepers. The design is from Cricut's Design Space. Those that know me well, know I do love the latest gadgets! LOL! I used two of the Double Stitched Rectangle dies to create a frame for the card front. I cut it twice and adhered the two together for a bit of dimension. These two butterflies are also part of the set so I added them to embellish the card front.
This card was so much fun to make and I hope you will give a PopCard a try! Thanks so much for stopping by and have a fabulous crafty week!
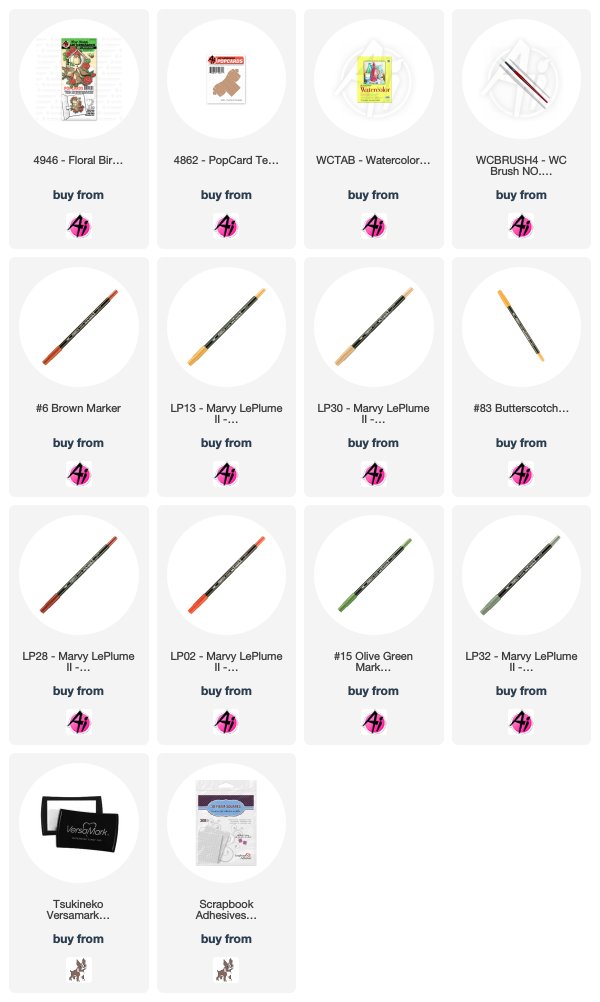
Fall is coming! It's my favorite season because of the colors of the turning leaves. I really miss seeing that here in Florida, so I make up for it with my markers! I used the Floral Birdhouse Popcard set to make a vintage fall card. I also used the Popcard Template because it isn't included in the set, but it is needed to assemble the card.
A piece of Strathmore watercolor paper was cut to 4 1/4" x 5 1/2" and distressed with Tea Dye and Vintage Photo Distress Inks. The Crafter's Companion Ornate Square Frame Die was cut from the top portion of the rectangle. Another rectangle was cut from matte gold cardstock and attached to a cream card base. Just the center portion of the ornate die was cut from the frame to reveal the opening to the center of the card. The watercolor piece was attached to the card base. The greeting and butterfly from the stamp and die set were attached to the bottom of the card
The images were stamped onto Strathmore watercolor paper with Versamark Watermark ink and Vintage Gold embossing powder was applied and heat set. The images were colored with Marvy LePlumw II Markers. The colors are listed at the end of this post. The images were cut using the matching dies that came in the stamp set. The Popcard Template was cut out of a piece of acetate. It's easier to use because it slides together better. I followed the directions on the package to put the card together making sure that the pop card showed through the window properly.
Marvy LePlume II Colors Used:
Birdhouse - Rosewood 30, Ochre 13, Brown 6
Flowers - Wine 63, English Red 28
Birds - Laurel Green 32, Turquoise 14
Leaves - Olive Green 15, Butterscotch 83, Red 2
I am so in love with this vintage-y Floral Birdhouse PopCard from Art Impressions!! Bonnie continuously blows me away with her artistry! How beautiful for any occasion! And the sentiment is just perfect for it!
Thanks so much for stopping by to visit today and hope to see you back again soon! Until then - stay crafty!!
Today's card features the beautiful and brand new 4942 Tea Party PopCard! This set is soooo pretty!!! And the tulips are just the perfect touch!! Don't forget that you need to have the PopCard Template in order to make your PopCards work!
Prepare to be amazed with our FIVE new PopCards! These stamp and die sets feature fantastic, detailed images to build three-dimensional images inside your card! We had an early release of our Haunted Mansion PopCard, and now is the time to grab it for Halloween! Get ready for Christmas with our Singing Snowmen set, a quartet of carolers ready for winter! Those of you with a sophisticated taste will adore the Tea Party, Kitten Vanity and Floral Birdhouse sets, each featuring beautiful florals and sweet critters! Each PopCard set contains clear stamps and metal dies. Our dies also cut slits in your main images so you can slide in your PopCard Template to build a 3-D card that folds flat when closed and pops up when opened! Watch our video below to see our new sets POP into action! You can find our newPopCardsatartimpressions.com!
Today we have a spooktacular tutorial of our Haunted Mansion set with Sharon, launching our new 3-D challenge!
Hello AI Fans!
I'm super excited to show you one of the brand new PopCards today from Art Impressions! My card today features the amazing Haunted House PopCard!! These sets are AMAZING!! If you want to really WOW your recipient, then use one of these PopCards and you'll nail it! So just in time for Halloween, let me show you this amazing house that comes with all the stamps and dies you'll need to be able to make an interactive card that everyone will love!
The stamp set comes with all the stamps and dies you need. You'll have to separate all the dies as they're connected. I use needle nose pliers and they come apart very easily.
I stamped all my images and colored them with Copic markers, then lined up the dies over the colored image and held them in place with washi tape.
I place a circle die on my card front and ran it through the Cuttlebug so I could have a peek-a-boo window in the card.
Then I created a frame for the cutout by pairing it with a scalloped die and cutting it out.
After you've got all your pieces cut, you need to layer them up on the PopCard Template. (sorry...forgot to take a picture of it before I put it all together)
Now this is how I put my PopCards together with a window in the front of the card. I've found this to be the easiest. If you've ever tried to make a window in a card that has four or six layers of paper, you know it's almost impossible to get it done, at least without using a craft knife and doing a lot of it by hand. So I cut my normal 5 1/2 x 5 1/2 card and layer the pattern paper on top. Then I cut a SECOND card at 4 1/2" wide x 6" long. Score at 4 1/2" so you have a 4 1/2" square with a small flap to glue to the inside of the front face of the card. That's the card that has the mechanism for the PopCard on it. That way, the outside of your card stays nice and clean and you don't have a big chunk out of the side. Now when you glue the smaller card to the larger card, you only glue the thin piece to the card front, not the card back! The large piece (with the green chevron paper in the photo) is loose so the card will open and close freely. If you glue it to both sides of the card, the papers will buckle when you try to close the card. After the card is assembled, it slides so slightly that you will not even notice it is moving. Later in assembly, I put a vertical piece in place that will keep it from flapping about like a broken wing. So do all your cutting and gluing to get your mechanism for the PopCard.
After your mechanism is created, glue your PopCard and attach the pulling mechanism to the back of it. Don't you just love how all these characters are so happy? This house might be haunted, but it's definitely not scary!!
This is what it looks like from the side. You can see each layer with the roof being held up by the arrow tips. Finally, cut a strip of paper and attach it to the inside of your card making sure the green chevron piece is under it far enough that it won't slide out from under it when the card is fully open. Remember to only add adhesive to the top and bottom ONLY of the vertical piece. This will allow the smaller card part to move when you open and close the card. Picture of the completed inside of the card is below.
This picture shows the vertical strip that is holding the green chevron paper piece so it doesn't flap open. And you can also see where the small flap on the left is adhered to the front half of the card.
So I've given you my process for making a PopCard with all the amazing PopCard sets from Art Impressions! I hope you enjoyed it and thanks so much for stopping by! Until next time - stay crafty!!
Awesome project, Sharon! Just love your bold colors and flawless construction! What a fun way to start our new challenge!
This challenge we are taking things to the THIRD Dimension! We love creative cards that have a pop of fun! We are looking for dimensional aspects of your cards, such as PopCards, popups, dimensional creations. You don't even have to make a card - a bag or box would be fun as well!
Here are the Challenge Rules:
✻ Please make a new card or creation. You can make any crafty item you wish; this is not limited to cards!
✻ Limit two submissions per person. You will receive extra votes if you use Art Impressions stamps!
✻ The Ai Challenge is open to everyone, international submissions are welcome!
✻ Include a link back to the Ai Blog or grab our button on the top right of our sidebar!
✻ Share the Ai love by clicking and commenting your fellow crafters.
✻ Make sure to get your link up by Wednesday, November 8 at 5:00 p.m. PST to enter your creations.
Congrats, Cynthia! We love your whimsical style on this card featuring our Road Trip set! The way you combined the buildings with a watercolor wash and popped your bright red car on top is so cool! Email annelise@artimpressions.com with your address to claim your prize pack!
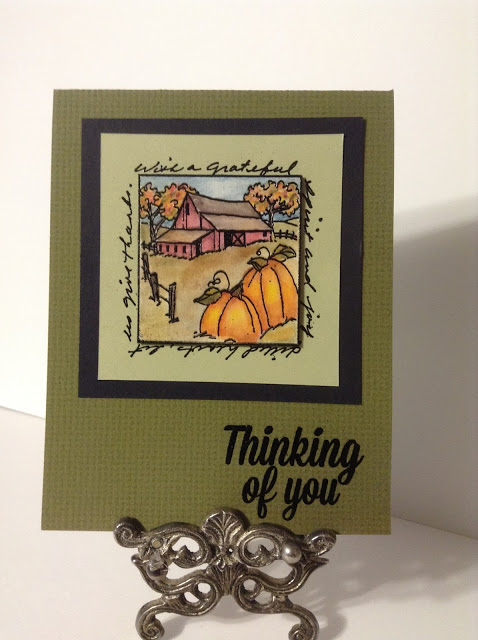
Congrats, you two! Kathy, way to combine your Front & Back stamps to make this fun window scene! Super cute! And Lynda, what an elegant fall card with our Farm Window and Sentiment! Ladies, please email annelise@artimpressions.com with your address and select the stamp set you would like for your prize!
Alright, folks, we only have a few more challenges left in the year - so be sure to join in the fun! Also, when you post projects of your Ai creations on social media, use #AiStamps so we can see what else you are up to!
Today I'm showing another PopCard! This one is sooooo much fun!!! I used #4859 Oldie PopCard (don't forget you need #4862 PopCard Template too). She comes with a wine bottle or a cupcake that you can put in her hand. I chose to let her hide inside without putting a window in the front. So it's a super fun surprise when you open the card and she pops up to you! So the front is just decorated with a simple doily die cut with the sentiment popped up in the center of it.
So have you tried the PopCards yet?? If you have, I 'd love for you to put a link in the comments so I can take a peek! Thanks so much for stopping by for a visit today, and hope to see you again soon! Until then - stay crafty!!