Did you catch our exciting announcement on our newsletter today?! You are cordially invited to the fifth annual Art Impressions Warehouse Sale, a two-day shopping spectacular on Friday, November 22 and Saturday, November 23, 2019, in Keizer, Oregon!
We are building over 2,000 square feet of shopping space for you to grab some great stamps at discounted prices! Find our current and popular stamps, as well as closeouts, seconds, unmounted rubber sheets, and accessories!
Please note we have a NEW sale location in Keizer, Oregon, as well as a NEW hotel to book your accommodations! Visit our page for more information, and be sure to RSVP to receive a free gift at the event! We hope to see you there!
We are back with the second week of our super fun shaker card challenge! Let's take a look at what the team has in store for us today!
Join the party! Shaker cards are so fun to make, and there are so many different kinds you can create! Make a card, share it with us by linking it up, show us what you got! You just might win a prize, and you know how much we love giving away stamps!
Here are the Challenge Rules: ✻ Please make a new card or creation. You can make any crafty item you wish; this is not limited to cards! ✻ Limit two submissions per person. You will receive extra votes if you use Art Impressions stamps! ✻ The Ai Challenge is open to everyone, international submissions are welcome! ✻ Include a link back to the Ai Blog or grab our button on the top right of our sidebar! ✻ Share the Ai love by clicking and commenting your fellow crafters. ✻ Make sure to get your link up by Wednesday, July 3 at 5:00 p.m. PST to enter your creations. ✻ Good luck and happy stamping!
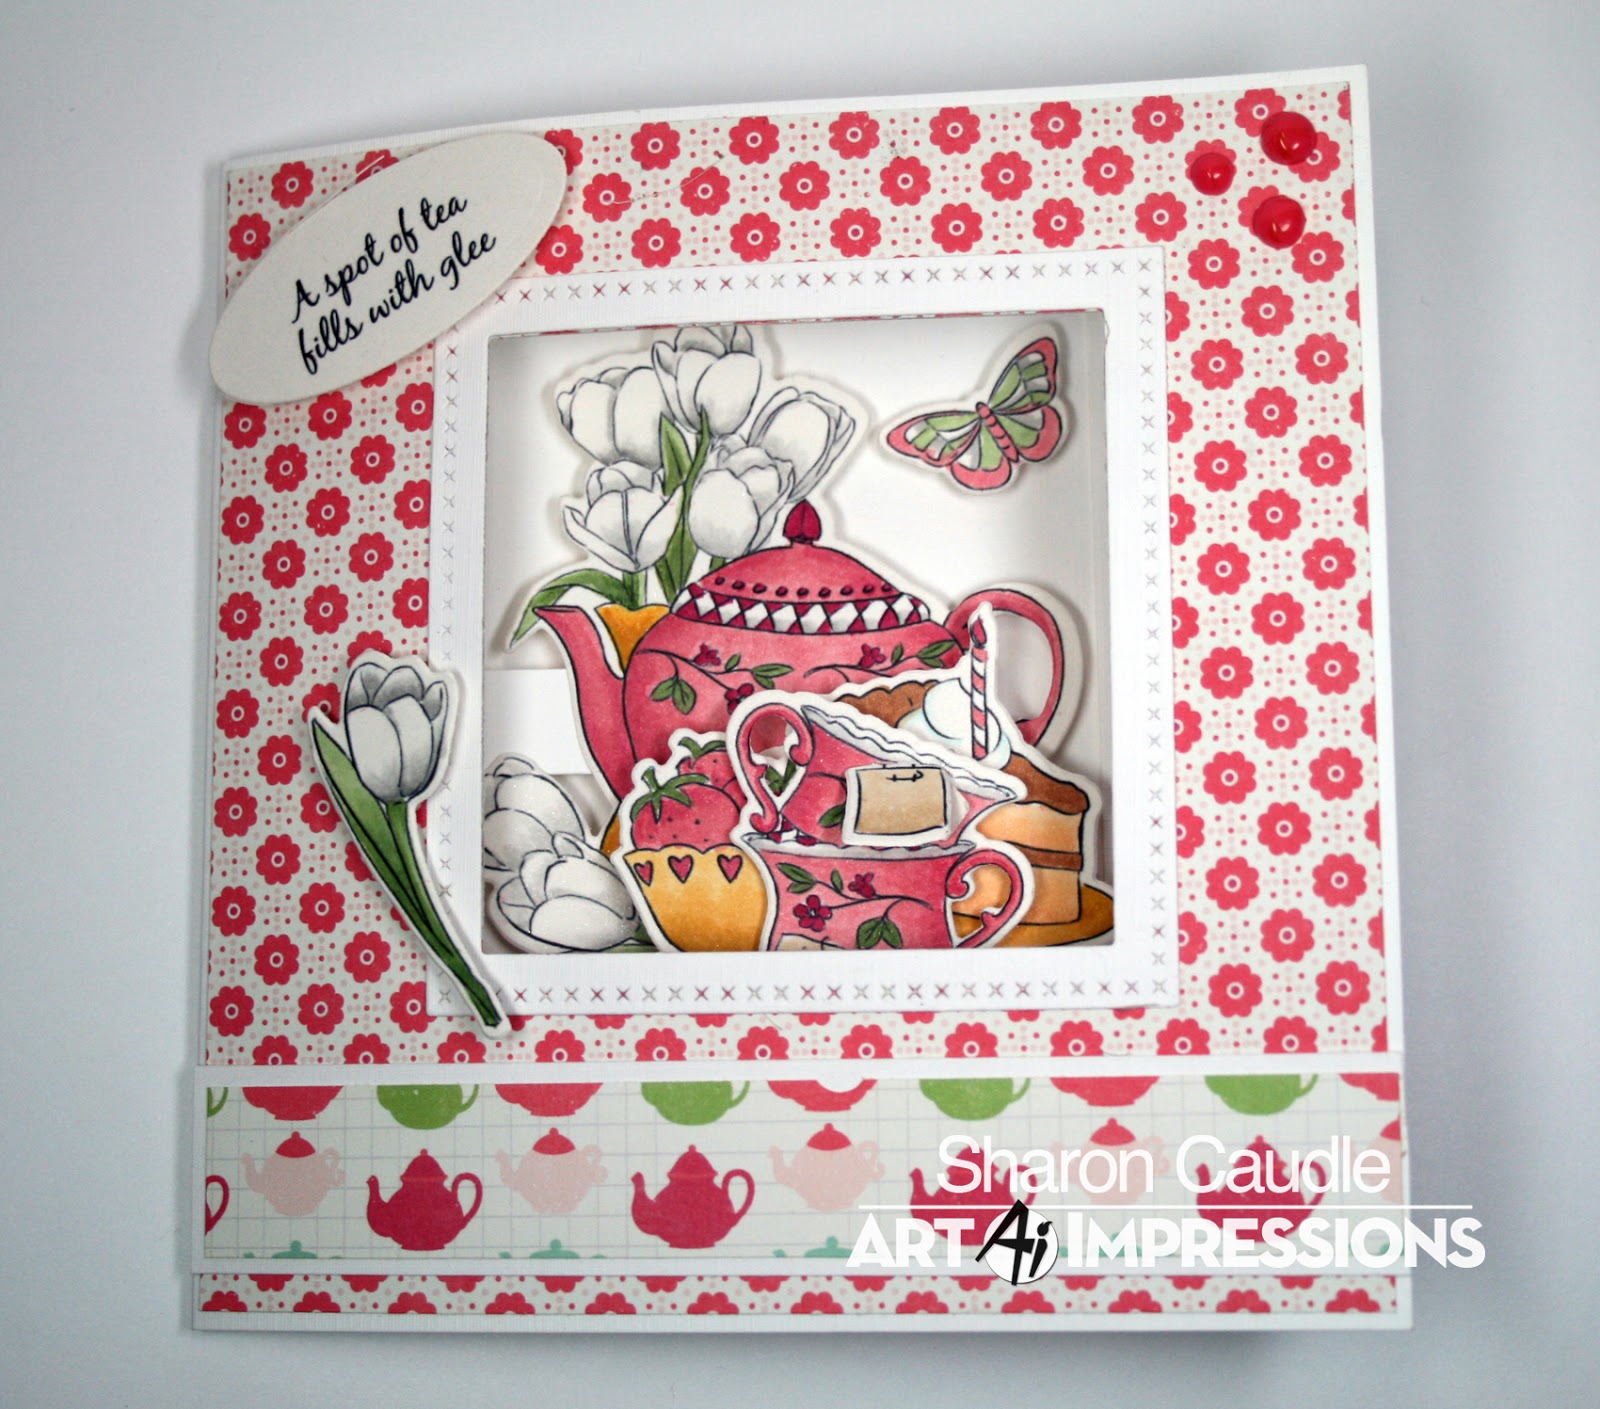
I have this sweet card today that uses the Tea Time PopCard set. The stamps in this set are so beautiful and could be used on a card for many different occasions.
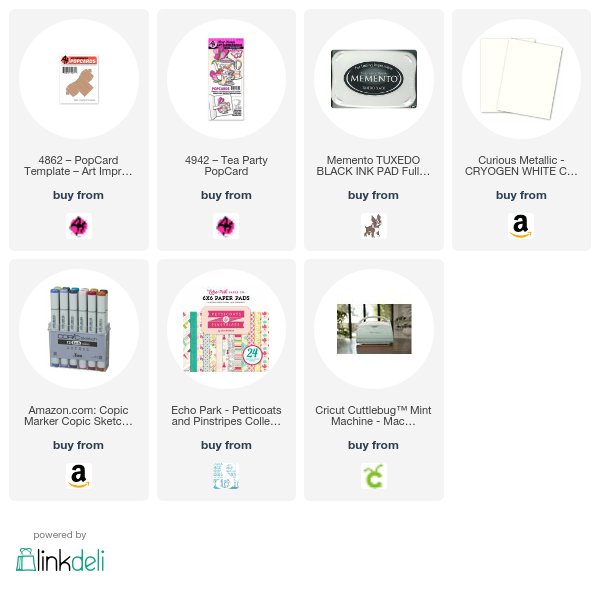
The images were stamped with a Copic safe ink and colored with my Copics (colors listed below.) All of the dies that you need are included in the set. You do need the PopCard Template die that is sold separately. Also, all the directions to assemble this card are on the back of the packaging. If, however, you are a bit more of a visual learner like I am, I found a video on Scrapbook.com's YouTube channel that Kate did that shows all of the steps and is so helpful.
For my inspiration in coloring, I did a web search of "china tea sets" and saw so many beautiful sets! Almost all have some gold edges. You can see the shine of gold where I used a gold gel pen to go over some stamped lines and I drew in a few more lines. I used a white gel pen to add some highlights to the teapot and cups.
If you are wondering about the beautiful gold on the card front, I used the new Foil Quill Heat Pen by We R Memory Keepers. The design is from Cricut's Design Space. Those that know me well, know I do love the latest gadgets! LOL! I used two of the Double Stitched Rectangle dies to create a frame for the card front. I cut it twice and adhered the two together for a bit of dimension. These two butterflies are also part of the set so I added them to embellish the card front.
This card was so much fun to make and I hope you will give a PopCard a try! Thanks so much for stopping by and have a fabulous crafty week!
I was really in the mood to watercolor this week so I got out my Tea Party Pop Card 4942 stamps and my Distress ink pads. I used just the main image as the focus of my card. I do this often with many of my Art Impressions stamps. I really love how this card came out as a simple watercolor. It can be painted to match any paper collection.
I stamped the image onto Tim Holtz watercolor paper with My Favorite Things Extreme Black Ink. I stamped the sentiment in the upper corner with Cornflower Blue Archival Ink. I pressed Tim Holtz Distress Inks onto a watercolor palette and colored the image with a brush. I used Spun Sugar, Tattered Rose, Aged Mahogany, Pealed Paint and Stormy Sky.
The colored piece was cut out with the Simon Say Stamp Stitched Rectangle die then attached to a layer of patterned paper. That whole piece was attached to a pre-cut card base that has scallops on the front. I attached a piece of patterned paper to the inside of the card so it would show through under the scallops. For a change I didn't add any foam tape to this card! I added Bubblegum Blush Nuvo Crystal Drops and a Seam Binding bow as the final embellishments.
I am a huge fan of the Pop Card line. I especially love the newer release that has more involved scenes. Today I'm showing you the Tea Party Pop Card 4942. I used it with the Pop Card Template 4862. Remember that all of the Pop Cards come with all of the stamps and dies that you need to make them, except for the Pop Card Template. You only need to buy the template one time for use with all of the Pop Cards.
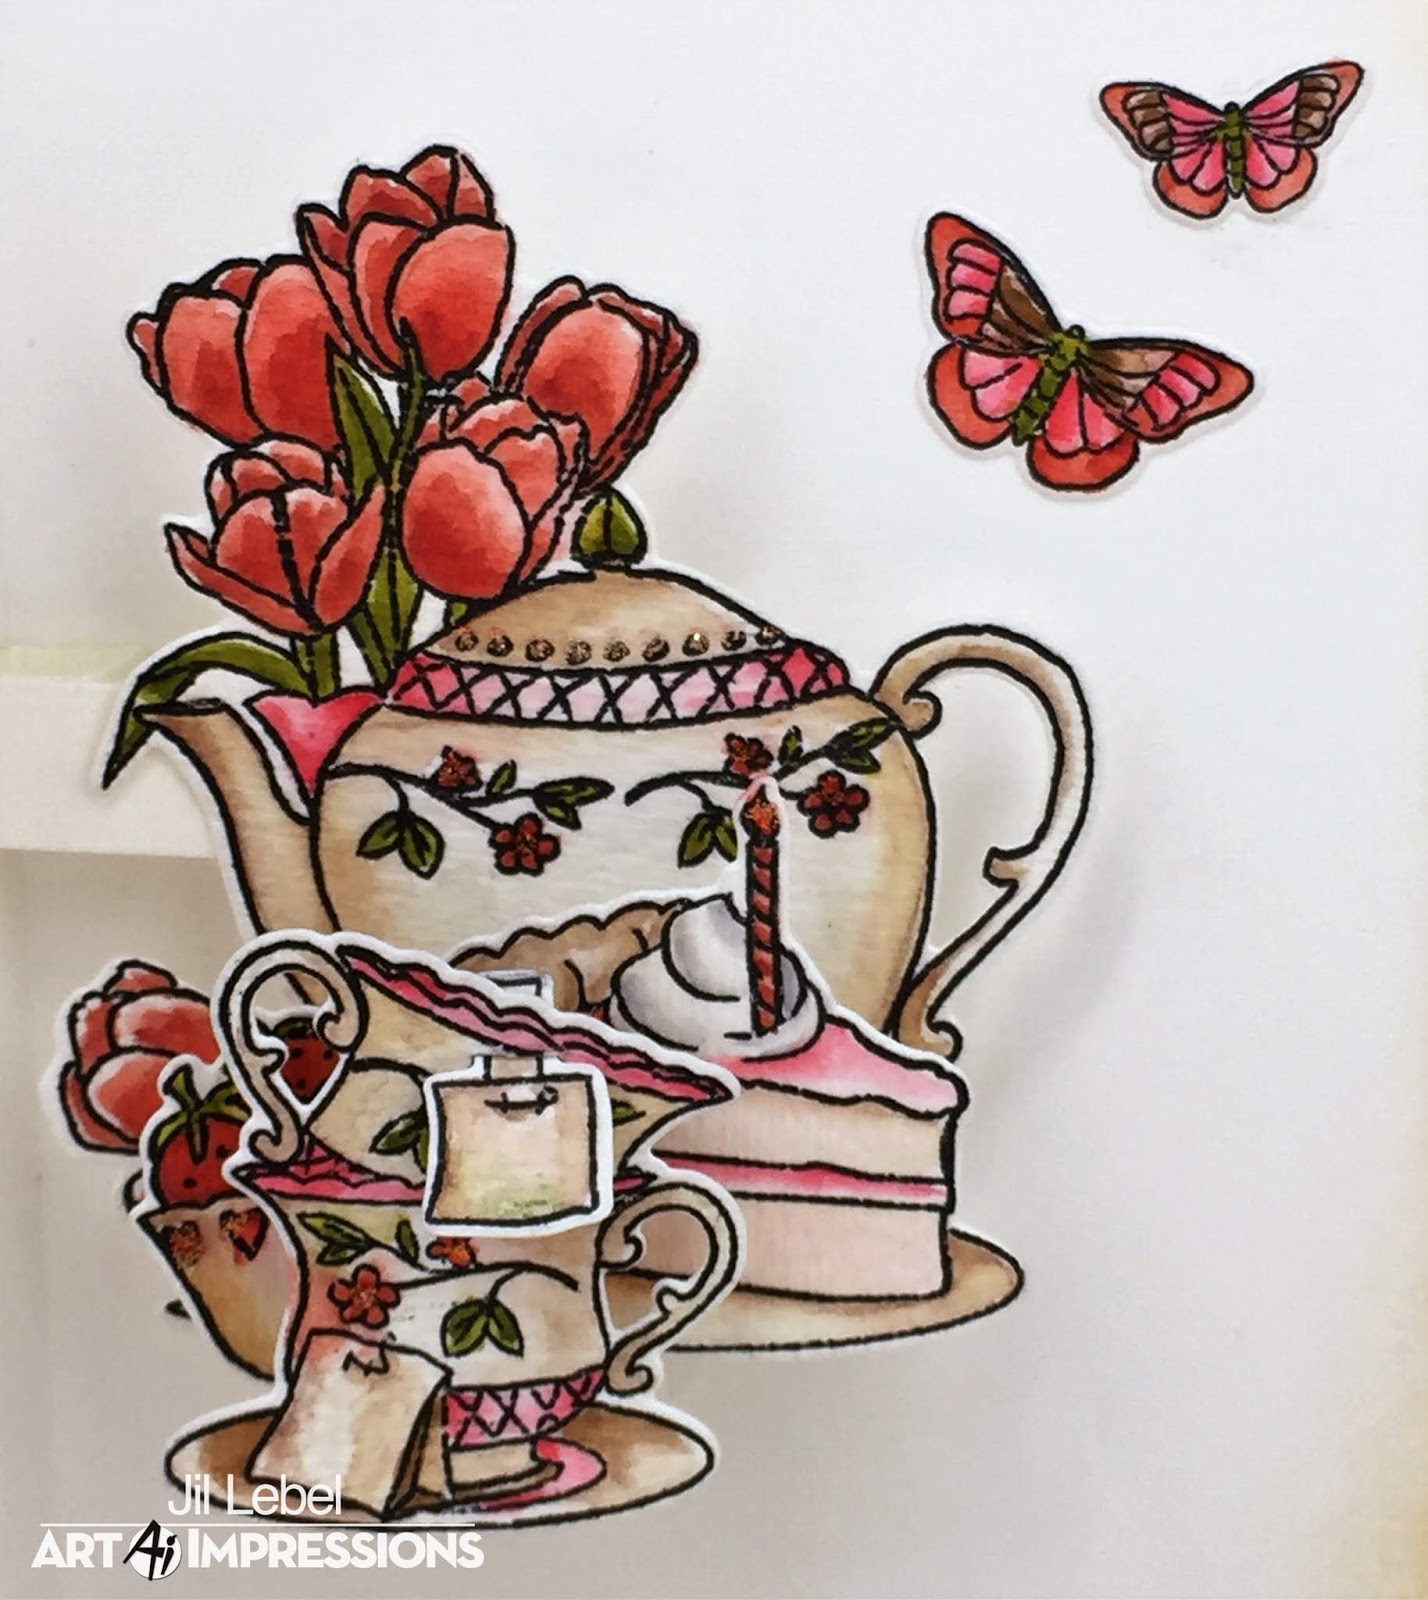
My card started with a pre-cut linen card base that had an eyelet edging. I just cut a circle into the top side of it so the recipient could catch a glimpse of what was inside the card. I added paper to the card front from the DCWV Garden Tea Party paper stack. I also added a die cut doily that I had cut to go around the circle. I edged the entire card and all of it's layers with Tea Dye Distress ink. All of my images are colored with Peerless watercolors. They are concentrated watercolors on special sheets of paper. I find it's easiest to apply them with a fine point waterbrush. I used just a few colors on this project. They were; japomica scarlet, olive green, bismark brown, tea rose pink and pearl gray. Once all of the images were dry, I applied Diamond Stickles to a few areas.
I assembled the inside of the Pop Card following the directions that are in the packaging. I cut the Pop Card template out of acetate. It makes it easier to get the template through the thick watercolor paper, and you can barely see it. I just love how everything pop's up and comes to life when the card is opened! I hope you give these fun cards a try. Once you see how easy they are to make, you'll want to do more and more of them.
You can find all the products used in these videos at Scrapbook.com, a great one-stop shop for all your crafting needs! They also carry a section of our most popular products and offer plenty of inspiration in their card gallery!
We are also excited to announce the first challenge of the year! This challenge theme is "Anything Goes" and it's the perfect chance to do that special technique or use that new stamp set from Christmas! Join in the fun, and show us your creation!
Here are the Challenge Rules:
✻ Please make a new card or creation. You can make any crafty item you wish; this is not limited to cards!
✻ Limit two submissions per person. You will receive extra votes if you use Art Impressions stamps!
✻ The Ai Challenge is open to everyone, international submissions are welcome!
✻ Include a link back to the Ai Blog or grab our button on the top right of our sidebar!
✻ Share the Ai love by clicking and commenting your fellow crafters.
✻ Make sure to get your link up by Wednesday, January 18 at 5:00 p.m. PST to enter your creations.
We are back with week two of our Third Dimension challenge! Today the full design team shares their creations with our newest PopCards and they are totally fabulous! Remember you can visit the designer's blog for more details when you click their name. Also, we LOVE your comments, so leave one today so we can know what you think!
WOW, these PopCards are incredible! Great work, team!
Are you inspired to join our 3D challenge? This challenge is all about 3-dimensional elements in your cards! This can be using our fabulous PopCards, or any other dimensional element like pop-ups, shakers, box cards, bags, accordion cards... the list goes on! We can't wait to see what you come up with. Hurry, there's only one week left to join!
Here are the Challenge Rules:
✻ Please make a new card or creation. You can make any crafty item you wish; this is not limited to cards!
✻ Limit two submissions per person. You will receive extra votes if you use Art Impressions stamps!
✻ The Ai Challenge is open to everyone, international submissions are welcome!
✻ Include a link back to the Ai Blog or grab our button on the top right of our sidebar!
✻ Share the Ai love by clicking and commenting your fellow crafters.
✻ Make sure to get your link up by Wednesday, November 8 at 5:00 p.m. PST to enter your creations.
Freebie Alert! For a limited time, we are offering a FREE 2017 Summer Flyer with your $30 purchase! This flyer features our NEWEST releases, including a sneak peek at several stamps that we have not released to our website yet! With full color images and beautiful card samples, this flyer will inspire your creativity! No coupon code necessary. Every order of $30 placed by Wednesday, November 8, will automatically receive this booklet! Place your order today at artimpressions.com!
Promotion is for orders placed November 2-8. No coupon code necessary. Valid for orders $30 or more, after discounts, not including shipping cost.
Today's card features the beautiful and brand new 4942 Tea Party PopCard! This set is soooo pretty!!! And the tulips are just the perfect touch!! Don't forget that you need to have the PopCard Template in order to make your PopCards work!
Prepare to be amazed with our FIVE new PopCards! These stamp and die sets feature fantastic, detailed images to build three-dimensional images inside your card! We had an early release of our Haunted Mansion PopCard, and now is the time to grab it for Halloween! Get ready for Christmas with our Singing Snowmen set, a quartet of carolers ready for winter! Those of you with a sophisticated taste will adore the Tea Party, Kitten Vanity and Floral Birdhouse sets, each featuring beautiful florals and sweet critters! Each PopCard set contains clear stamps and metal dies. Our dies also cut slits in your main images so you can slide in your PopCard Template to build a 3-D card that folds flat when closed and pops up when opened! Watch our video below to see our new sets POP into action! You can find our newPopCardsatartimpressions.com!
Today we have a spooktacular tutorial of our Haunted Mansion set with Sharon, launching our new 3-D challenge!
Hello AI Fans!
I'm super excited to show you one of the brand new PopCards today from Art Impressions! My card today features the amazing Haunted House PopCard!! These sets are AMAZING!! If you want to really WOW your recipient, then use one of these PopCards and you'll nail it! So just in time for Halloween, let me show you this amazing house that comes with all the stamps and dies you'll need to be able to make an interactive card that everyone will love!
The stamp set comes with all the stamps and dies you need. You'll have to separate all the dies as they're connected. I use needle nose pliers and they come apart very easily.
I stamped all my images and colored them with Copic markers, then lined up the dies over the colored image and held them in place with washi tape.
I place a circle die on my card front and ran it through the Cuttlebug so I could have a peek-a-boo window in the card.
Then I created a frame for the cutout by pairing it with a scalloped die and cutting it out.
After you've got all your pieces cut, you need to layer them up on the PopCard Template. (sorry...forgot to take a picture of it before I put it all together)
Now this is how I put my PopCards together with a window in the front of the card. I've found this to be the easiest. If you've ever tried to make a window in a card that has four or six layers of paper, you know it's almost impossible to get it done, at least without using a craft knife and doing a lot of it by hand. So I cut my normal 5 1/2 x 5 1/2 card and layer the pattern paper on top. Then I cut a SECOND card at 4 1/2" wide x 6" long. Score at 4 1/2" so you have a 4 1/2" square with a small flap to glue to the inside of the front face of the card. That's the card that has the mechanism for the PopCard on it. That way, the outside of your card stays nice and clean and you don't have a big chunk out of the side. Now when you glue the smaller card to the larger card, you only glue the thin piece to the card front, not the card back! The large piece (with the green chevron paper in the photo) is loose so the card will open and close freely. If you glue it to both sides of the card, the papers will buckle when you try to close the card. After the card is assembled, it slides so slightly that you will not even notice it is moving. Later in assembly, I put a vertical piece in place that will keep it from flapping about like a broken wing. So do all your cutting and gluing to get your mechanism for the PopCard.
After your mechanism is created, glue your PopCard and attach the pulling mechanism to the back of it. Don't you just love how all these characters are so happy? This house might be haunted, but it's definitely not scary!!
This is what it looks like from the side. You can see each layer with the roof being held up by the arrow tips. Finally, cut a strip of paper and attach it to the inside of your card making sure the green chevron piece is under it far enough that it won't slide out from under it when the card is fully open. Remember to only add adhesive to the top and bottom ONLY of the vertical piece. This will allow the smaller card part to move when you open and close the card. Picture of the completed inside of the card is below.
This picture shows the vertical strip that is holding the green chevron paper piece so it doesn't flap open. And you can also see where the small flap on the left is adhered to the front half of the card.
So I've given you my process for making a PopCard with all the amazing PopCard sets from Art Impressions! I hope you enjoyed it and thanks so much for stopping by! Until next time - stay crafty!!
Awesome project, Sharon! Just love your bold colors and flawless construction! What a fun way to start our new challenge!
This challenge we are taking things to the THIRD Dimension! We love creative cards that have a pop of fun! We are looking for dimensional aspects of your cards, such as PopCards, popups, dimensional creations. You don't even have to make a card - a bag or box would be fun as well!
Here are the Challenge Rules:
✻ Please make a new card or creation. You can make any crafty item you wish; this is not limited to cards!
✻ Limit two submissions per person. You will receive extra votes if you use Art Impressions stamps!
✻ The Ai Challenge is open to everyone, international submissions are welcome!
✻ Include a link back to the Ai Blog or grab our button on the top right of our sidebar!
✻ Share the Ai love by clicking and commenting your fellow crafters.
✻ Make sure to get your link up by Wednesday, November 8 at 5:00 p.m. PST to enter your creations.
Congrats, Cynthia! We love your whimsical style on this card featuring our Road Trip set! The way you combined the buildings with a watercolor wash and popped your bright red car on top is so cool! Email annelise@artimpressions.com with your address to claim your prize pack!
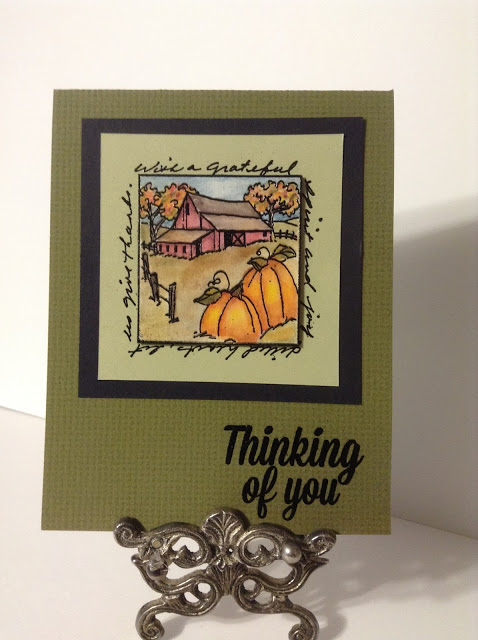
Congrats, you two! Kathy, way to combine your Front & Back stamps to make this fun window scene! Super cute! And Lynda, what an elegant fall card with our Farm Window and Sentiment! Ladies, please email annelise@artimpressions.com with your address and select the stamp set you would like for your prize!
Alright, folks, we only have a few more challenges left in the year - so be sure to join in the fun! Also, when you post projects of your Ai creations on social media, use #AiStamps so we can see what else you are up to!