Showing posts with label garden. Show all posts

Monday, May 20, 2024

Decorated Gift Card holder for a kitchen shower by Sharon Caudle

 Hello AI Fans!


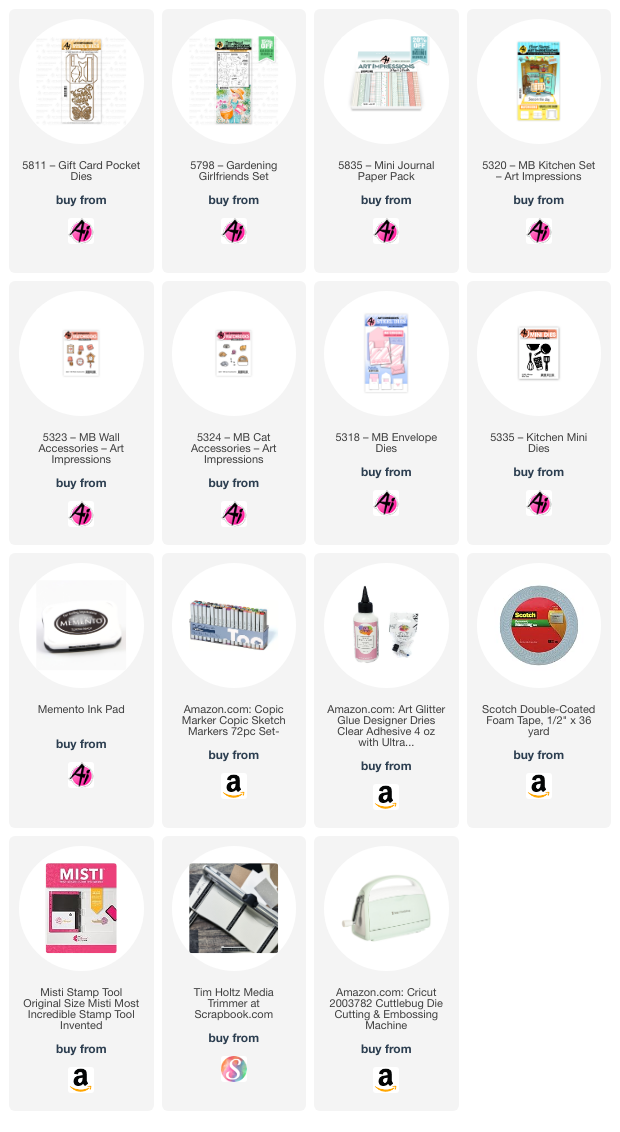
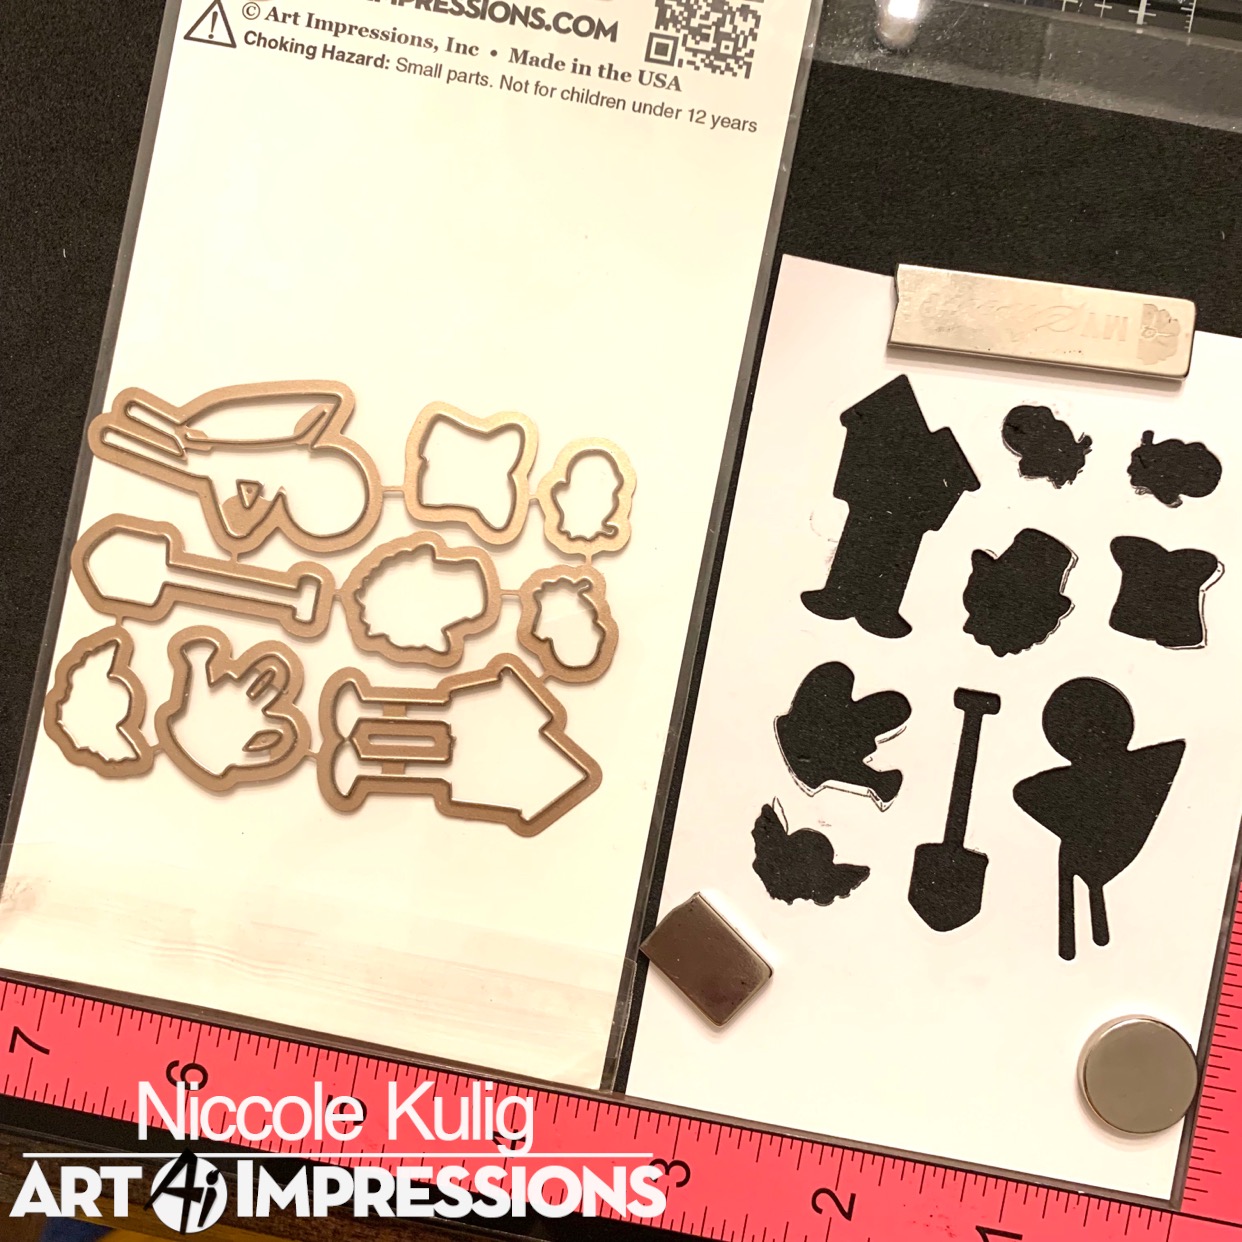
I've got a decorated Gift Card holder to show you today that features the new 5811 Gift Card Pocket Die Set and fits right in with the Just For You Challenge that is going on right now! This new pocket die is just perfect and you can personalize it for ANYTHING!! This time, I've created a pocket to hold a gift card or certificate for a kitchen shower. Do you have anyone getting married that is having a kitchen themed shower? This would be perfect for it!! I had so much for decorating this that I just couldn't stop with the front! LOL! I continued it right onto the back!! The images were stamped onto an alcohol ink friendly paper and then colored with Copic markers which are listed below. 


That's it for me today! Thanks so much for stopping by for a visit and until next time - stay crafty!


Copics used:

E40, 41, 42, and 43
B00 and 01
G00, 12, and 14
R12, 20, and 22
N1
W1
C3 and 4


Saturday, April 23, 2022

A Cozy Garden Welcome by Janet Axtman


Hello Ai Fans! Janet here with a bold take on the new 5512-Front Porch set. This time I paired it with 5486-Front Porch Garden Set

I used every image in the Garden Set here. Images in the front are elevated with foam tape for more dimension. I also put a small bit of foam tape behind the door so it would appear to be opening up. I stamped the sentiment from the Front Porch set on a flag and used the vine in the Garden set to decorate it. 

The background of this card was created with Tim Holtz Texture Paste and a brick stencil. The key to achieving the weathered brick effect is use gray cardstock rather than white. The gray peaks through the paste and creates a realistic painted brick look.  

I hope you're enjoying the new Front Porch series. It has soooo much versatility since you can mix and match the sets. The images are also great just on their own. I am especially fond of the boots and the watering can in the Garden set.

Thanks for joining me today for a walk in the garden.

Have yourself a crafty weekend!
Janet YouTube - Blog - Facebook - Instagram - Pinterest 

Friday, June 25, 2021

Garden Time card by Tasha

 Hi Ai Fans!

Tasha here sharing a card created with the fun Gotta Garden Set and HM Garden Set!


I have been busy lately with yard work and thought this image is perfect for this time of year. This happy gardener has all her tools in hand and is ready to tend to her garden! I stamped her with black ink and colored with Copic Markers before cutting the image out. I love her purple work gloves!


For the background, I used a cloud stencil for the sky and a grass stencil for the ground. I layered the image with foam tape and attached a pink banner along the bottom. The sentiment "I'm so excited I wet my plants" was stamped in a coordinating Mint colored ink and I used my circle punch to cut it out. 


The Gotta Garden Set includes accessories, but I thought it would be fun to add the flowers and little birds from the HM Garden Set. The little birds are so cute and happy; these two sets work great together!


To finish off this card, I added layers of Mint check pattern paper and dark pink card stock before attaching the card to an A2 sized card base. 

I hope you enjoyed today's project. If your don't already mix and match your sets, give it a try. It's a good way to spark your creativity and get more use out of your stamps!


Thursday, June 20, 2019

Your Friendship Makes My Heart Sing! By Crystal

Hi Ai fans! 

Did you get a chance to see Bonnie on HSN last week? I did it was so fun to watch! This mansion set I played with this week was featured. I also played with this Garden add on stamp/die set. I had so much fun with this set I made two different cards to share with you this week. 


I stamped everything in with a alcohol save ink. 


I fussy cut both houses out. And then ran the houses through my die cutting machine to cut the windows out and make the top window and door open. 


I die cut all of the accessory pieces out with the coordinating dies. I adhered both houses to different patterns of paper with foam tape. 


I embellished both cards with the Garden add on stamp/die set pieces that I had colored and die cut out. Lastly I adhered both card panels to a 5 1/2" X 4 1/4" card base. 


Spectrum Noir Markers:
TB1, TB3, GT1, GT2, GT3, HB1, HB2, HB3, EB1, EB2, EB3, LG1, LG5, IG1, IG4, IG5, PP1, PP2,PP3, IG2, IG4, IG5, IG9, VP1, VP2, VP3

Happy Stamping!


Wednesday, February 27, 2019

Birdhouse Singing by Niccole Kulig

Hello Ai Fans!

I am sharing another card made with the new HM Garden set from Art Impressions. I decided to do a peek-a-boo card.  I am not sure that is the correct name, but that is what I am calling it HAHA.

It really was an easy card to make.  I had fun with it.  I started with my images first.  I dies cut them, added them to my template, stamped them, and colored them.  Here are the pictures of the order I did it in.


After I finished all of that.  I cut the middle section of my craft card stock out to make the "window". I added a black strip of paper to each edge to give the card a little definition.  Want to my secret to even skinny strips????? I buy quilling paper.  It is super cheap and comes in a ton of colors. Saves me a ton of time trying to cut my paper into skinny strips.

From here I glues my birdhouses on the bottom piece, and ONLY the bottom piece. I then stamped my sentiment between the last two birdhouses.  Once the bottom of the bird houses are fully glued down place your bottom of the craft paper along the bottom of the card so your front piece and back piece line up. This will show you how much of the tops of the birdhouse needs to be glued to the top piece of craft paper. Glue them to the top piece. 


To finish off glue your birds to the front of the card.  I saved one of the birds to add to the inside of the card to tie them together.  I also cut four extra birdhouses and colored the back sided to glue to the exposed back sides of the birdhouses.  It finishes off nicely.  


I hope you give my peek-a-boo card a try.  Art Impressions has a lot of cute images that would work well with this design. Happy stamps friends!

Copics used:
B41, B45
E44, E47
R22, R24
Y11, Y13, Y15


Until next time ... Hugs & inky fingers!