Hello, Ai Watercolor Fans! Happy Saturday! It is the first week of March, which calls for Watercolor Weekend! This week we have a special guest designer, Karen Day, joining us today! Let's take a look at what the team has in store for us today!
Hello Watercolor Friends,
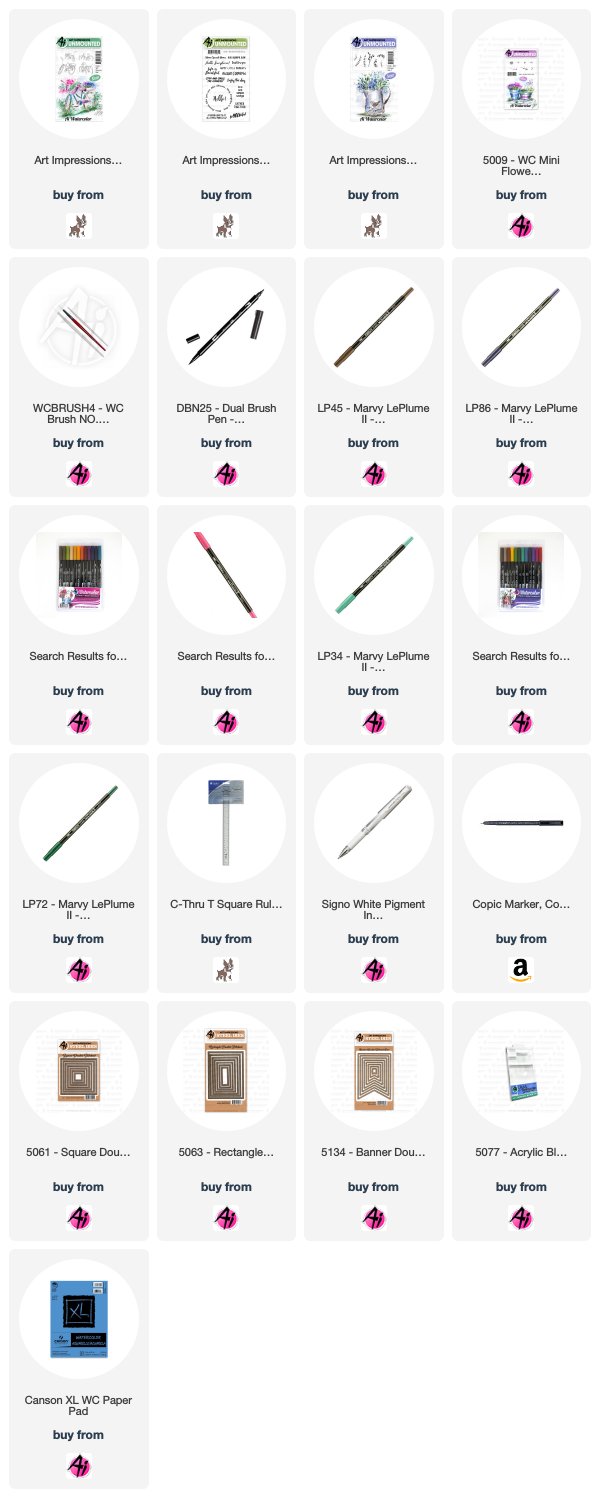
I am in love with this brand new 5124 - WC Bicycle set! I made this birthday card for the Art Impressions Watercolor Weekend using the largest bike stamp (there are four bikes in the set!) First I used the 45 Sepia, then the 86 African violet to ink up the bike and then I stamped it. I pulled the color out of the lines then used the 105 lt. teal on the palette to color the baskets and chain cover. I used N25 on the palette to watercolor the bike seat, handlebar grip, pedal and tires. Next I watercolored the bike body in the 94 scarlet. I used a ruler to and a pencil to draw the present in the back basket. I watercolored it in 34 pale green and painted the ribbon in the 94 scarlet. I used my white Signo pigment pen to outline the ribbon like it's high lighted. I used the 15 olive green on the mini leaf stamp from the 5009 - WC Mini Flower Set to fill the front bucket with leafs, added water and then I used the 3 hearts in the same stamp set with the 94 scarlet to stamp the flowers in the basket. I dabbed the flowers with water. Next, I took the grass from the brand new 5126 - WC Foliage Set 4 and the 72 pine green and stamped in the grass along the ground. I took some of the same green on the palette and colored in the ground all under the bike. I used 105 lt. teal and lots of water to color in the sky. I punched out three pink glitter paper hearts and glued them above the bike like they were balloons and used a ruler and my Copic Multiliner 0.03 pen to draw the strings and then outlined the present. I used a pencil and a ruler to draw in the spokes on the wheels. I signed it with my Copic pen and then cut it out using one of the 5061 - Double Stitched Square dies. I cut out the blue banner using the 5134 - Double Stitched Banner die set and a scalloped rectangle die for the next layer and stamped that sentiment from the brand new 5136 - WC Sentiment Set 2 and then cut it out using the smallest 5063 - Rectangle Double Stitched die.
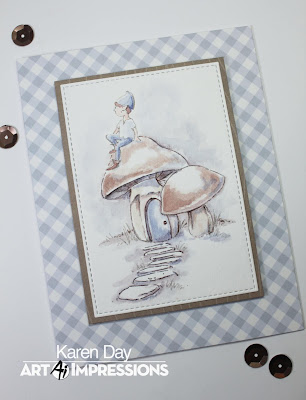
I challenged myself to use a limited colour palette this week, using just tones of blue & brown - and I love the end result! I started by cutting a 5065 Oval Double Stitched die from Canson XL Watercolor Paper. Using 45 Sepia, I stamped and masked the bunny from 5016 Mini Critter Set, and then stamped the smaller toadstool from 5125 WC Elves Set behind him, leaving the top of it uncoloured so that I had a spot where my elf could sit. I inked him up in 992, which I also used to draw in a few blades of grass. I stuck with 969 (brown) and 86 African Violet to paint in the elf's oufit, with shades of 969 on the toadstool. I used 850 as a skin tone, and for the bunny's ears, using the 86 for my sky & shadows. For my second card, I cut a 5063 Rectangle Double Stitched die shape from Canson XL Watercolor Paper. I stamped both toadstools in 969, masking the small one, and stamping the larger one behind. I hand drew in the door (but the ones in 5065 WC Fairy Doors Set would work perfectly!) and stamped the stones from 5018 WC Cobblestone Set in 969. The elf is stamped in 992, and 850 is used as a skin tone. I used shades of 969 and 86 African Violet scribbled on my WC Palette to colour in the scene, often layering the colour to achieve darker shades, and used the 86 for my shadows.
Here is how I created my Elves card. This one is a little different as I needed to stamp the elves before the mushrooms. So to begin I created a bunch of masks and moved them around until I was happy
Step 1: The Elves
First, I stamped each of the Elves inked in 969-Chocolate. Once they were stamped I used my masks to protect them.
Step 2: The Mushrooms
I stamped the yellow Mushroom first, as I wanted it to be in the front, with Chocolate. I masked it off, using my positioner, stamped the orange mushroom. I removed part of the detail on the stem and tried to position it to the right to give it a different look. Then I stamped the purple mushroom and masked it off.
Using the smaller mushroom, I stamped the red and then the pink mushrooms.
Step 3: Adding water
Pull the color out of the lines from the Elves and Mushrooms. I added color to them from my palette. I tried to shade them based on where the Elves would have cast shadows as well as if something is in front of the object. In order for the Mushrooms to look round, I made sure to keep the darkest areas on the sides leaving a highlight in the middle. Once the were all dry, I added white dots to the tops of the Mushrooms. I added some additional color where the shadows would be darkest.
Step 4: The Grass and Flowers
I inked up the left and right grasses from the new WC Foliage 4 set using 249-Hunter Green and stamped them around the bases of the Mushrooms. I pulled color up and out of the lines. I then inked the flower bunch from the Flower Set 2 with 685-Deep Magenta and Hunter Green. I also stamped some of the small grass sporadically.
I added some 452-Process Blue to the palette and created a sky. Sign and date your piece!
Step 5: The Card
Using the rectangle stitched die, I die cut the watercolor piece. I glued it to a card stock base made from Red Hot card stock from Gina K Designs. To make sure that the sentiment, from the new Sentiments 2 stamp set, was straight, I used my MISTI. I added some Gina K Amalgam ink and stamped it down in the left hand corner. I added the entire piece to a white base card.
Give these ladies a round of applause by writing comments below! Don't forget to visit Dot, Karen, and Tricia on social media by clicking the pink links by their name! They are sure to give you ongoing inspiration with our newest watercolor release!
Have a great weekend and Happy Stamping!


4 comments:
I am amazed by the beauty of all of the work in this post! I am so inspired by each and every card. I have to have the elves set right now! lol!
SO happy to see Karen Day on here :)! Beautiful job! These watercolour sets are great!
Fabulous coloring and designs.
What a delightful mix of projects ladies!
Post a Comment