Hello, Ai Watercolor Fans! Today we have three beautiful projects from our Watercolor Design Team to share with you! As the weather warms up, it is delightful to stamp outdoor scenes! Let's take a look at these cards to inspire your projects this weekend!
Hello Friends,
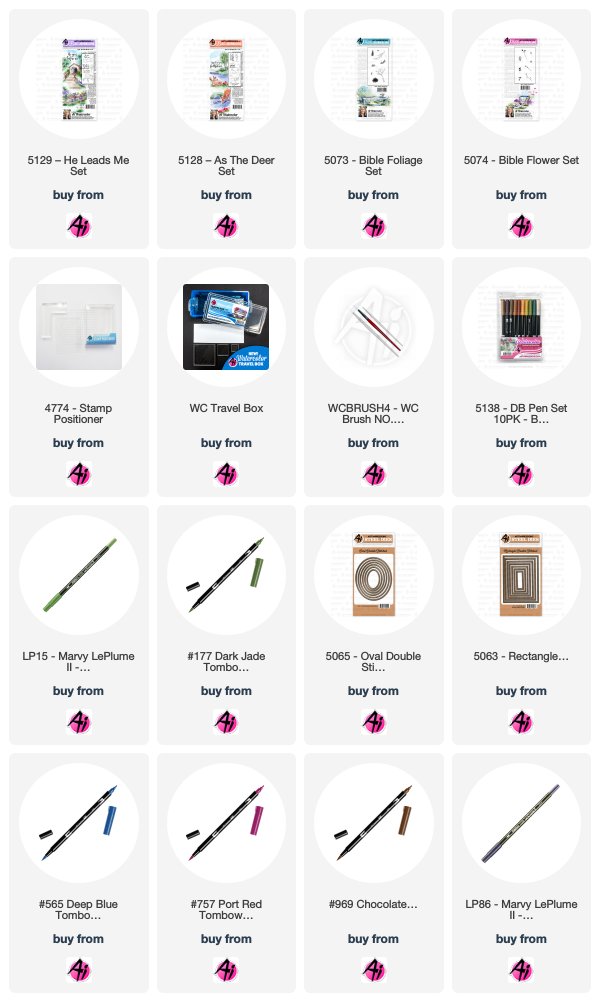
I use all of my Art Impression's stamps for both bible journaling and cards but I only used stamps from the bible journaling line in this card I made for the Watercolor Weekend. I stamped the covered bridge from the 5129 - He Leads Me Set after inking it in both African violet and then in sepia. I pulled the color out of the lines and watercolored the roof and boards underneath in 969 and I used 565 to watercolor inside the covered bridge and in the windows. I stamped the deer from the 5128 - As the Deer Set using sepia, pulled the color out of the lines and then watercolored it with the 947. I darkened the eyes and nose with my super fine Copic liner pen. I stamped the trees from the 5129 - He Leads me Set in sepia and then I stamped the leaves from the 5074 - Bible Flower Set on the trees and dabbed them with a wet brush tip. I used a pencil to lightly draw in my hills, road and water which owner/creator Bonnie Krebs suggested in her YouTube tutorial here. She has mentioned this before but it just clicked for me that I should be doing it on all of my cards - it's so much easier! I used 177, 565 and 969 on the palette to watercolor in the hills, road and water. I stamped the grass from the 5073 - Bible Foliage Set in leaf green and then the flowers in 757 using the dots from the 5074 - Bible Flower Set. I touched them with a wet brush which really made them brighter. I then used a tiny bit of 565 to paint in shadows under some of the flowers, tree and deer. I cut out the picture using the 5065 - Oval Stitched Dies and two background piece using the 5063 - Double Stitched Rectangle Dies. The last thing I did was sign and date it.
You can find more inspiration by following me on my Instagram account here.
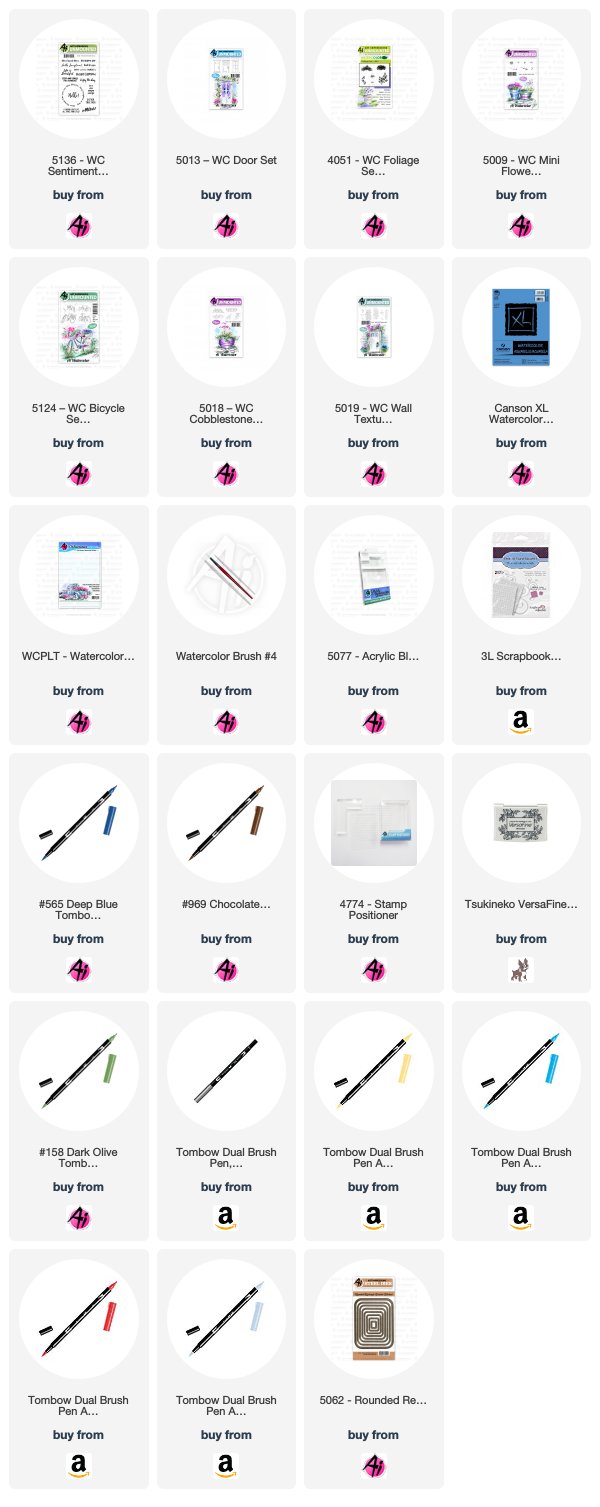
I was really happy to see that the smallest bicycle in the 5124 - WC Bicycle Set was the perfect scale to work with the 5013 - WC Door Set, allowing me to create a little scene today! I coloured the door with my N65 Cool Grey 5 Tombow marker, and stamped it slightly to the left of center. Still using N65, I stamped the bicycle and the bricks from 5018 Cobblestone Set, using my stamp positioner to get everything just so. I used 2 pots from the retired 3498 Series 6 Set 2, but the ones in the 4869 WC Small Container Set would work here. With my dampened #4 paintbrush, I softened the lines on all the images, and pulled out the colour to create a few shadows. From the 5009 WC Mini Flower Set, I used the tiny greenery stamp with 158 Dark Olive and the dotted floral stamp with 565 Deep Blue and 991 Light Ochre to add the flowers and foliage to the pots, bike basket and over the door. I dabbed all of these lightly with my brush, as I didn't want to lose the definition of the images. Using my N95 Cool Grey 1 marker and a stamp from the 5019 - WC Wall Texture Set, I added the pale grey stones on either side of the door. To keep them from looking repetitious, I flipped the stamp upside down for the second side, and didn't colour all of the stones. I picked up 515 Light Blue from my palette with a fair bit of water to give an aqua-coloured wash to the stone wall. After scribbling 856 Chinese Red and 969 Chocolate onto my palette, I coloured the door and bicycle in red and used the brown to create a wooden doorframe and pots. I wanted everything to look well worn, so kept my brush strokes fairly streaky. I used 565 to add shadows in and around all of the images. With the small grass from the WC Foliage Set 1 and the 158, I added grass in around the bike & bricks, and with the excess colour after painting them with my brush, I added a pale green wash to the ground. To finish, I used the 5062 Rounded Rectangle Double Stitched Die to cut out the image and used the smallest one in the set to cut out my sentiment (Hello! is from 5136 - WC Sentiment Set 2). Both were matted with some brown cardstock and the sentiment was attached with 3D pop dots.
I love these bridges. They are so quaint and you can use them in so many ways for any occasion. I challenge you to pull out your bridges, flowers and foliage and give it a try, I know you will love them too!!
Project Details
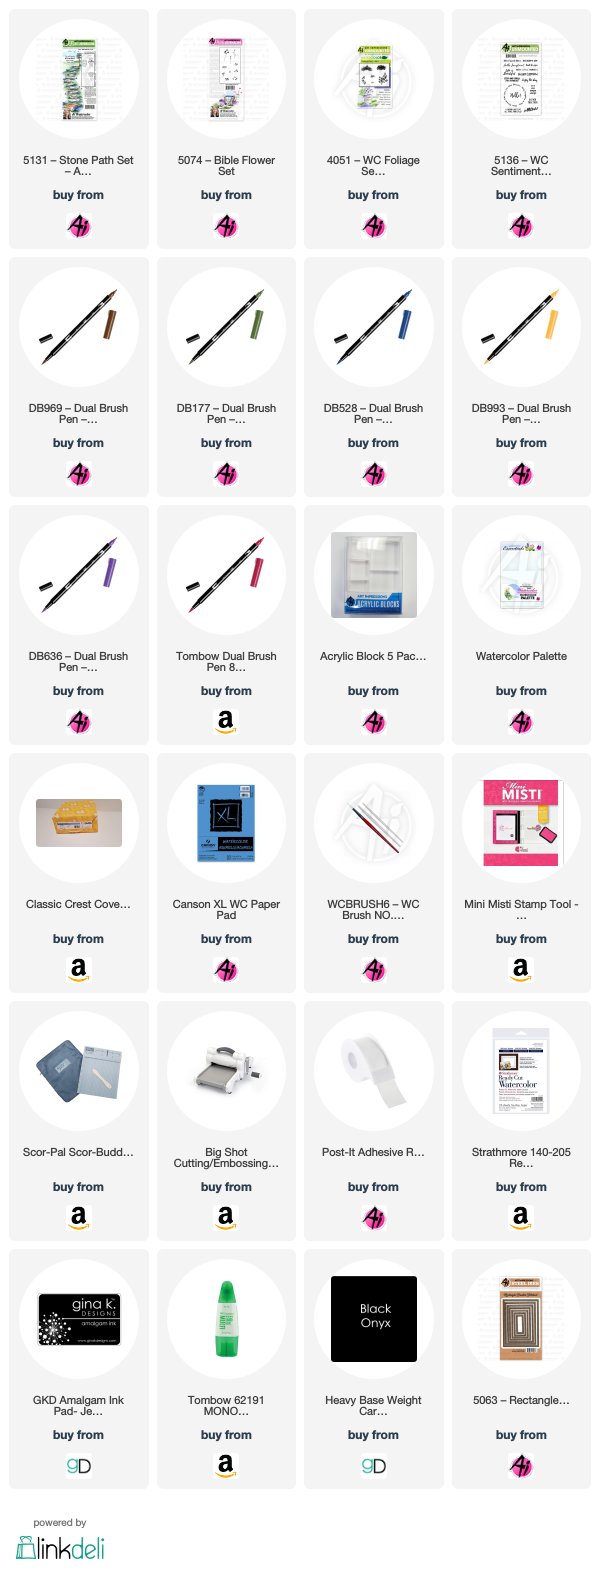
Step 1: Ink the bridge from the 5131 – Stone Path Set with 969 – Chocolate. Stamp it slightly to the left. Using your brush, pull the color out of the right side of the bridge leaving a highlight on the left side and fading the color from right to left. Stay within each board section. Using the fine tip of the 969 – darken in between the boards. Pull some of the brown into the foreground in front of the bridge.
Step 2: Scribble some 528 – Navy Blue on your palette. Slowly lay down layers of color under the bridge and to the left of the bridge. Keep your color darker underneath the bridge. Add some darker color in lines to create movement.
Step 3: Ink up the small grass from the 4051 – WC Foliage Set 1 with 177 – Dark Jade. I used my post it tape to mask off the top right of the bridge and stamped my grass by walking the stamp to the right. I added more grass to each corner of the bridge. Using a damp brush, pull the color up and out of the grasses. Pull some of the color underneath the clumps of grass to ground them.
Step 4: I inked up the single flower from the 5074 – Bible Flower Set using 177 – Dark Jade & 847 – Crimson and stamped it several times. I softened just the blooms with a damp brush. I inked up the small dots from the same set using 993 – Chrome Orange and stamped it a couple of times on each side of the water to the right of the bridge. Finally, I inked up the dots in the shape of a cone from the same set with 636 – Imperial Purple and stamped them around the bridge. I softened them with a damp brush.
Step 5: I used the left over ink from my palette (528), watered it down and added it to the sky. I signed my painting.
I cut it with my stitched border die and mounted it on a piece of Gina K Designs Black Onyx card stock. I added that to my mounted background. I used Yupo paper and Copic Marker Refills to make the background. I mounted the entire piece onto a 4.25 x 5.50 notecard.
I loved making this piece and I hope you will give it a go! Thanks for stopping by and have a crafty day!!

Aren't these cards so sweet? Let us know what you think in the comments! Don't forget to follow these lovely ladies on social media! There are pink links next to their name to take you directly to their Facebook, Instagram, etc. so you can follow their daily watercolor journeys. From all of us to you, have a happy watercolor weekend!
Happy Stamping!


1 comment:
I love all 3 cards today, the last one was not on her blog yet but it is so very pretty like the other 2 card sites. Always look forward to your weekend roundup's but all your water color Wednesday tutorials and of course the Bible series.
Post a Comment