Have you been making extra watercolors this month? July is World Watercolor Month (#worldwatercolormonth), so let's celebrate! We all know practicing is so important to build your skills. But it can be so fun, too! Join us in a watercolor adventure by sharing your artwork with hashtag #aiwatercolorchallenge on Instagram, along with Bonnie (@bonniekrebs.biblejournaling)! Ok, inspiration time! Let's see what the design team made especially for today!
Hello Friends,
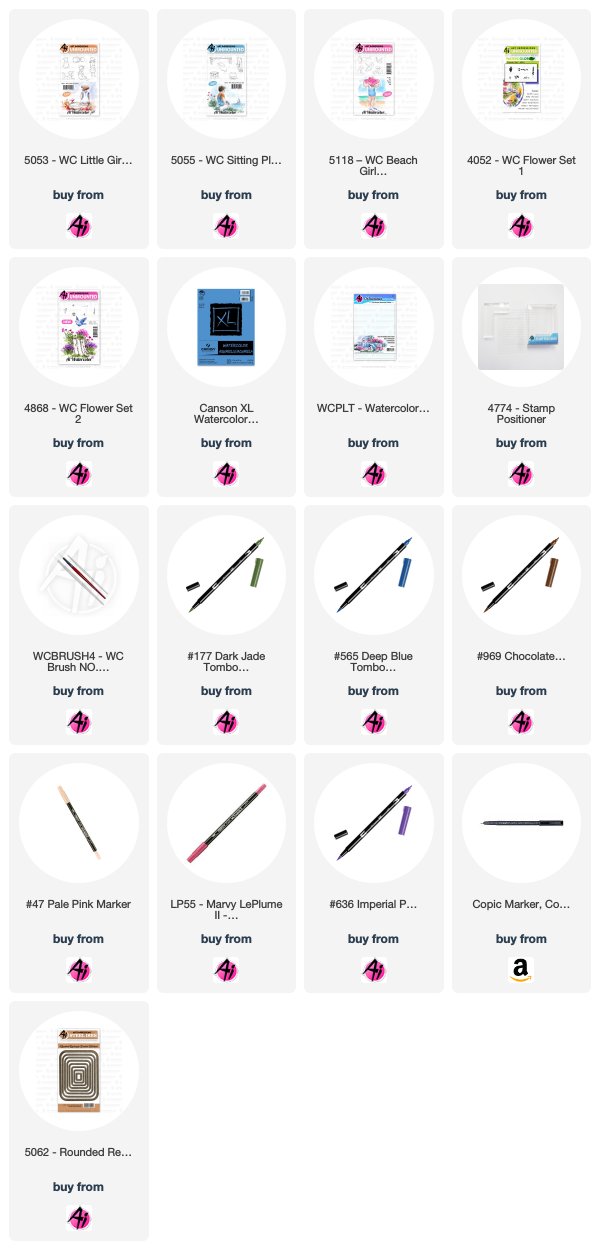
I made this card using Art Impression's stamps for the Watercolor Weekend. I stamped the little girl in 969 from the 5053 - WC Little Girls Set and stamped her off on a piece of scratch paper then stamped her on my watercolor paper. I used the stamp positioner to stamp the bench also in 969 from the 5055 - WC Sitting Places Set. I pulled the color out of the lines, then I watercolored the skin in with No. 47 pale pink, her cheeks in No. 55 iris purple, her hair in 969 and her overalls and headband in 603. I used 67 bubble gum pink to paint stripes on her shirt. I used 158 to watercolor the bench. Next, I stamped the umbrella in 969 from the 5118 - WC Beach Girls Set. I used a ruler and the Tombow twin tone brown fine tip pen to extend the umbrella pole under the bench. I pulled the color out of the lines then colored the umbrella in 158, bubble gum pink and 636. I stamped the small grass with 177 from the 4052 - WC Foliage Set 1 and pulled the color out and up. Then I stamped the flowers in 177, 636 and 55 iris purple from the 4868 - WC Flower Set 2. I used 565 to watercolor the sky and add some shadows under the bench. I used the 5062 - Rounded Rectangle A2 Double Stitched Dies to cut out the scene and background pieces then adhered them all to a card base with double sided tape. I added my name and date to the corner and drew the eyelash with a very fine black pen.
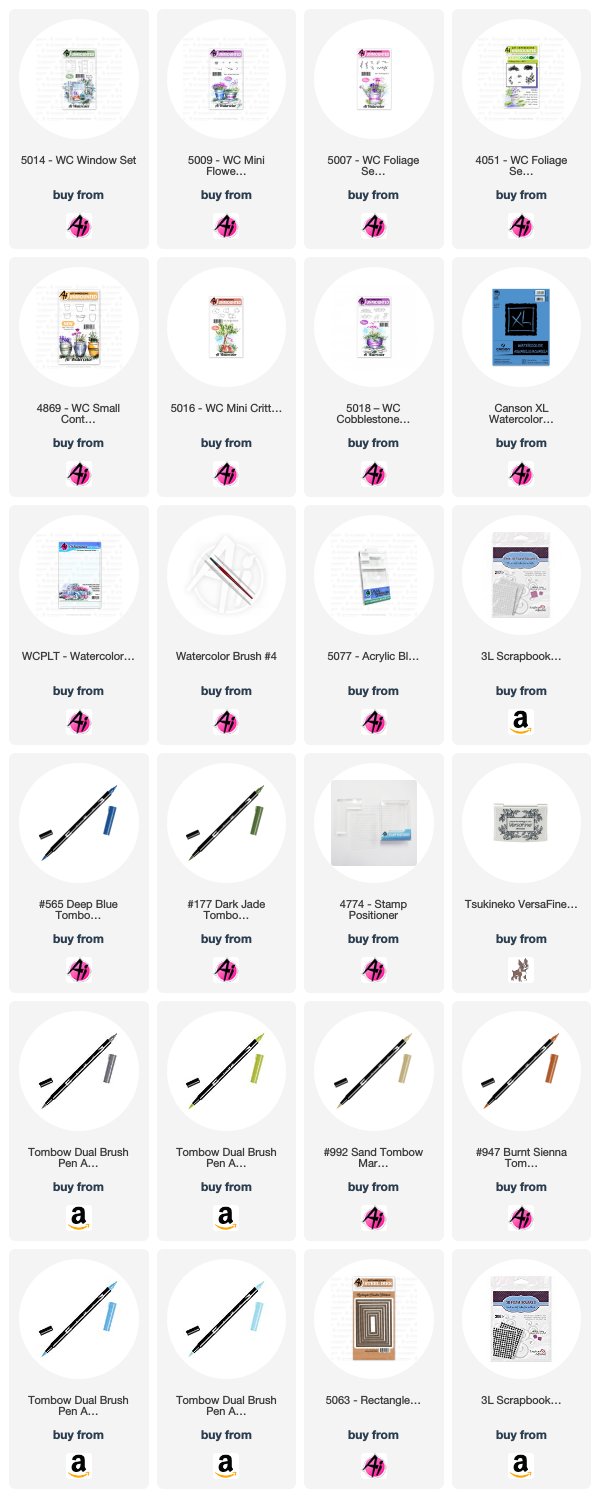
Today I'm featuring the 5014 WC Window Set. The base is cut with a 3 1/4" x 4 1/2" stitched rectangle die, from Canson Watercolor paper, and I started by colouring the smaller window in the set with my N55 Cool Grey 7 Tombow marker, stamping it about 3/4" down from the top edge. Still using the N55, I stamped the kitten from 5016 WC Mini Critter Set on the window sill, and the pot from 4869 WC Small Container Set about 3/4" below the window. I masked off the pot, and stamped the bricks from 5018 WC Cobblestone Set with N55. With the fine point of the marker, I sketched in the curtains directly on the paper. (If you're nervous about adding details with a marker, use a pencil to get it exactly as you like, first!). I used my damp #4 paintbrush to pull the colour out of all the lines, dragging it towards where the shadows would fall. I scribbled 992 Sand onto my palette, and painted it in streaky strokes to suggest weathered wood on the shutters. I used 947 Burnt Sienna to add colour to the kitty, and the terra cotta pot, going in a second time to add another layer of colour where the shadows would be. With 177 Dark Jade and a sprig from 5007 WC Foliage Set 3, I created the vine leading up from the pot, through and over the shutters, adding a few smaller sprigs using the tiny greenery in 5009 WC Mini Flower Set to fill in a few areas. With 533 Peacock Blue/177 Dark Jade I coloured the floral cluster from the Mini Flower Set and added it to the pot. With the tiny dotted flowers from the set, and the 533 marker, I put clusters of flowers throughout the vine. I dabbed all the foliage with my damp brush to soften all the lines. With the tiny grass from Foliage Set 4051, and my 126 Light Olive, I added grass around the pot & cobblestones, then pulled out the colour to add a suggestion of a grassy area on the ground. I picked up 565 Deep Blue from my palette to paint in the shadows on the window, around the shutters and cobblestones to add a little depth to my scene. You really can't see it in the photos, but there is a faint wash on the wall of 491 Glacier Blue, which softens the look of the wall quite nicely.


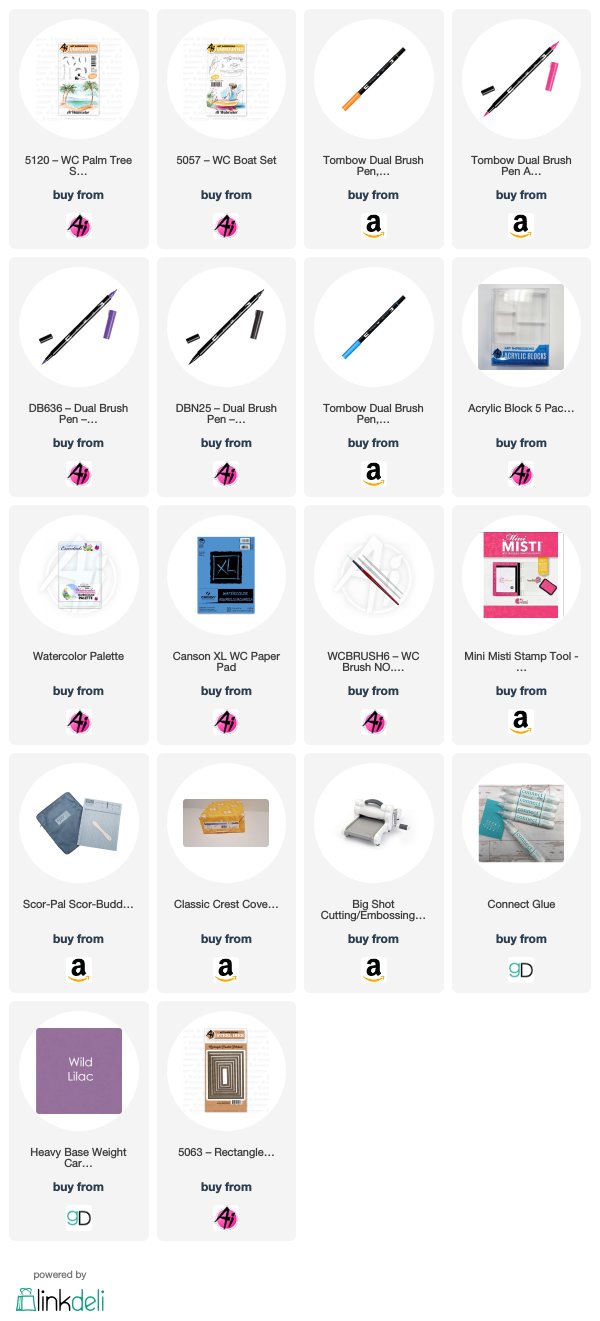
Hi AI Fans, welcome back to Watercolor Weekend! I decided to try out a design that I fell in love with when I was young. We used to go to the beach and they had a guy who airbrushed license plates, shirts, hats etc. This was a design that I just loved and always wanted so I decided to re-create it using my AI watercolor stamps. I call it Silhouette Stamping. It was so easy and fun, I hope you will give it a try.
Here is how I did it!
I began by adding PINK to my palette. I added water and painted from the horizon line up sporadically using a horizontal brush stroke. I left lots of white space. I added another layer of PINK to it. Once that dried I repeated the same steps with the YELLOW, PURPLE and GRAY.
I added BLACK to the horizon line with my paint brush. I added water to my PINK, YELLOW, PURPLE AND BLUE and painted a light wash of each color for my reflection in the water below the horizon line. I made the YELLOW a little darker near where the sun would be.
Once that was completely dry, I inked up the large palm tree with BLACK ink. I stamped it below the water. Using my brush, I pulled the color out of the left side of the tree to create dimension. I re-inked the stamp and stamped it again to the right of that tree, angling it so the tops weren’t too close. I again pulled the color out of the left side of the tree.
Using the left and right palms, I inked them up using BLACK ink and stamped them several times on each side of each tree. To create the palms closest to the tree trunk, I only inked the end of the stamp. I used a damp #2 brush to pull the color out of each of the palms using a brush stroke.
I added BLACK to my palette and created the sand using a horizontal brush stroke. I put the sailboat on my small acrylic block and inked it up with BLACK ink. I stamped it off once and then stamped it into the middle of my sky. Using my #2 brush pulled a small amount of color from the left sides of the sails and the bottom. I also added some black beneath the boat for a shadow. Finally, I signed and dated it.
Once the painting was complete, I cut it out using my Stitched Rectangle Die. I added it to a 4.25 x 5.5 inch card made from Gina K Designs Wild Lilac cardstock with GKD Connect Glue.
That’s it, easy peasy! Tag us on Instagram and let us see what you are up to!
Have a crafty day!

Don't forget to leave a comment to tell us what you like about these projects! Also, remember to join the fun with our #aiwatercolorchallenge!
Happy Stamping!


1 comment:
Wow, beautiful watercolor creations. Love it.
Post a Comment