Showing posts with label WC Palm Tree Set. Show all posts

Tuesday, July 23, 2019

Tropical Watercolor House Two Ways by Jil Lebel

Hello Ai fans!

My father's birthday was last week and I wanted to make him a personal card so I turned to the watercolor series of stamps.  I make a card depicting a house he built here in Florida.  It's not exact, but he knew exactly what it was when I gave it to him.  While I was at it, I made a second card with a few different colors with a similar layout.  The watercolor series of stamps are so versatile!
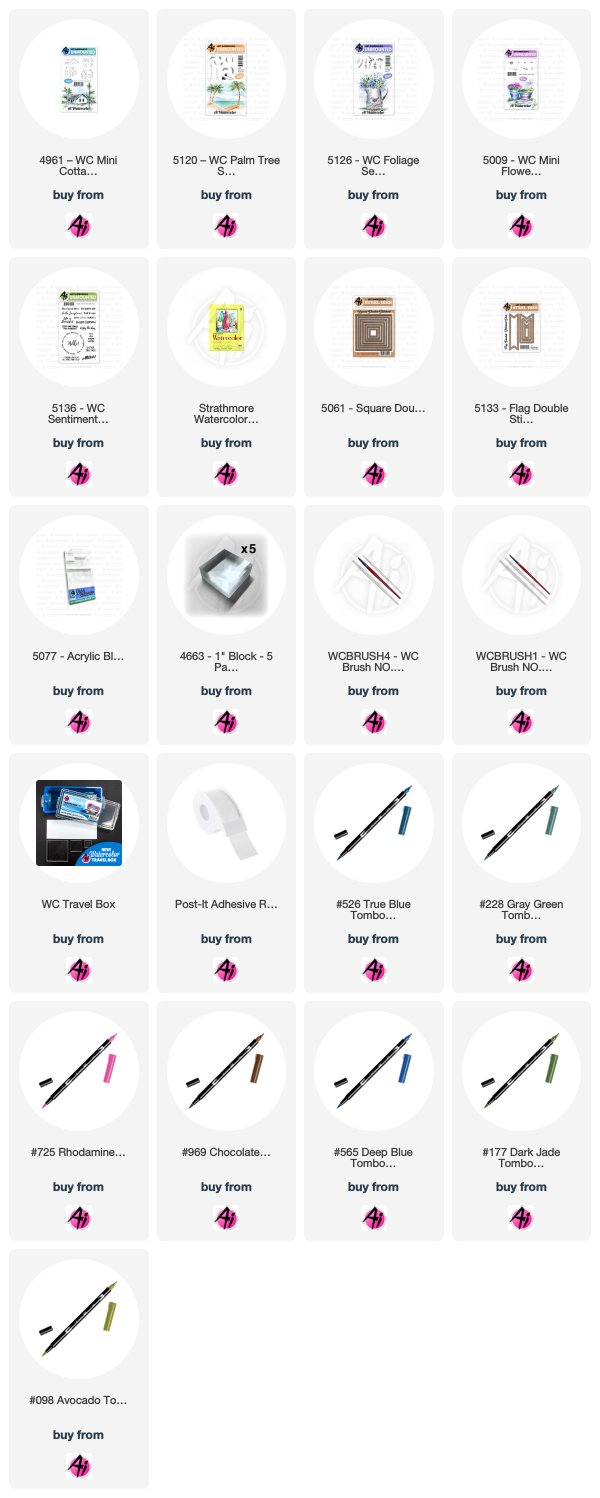
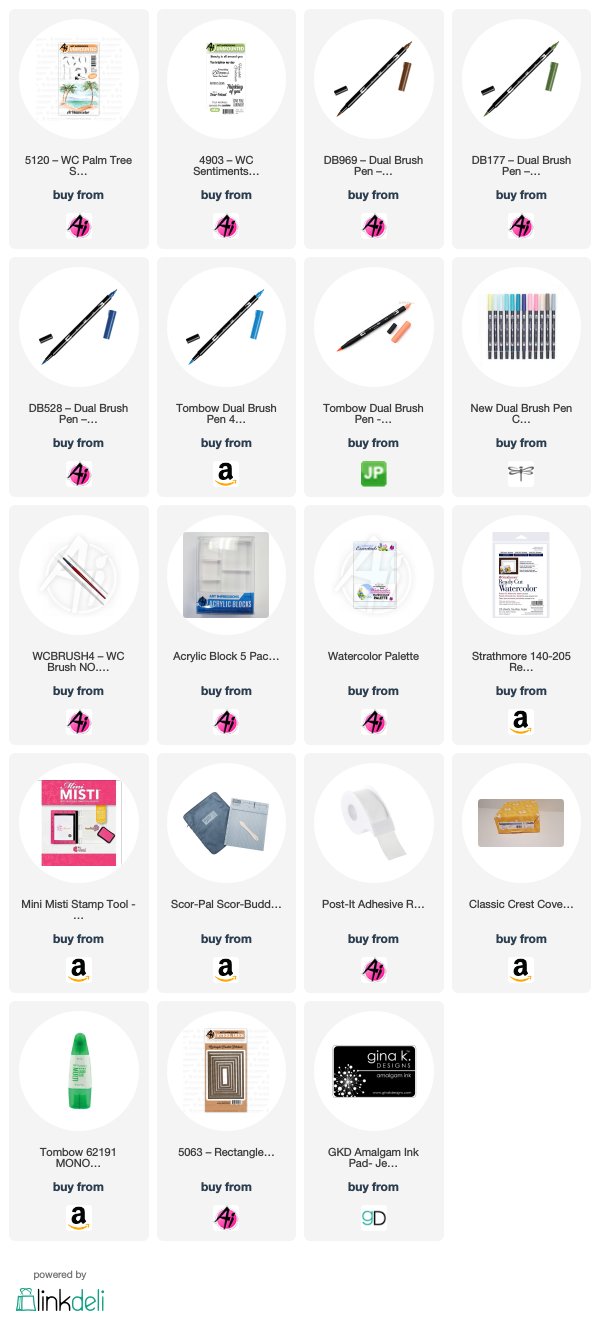
Use the Square Double Stitched dies to cut out a frame from the watercolor paper.  Color the house from the Mini Cottages set with Chocolate and Deep Blue markers and stamp it off to the right side of the inner square of watercolor paper.  Stamp the house onto Post-It Tape and cut it out before applying the mask over the image.  Apply Dark Jade and Chocolate markers to the palm tree and stamp the it over the house. I used my stamp positioner for both of those images.  Remove the mask and use the #1 brush to pull the color from the stamped lines.  Add extra color to the house with the Deep Blue, Avocado and Chocolate markers. Add Grass and Palm leaves with Dark Jade and Avocado and pull the color out with your #4 brush.  Add some tiny flowers with the Rhodamine Red marker.  Add in the sky with True Blue.
The background uses the Palm Fronds from the Palm Tree set and the tiny flowers from the Mini Flowers set.  Randomly apply the palm fronds using the Dark Jade and Avocado markers.  Fill in the blank areas with clusters of the flowers using the Rhodamine Red and Chartreuse markers.  Use the #4 brush to pull out the color.  Add the scene flat to the upper portion of the background and add the white frame around it with foam tape.  Add a sentiment from the WC Sentiment Set 2 that is cut from the Flag Double Stitch Dies below the framed image.


Thanks for stopping by and Have a Great Day!

Saturday, July 20, 2019

Watercolor Weekend Roundup - World Watercolor Month Continued!


Have you been making extra watercolors this month? July is World Watercolor Month (#worldwatercolormonth), so let's celebrate! We all know practicing is so important to build your skills. But it can be so fun, too! Join us in a watercolor adventure by sharing your artwork with hashtag #aiwatercolorchallenge on Instagram, along with Bonnie (@bonniekrebs.biblejournaling)! Ok, inspiration time! Let's see what the design team made especially for today!

Dot Freel - Instagram - Blog - Pinterest
Hello Friends,

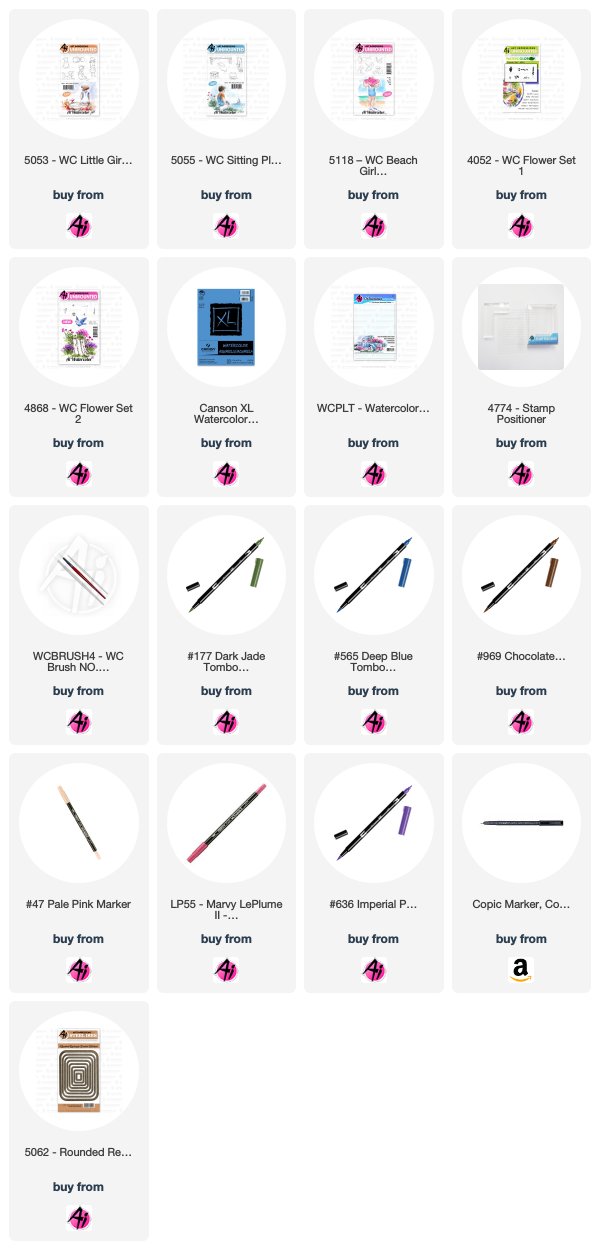
I made this card using Art Impression's stamps for the Watercolor Weekend. I stamped the little girl in 969 from the 5053 - WC Little Girls Set and stamped her off on a piece of scratch paper then stamped her on my watercolor paper. I used the stamp positioner to stamp the bench also in 969 from the 5055 - WC Sitting Places Set. I pulled the color out of the lines, then I watercolored the skin in with No. 47 pale pink, her cheeks in No. 55 iris purple, her hair in 969 and her overalls and headband in 603. I used 67 bubble gum pink to paint stripes on her shirt. I used 158 to watercolor the bench. Next, I stamped the umbrella in 969 from the 5118 - WC Beach Girls Set. I used a ruler and the Tombow twin tone brown fine tip pen to extend the umbrella pole under the bench. I pulled the color out of the lines then colored the umbrella in 158, bubble gum pink and 636. I stamped the small grass with 177 from the 4052 - WC Foliage Set 1 and pulled the color out and up. Then I stamped the flowers in 177, 636 and 55 iris purple from the 4868 - WC Flower Set 2. I used 565 to watercolor the sky and add some shadows under the bench. I used the 5062 - Rounded Rectangle A2 Double Stitched Dies to cut out the scene and background pieces then adhered them all to a card base with double sided tape. I added my name and date to the corner and drew the eyelash with a very fine black pen.


Karen Day - Blog - Facebook - Pinterest
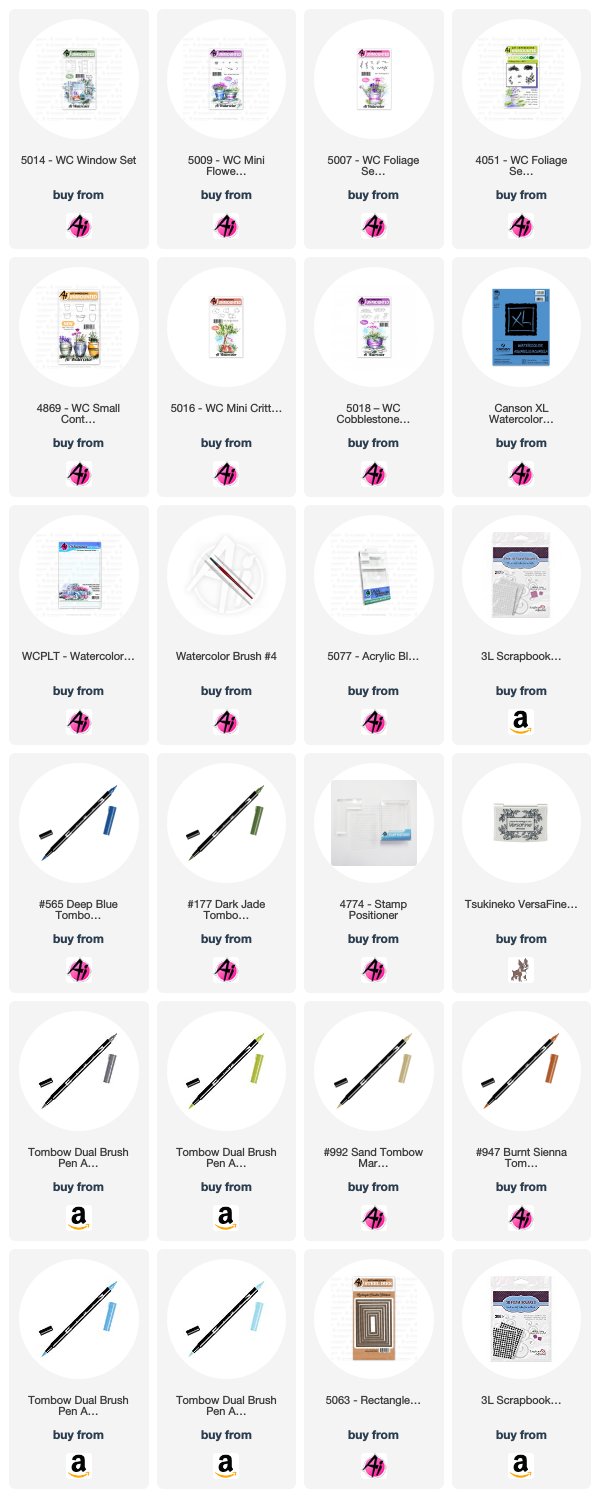
Today I'm featuring the 5014 WC Window Set. The base is cut with a 3 1/4" x 4 1/2" stitched rectangle die, from Canson Watercolor paper, and I started by colouring the smaller window in the set with my N55 Cool Grey 7 Tombow marker, stamping it about 3/4" down from the top edge. Still using the N55, I stamped the kitten from 5016 WC Mini Critter Set on the window sill, and the pot from 4869 WC Small Container Set about 3/4" below the window. I masked off the pot, and stamped the bricks from 5018 WC Cobblestone Set with N55. With the fine point of the marker, I sketched in the curtains directly on the paper. (If you're nervous about adding details with a marker, use a pencil to get it exactly as you like, first!). I used my damp #4 paintbrush to pull the colour out of all the lines, dragging it towards where the shadows would fall. I scribbled 992 Sand onto my palette, and painted it in streaky strokes to suggest weathered wood on the shutters. I used 947 Burnt Sienna to add colour to the kitty, and the terra cotta pot, going in a second time to add another layer of colour where the shadows would be. With 177 Dark Jade and a sprig from 5007 WC Foliage Set 3, I created the vine leading up from the pot, through and over the shutters, adding a few smaller sprigs using the tiny greenery in 5009 WC Mini Flower Set to fill in a few areas. With 533 Peacock Blue/177 Dark Jade I coloured the floral cluster from the Mini Flower Set and added it to the pot. With the tiny dotted flowers from the set, and the 533 marker, I put clusters of flowers throughout the vine. I dabbed all the foliage with my damp brush to soften all the lines. With the tiny grass from Foliage Set 4051, and my 126 Light Olive, I added grass around the pot & cobblestones, then pulled out the colour to add a suggestion of a grassy area on the ground. I picked up 565 Deep Blue from my palette to paint in the shadows on the window, around the shutters and cobblestones to add a little depth to my scene. You really can't see it in the photos, but there is a faint wash on the wall of 491 Glacier Blue, which softens the look of the wall quite nicely.

Tricia O'Bin - Blog - Instagram - YouTube - Pinterest - Facebook
Hi AI Fans, welcome back to Watercolor Weekend! I decided to try out a design that I fell in love with when I was young. We used to go to the beach and they had a guy who airbrushed license plates, shirts, hats etc. This was a design that I just loved and always wanted so I decided to re-create it using my AI watercolor stamps. I call it Silhouette Stamping. It was so easy and fun, I hope you will give it a try.

Here is how I did it!

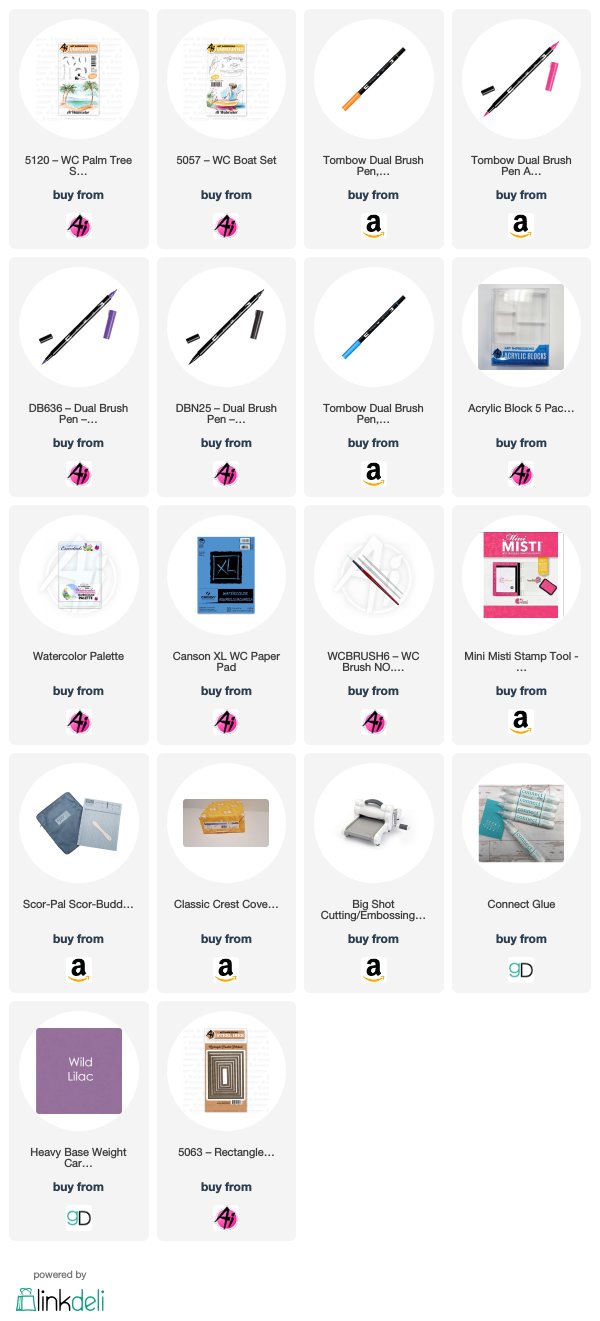
I began by adding PINK to my palette. I added water and painted from the horizon line up sporadically using a horizontal brush stroke. I left lots of white space. I added another layer of PINK to it. Once that dried I repeated the same steps with the YELLOW, PURPLE and GRAY. 

I added BLACK to the horizon line with my paint brush. I added water to my PINK, YELLOW, PURPLE AND BLUE and painted a light wash of each color for my reflection in the water below the horizon line. I made the YELLOW a little darker near where the sun would be. 

Once that was completely dry, I inked up the large palm tree with BLACK ink. I stamped it below the water. Using my brush, I pulled the color out of the left side of the tree to create dimension. I re-inked the stamp and stamped it again to the right of that tree, angling it so the tops weren’t too close. I again pulled the color out of the left side of the tree.

Using the left and right palms, I inked them up using BLACK ink and stamped them several times on each side of each tree. To create the palms closest to the tree trunk, I only inked the end of the stamp. I used a damp #2 brush to pull the color out of each of the palms using a brush stroke.

I added BLACK to my palette and created the sand using a horizontal brush stroke. I put the sailboat on my small acrylic block and inked it up with BLACK ink. I stamped it off once and then stamped it into the middle of my sky. Using my #2 brush pulled a small amount of color from the left sides of the sails and the bottom. I also added some black beneath the boat for a shadow. Finally, I signed and dated it.

Once the painting was complete, I cut it out using my Stitched Rectangle Die. I added it to a 4.25 x 5.5 inch card made from Gina K Designs Wild Lilac cardstock with GKD Connect Glue.

That’s it, easy peasy! Tag us on Instagram and let us see what you are up to!

Have a crafty day!


Don't forget to leave a comment to tell us what you like about these projects! Also, remember to join the fun with our #aiwatercolorchallenge!

Happy Stamping!

Saturday, July 6, 2019

Watercolor Weekend Roundup - July is World Watercolor Month


Hello, Ai Watercolor Fans! Did you know that July is World Watercolor Month? How cool is that! We hope today's projects inspire you to break out your stamps and play to celebrate the occasion all month long. Without further ado, here is your weekend inspiration!

Dot Freel - Instagram - Blog - Pinterest
Hello Friends,

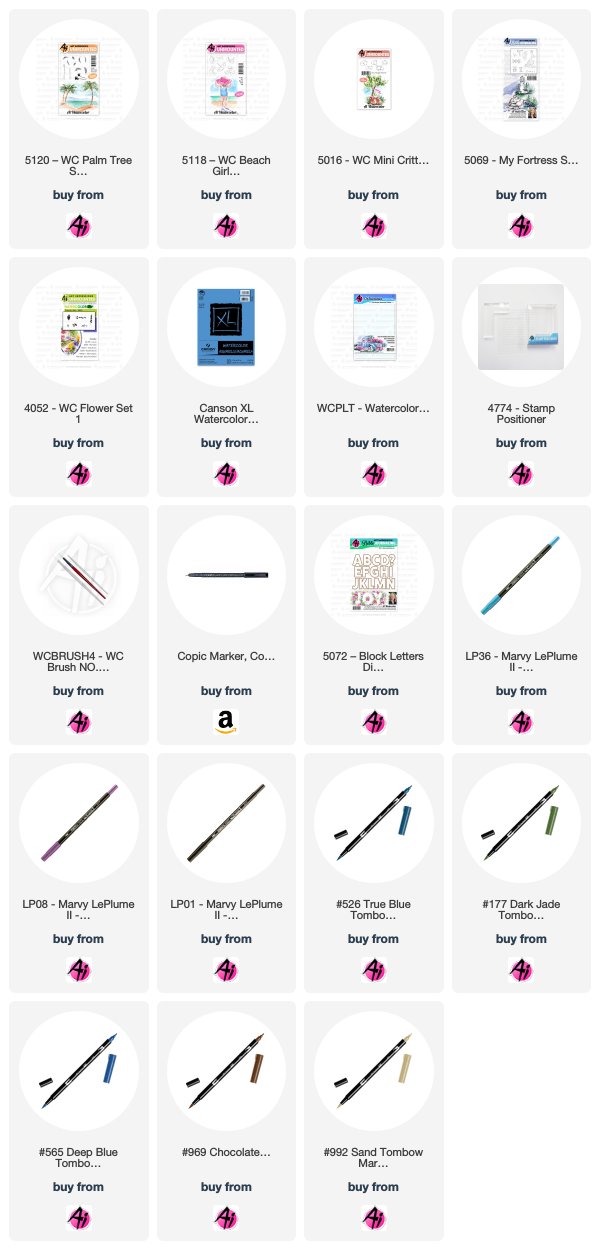
I made a "Beach Babe" with Art Impression's stamps for the Watercolor Weekend. Summer in Las Vegas always finds me wishing I was on a beach where I can cool off in the ocean. I stamped the palm tree trunks in 969 from the 5120 - WC Palm Tree Set first, then I used a pencil to sketch in the lines for the ocean and the sand. I watercolored in the sand with 992 and the ocean with 526. The water was too light so I added some 565 which darkened it nicely. I stamped the palm fronds in 177 and pulled the color out of the lines. I watercolored the sky using No. 36 manganese blue and stamped the birds in 565 from the 5069 - My Fortress Set. I stamped the beach babe in 992 from the 5118 - WC Beach Girls Set and the puppy in 992 from the 5016 - WC Mini Critter Set. I used 77 pastel peach to color in the girl's skin and 603 to color in the girl's hat and suit. I used 969 and No. 1 black to color in the puppy then darkened his eyes and nose with the fine tip of a Copic multi liner pen. I stamped the flowers in No. 6 violet from the Flower Set 4052 and touched them with a wet brush to bring out the color. I used 565 to create the shadows. I used letters from the 5072 - Block Letters Die Set to cut out the word "beach" and then used adhesive foam to give them dimension. Lastly, as always, I added my name and date to the corner.

Karen Day - Blog - Facebook - Pinterest
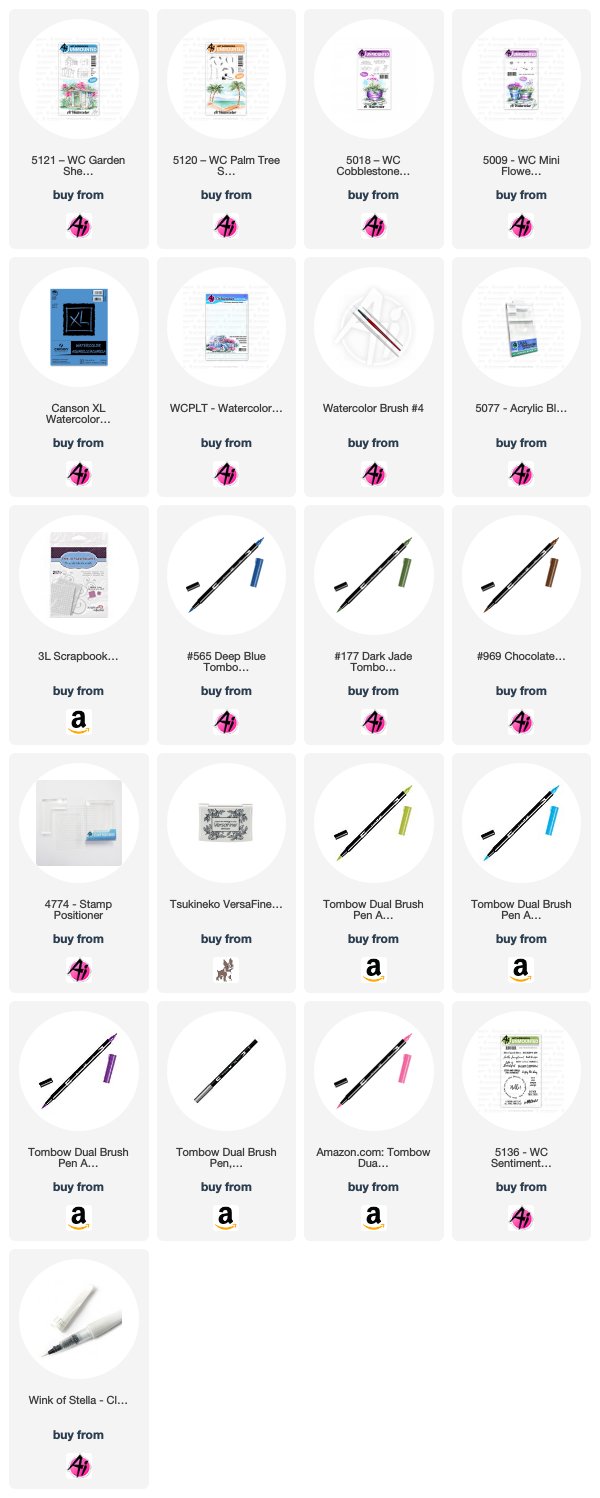
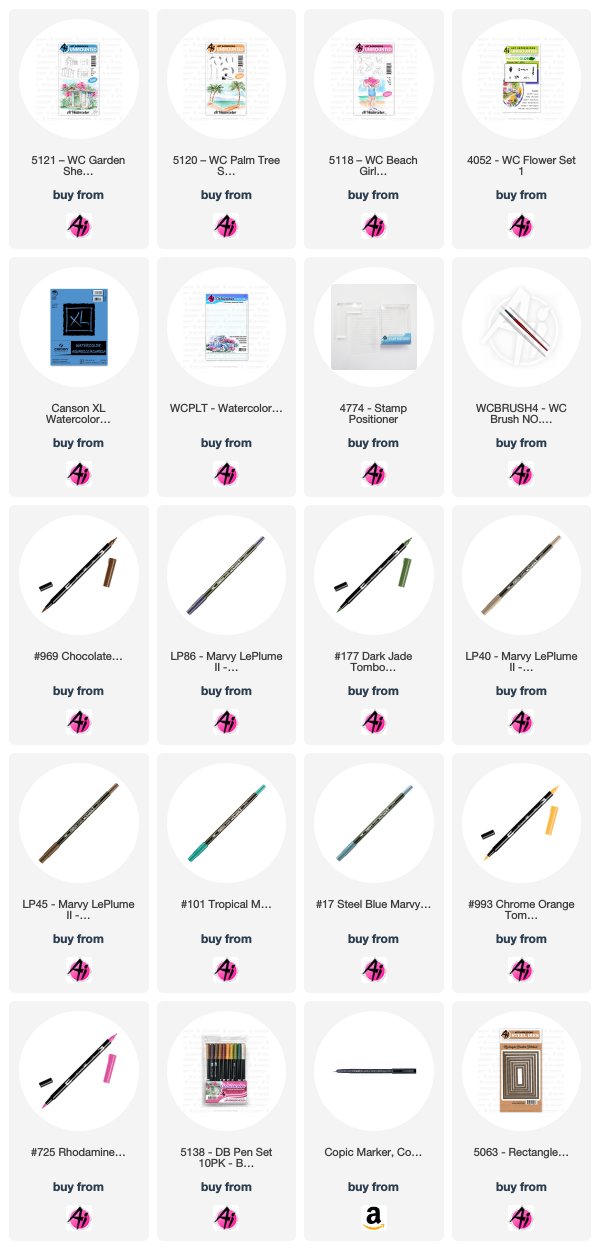
This little shed from the 5121 WC Garden Shed Set looks like a beach hut to me, so I stamped it using my Tombow marker #969 Chocolate. With #676 Royal Purple and #703 Pink Rose, I stamped the tiny dot cluster from 5009 - WC Mini Flower Set in and around the hut, to suggest tropical flowers, and added the tiny foliage stamp with #158 Dark Olive for greenery. From the 5120 - WC Palm Tree Set, I used the two trunk images with #969 to add the trees behind the hut, then with #126 Light Olive and #158, I added in the different palm fronds. Using my #4 paintbrush, I pulled out the brown of the trees and the shed, and only lightly touched all of the flowers and foliage to liven the colours. I painted the hut with #991 Light Ochre, and a bit of #969 to suggest painted wood, and added #515 Light Blue to the door and painted it to suggest the ocean in the background. I used #N65 Cool Grey 5 and the stepping stone image from the 5018 - WC Cobblestone Set in front of the hut, and then painted a wash with #126 to indicate the grass. I added #565 Deep Blue to my palette, then painted in the mountains, a soft sky, and added it around all of the images to indicate shadows. I stamped the sentiment from 5136 - WC Sentiment Set 2 using Versafine Onyx Black ink, then mounted my image onto the base using pop dots. I layered some paper flowers and a wooden button to the bottom corner of my card, along with a few loops of May Arts twine. The paper flowers and the flowers on the image were all touched with a Wink of Stella pen, so they're quite shimmery in person! And you can't really tell in the photo, but that background paper has tone-on-tone sunglasses all over it.

Tricia O'Bin - Blog - Instagram - YouTube - Pinterest - Facebook
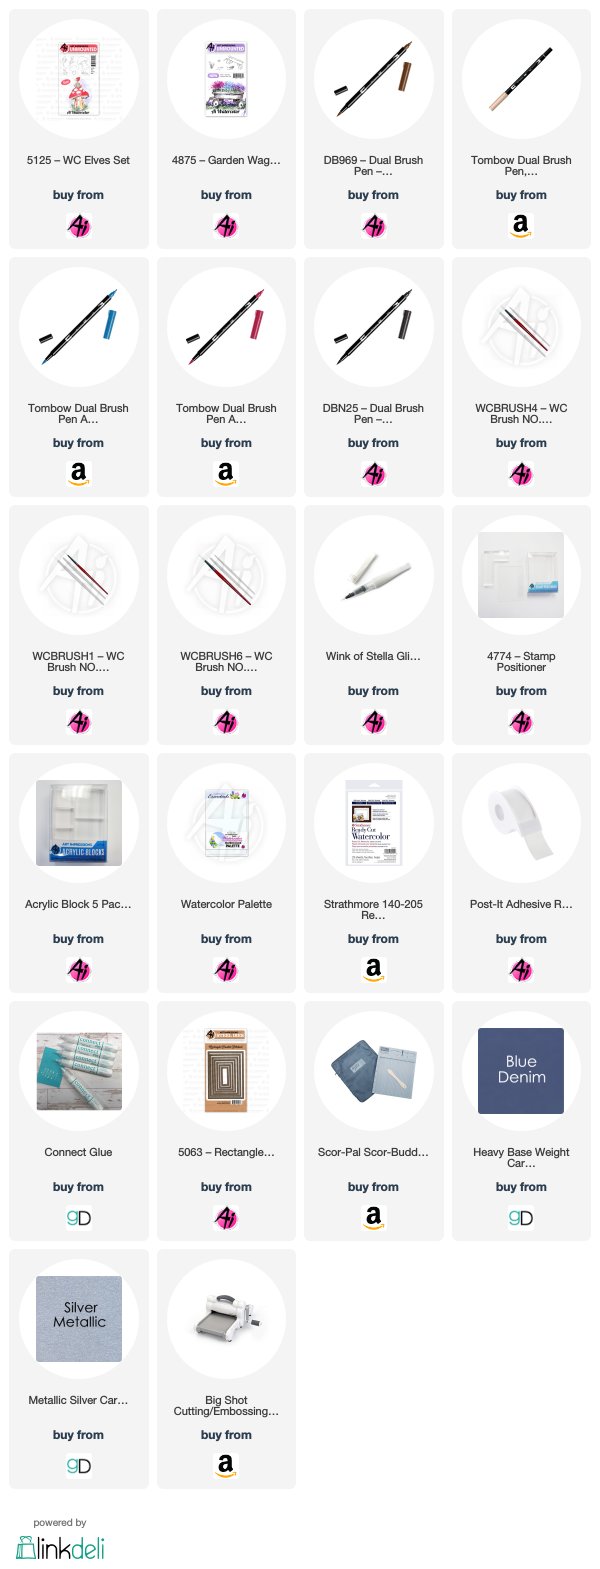
To begin, I inked the elf with the 969, stamped it off and then stamped the him to the right of the middle of the paper. Using a mask to protect him, I inked up the mushroom with the 969 and, using my positioner, stamped it underneath the elf.

I pulled the color out of the lines of the elf and the mushroom. I added some additional 969 from my palette to add some shadows onto the mushroom. I added some 954 to my palette and added it to the arms and face of the elf. I added some 969 to his pants and 535 to his shirt, adding shading around the bottom of his shirt.

I decided that it would be fun to try to use the long grasses from the 4875-Garden Wagon Mini set to create some fireworks. I am always looking for ways to stretch my stamps and this was perfect. I inked one of the grasses up with 847-Crimson and stamped it in a sort of circle a few times without re-inking, being careful not to ink the small flowers on the ends of the stamp. I did the same with the 535-Cobalt.

To create the fireworks look, I pulled the color out as far as I could in a wispy motion. I tried to pull the color out as far as I could in all directions. I added some additional red and blue to the mushroom as a type of reflection. Next, I added some N25 to my palette and slowly built up the color in the background. To add some sparkle to my fireworks, I added some Wink of Stella.

I cut the piece down using my Stitched rectangle die. I used some Gina K Designs metallic silver paper for the base and Blue Denim cardstock for the frame. To see how to create the gate fold, Jennifer McGuire does it perfectly...check out her blog here.

We LOVE to hear what you think about our bimonthly projects! Share a comment below, and we hope you can whip up a little watercolor time this weekend! Also, did you see that Bonnie (@bonniekrebs.biblejournaling) is hosting a Watercolor Challenge on Instagram that we hope you'll join! Simply use #aiwatercolorchallenge on your Instagram post so Bonnie and Ai Fans can see your work!

Happy Stamping!

Wednesday, June 19, 2019

NEW VIDEO! Beach Scene with Circle Frame + HSN Thank You

Hello Ai Fans!

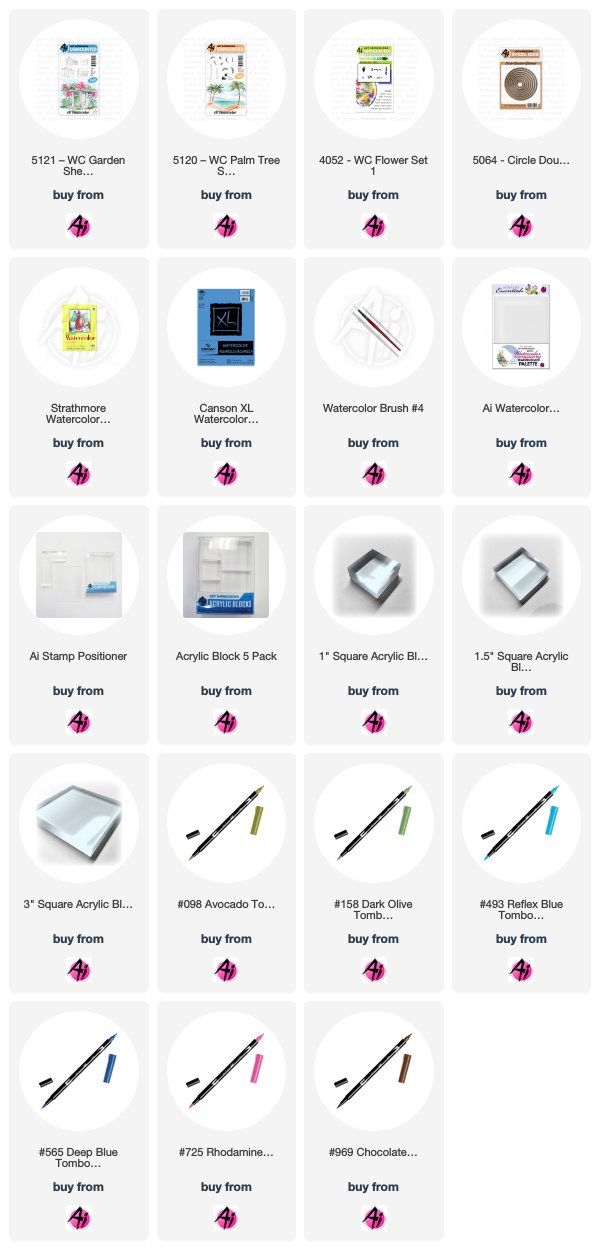
We are back for a NEW Watercolor Wednesday! This week, Bonnie creates a watercolor circle frame to view the tropical, beach scene on the inside of her card! She used our Circle Double Stitched Dies to create a frame and opening in the front of her card, then used the inner circle to watercolor a beach shanty beside the water, with a palm tree hanging over the top.

WE WANT TO KNOW - Do you use die cuts on your Watercolor designs? Click over to this video and leave a comment! We love when you share what you are creating with us!


View on YouTube: https://youtu.be/DXdcAWHP6r8


Saturday, June 1, 2019

Watercolor Weekend Roundup - Happy June!

Hello, Ai Fans! Happy June! It's the first of the month, and also the first Saturday - time for a lovely roundup of projects! Today our team is here to feature bicycles and sunny scenes in their creations! Let's take a look.

Dot Freel - Instagram - Blog - Pinterest
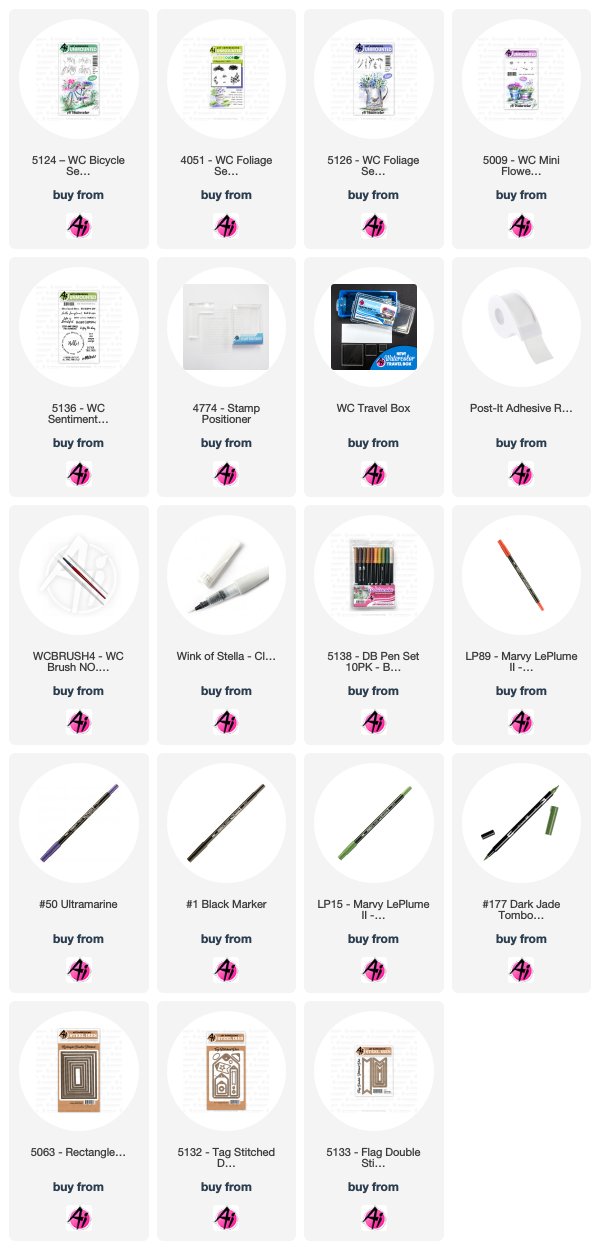
I'm pretty certain my love for anything patriotic started in 1976 in my hometown of Canon City, Colorado when our town celebrated the bicentennial year in a big way! I just put out my red, white and blue decorations in my house and that influenced this idea for my card for the Art Impression's Watercolor Weekend. I stamped the bike from the 5124 - WC Bicycle Set three times using both brown 969 and 86 African violet and a mask made of post-it paper. Next, I pulled the colors out of the lines on each bike then watercolored the red and blue bikes from the palette using NO. 89 persimmon and NO. 50 ultramarine. I stamped flowers from the 5009 - WC Mini Flower Set to fill the baskets using the same colors as the bikes. The foliage for the baskets and on the ground was from the 5126 - WC Foliage Set 4 and from the 4051 -WC Foliage Set 1 stamped in three greens - NO. 15 olive green and 177. I used NO. 1 black to watercolor the bike tires. I used African violet to watercolor the shadows under the bikes. I used a fine tip Copic marker to draw the flag and colored in the red and blue from the palette. The sky was watercolored using NO. 50 ultramarine. I cut out the picture and a background blue piece using the 5063 - Double Stitched Rectangle Dies and adhered it to my card base. I cut out a frame from red paper. I stamped the sentiment from the 5136 - WC Sentiment Set 2 and then cut it out with a die from the 5132 - Tag Stitched Dies Set. I used a flag die from 5133 - Stitched Flag Set to cut out the red and blue tags that I adhered to the back of the sentiment using a glue dot. I made the bow for the tag and then used foam to adhere it to to the front of my card. I used a Wink of Stella pen to add some glitter to all of the flowers. The last thing I did was sign and date it.

Karen Day - Blog - Facebook - Pinterest
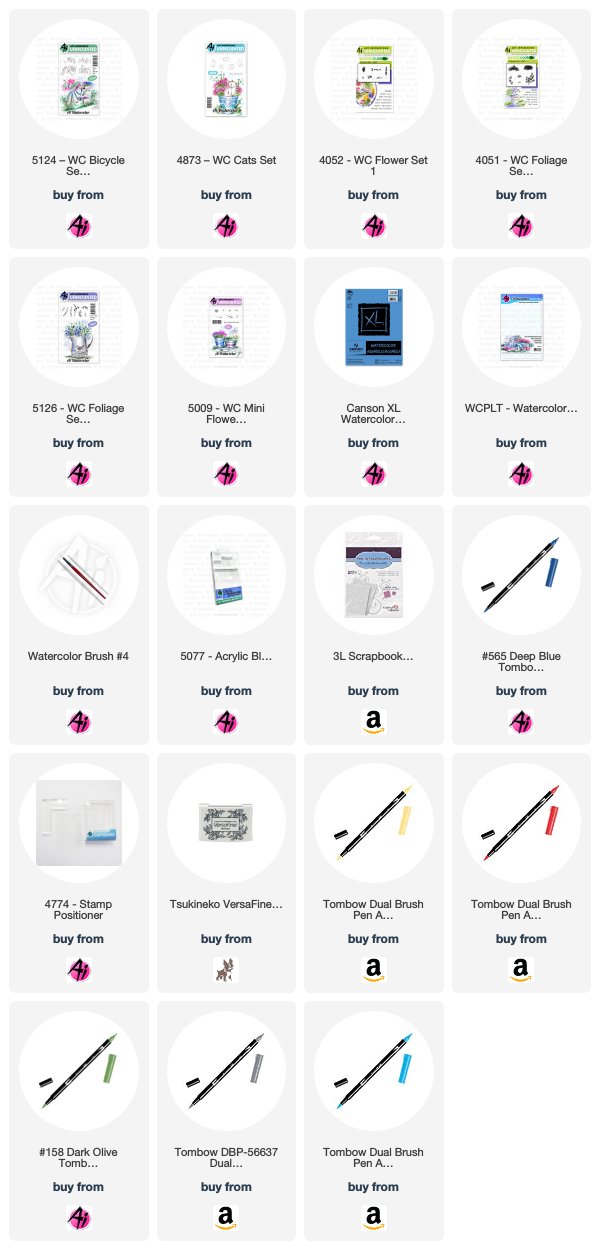
It's my first time painting the new-for-2019 #5124 WC Bicycle Set and I've paired it with the #4873 WC Cats Set. I began by colouring the bicycle with my #N65 Cool Grey Tombow Marker, and stamping it onto my watercolour paper. I pulled out the colour with a damp #4 brush, leaving more colour where the shadows fall. I was careful not to colour a portion of the rear tire, leaving a space to stamp my cat with the help of my stamp positioner (also in #N65.) Using the trailing vines from the #5126 WC Foliage Set 4 and my #158 Dark Olive marker, I stamped them several times in the bike's basket without reinking. With the floral cluster from the #4052 Flower Set, I stamped multiples with #565 Deep Blue in the basket and around the wheels. From the #5009 WC Mini Flower Set, I used the cluster of tiny flowers, and stamped them into the 2nd basket, using #158 & #565. Also from the Mini Flower Set, I used the dot cluster in #991 Light Ochre, filling in the basket and around the tires. I used the tiny foliage stamp with #158 to fill in some greenery, and then used #856 Chinese Red/#158 to add the tall flowers to the basket. With a damp brush, I dabbed the flowers & greenery, not wanting to lose the definition of the images. Using the two longer grasses from Foliage Set 4, and the small grass from the #4051 Foliage Set, I added grasses around the tires & cat, and then pulled out the colour with my paintbrush to add a green wash on the ground. Taking #565 from my palette, I painted in the sky and added shadows to the bike, ground and cat. I wanted just a touch of colour on the bicycle, so I picked up #515 Light Blue off of my palette and added it to the metal parts. I used #850 Flesh to add colour directly to the cat's ears. I die cut my image with a Wonky stitched square die, matted it with dark blue cardstock and adhered it to my base with pop dots. The final card is 5 3/4" square.


Tricia O'Bin - Blog - Instagram - YouTube - Pinterest - Facebook
Hi Ai Fans, welcome back to another Watercolor Weekend! This weekend I decided to create this card using only 2 stamps sets, the Palm Tree Set and the WC Sentiments set. It reminded me of my recent vacation to Aruba. I call this card “Palm tree kindness”.

Project Details
Step 1: I inked up the large palm tree with 969 – Chocolate and stamped it to the left side of the card. I re-positioned it to be curved to the opposite way, re-inked it with the 969 and stamped it on the right side. 
Step 2: Then, I inked the small palm tree up with the 969 and stamped it to the left of the large palm tree on the left. I re-inked it and stamped it a little higher between the two palm trees. Taking my damp paintbrush and pulled color from the right side of each of the palm trees. I made sure to pull a little bit of color out of the bottom of the trees.
Step 3: Next I inked up the large palm tree leaves (left facing) with 177 -Dark Jade and stamped it several times to the top left of the large palm trees. I then inked up the large palm tree leaves (right facing) with 177 and stamped it to the right side of the large palm trees. I added water to the palms.
Step 4: Using the smallest palm leaves, I inked each side up and stamped it on either side of the smaller palm trees. I added a small amount of water to them.
Step 5: Using my palette, I added 873 – Coral and 969 around the trees making sure to leave white space for the sand.
Step 6: Again, using my palette, I added some 476 – Cyan to the bottom third of the card for the water. I started with it really watered down and then continued to build the color up slowly, using brush strokes to make wavy lines leaving white space (for white caps) and bringing the color to the sand.
Step 7: I added 528 – Navy Blue to my palette and watered it down. I jumped it around to create a sky. I slowly built the color up.

Card Details
I cut the piece down to 5.25 x 4. I placed it in my MISTI and inked the sentiment with Gina K Designs Amalgam Black Ink. I stamped it in the top right corner.
To create the frame, I traced around a large rectangle die and another smaller die to give me a guideline. I drew in some sporadic lines using 969 making sure to go outside of the guidelines. I used water to pull the color out of the lines to resemble wood. Once it was dry, I ran it through my machine using the large die. I then placed the smaller die down and ran it through my die cut machine. This created a frame that I glued in place with liquid adhesive.
I added the piece to a white 5.5 x 4.25 note card using a liquid adhesive.

This is a really easy card to create with very minimal supplies. I hope you will give it a try. Make sure to tag us on Instagram with #AIWatercolor and (@artimpressions, @dotjiris & @tobin0971). We would love to see what you create.

I hope you take some time for yourself and watercolor. Thank you for stopping by, I really am blessed by all the social media love and the incredibly supportive crafting community!


Thank you for the beautiful projects, team! These bicycles are just gorgeous with overflowing flowers and we love the ocean scene, too!

We hope we inspired you to break out your watercolor stamps this weekend!


Happy Stamping!

Saturday, May 18, 2019

Watercolor Weekend Roundup - Sweet Sentiments

Hello, Ai Watercolor Fans! It's a beautiful Saturday morning, and time to share beautiful projects from our design team to inspire your creations this weekend! Let's take a look!

Dot Freel - Instagram - Blog - Pinterest
Hello Friends,

Here's the card I made for the Art Impression's Watercolor Weekend. It could be my granddaughters on their trip to Hawaii in March. I stamped the shed from the 5121 - WC Garden Shed Set using both 86 African violet and brown 969 after I stamped it off on a scratch piece of paper first. I used the brown to color in the roof and door knob area. I used 17 steel blue to watercolor the shed and the windows. I stamped in the palm trees from the 5120 - WC Palm Tree Set with the brown and green 177. I used the smallest palm frond to stamp the ground cover and then used the flowers from the 4052 - WC Flowers Set 1 in the pink 725 for the flowers. I used 101 tropical with a touch of green mixed in to color in the water using straight strokes and brown to watercolor the sand. I stamped the little girls from the 5118 - WC Beach Girls Set using the 40 brownish grey then colored them with yellow 993, 77 pastel peach, steel blue, pink 725 and brown 969. I stamped one flower at a time with the pink for the swimsuit and then added a yellow dot in the centers. I used the fine tip of the 45 sepia to add hair strands to both girls. I used 86 African violet to add the shadows under the girls, trees and house. I used very little of the blue and a lot of water to color in the sky. I cut out the picture using the 5063 - Double Stitched Rectangle Dies and adhered it to my card base. The last thing I did was sign and date it.

You can find more inspiration by following me on my Instagram account here.


Karen Day - Blog - Facebook - Pinterest
I've had the idea for the dress card floating around in my head for awhile. I wanted to use the Ai floral & foliage stamps to create a sort of life-like embroidery look, and kept going to create a grouping of wedding themed items. I sketched the outline of my dress in pencil, directly onto my watercolor paper, and indicated where I wanted the higher points around the hemline to be as a stamping guide. Using the Daisy Bunch in Flower Set 4052 and my #703 Pink Rose marker I stamped it three times without reinking, multiple times around the hem, and again on the neckline. I repeated this with the tiny cluster from 5009 WC Mini Flower Set in #676 Royal Purple. For my last flower, I used the Mini Foxglove from Flower Set 4052 and #533 Peacock Blue, stamping it three times in a row to create the flower stalk. With my #126 Light Olive marker, I coloured just the tip of both of the trailing ivy stamps in 4876 WC Foliage Set 2 New to fill in the greenery, making sure to change directions to keep it looking random. I used my damp #4 paintbrush to dab at each of the flowers & foliage to soften each image and enliven the colours. It then became apparent where the holes were on my 'embroidery', so I used the small green from 4876 WC Foliage Set 2 and #158 Dark Olive to fill in those white spaces. I left these as is, not using my paintbrush, as it defined the shape of the foliage a bit more. I traced the pencil outline of the dress with #533, and used this colour with my brush to add some shading. I picked up #565 Deep Blue from my palette and painted a background wash around the dress. I went in with all of the markers directly onto the image to add in a few deeper colours. The sentiment is from WC Sentiment Set 2, stamped in Versafine Onyx Black. I used my sewing machine to stitch the panel to some coordinating cardstock and adhered it to my base with pop dots, then glued on some iridescent sequins. 
The colours and stamps are all the same for my other two projects. For this card, I sketched in the cake and the table, just adding foliage to each layer. I sketched in a heart as my cake topper, and painted in a few ripples on the tablecloth. I stamped this sentiment separately, matting and stitching around it, and adhered it with pop dots going off the right edge. 
As a fun little add on, I painted a bouquet and drew in a ribbon bow underneath it to use as a placecard.


Tricia O'Bin - Blog - Instagram - YouTube - Pinterest - Facebook
Welcome back AI fans to Watercolor Weekend! I wanted to do a simple project for this weekend, so I decided to do this Simple Things Vase. This project is really easy and quick. I have done a video for you to show you just how quick. 

Project Details

Step 1 – Ink up the Vase from the WC Decorative Vase Set with Blue. I wanted my vase to be white so I am using the tombow 569 but you can use any marker you may have. Bonnie Krebs uses 565 a lot in her videos. I stamped it to the left side of my paper to allow room for my sentiment. Next, pull the color out of the lines along the right and left side of the vase. This creates the illusion of the vase being round. I wanted the area under the spout and the right side under the handle to be really dark.

Step 2 – Cover your vase with a mask, I am using a piece of Post-It tape. Stamp in your foliage. I am using the leaves from the Foliage Set 4, but you can use any foliage/vines you may have in your collection. This is the greatest part of Art Impressions watercolor line; all the stamps can be used together for any project. Therefore, you don’t have to feel like you can’t create this project because you don’t have the exact stamps I am using. I inked them up with 158 and stamped them a few times. Add water to the leaves.

Step 3 – Ink the flowers with a color of your choice. I used the Daisy Bunch from the Bible Flowers Set inked with 905. I only inked up the top 3 flowers and stamped them in a circle a few times. Stamping items in groups of three is visually appealing so I stamped one in the middle and one on each side of the vase. Add water to the blooms.

Step 4 – To create a little more interest, I used the vine from the Bible Foliage set to create different leaves around the blooms. I inked it up with 249 and stamped it several times around each of the blooms. Add water to the leaves.

Step 5 – Ink up the dots (they remind me of lilacs – although I keep calling them violets LOL) with a purple. Unlike the daisy bunch, this stamp is walked out to create the lilac. Again, I stamped three different blooms. Add water to the blooms. I added a small amount of 569 from my palette underneath the vase to ground it and create a shadow.

Step 6 – In order to create some additional interest, I added the accent flowers to the vase. This created some height and I just love how they look on any project. I inked them up (I used the left and right stamp) with the 379 and stamped them several times around the vase. No need to add water to these.

Lastly, I signed and dated it. 

Card Details

I stamped the “It’s the Simple Things” to the right side of the panel using a sentiment from the WC Sentiments 2 set and some Gina K Designs amalgam ink. I thought it needed a little something more, so I added a flower to the bottom right side of the sentiment. This was done using the lilac stamp and the vine. 

Easy peasy right? I think so. We hope you will join us this weekend and show us your creations on Instagram using #AIWatercolor. Check out the video here if you want to paint along with me.


Thank you so much for stopping by and I hope you have a creative weekend! See you soon!


Thanks, team! These projects are all so gorgeous! From beachy scenes to hand-drawn elements to customize your creations, to a lovely floral arrangement with video tips! What an awesome day! Be sure to leave a comment below so we can hear what you enjoyed about this week's installment. We'll see you again soon!

Happy Stamping!


Wednesday, May 15, 2019

NEW VIDEO! Patterned Beach Umbrella Watercolor

Hello Ai Fans!

The summer weather is upon us, so it's time for another tropical Watercolor Wednesday! This week, Bonnie creates a little girl playing in the sand, with a patterned beach umbrella above her. Bonnie uses the branches of our WC Palm Tree Set to create the design for the umbrella, perfect for any beach scene!

Don't forget to subscribe to our channel and click the "bell" to be notified of our new uploads! We love it when you join our Ai Watercolor subscribers, and we always enjoy bringing you new ideas!

Have a sunny Watercolor Wednesday!


View on YouTube: https://youtu.be/zICudN3_l-Y


Wednesday, April 10, 2019

NEW VIDEO! Beach Shack & Girl Watercolor

Hello Ai Fans!

Can  you tell we're ready for summer? It's another tropical paradise for Watercolor Wednesday! Bonnie transforms our WC Garden Shed into a beach shanty with swaying WC Palm Trees behind it, with an adorable little girl playing in the sand in the foreground.

What's your favorite tropical location? Leave a comment on this video over on YouTube so we can dream of sunny days with you!

Have a sunny Watercolor Wednesday!


View on YouTube: https://youtu.be/YWdg92zY9fE