Showing posts with label WC Mini Critters Set. Show all posts

Sunday, December 6, 2020

Winter Critters card by Reneé Matarese

 Hello Ai fans!

Today I'm sharing a card that used several different sets from Art Impressions. 

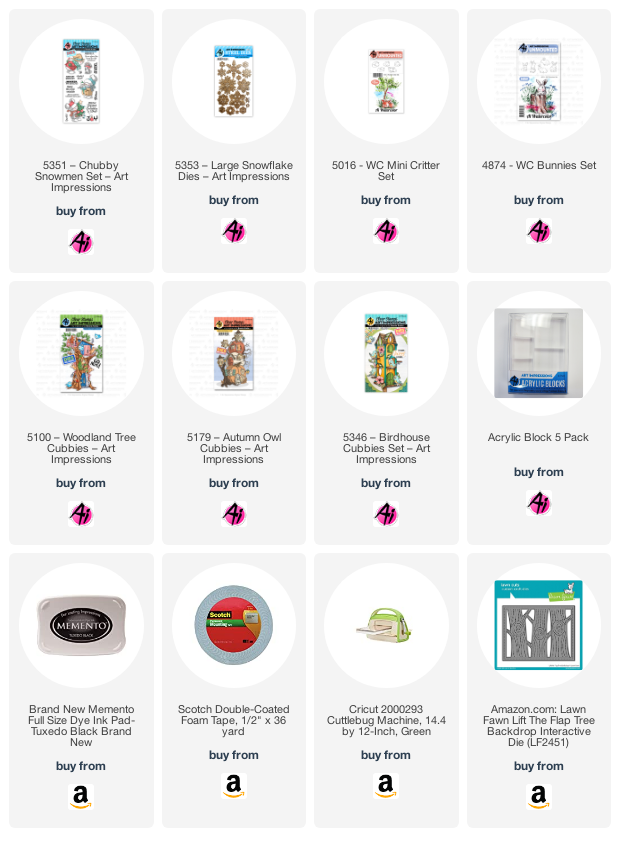
5346 – Birdhouse Cubbies Set
5179 – Autumn Owl Cubbies
5100 – Woodland Tree Cubbies
4874 – WC Bunnies Set
5016 – WC Mini Critter Set
5353 – Large Snowflake Dies
5351 – Chubby Snowmen Set

My house is set back in the woods and I love all the nature I get to see.  This is a typical day in my yard if you add a random flock of turkeys and the occasional bear!

I made two versions...the one above with glitter glue for the snow and the one below where I used white glitter paper and a very old Sizzix snow/sand die.


Aren't the delicate snowflakes beautiful? 
I love the new large snowflake die set.


The fun thing about nature's critters and winter is you can always tell who's been to visit overnight when you find their tracks in the snow the next day.


My son used to see a barn owl flying outside his window for years.
And the squirrels and chipmunks??  Well, they consider it their life's mission to drive my dogs crazy!


I hope you love all of these sweet little animals as much as I do!


Copics used:
C0, C4, N1, YR16, E30, E33, E74,
RV00, RV34, RV52

Wednesday, October 30, 2019

NEW VIDEO! Winter Swing with Cat Watercolor

Hello Ai Fans!

Welcome back! We missed you so much we came out with another Watercolor Wednesday! 😉

We are excited about a special launch with this new video! We will now offer Bundle Discounts with every new Watercolor Wednesday! How does it work? We will offer 2-3 of the sets shown in our latest YouTube tutorial at a 20% discount for the full week after the video launch! Occasionally, we will offer add-on items at a 10% discount when you purchase the bundle!

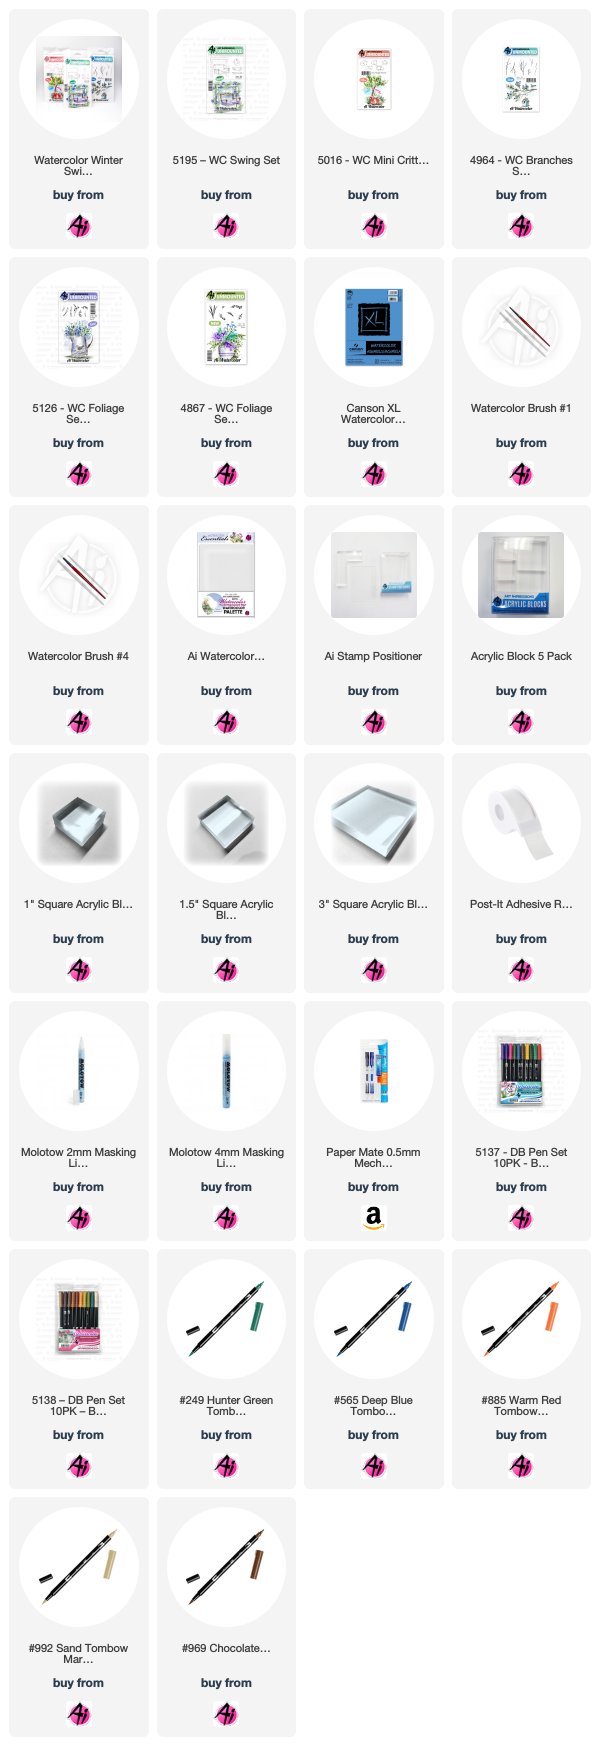
For example, this week you can purchase the WC Swing Set, WC Mini Critters, and WC Branches Set together for $48.26 (normally $60.32 on our website!). If you buy the bundle, you can click the checkboxes on the product listing to add on the WC Foliage Set 2 or WC Foliage Set 4 for $16.51 each (normally $18.34)!

Once the week is up, our video bundles will still be listed at a 10% discount! Just another way you can view our videos and get started on this fun technique! Such as this tutorial, where Bonnie creates a square scene with a wooden swing and sleepy kitty, surrounded by a snowy, winter landscape!

We are excited for the holiday season and this video is now added to our Winter Watercolor playlist! Hop over to YouTube to watch all 23 videos and find inspiration for the most cardmaking time of the year!


View on YouTube: https://youtu.be/o2gXyFvuE1U


Wednesday, July 24, 2019

NEW VIDEO! Window Composition Watercolor

Hello Ai Fans!

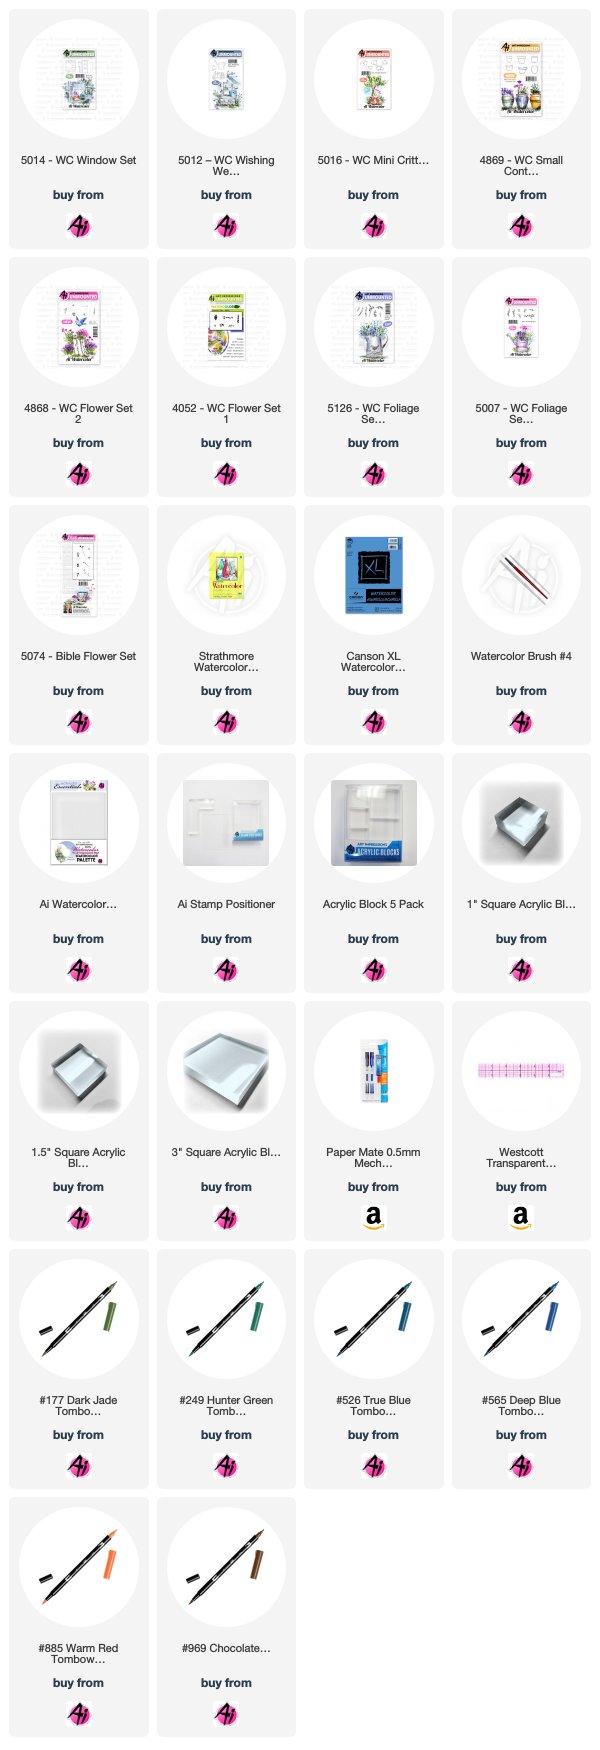
Welcome to a NEW Watercolor Wednesday! This week, Bonnie combines a few of our watercolor sets to create a beautiful WC Window Set composition. She adds a hanging basket from our WC Small Container Set, a watering can from our WC Wishing Well Set, and a sleepy kitty from our WC Mini Critters Set! Check out the full YouTube video for this challenge project to combine a few elements your watercolors!


View on YouTube: https://youtu.be/m9ustau0UrM


Saturday, July 20, 2019

Watercolor Weekend Roundup - World Watercolor Month Continued!


Have you been making extra watercolors this month? July is World Watercolor Month (#worldwatercolormonth), so let's celebrate! We all know practicing is so important to build your skills. But it can be so fun, too! Join us in a watercolor adventure by sharing your artwork with hashtag #aiwatercolorchallenge on Instagram, along with Bonnie (@bonniekrebs.biblejournaling)! Ok, inspiration time! Let's see what the design team made especially for today!

Dot Freel - Instagram - Blog - Pinterest
Hello Friends,

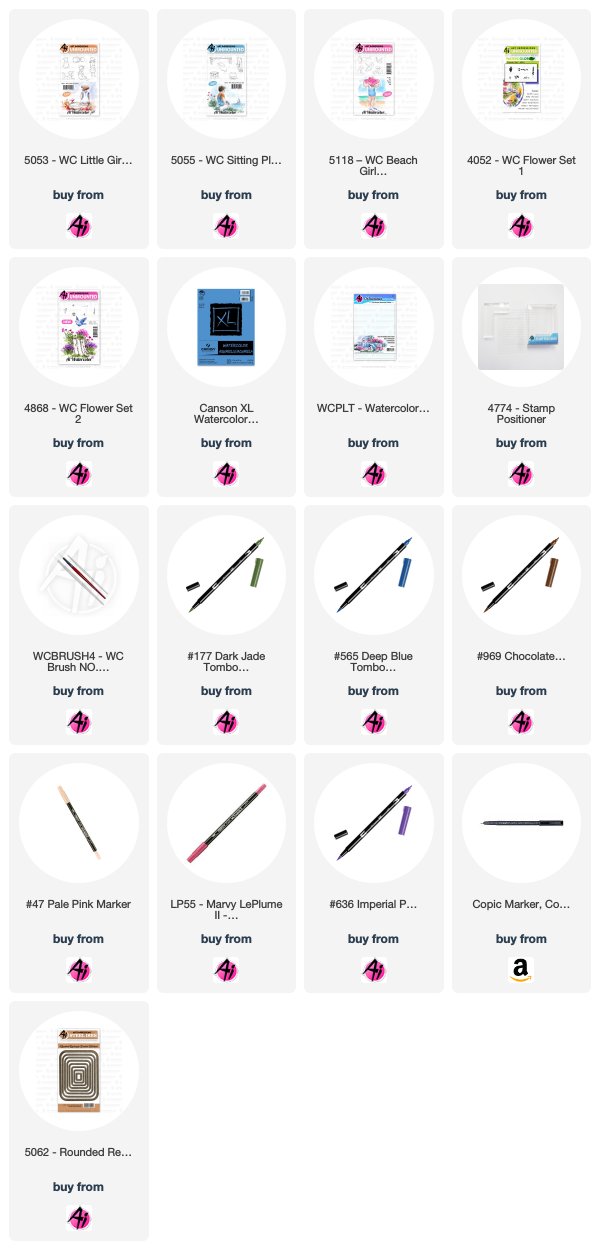
I made this card using Art Impression's stamps for the Watercolor Weekend. I stamped the little girl in 969 from the 5053 - WC Little Girls Set and stamped her off on a piece of scratch paper then stamped her on my watercolor paper. I used the stamp positioner to stamp the bench also in 969 from the 5055 - WC Sitting Places Set. I pulled the color out of the lines, then I watercolored the skin in with No. 47 pale pink, her cheeks in No. 55 iris purple, her hair in 969 and her overalls and headband in 603. I used 67 bubble gum pink to paint stripes on her shirt. I used 158 to watercolor the bench. Next, I stamped the umbrella in 969 from the 5118 - WC Beach Girls Set. I used a ruler and the Tombow twin tone brown fine tip pen to extend the umbrella pole under the bench. I pulled the color out of the lines then colored the umbrella in 158, bubble gum pink and 636. I stamped the small grass with 177 from the 4052 - WC Foliage Set 1 and pulled the color out and up. Then I stamped the flowers in 177, 636 and 55 iris purple from the 4868 - WC Flower Set 2. I used 565 to watercolor the sky and add some shadows under the bench. I used the 5062 - Rounded Rectangle A2 Double Stitched Dies to cut out the scene and background pieces then adhered them all to a card base with double sided tape. I added my name and date to the corner and drew the eyelash with a very fine black pen.

Karen Day - Blog - Facebook - Pinterest
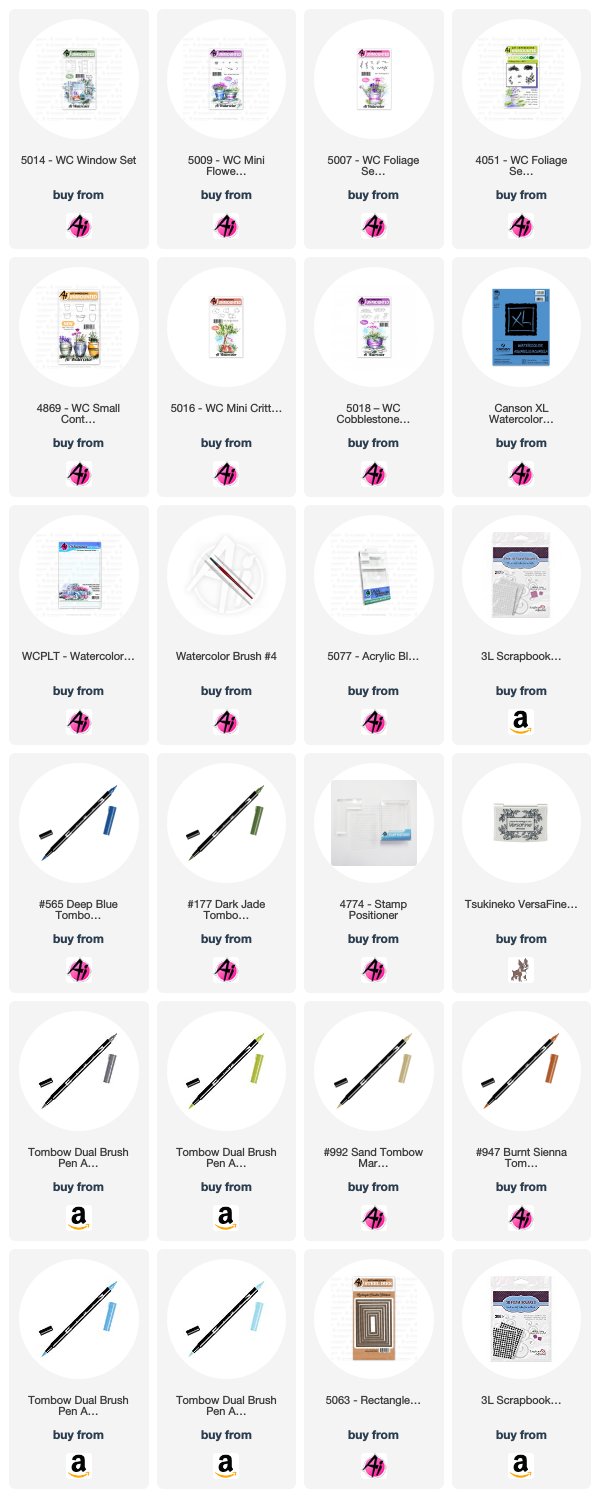
Today I'm featuring the 5014 WC Window Set. The base is cut with a 3 1/4" x 4 1/2" stitched rectangle die, from Canson Watercolor paper, and I started by colouring the smaller window in the set with my N55 Cool Grey 7 Tombow marker, stamping it about 3/4" down from the top edge. Still using the N55, I stamped the kitten from 5016 WC Mini Critter Set on the window sill, and the pot from 4869 WC Small Container Set about 3/4" below the window. I masked off the pot, and stamped the bricks from 5018 WC Cobblestone Set with N55. With the fine point of the marker, I sketched in the curtains directly on the paper. (If you're nervous about adding details with a marker, use a pencil to get it exactly as you like, first!). I used my damp #4 paintbrush to pull the colour out of all the lines, dragging it towards where the shadows would fall. I scribbled 992 Sand onto my palette, and painted it in streaky strokes to suggest weathered wood on the shutters. I used 947 Burnt Sienna to add colour to the kitty, and the terra cotta pot, going in a second time to add another layer of colour where the shadows would be. With 177 Dark Jade and a sprig from 5007 WC Foliage Set 3, I created the vine leading up from the pot, through and over the shutters, adding a few smaller sprigs using the tiny greenery in 5009 WC Mini Flower Set to fill in a few areas. With 533 Peacock Blue/177 Dark Jade I coloured the floral cluster from the Mini Flower Set and added it to the pot. With the tiny dotted flowers from the set, and the 533 marker, I put clusters of flowers throughout the vine. I dabbed all the foliage with my damp brush to soften all the lines. With the tiny grass from Foliage Set 4051, and my 126 Light Olive, I added grass around the pot & cobblestones, then pulled out the colour to add a suggestion of a grassy area on the ground. I picked up 565 Deep Blue from my palette to paint in the shadows on the window, around the shutters and cobblestones to add a little depth to my scene. You really can't see it in the photos, but there is a faint wash on the wall of 491 Glacier Blue, which softens the look of the wall quite nicely.

Tricia O'Bin - Blog - Instagram - YouTube - Pinterest - Facebook
Hi AI Fans, welcome back to Watercolor Weekend! I decided to try out a design that I fell in love with when I was young. We used to go to the beach and they had a guy who airbrushed license plates, shirts, hats etc. This was a design that I just loved and always wanted so I decided to re-create it using my AI watercolor stamps. I call it Silhouette Stamping. It was so easy and fun, I hope you will give it a try.

Here is how I did it!

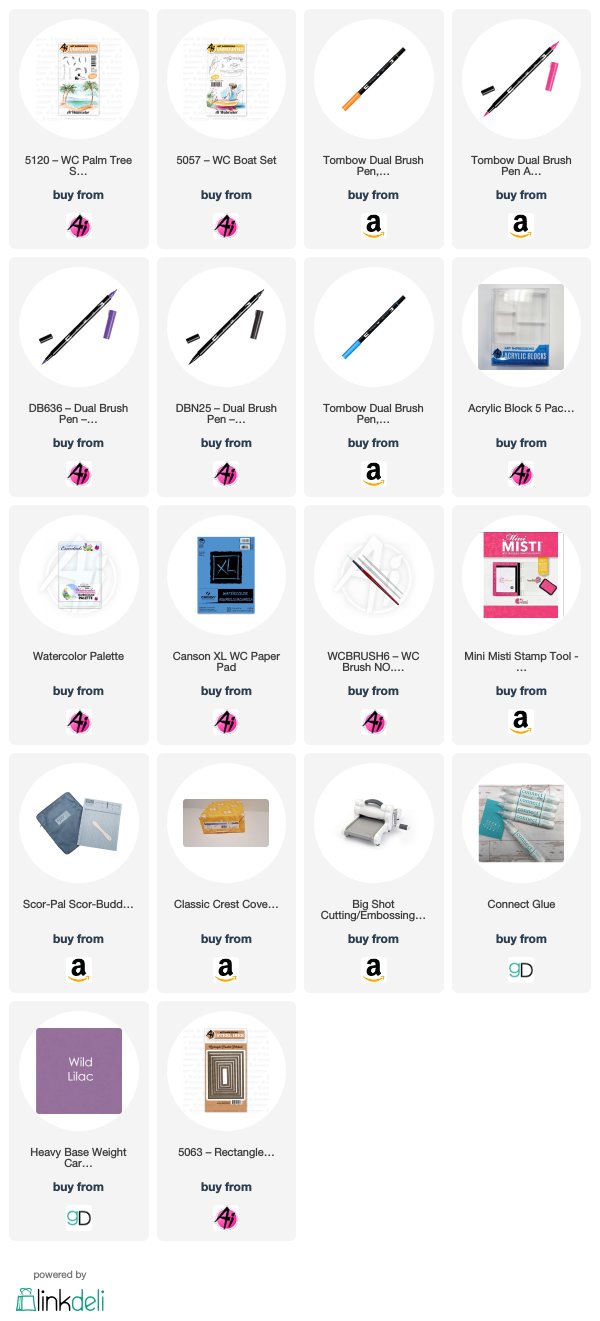
I began by adding PINK to my palette. I added water and painted from the horizon line up sporadically using a horizontal brush stroke. I left lots of white space. I added another layer of PINK to it. Once that dried I repeated the same steps with the YELLOW, PURPLE and GRAY. 

I added BLACK to the horizon line with my paint brush. I added water to my PINK, YELLOW, PURPLE AND BLUE and painted a light wash of each color for my reflection in the water below the horizon line. I made the YELLOW a little darker near where the sun would be. 

Once that was completely dry, I inked up the large palm tree with BLACK ink. I stamped it below the water. Using my brush, I pulled the color out of the left side of the tree to create dimension. I re-inked the stamp and stamped it again to the right of that tree, angling it so the tops weren’t too close. I again pulled the color out of the left side of the tree.

Using the left and right palms, I inked them up using BLACK ink and stamped them several times on each side of each tree. To create the palms closest to the tree trunk, I only inked the end of the stamp. I used a damp #2 brush to pull the color out of each of the palms using a brush stroke.

I added BLACK to my palette and created the sand using a horizontal brush stroke. I put the sailboat on my small acrylic block and inked it up with BLACK ink. I stamped it off once and then stamped it into the middle of my sky. Using my #2 brush pulled a small amount of color from the left sides of the sails and the bottom. I also added some black beneath the boat for a shadow. Finally, I signed and dated it.

Once the painting was complete, I cut it out using my Stitched Rectangle Die. I added it to a 4.25 x 5.5 inch card made from Gina K Designs Wild Lilac cardstock with GKD Connect Glue.

That’s it, easy peasy! Tag us on Instagram and let us see what you are up to!

Have a crafty day!

Don't forget to leave a comment to tell us what you like about these projects! Also, remember to join the fun with our #aiwatercolorchallenge!

Happy Stamping!

Wednesday, July 10, 2019

NEW VIDEO! Sleeping Puppy & Doghouse Watercolor

Hello Ai Fans!

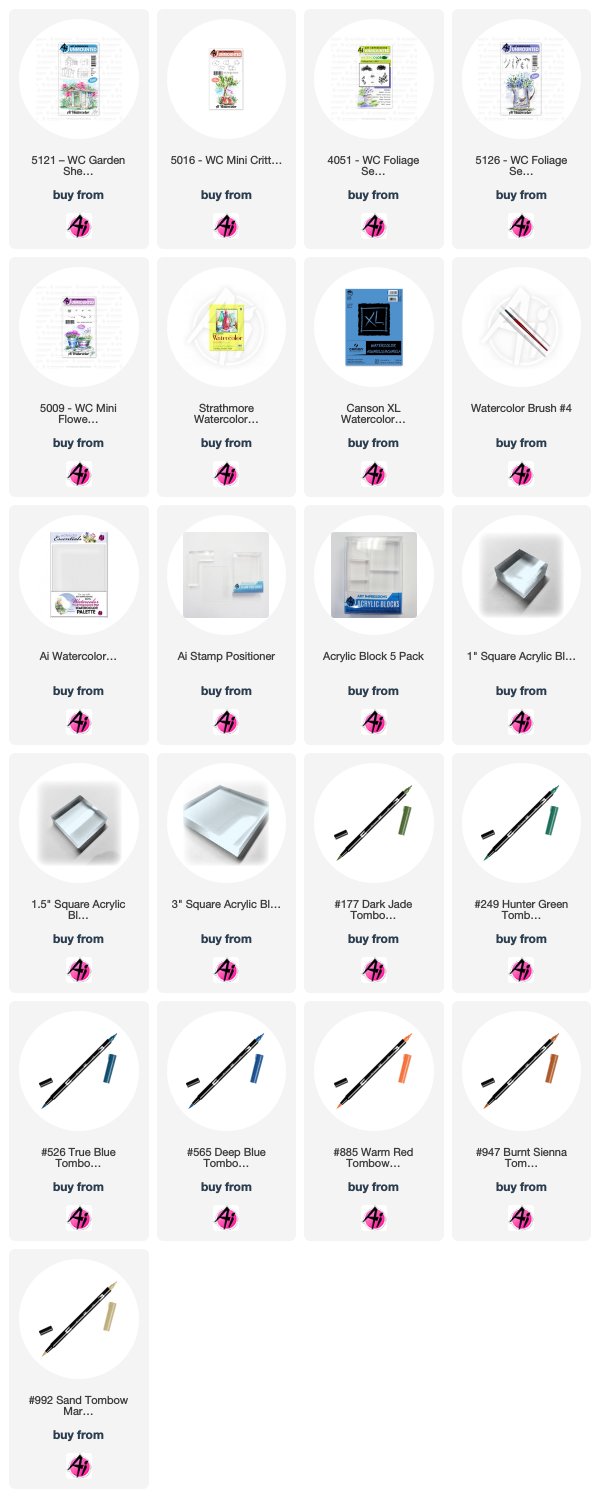
It's that time again ... Watercolor Wednesday! In this new video, Bonnie created an adorable sleeping puppy inside a doghouse created from the smallest image in our WC Garden Shed Set! We love this little scene and how it can be used on cards for the young and young at heart!

Hop over to the video and let us know - Are you a cat or a dog person? Or both?!


View on YouTube: https://youtu.be/w1n3E_iTbFg


Saturday, July 6, 2019

Watercolor Weekend Roundup - July is World Watercolor Month


Hello, Ai Watercolor Fans! Did you know that July is World Watercolor Month? How cool is that! We hope today's projects inspire you to break out your stamps and play to celebrate the occasion all month long. Without further ado, here is your weekend inspiration!

Dot Freel - Instagram - Blog - Pinterest
Hello Friends,

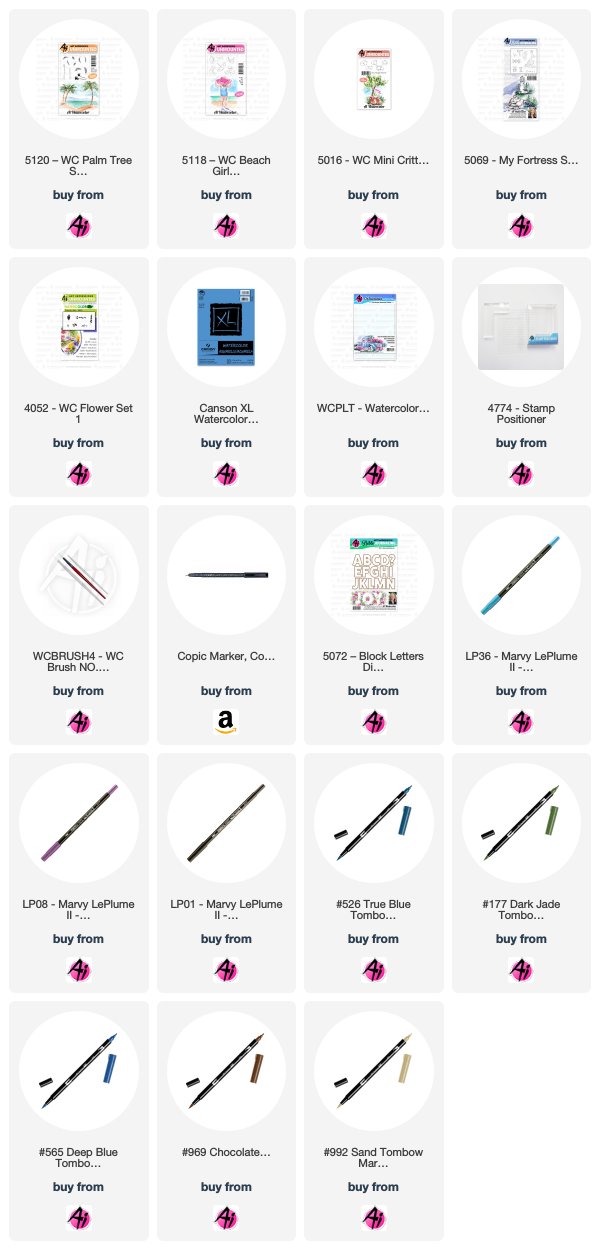
I made a "Beach Babe" with Art Impression's stamps for the Watercolor Weekend. Summer in Las Vegas always finds me wishing I was on a beach where I can cool off in the ocean. I stamped the palm tree trunks in 969 from the 5120 - WC Palm Tree Set first, then I used a pencil to sketch in the lines for the ocean and the sand. I watercolored in the sand with 992 and the ocean with 526. The water was too light so I added some 565 which darkened it nicely. I stamped the palm fronds in 177 and pulled the color out of the lines. I watercolored the sky using No. 36 manganese blue and stamped the birds in 565 from the 5069 - My Fortress Set. I stamped the beach babe in 992 from the 5118 - WC Beach Girls Set and the puppy in 992 from the 5016 - WC Mini Critter Set. I used 77 pastel peach to color in the girl's skin and 603 to color in the girl's hat and suit. I used 969 and No. 1 black to color in the puppy then darkened his eyes and nose with the fine tip of a Copic multi liner pen. I stamped the flowers in No. 6 violet from the Flower Set 4052 and touched them with a wet brush to bring out the color. I used 565 to create the shadows. I used letters from the 5072 - Block Letters Die Set to cut out the word "beach" and then used adhesive foam to give them dimension. Lastly, as always, I added my name and date to the corner.

Karen Day - Blog - Facebook - Pinterest
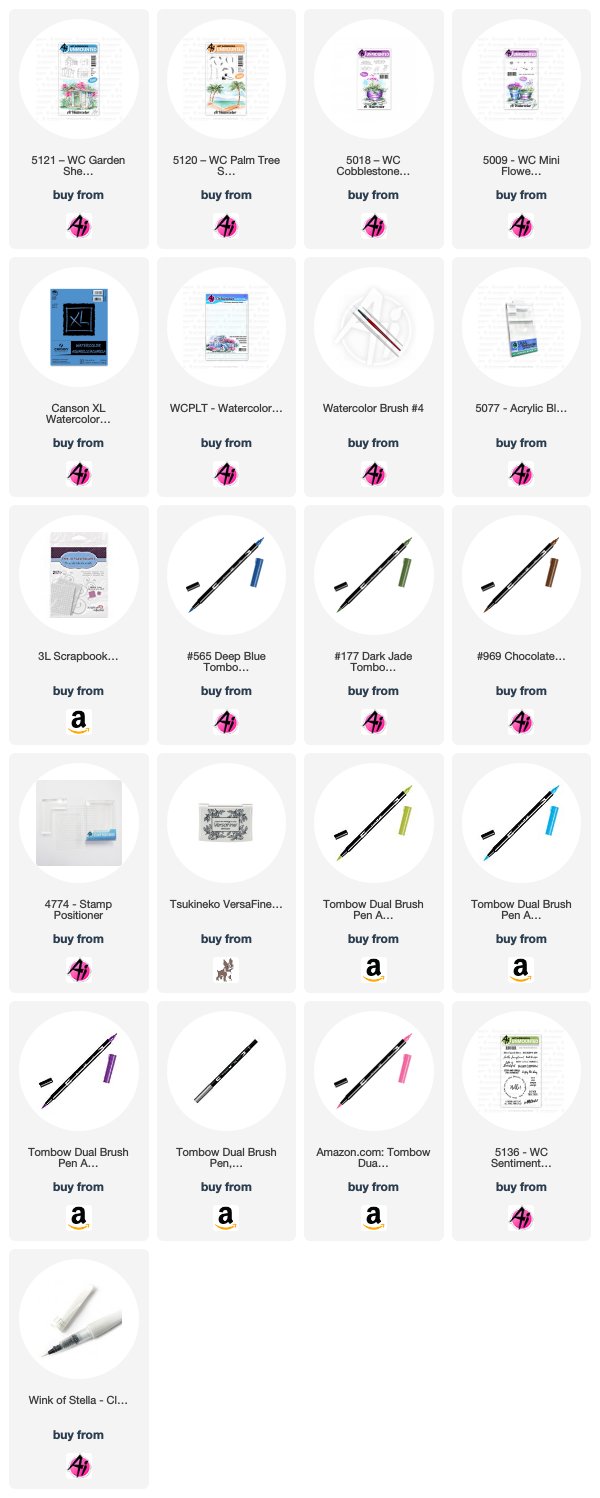
This little shed from the 5121 WC Garden Shed Set looks like a beach hut to me, so I stamped it using my Tombow marker #969 Chocolate. With #676 Royal Purple and #703 Pink Rose, I stamped the tiny dot cluster from 5009 - WC Mini Flower Set in and around the hut, to suggest tropical flowers, and added the tiny foliage stamp with #158 Dark Olive for greenery. From the 5120 - WC Palm Tree Set, I used the two trunk images with #969 to add the trees behind the hut, then with #126 Light Olive and #158, I added in the different palm fronds. Using my #4 paintbrush, I pulled out the brown of the trees and the shed, and only lightly touched all of the flowers and foliage to liven the colours. I painted the hut with #991 Light Ochre, and a bit of #969 to suggest painted wood, and added #515 Light Blue to the door and painted it to suggest the ocean in the background. I used #N65 Cool Grey 5 and the stepping stone image from the 5018 - WC Cobblestone Set in front of the hut, and then painted a wash with #126 to indicate the grass. I added #565 Deep Blue to my palette, then painted in the mountains, a soft sky, and added it around all of the images to indicate shadows. I stamped the sentiment from 5136 - WC Sentiment Set 2 using Versafine Onyx Black ink, then mounted my image onto the base using pop dots. I layered some paper flowers and a wooden button to the bottom corner of my card, along with a few loops of May Arts twine. The paper flowers and the flowers on the image were all touched with a Wink of Stella pen, so they're quite shimmery in person! And you can't really tell in the photo, but that background paper has tone-on-tone sunglasses all over it.

Tricia O'Bin - Blog - Instagram - YouTube - Pinterest - Facebook
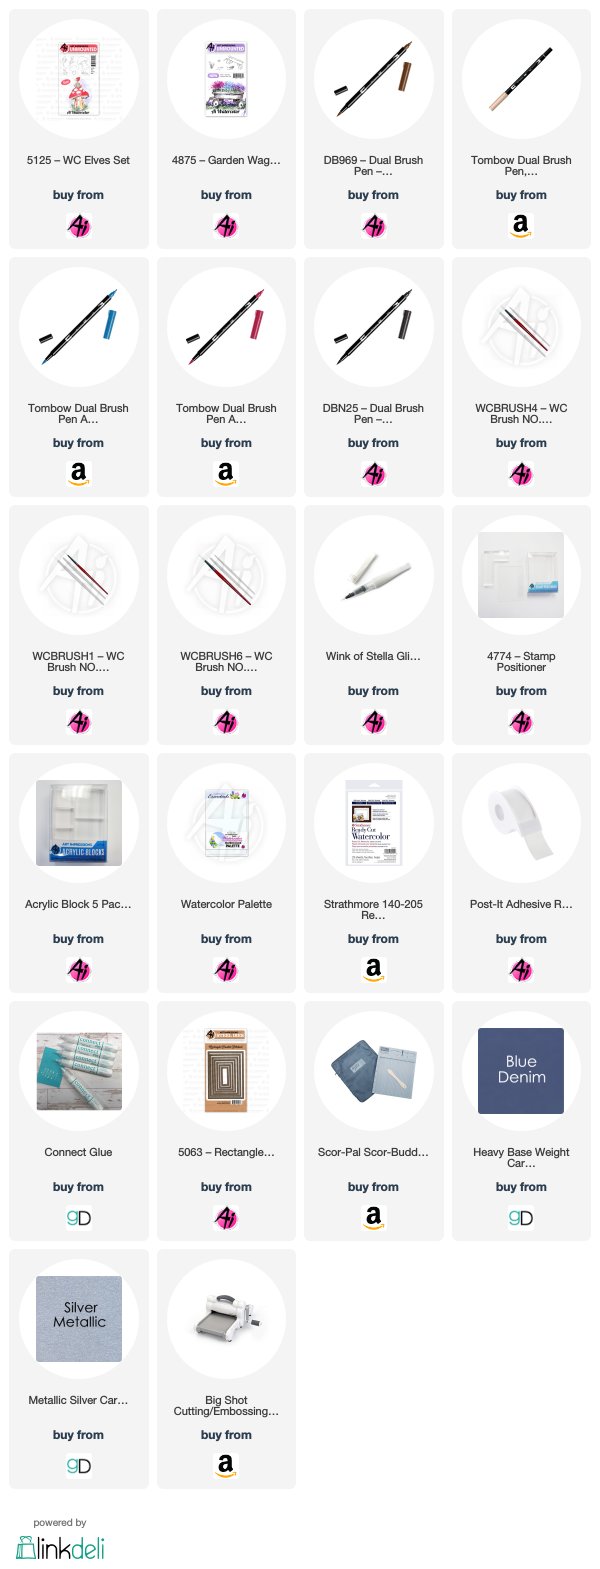
To begin, I inked the elf with the 969, stamped it off and then stamped the him to the right of the middle of the paper. Using a mask to protect him, I inked up the mushroom with the 969 and, using my positioner, stamped it underneath the elf.

I pulled the color out of the lines of the elf and the mushroom. I added some additional 969 from my palette to add some shadows onto the mushroom. I added some 954 to my palette and added it to the arms and face of the elf. I added some 969 to his pants and 535 to his shirt, adding shading around the bottom of his shirt.

I decided that it would be fun to try to use the long grasses from the 4875-Garden Wagon Mini set to create some fireworks. I am always looking for ways to stretch my stamps and this was perfect. I inked one of the grasses up with 847-Crimson and stamped it in a sort of circle a few times without re-inking, being careful not to ink the small flowers on the ends of the stamp. I did the same with the 535-Cobalt.

To create the fireworks look, I pulled the color out as far as I could in a wispy motion. I tried to pull the color out as far as I could in all directions. I added some additional red and blue to the mushroom as a type of reflection. Next, I added some N25 to my palette and slowly built up the color in the background. To add some sparkle to my fireworks, I added some Wink of Stella.

I cut the piece down using my Stitched rectangle die. I used some Gina K Designs metallic silver paper for the base and Blue Denim cardstock for the frame. To see how to create the gate fold, Jennifer McGuire does it perfectly...check out her blog here.

We LOVE to hear what you think about our bimonthly projects! Share a comment below, and we hope you can whip up a little watercolor time this weekend! Also, did you see that Bonnie (@bonniekrebs.biblejournaling) is hosting a Watercolor Challenge on Instagram that we hope you'll join! Simply use #aiwatercolorchallenge on your Instagram post so Bonnie and Ai Fans can see your work!

Happy Stamping!

Saturday, March 16, 2019

Watercolor Weekend Roundup - Bikes and Beaches!

Hello, Ai Watercolor Fans! It is time for another Watercolor Weekend, a special blog post featuring projects from our Watercolor Guest Design Team. Today we welcome Karen Day as our new design team member! You may remember Karen's beautiful cards from our weekly design team, so please welcome her back in the comments. Inspiration today includes plenty of beach-inspired scenes, as well as that cute bicycle we all love so much. Let's take a look!

Dot Freel - Instagram - Blog - Pinterest
 Hello Watercolor Friends,

You may think it's a little early for beach scene cards but my three grandsons, Conor, Caide and Charlie, are in Hawaii right now probably in a similar scene. Lucky boys! I made this card for the Art Impressions Watercolor Weekend using the brand new 5119 - WC Beach Boys Set. There's also a WC Beach Girls set which I have to get! The first thing I did was stamp the boy in the middle (Caide) using 40 brownish grey. Next I stamped the beach ball and then masked it off and stamped the standing boy (Conor) also in the 40 brownish grey. I stamped the third boy (Charlie) again in the 40 brownish grey. I used 77 pastel peach on the palette to watercolor each boy. I used 6 brown to color in the hair of the boy in the middle. I used 969 brown for the other two boys' hair. Coloring their trunks was fun. First I added the stripes and flowers using my favorite Copic Multi Liner 0.03 pen. I colored the trunks and beach ball using the 5 yellow, 565 blue, 725 pink, and 34 pale green. I used the 969 brown to color in the shovel handle and 40 brownish grey for the actual shovel. I used 990 to watercolor in the sand and 565 to color in the water and 36 manganese blue for the sky. I added 565 blue to the palette to watercolor in the shadows under the ball and kids. I used the 40 brownish grey fine tip to add the dots to the sand. I stamped 3 of the birds using the 40 brownish grey from the 5069 - My Fortress Set. I used a Signo White Pigment Ink pen to add white caps into the ocean, the high light on the ball and dotted the centers of the flowers on the swim trunks. I used my Copic pen to sign and date it. I cut it out and framed it using the 5062 Double Stitched Rounded Rectangle Dies and a rounded corner punch for the card itself.

You can find more inspiration by following me on my Instagram account here.
Karen Day - Blog - Facebook - Pinterest
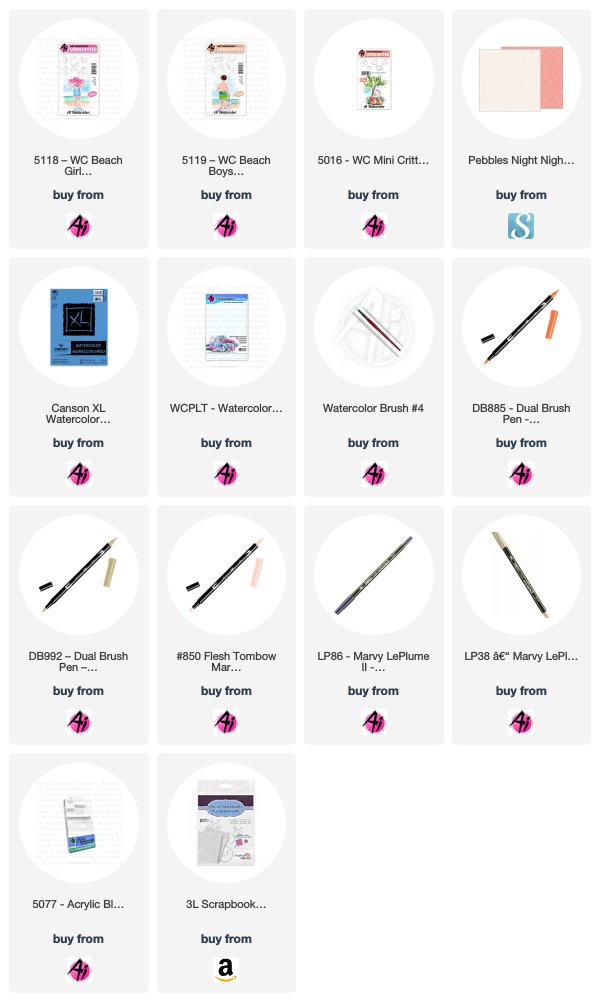
I started creating my image cluster by stamping the puppy from the WC Mini Critters Set, the sitting little girl from WC Beach Girls Set, the beach ball from WC Beach Boys Set - masking each as I went along - and finally stamping the umbrella from WC Beach Girls Set. I coloured each of the stamps with my 992 Sand Tombow marker, except for the girl, where I used my LP38 Oyster Grey Marvy marker. I wanted a paler shade for her skin tone, as she's sitting partially in bright sunlight. I also used the fine tip of my LP38 marker to draw in the blanket. With a damp WC Brush4 paintbrush, I softened all of the lines, and then began filling in the colour by scribbling my markers onto my palette: Tombow 991 Straw for the hat/ball; Tombow 885 Warm Red for the umbrella, and added more water to make it more of a pink shade for her swimsuit & the ball. I used my LP86 African Violet Marvy marker to create the shadow under the umbrella, and in and around all of the images on the blanket. Her skin tone is made with several layers of Tombow 850 Flesh, and then I used the same colour to sketch in the suggestion of a sandy beach. I picked up the LP86 with my brush and painted in the water, and after watering it down a little more, used it to paint in the suggestion of a sky as well. *Design tip! You'll notice that I placed everything on the left side of my painting, leaving the upper right corner mostly white. The white space provides a sense of balance for the cluster of images. I could've added a sentiment up there, but felt like it would've been too busy. To assemble my card, I popped up the image and the stripey pink frame that I created with adhesive dots with my periwinkle cardstock peeking out from behind. Happy painting!  
Tricia O'Bin - Blog - Instagram - YouTube - Pinterest - Facebook
Someone shared the photo on Facebook and I love it so I thought I would try to recreate it using my Art Impressions watercolor stamps. I was very happy with how it turned out.

Step 1 - The Planter: I stamped the planter from the WC Window set inked in 969-Chocolate. I left off the bottom of the planter so I could stamp the small grasses below it to ground it. I added some additional color (969&569) from my palette and added some additional lines to make it look like wood slats. I also added some additional details with the fine tip of the marker.

Step 2 - The Bike: To protect the planter, I masked it off and stamped the bike inked in Chocolate. I pulled the color out of the lines and added some additional color from my palette.

Step 3 - The Foliage & Flowers: I inked the small vines from the Foliage Set 4 set with 249-Hunter Green and stamped it into the planter as well as both bike planters. I added water to the foliage.

I used the small flower from the Foliage Set 2 inked with 725-Rhodamine Red and added them to the planter. I used the same color to ink the single flower from the Mini Flowers set and stamped it into the back planter. I used 636-Imperial Purple to ink the small dots in the Mini Flowers set to stamp into the front and back planters.

I inked the small grasses with the Dark Jade and stamped below the planter. I added water to all the blooms and grasses. I added a small amount of 526-True Blue to the sky. Sign and Date! 

Step 4 - The Card: I cut the square out with a stitched square die. I cut mat from Gina K Black Onyx card stock about 1/8 bigger than the square. I added some white craft foam to the back of the watercolor piece. I had a piece of watercolor background that I had from another project made from watercolor markers which I used to cut a stitched banner from the new stitched banner dies. I cut a little bigger one from Black Onyx card stock. To make the weathered wood background, I scored a white piece of card stock at 1" intervals. I added some Dark Chocolate ink from Gina K Designs direct to the paper in long swipes. Finally, I white heat embossed the Hello from the new WC Sentiments 2 set.

I assembled the card and added it to a white card base. And that's it!


Thank you, team! These projects are just so lovely! Like what you see? Be sure to leave a comment to let us know! Also, don't forget to follow the pink links by the designer's name to visit and follow them on social media, you're sure to find more project ideas with them, too!

Happy Stamping!

Saturday, December 1, 2018

Watercolor Weekend Roundup - Wreaths Three Ways!
Happy Saturday, Ai Fans! Get ready to cozy up with a cuppa and enjoy these wintery watercolor scenes from our fabulous design team! Dot, Tricia K. and Tricia O. have three beautiful and different projects to inspire your holiday creations. Let's take a peek!

Dot Freel - Instagram - Blog - Pinterest
Hello Watercolor Friends,

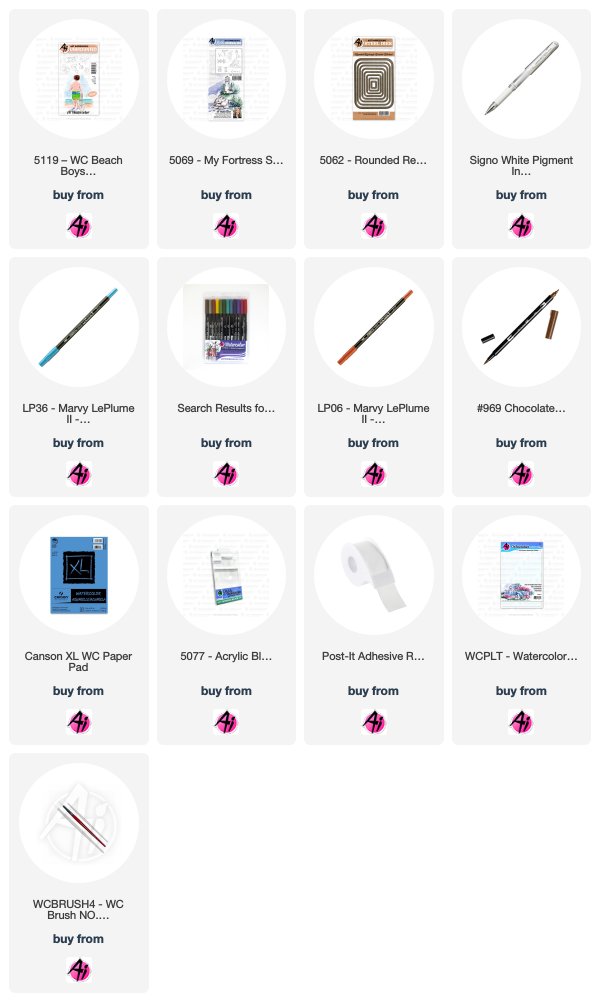
I have been busy making Christmas cards since I usually mail out 30-40 handmade cards. I imagined this farmer went out and cut his own tree and dragged it back with his tractor for this country Christmas card made for the Art Impressions Watercolor Weekend. I used the tractor from the 5059 - WC Harvest Set and the barn and fence from the 5011 - WC Truck Mini Set. The tree is from the 4960 WC Fir Trees Set. I added some sparkle to the snow with a Wink of Stella glitter pen. I drew the little wreath on the barn using the fine tips of the Marvy pens. I used a white Uni-ball Signo pigment pen to make the snow. 

Other Supplies: Wink of Stella glitter penUni-ball Signo pigment pen, Tim Holtz Distress Watercolor Cardstock

Tricia Kennedy - Instagram
My project for today’s Art Impressions Watercolor Weekend, “Holiday Wreath”, is a perfect gift to make this holiday season.

Being by tracing the outline of the ornament on watercolor paper twice (this is a double sided ornament). Draw a 1” circle in the middle of each piece. Stamp the small straight pine bough around the 1” until you have achieved a full wreath. Repeat. Watercolor the Art Impressions way by pulling the color from the lines. Add red and silver drops of glitter glaze, let dry. Cut out, glue back to back and place inside the ornament. Tie holiday ribbon at the top and enjoy!

Marvy Le Plume II Markers: 72 Pine Green
Other Products: 80mm Ornament from Michaels, Queen and Company Red Twinkle Glitter Glaze, Queen and Company Silver Twinkle Glitter Glaze, Ribbon, Xyron Tape Runner

Tricia O'Bin - Blog - Instagram - YouTube - Pinterest - Facebook
Til the season for wonderful winter wonderland projects. My favorite time of the year! My watercolor weekend project showcases the bench and light from the Light to my Path Set. I added the sleeping deer from the Mini Critter Set and the wreath from the Wooden Door Set. The Christmas Bench is a really simple way to create a snowy scene perfect for your Christmas Cards!

To begin I stamped the sleeping deer with Sepia and pulled the color lightly out of the lines. I continued to slowly build up the color adding Brown as well with my watercolor palette. To add the white details, I used my Uni-Ball white gel pen. I created a mask and covered the deer. 

Next I used Sepia and African Violet (on the pole and light) and stamped the Light to my Path bench and light. I pulled the color out of the lines and added some additional color to the bench, light and pole. I stamped the wreath in Pine Green onto the pole and added Crimson Lake to it once I softened the lines. I also drew in a bow. 

To create the snow, I added African Violet randomly around the background and underneath the deer. I mixed Black and African Violet and added it to the background. I also added some Brilliant Yello to the lantern and the sky. I also added some Brilliant Yellow highlights on the snow and in the sky. Once everything was dry I added some additional snow in the sky and over the project using my Sharpie white paint pen and uni-ball white gel pen. I then added some Wink of Stella clear shimmer over the deer and snow. 

I am so excited to get some of my Christmas cards done and hope you will show us what you come up with. We hope that we have inspired you! 

Scor-Pal Scor-Buddy Mini Scoring Board, 9 by 7.5-InchWink of Stella Glitter Clear Brush Pen – ClearSharpie Paint Marker white extra fineUni-Ball Signo Broad Point Gel Impact Pen White

Thanks, designers! Your projects have us dreaming of a white Christmas! We love how each of you used a wreath in your project in a different way, from a teeny tiny wreath on a barn, to a wreath over a light post, to a wreath ornament! It is so fun to see the same motif customized for any project. If you'd like to share your projects with us, be sure to tag us with #aistamps and #aiwatercolor on Instagram so we can take a peek at what you create! Til next time, have a great weekend!

Happy Stamping!