Hello Ai fans!
I decided to make another shadow box card. They are quite simple to make and the end result makes you look like a magician! I followed a video on You Tube to make mine and found it very easy to do that way. I'm sure you'll have similar results.

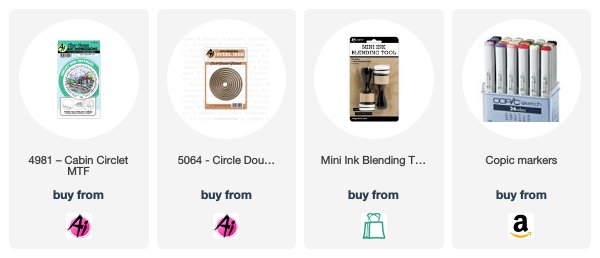
The images were stamped onto Copic X Press It paper with Gina K Designs Black Amalgam Ink and colored with Copic markers. The colors used are listed at the end of this post. The top two images were cut out with a Circle Double Stitched Die as well as the matching die from the stamp set. The image with the writing around it was cut out with a Circle Double Stitched Die. I cut my patterned papers out and added them to the cards and die cut all of them with a circle die where my circlet image would show. I did that for the two circle images without words. I attached the layer with words inside the shadow box so it could be seen when the card was closed.
Copic Colors Used:
Copic Colors Used:
Fence - E31, E33, E35
Barn - E13, E15, E18, E37
Greenery - YG11, YG03, G24
Mountains - BV0000, BV00
Sky - B000, B00, Blender
Water - B000
Boat - C1, C3, C5
Deer - E70, E71, E74
Barn - E13, E15, E18, E37
Greenery - YG11, YG03, G24
Mountains - BV0000, BV00
Sky - B000, B00, Blender
Water - B000
Boat - C1, C3, C5
Deer - E70, E71, E74
Thanks for stopping by and Have a Great Day!


1 comment:
its gorgeous
Post a Comment