


Celebrate with us as we introduce FIVE new Circlet designs! Our Circlet Mini TryFolds are circular photopolymer stamps with dies to cut the interior making layering easy! Prepare for harvest with our Thanksgiving Circlet MTF, featuring an overflowing cornucopia, a delicious pie and a heartfelt sentiment. Send timeless Christmas wishes with our Sleigh Ride Set and sweet Nativity Circlet. Our Elk Circlet is perfect for year-round masculine cards and our Gardening Circlet could be colored for any season. Watch our video for a quick overview! You can find these sets at artimpressions.com, so add to your Circlet collection today!


Jil is here with an inspiring project that is beautiful for any occasion! Let's take a look!
Hello Ai fans!
Guess what? There are five new Circlet Mini TryFold stamp sets being released today and we are celebrating it with a new Challenge. Just create a tag or ornament and share it here on the blog. I'm using the New Gardening Circlet Mini Tryfold to create my tag today. Be sure to check out all of the photos because I show you my favorite ways to line up the Mini TryFolds when I have several layers of paper or dies on my cards.
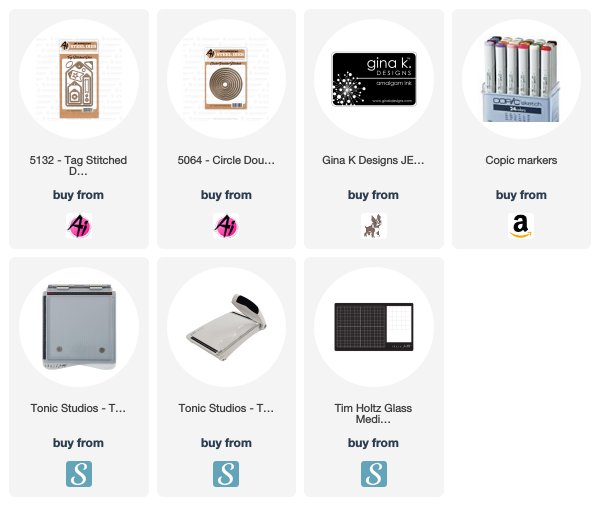
 I started by stamping the images onto Spectrum Noir Ultra Smooth paper with Gina K Designs Black Amalgam Ink and colored them with my Copic markers. The colors used are listed at the end of this post.
 I then added one of the Circle Double Stitched Dies around the image with the words around it and added the next smaller circle around the bird image and secured them with a small amount of washi tape. I also attached the inner die from the stamp set to the bird image and cut them out with my die cut machine. One that was finished, I also cut out the image with the watering can the same way as I cut out the birds.
 I wanted to layer the images over a pink scalloped die cut so I placed the bird die cut image where I wanted it to sit. Then I fit the die cut into the bird die cut image and used a pencil to trace inside the die cut.
 Once I removed the colored image, I lined the die cut image up with my pencil marks and die cut it for perfect placement. I repeated the same steps for the image with the watering can.
 I pressed the die cut images into the Glue Sponge and covered the backs with glue to attach them together. It worked great for the tiny areas.
 Creating the tags was simple. I just attached patterned paper from the Carta Bella Botanical 6" x 6" paper collection to card stock and cut it out with the Tag Stitched Dies.


Thanks for stopping by and Have a Great Day!

Thanks, Jil! This project is absolutely darling, and plays along perfectly with our NEW challenge!

That's right, our challenge is all about Tags or Ornaments! Though we feel our new Circlets are perfect for this theme, you can use any of your favorite stamps, dies, and other supplies to join in! We are looking forward to seeing what you create, as always, and will be back in two weeks with the lucky winners!
Here are the Challenge Rules...
✻ Please make a new card or creation. You can make any crafty item you wish; this is not limited to cards!
✻ Limit two submissions per person. You will receive extra votes if you use Art Impressions stamps!
✻ The Ai Challenge is open to everyone, international submissions are welcome!
✻ Include a link back to the Ai Blog or grab our button on the top right of our sidebar!
✻ Share the Ai love by clicking and commenting your fellow crafters.
✻ Make sure to get your link up by the deadline to enter your creations.
✻ Good luck and happy stamping!
Before we go, let's recognize the winners of last week's "Make It Sparkle" challenge!
Top Spot goes to...
Jan Garber!

Congrats, Jan! We love your beautifully layered card with your bit of coffee cup bling! Also, your coloring of our Latte Love girls is fantastic! Email annelise@artimpresions.com with your address to claim your prize pack!
Honorable Mentions go to...
Lisa Lynn!

Janet K!

We hope you will all be back to join our new Tags or Ornaments challenge! It's a great time to get ahead on any gift-giving you plan to do soon!
Happy Stamping!
3 comments:
Lovely tag! Congrats to all of the winners.
Thanks for choosing my card as an honorable mention. Congrats to the other winners. Great samples of the tags and ornaments.
Thank you very much for the opportunity to join such a fun challenge! I have been entering in hopes I would win! Congratulations to all of the great entries and winners!I love AI stamps and always welcome the tips and ideas on the blog! Thanks again!
Jan
Post a Comment