Hello, Ai Fans! Happy Watercolor Weekend!
We are in that beautiful season where winter transitions to spring--we enjoy the crisp mornings and cozy evenings. Our Watercolor Designers have captured this lovely time of year using some of our newest releases to create gorgeous scenes.
Tricia O'Bin - Blog - Instagram - YouTube - Pinterest - Facebook
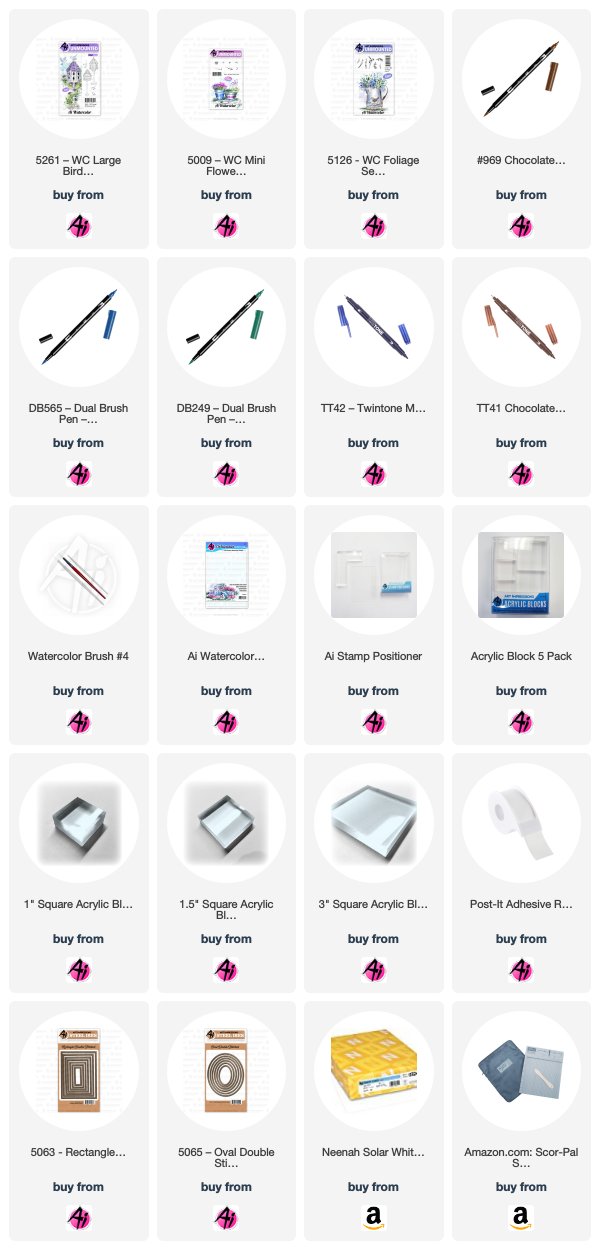
To start, I inked the top of the Large Birdhouse stamp with Dark Blue and the rest of the stamp with Brown. I planned to do the roof covered with snow so I didn't ink all of the lines along the roof. I pulled the color out of the left and right side of the roof and the left side of the top.
I pulled the color out of the house making sure I stayed within each section. I pulled color from the platform and the wood pole. I added some additional brown to the pole. From my palette, I added some green to the house, again making sure to stay within each section, making sure the far left, right and top were the darkest. To get the darkest shadows, I work in layers to slowly build the color.
I added some Purple to the ground below and around the Birdhouse for some shadows. Next, I used the Mini Flower Set leaves inked with Green and the left and right buds from the new Flower Set 4 inked with Red. I inked one of the birds with Brown and stamped it to the right of the Birdhouse. I added some Red to it is layers to build the color up.
I added some Light Blue to the palette and created a sky behind the Birdhouse. Finally, I signed and dated my work!
SUPPLIES:

Dot Freel - Instagram - Blog - Pinterest
Hello,
I bet you are in love with the brand new 5260 - WC Shops Set like I am! I can see this set being used again and again. I stamped the cafe on Bristol Smooth paper after inking it up with 969 then 565.
I pulled the color out of the lines and then I inked the flowers from the 5009 - WC Mini Flower Set in 177 and 636 in the flower boxes on the lower level and inked in 177 and 993 for the flowers up top. I stamped the metal flower and birdhouse from the brand new 5264 - WC Decorative Post Set. It's a must-have set with six metal pieces!
I stamped the light from the 5263 - WC Lamp Post Set (using the stamp positioner). I used 636 to watercolor the sign, roof, flower, birdhouse, the light, awning and flower boxes. I used 526 to watercolor the windows.
I watercolored the chimney, steps, tree trunk and front door with 969. I inked up the foliage from 4051 Foliage Set 1in 177 then stamped the tree leaves. I used the small grass from that same set 4051 inked in 177 to stamp the grass, then pulled the color up and out. I watercolored the sky in 525.
I finished off my scene by using 565 off the palette to shade the ground, under the flower boxes, around the door and tree and under the signs and ledges. I used a black extra fine tip pen to add in lines that washed away. I cut it out using the 5061 - Square Double Stitched Die Set.
Thank you for checking out my blog! You can find more of my cards on my Instagram account here.
Supplies used listed below:
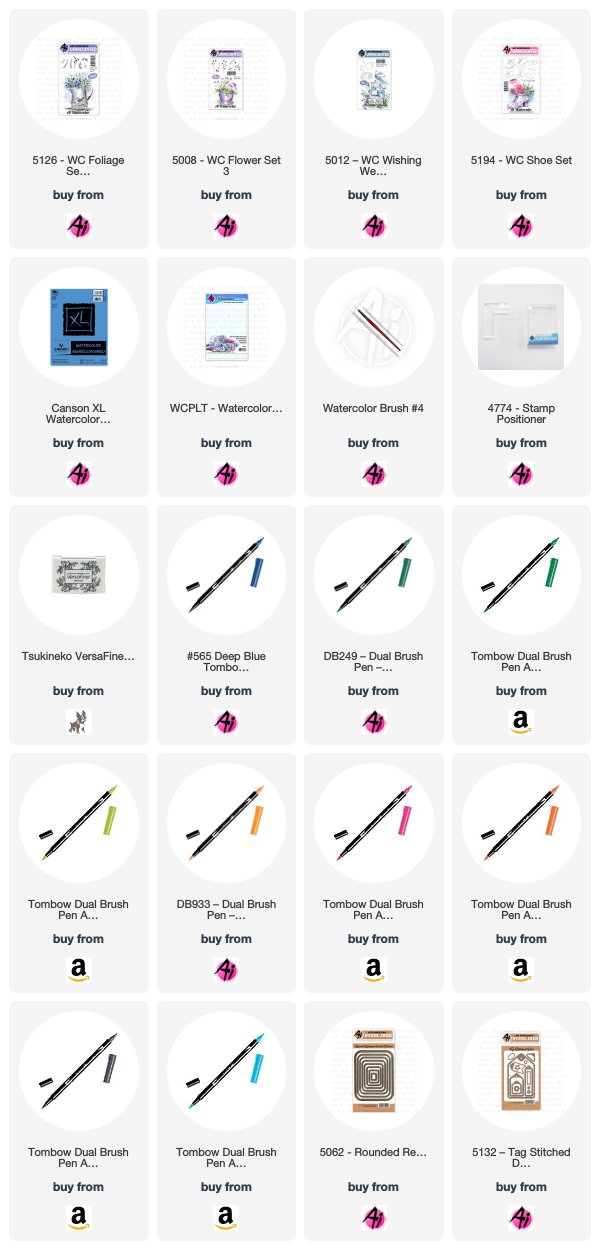
Using the Wellies from the 5194 - WC Shoe Set, I inked them in Tombow Dual Brush Marker #565 Deep Blue, stamped the image on scrap paper and then reinked it with #N45 Cool Grey 10 before stamping it on my Canson XL Watercolor Paper. I masked the boots, and then stamped the large watering can from 5012 - WC Wishing Well Mini Set in 565/N45, positioning it about 1/2" higher so that it would appear to be behind the boots, with the help of my Stamp Positioner. I used a damp #4 Paintbrush to soften the lines, and pull out the colour, keeping it concentrated in the areas that would be shadowed or darkest. Using a pencil, I sketched in where I wanted my polka dots to be, and with my #905 Red marker, I coloured them in and touched them with a damp brush.
My scene was cut out with 5062 Rounded Rectangle A5 Double Stitched Dies, and matted with a dark brown. I picked some patterned paper to show off the blue of the boots and used some bright orange thread to zigzag stitch the papers together with my sewing machine onto the base. I used a sentiment from 5136 - WC Sentiment Set 2 and stamped it with Versafine Onyx Black Ink onto some watercolor paper that I die cut with the small tag from 5132 Tag Stitched Dies, and added a Baker's Twine bow.

Thank you, ladies, for your continued inspiration! We absolutely love seeing everyone's personal style show through on each card!
Happy Stamping!


3 comments:
These are all lovely. I especially love the rain boots and the watering can.
[Bunny]
These are all beautiful! Love these new stamp sets.
These beautiful projects and wonderful new sets make me want to take out my stamps and play!
Post a Comment