Showing posts with label WC Shoe Set. Show all posts

Saturday, March 7, 2020

Watercolor Roundup 2020 New Releases


Hello, Ai Fans! Happy Watercolor Weekend!

We are in that beautiful season where winter transitions to spring--we enjoy the crisp mornings and cozy evenings. Our Watercolor Designers have captured this lovely time of year using some of our newest releases to create gorgeous scenes.

Be sure to follow these lovely ladies on social media by clicking the link in pink next to their names!


Tricia O'Bin - Blog - Instagram - YouTube - Pinterest - Facebook


To start, I inked the top of the Large Birdhouse stamp with Dark Blue and the rest of the stamp with Brown.  I planned to do the roof covered with snow so I didn't ink all of the lines along the roof.  I pulled the color out of the left and right side of the roof and the left side of the top.

I pulled the color out of the house making sure I stayed within each section.  I pulled color from the platform and the wood pole.  I added some additional brown to the pole.  From my palette, I added some green to the house, again making sure to stay within each section, making sure the far left, right and top were the darkest.  To get the darkest shadows, I work in layers to slowly build the color.

I added some Purple to the ground below and around the Birdhouse for some shadows.  Next, I used the Mini Flower Set leaves inked with Green and the left and right buds from the new Flower Set 4 inked with Red.  I inked one of the birds with Brown and stamped it to the right of the Birdhouse.  I added some Red to it is layers to build the color up.
I added some Light Blue to the palette and created a sky behind the Birdhouse.  Finally, I signed and dated my work!

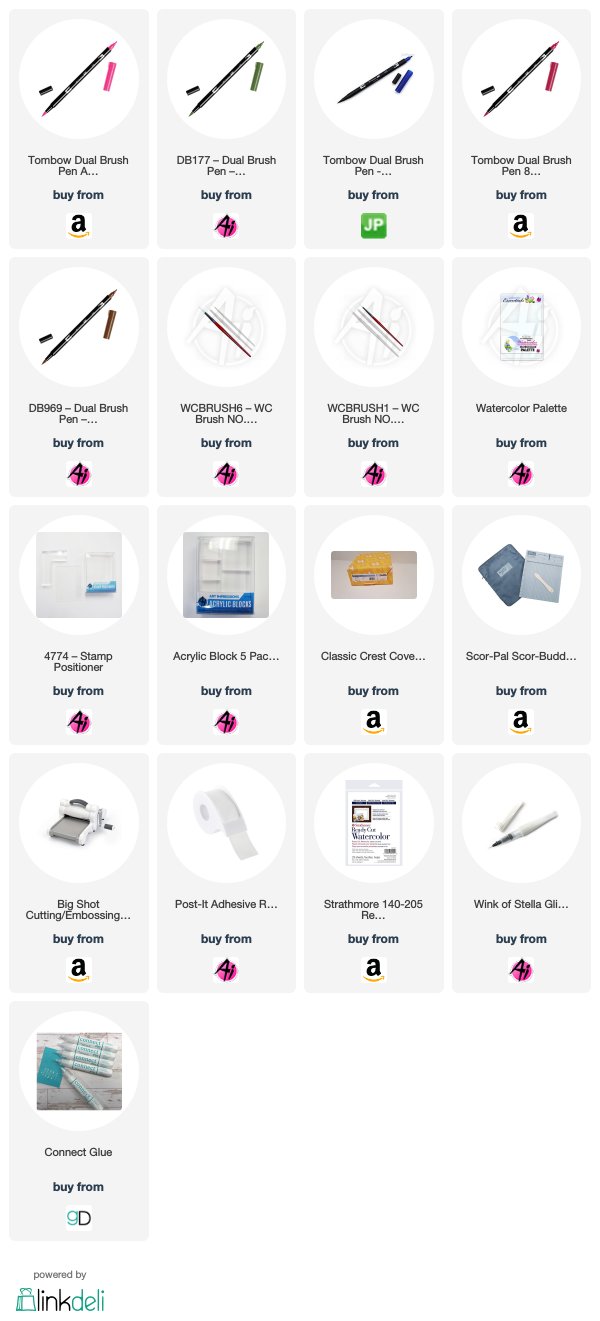
SUPPLIES:

Dot Freel - Instagram - Blog - Pinterest


Hello,

I bet you are in love with the brand new 5260 - WC Shops Set like I am! I can see this set being used again and again. I stamped the cafe on Bristol Smooth paper after inking it up with 969 then 565. 

I pulled the color out of the lines and then I inked the flowers from the 5009 - WC Mini Flower Set in 177 and 636 in the flower boxes on the lower level and inked in 177 and 993 for the flowers up top. I stamped the metal flower and birdhouse from the brand new 5264 - WC Decorative Post Set. It's a must-have set with six metal pieces! 
I stamped the light from the 5263 - WC Lamp Post Set (using the stamp positioner). I used 636 to watercolor the sign, roof, flower, birdhouse, the light, awning and flower boxes. I used 526 to watercolor the windows. 
I watercolored the chimney, steps, tree trunk and front door with 969. I inked up the foliage from 4051 Foliage Set 1in 177 then stamped the tree leaves. I used the small grass from that same set 4051 inked in 177 to stamp the grass, then pulled the color up and out. I watercolored the sky in 525. 

I finished off my scene by using 565 off the palette to shade the ground, under the flower boxes, around the door and tree and under the signs and ledges. I used a black extra fine tip pen to add in lines that washed away. I cut it out using the 5061 - Square Double Stitched Die Set.

Thank you for checking out my blog!  You can find more of my cards on my Instagram account here


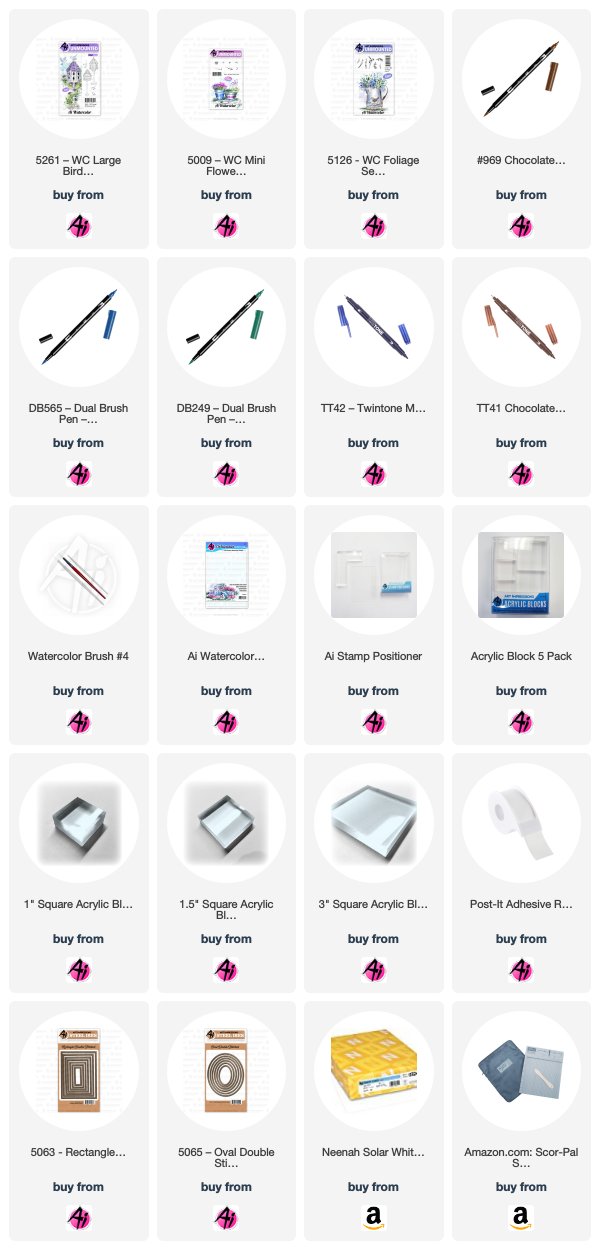
Supplies used listed below:


Karen Day - Blog - Facebook - Pinterest

Greetings!


 Using the Wellies from the 5194 - WC Shoe Set, I inked them in Tombow Dual Brush Marker #565 Deep Blue, stamped the image on scrap paper and then reinked it with #N45 Cool Grey 10 before stamping it on my Canson XL Watercolor Paper.  I masked the boots, and then stamped the large watering can from 5012 - WC Wishing Well Mini Set in 565/N45, positioning it about 1/2" higher so that it would appear to be behind the boots, with the help of my Stamp Positioner.  I used a damp #4 Paintbrush to soften the lines, and pull out the colour, keeping it concentrated in the areas that would be shadowed or darkest.  Using a pencil, I sketched in where I wanted my polka dots to be, and with my #905 Red marker, I coloured them in and touched them with a damp brush.


 I used 4 of the flowers from 5008 - WC Flower Set 3, and after masking the boots, I stamped them with #245 Sap Green on the stems/leaves, and coloured the blooms in #933 Orange, #755 Rubine Red, and #905 Red.  I added the ferns from 5126 - WC Foliage Set 4 coloured in #249 Hunter Green. To create the cobblestones, I masked the boots and watering can then inked up the image from the retired Market set (I liked the design of it, but you could use 5018 - WC Cobblestone Set!) in N45, using my Stamp Positioner to get it just right.  I used a damp paintbrush to pull out the colour, and picked up #565 from my palette to add in shadows on and around the boots and can, and in between the cobblestones.  I used my #126 Light Olive marker directly on the paper to add in the grass, tucking little bits of it in between the stones.  I picked up #443 Turquoise from my palette and painted in the boots, going carefully around the dots, and keeping the front of them white to indicate that they're shiny.  I used the same blue to paint in the sky.


My scene was cut out with 5062 Rounded Rectangle A5 Double Stitched Dies, and matted with a dark brown.  I picked some patterned paper to show off the blue of the boots and used some bright orange thread to zigzag stitch the papers together with my sewing machine onto the base.  I used a sentiment from 5136 - WC Sentiment Set 2 and stamped it with Versafine Onyx Black Ink onto some watercolor paper that I die cut with the small tag from 5132 Tag Stitched Dies, and added a Baker's Twine bow.


Thank you, ladies, for your continued inspiration! We absolutely love seeing everyone's personal style show through on each card!  
Happy Stamping!

Saturday, February 15, 2020

Watercolor Round-Up Spring Feelings


Hello, Ai Fans! Happy Watercolor Weekend!

We this winter season finds you happy and healthy. It has been a pretty busy season, and we are now getting into that time of year where we can slow down and take a breather. Our ladies have made some super cute cards this week that have us dreaming of all the spring flowers!

Be sure to follow these lovely ladies on social media by clicking the link in pink next to their names!

Dot Freel - Instagram - Blog - Pinterest
Hello,

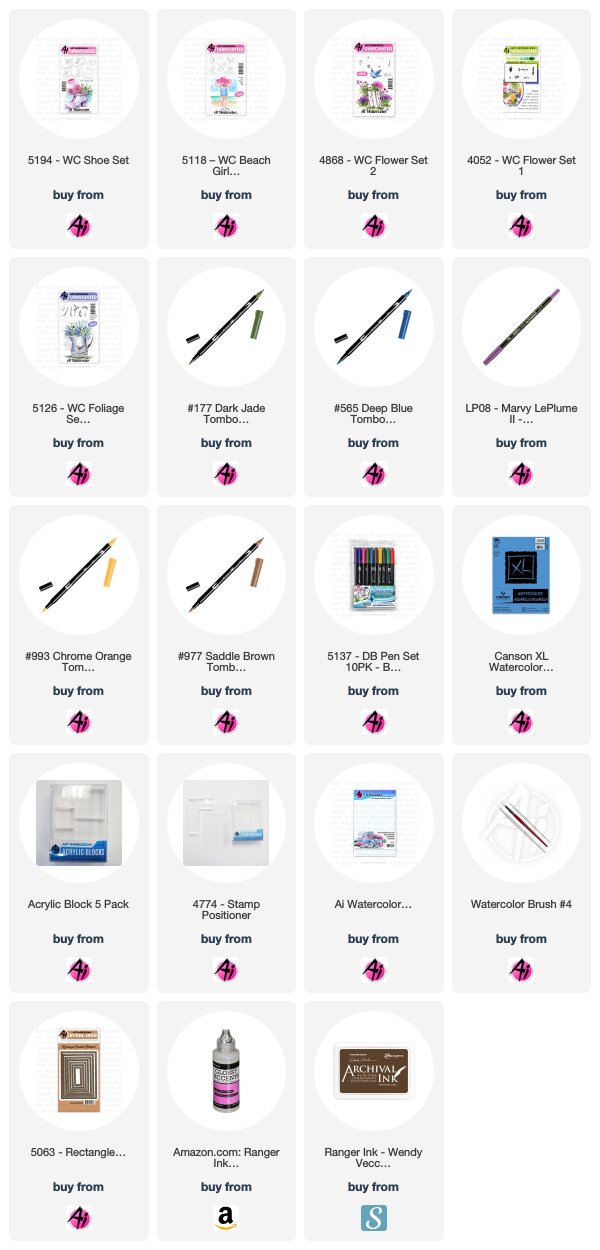
The weather has been wonderful in Las Vegas so I made this Spring-like card for the Art Impression's Watercolor Weekend. I actually used Ranger Archival Ink in Coffee to stamp the boots from the 5194 - WC Shoe Set and the umbrella from the 5118 - WC Beach Girls Set. I knew I was going to put glossy accents on them and I didn't want the lines to blur. The glossy accents really make the boots and umbrella look like they are made of vinyl or rubber. Next, I watercolored them in 993 and 977. To add the shadows, I used 565. I masked off the boots, then stamped in the flowers from 4868 in 177 and No. 6 violet. Then I stamped the flower from the Flower Set 4052 in 177 and 755. The foliage is from 5126 - WC Foliage Set 4 inked in 177. Then, I dabbed at the flowers and foliage with a wet brush. I used 565 to paint the ground shadows and the sky. I used the 5063 - Double Stitched Rectangle A2 dies to cut out my scene and the background pieces. I put it all together and then added the glossy accents. Set it aside, in a safe place for a few hours, so it can dry.  I accidentally dropped mine and ruined my first one.

Thank you for checking out my blog!  You can find more of my cards on my Instagram account here


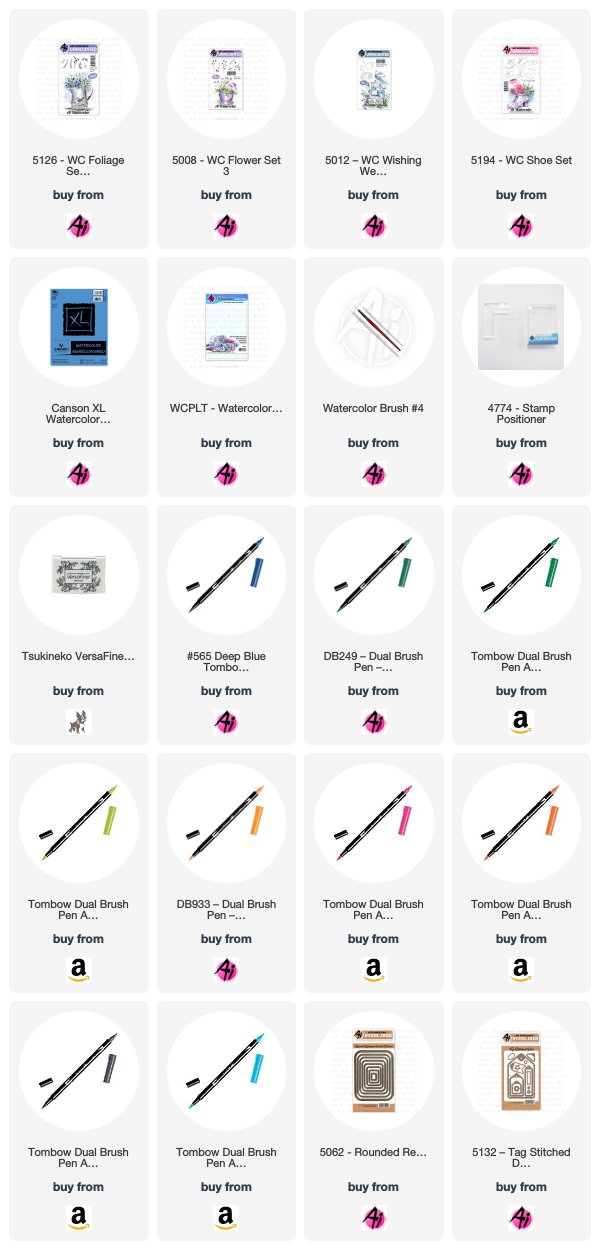
Supplies used listed below:


Karen Day - Blog - Facebook - Pinterest


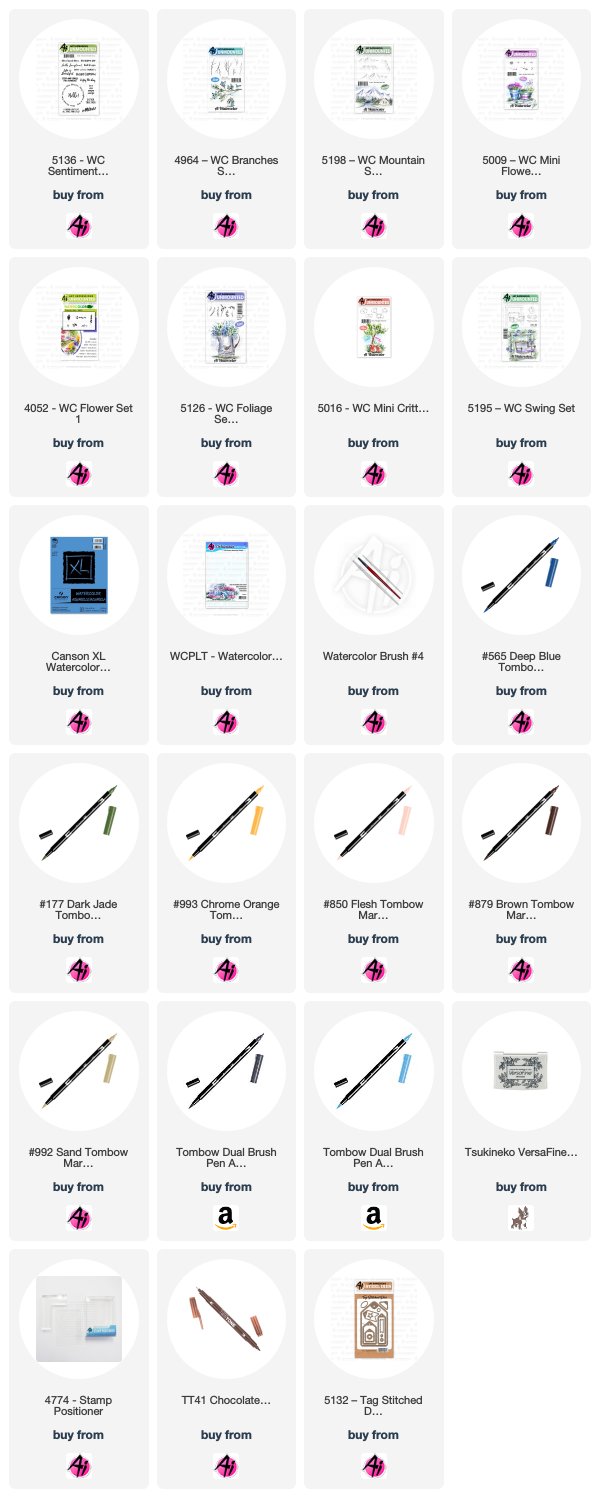
I began using the largest hanging swing image from the 5195 - WC Swing Set, colouring it first in my Tombow Dual Brush Marker #565 Deep Blue, stamping it off on scrap paper, and then colouring it again with #879 Brown.  I stamped it onto my Canson XL Watercolour paper.  *Instead of masking, when I coloured the swing, I left an open area in the corner where I intended my bunny to sit.  I've used the bunny from 5016 - WC Mini Critters Set, coloured him up in #N45, and used my stamp positioner to place him where I wanted him.  With my damp #4 brush, I softened the lines of the swing, pulling out the colour to fill in the shaded areas on the wood frames, and between the cushions. 
 To create my floral vine, I started with one of the smaller twig images from 4964 - WC Branches Set, and colouring it with #879, I stamped it numerous times, in different directions, creating the flow of the vine.  Using the trailing foliage stamps from 5126 - WC Foliage Set 4 coloured in #177 Dark Jade, I stamped the greenery along the same path, winding it around the swing frame in first & second generation.  Before stamping the flowers, I softened the images with my damp brush.  Using the Daisy Bunch from Flower Set - 4052, I coloured a few of the blooms in #993 Chrome Orange, and created the yellow floral sprays around the base of the swing, stamping them in a cluster.  I filled in any open areas with the tiny dot flowers from 5009 - WC Mini Flower Set coloured in #533 Peacock Blue, and then I added clusters of them along the twisting vine - then touched all the flowers with a damp brush.  I used the fine point end of my #993 marker to draw in the stripes on the seat cushions.  The bunny got a touch of #850 Blush in his ear, and I used a fine tip black marker to define & darken his eyes & nose.
On my palette, I scribbled #992 Sand and picked it up with a wet brush to add colour to the wood frames, keeping it streaky to suggest a wood grain pattern.  I did the same with #565 Deep Blue and used this to add shadows where needed to the swing, bunny, cushions and under the swing.  Using the smaller mountain stamp in 5198 - WC Mountain Set, I selectively coloured it in #533, omitting the largest peak, and used my stamp positioner to place it in the background.  Then using my brush and picking up colour from the palette, I used #565 to paint in the mountains and sky, and #177 to add a grassy hillside.  Since some of my twigs were 2nd generation, they were a little too light, so I went in directly with my fine Twintone Chocolate marker to darken them up.  I die cut my scene with a stitched square die and mounted it on dark brown cardstock.  The sentiment is from 5136 - WC Sentiment Set 2, stamped in Versafine Onyx Black ink, and die cut with a small stitched tag from 5132 - Tag Stitched Dies, and it got a small yellow Baker's Twine bow.  I did some zigzag stitching with my sewing machine on my background papers and mounted it all onto a 5 1/2" square card.  

Tricia O'Bin - Blog - Instagram - YouTube - Pinterest - Facebook


Welcome to watercolor weekend AI Fans!  This weekend felt like spring so I thought I would do a quick little spring vase to bring a little color to my life.  This project is so quick and easy and, like most of the projects I do, it is really versatile.

Project Details:
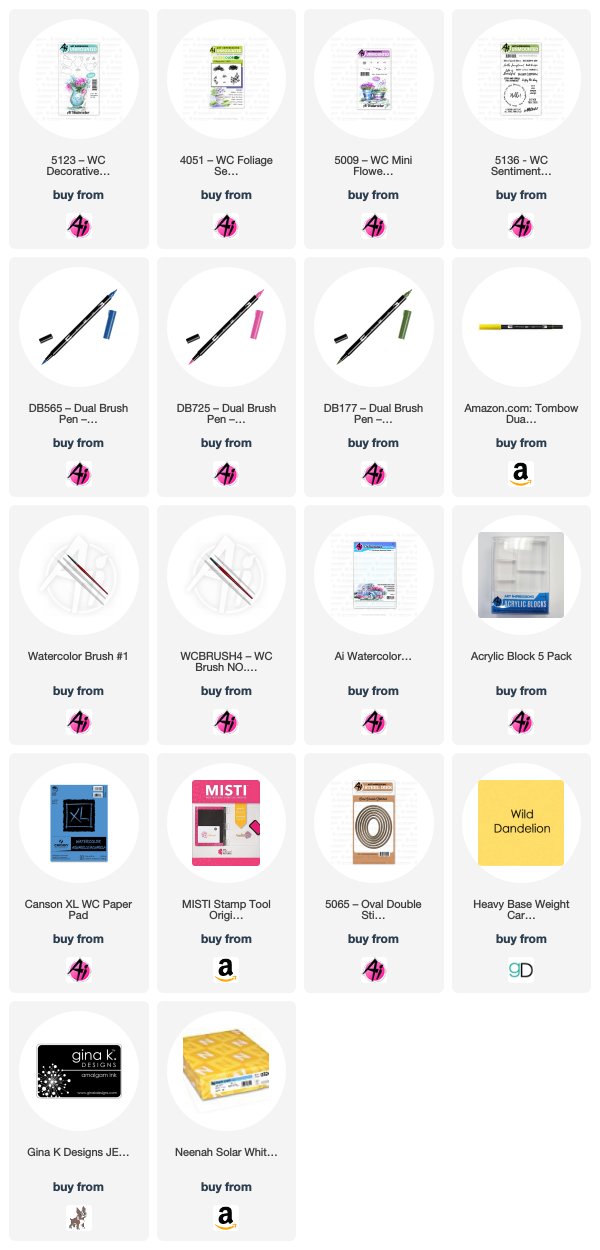
First, I inked the vase from the Decorative Jar set in 565.  I stamped it off so that it would be really light.  I added water to the vase and using my palette added some additional 565 to the left side and bottom of the vase to make it really dark.  I added some 569 to the bottom of the vase to create a shadow and to anchor the vase.
Next, I inked the top of the vine, from the original foliage set, with 177 and stamped it along the top of the vase.  I re-inked it and stamped it several times above the vase.  I added water to the leaves to soften them.  I did this first so that when I added water to the blooms they wouldn’t blend together (and make brown). 
For the flowers, I used the dots from the mini flower set inked in 725 and stamped it several times in a circle inside the vase and around the foliage.  I added water to all the blooms to soften them.
From my palette, I added some 055 to the right and left of the bottom of the vase to create a background that gives the vase depth.  I signed and dated my project.
Card Details:
I cut my watercolor piece out with my oval stitched die.  I also cut a mat out of Wild Dandelion with the next side up of the nested oval stitched dies.   I cut it from the middle of a 4x5.25 piece of Wild Dandelion card stock that I attached to a Neenah card base with Connect Glue.  I then attached a matching piece of patterned paper cut to 3.75x5.  I attached the watercolor piece to the mat with Connect Glue and added some foam tape to the back of the mat and attached it to the card.
I placed the piece into my MISTI and stamped the Hello Sunshine sentiment from the WC Sentiments set using black Amalgam Ink.
And that’s it…easy peasy.  I love the versatility of all of the Art Impressions watercolor line.  I hope you will give this project a try.  We hope we inspired you to create something special this weekend. 

Happy Crafting!


Thank you, ladies, for your continued inspiration! We absolutely love seeing everyone's personal style show through on each card!  
Happy Stamping!

Saturday, February 1, 2020

Watercolor Weekend Round-up - Spring is in the air


Hello, Ai Fans! Happy Watercolor Weekend!

Our fantastic design team is at it again with these cards inspired by the current season--Valentine's Day and the transition into spring. Their delicate creations will make you yearn for spring to come, and send a little love your way as well.

Be sure to follow these lovely ladies on social media by clicking the link in pink next to their names!

Dot Freel - Instagram - Blog - Pinterest


Hello,

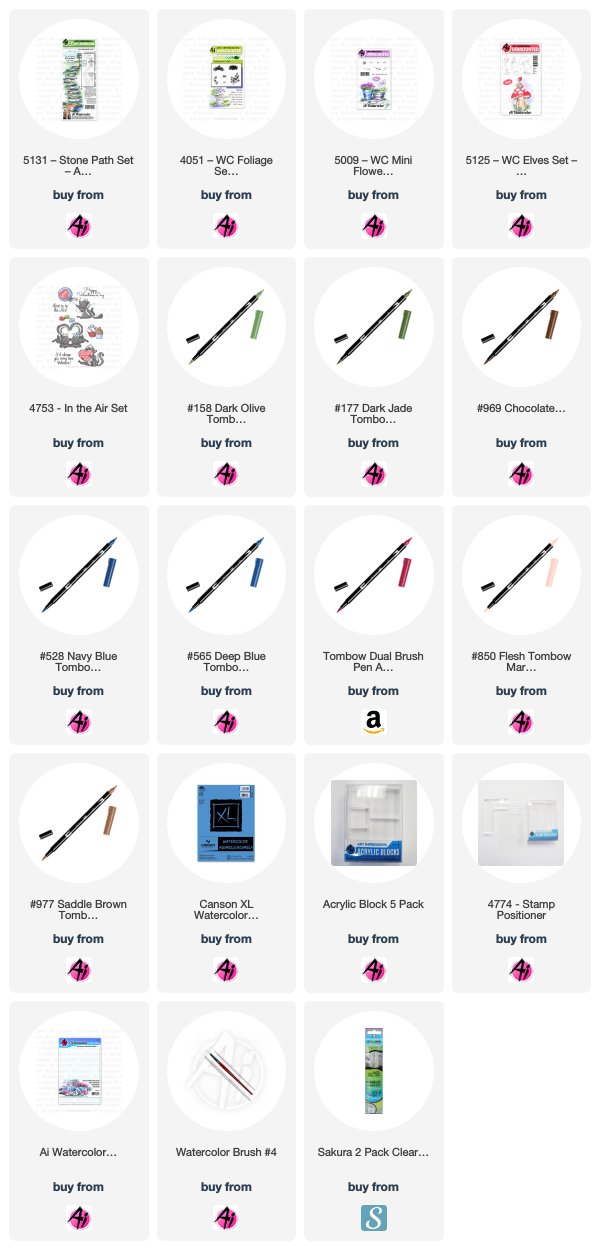
It's time to make some Valentine's so I made this one for the Watercolor Weekend on the Art Impression's twice-monthly blog post. I started with the sign and the walkway from the 5131 - Stone Path Set because I thought of putting "Lover's Layne" on the sign for the one I made for my husband whose middle name is Layne but when it was done, it was still missing something so then I decided to use the cute elves from the 5125 - WC Elves Set. I made this card by inking only part of the path in the 969 than in 565, leaving off a few stones from each end. I pulled the color out of the lines and then I stamped the sign inked in 969. I added some brown from the palette then when it was dry, I used my black Copic fine pen for the letters. Next, I stamped the elves inked in 969 using my stamp positioner. I used 158 on the palette to watercolor the green around the rocks and under the elves. I then watercolored the elves in 850, 847, 565, 177, 977 and 969. I stamped the grass from the Foliage Set  - 4051 in 177 and then I stamped the dot flowers in 847 from the 5009 - Mini Flower Set. I dabbed at the flowers with a wet brush. I stamped the blue flower inked in 177 and 528 from that same set. I watercolored the sky with that same blue 528. The sentiment is from the In the Air set - 4753 and I cut it out with the tag die from the 5132 - Tag Stitched Dies Set. I used a Sakura Glitter Gelly Roll pen to add glitter to the flowers. I cut out my scene and sparkly paper with the 5062 - Rounded Rectangle A2 Die Set.

Thank you for checking out my blog!  You can find more of my cards on my Instagram account here


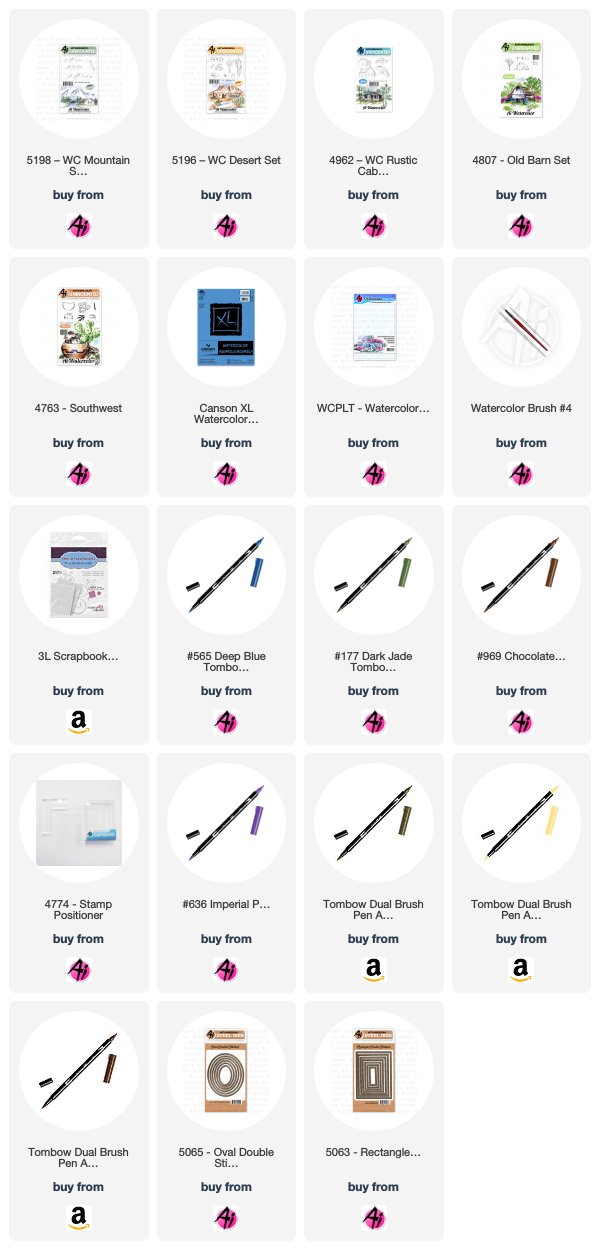
Supplies used listed below:
Karen Day - Blog - Facebook - Pinterest


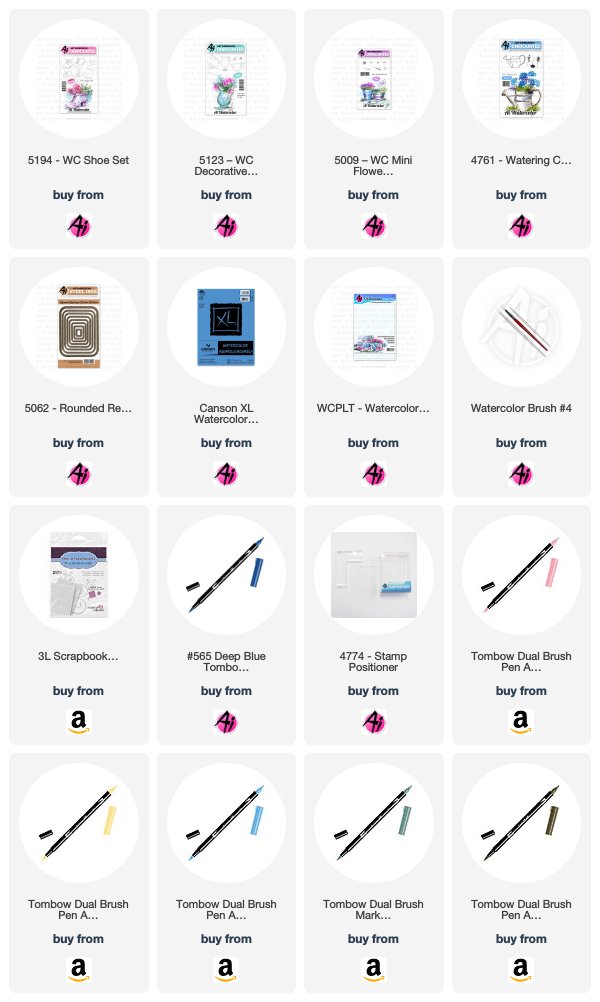
Today I'm using the 5194 - WC Shoe Set, along with 5123 - WC Decorative Jar Set.  I coloured my shoe with my Tombow Dual Brush Marker #565 Deep Blue, and went over it with #N57 Warm Grey 5.  I stamped it on my Canson XL Watercolor paper, and then pulled out the colour with with a damp #4 paintbrush.  I concentrated the colour in the areas where the shadows are strongest - under the arch, the heel and under the rolled top edge. 
I've used two of the flower images from 4761 - Watering Can, starting off by colouring just the bloom of the hydrangea-like image with #533 Peacock Blue, and stamping it multiple times.  After cleaning, I stamped it several more times coloured with #991 Light Ochre.  Using the multi-bloom image, I coloured the flowers with #772 Blush, and the stem in #312 Holly Green.  With the tiny foliage stamp from 5009 - WC Mini Flower Set, I stamped it repeatedly in #312, filling in spaces, and allowing the greenery to spill out the sides.  After dabbing the flowers with my damp brush, I went in directly with the fine point of my #312 marker, darkening some areas, drawing in leaves on the tall flowers, and adding dots around the bouquet.  I did the same with the other markers, adding shading to all of the blooms.  

 After masking off the shoe & flowers, I used my #4774 stamp positioner to stamp the teapot slightly higher, so that it would appear to be tucked in behind the shoe, colouring it in #565 and #N57 again.  I pulled out the colour with my damp brush, concentrating the colour close to the shoe where it would be in shadow, and on the undersides of the teapot, keeping in mind that it is quite curved, so I wanted to leave some white area.  After scribbling some #565 onto my palette, I picked it up with a wet brush and painted in the suggestion of a background, and a few sideways strokes to indicate the surface they're sitting on.  I also added the blue to the shaded areas of the shoe and teapot to deepen the shadows.  I added just a touch of the blush colour to the background and teapot to look like reflections.  The Decorative Jar set includes 3 small images that you can use to embellish the containers, so I stamped a swirly one onto the teapot using #533.  To finish things off, I used the 5062 Rounded Rectangle A2 Double Stitched dies to cut out my scene, then matted it with a periwinkle blue cardstock and used 3D Pop dots to adhere it to my background.  I tied some pink organdy ribbon in a bow under the image and added a few tiny pearls.

Tricia O'Bin - Blog - Instagram - YouTube - Pinterest - Facebook

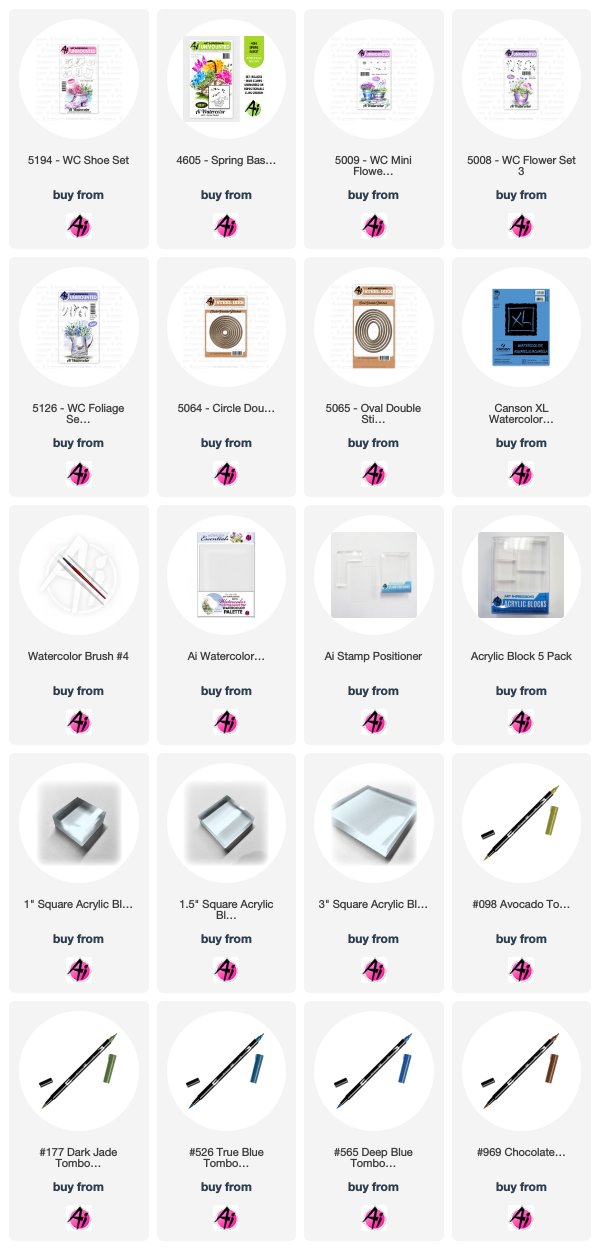
Welcome back to the watercolor weekend.  I created this Winter Spring Shoe for this weekend because we have had the weirdest weather up here in New England.  Why not create a bouquet in an old shoe sitting in the snow? 

Project Details

I inked up one of the shoes from the WC Shoe stamp set with my brown.  I then inked several spots up with my black, parts that I wanted to keep really dark.  I stamped it in the middle of my Canson watercolor paper.  Using a smaller paintbrush, I added a small amount of water to the darkest areas pulling some into the other areas of the shoe.  From my watercolor palette, I added some additional brown to the shoe's darker areas and softened them into the highlighted area.

I created a mask for the top of the shoe to protect it from the stamping of the flowers and foliage.  I started with my foliage.  I inked up the small vines from the Foliage set 4 with green and stamped it several times around the top of the shoe and sparingly around the top of the arrangement leaving room for the flowers.  I added water to soften the leaves.

I used red to ink up the small flower from the Mini Flower set.  I stamped it several times around the shoe.  Next, I inked up the long bloom from Flower set 1 with purple.  I stamped it several times to create height at the top of the arrangement.  Finally, I inked the small dots from the Mini Flower set with blue and stamped it in between the leaves and blooms.  I added water to all the blooms to soften them.

To ground my shoe I decided to make it sit on a bed of snow.  I used a blue-purple to create the mounds of snow under the show.  It is a perfect color for the shadows I needed.  For a finishing touch, I added blue to my palette and using lots of water created a sky behind my flowers.  And last but not least I signed and dated my work.

This was such a quick relaxing project to make.  I am so happy you stopped by for some watercolor inspiration.  Be sure to stop by my blog to see how I created the rest of the card!  Check out my awesome team members to see all the inspiration we strive to bring you!

Happy Crafting!


Thank you, ladies, for your continued inspiration! We absolutely love seeing everyone's personal style show through on each card!  
Happy Stamping!

Saturday, October 5, 2019

Watercolor Weekend Roundup - Endless Possibilities!

Hello, Ai Watercolor Fans! We are here to kick off your weekend with inspiration to break out your stamp collection and get inky! We have something for everyone today with three unique projects, let's take a look!

Dot Freel - Instagram - Blog - Pinterest
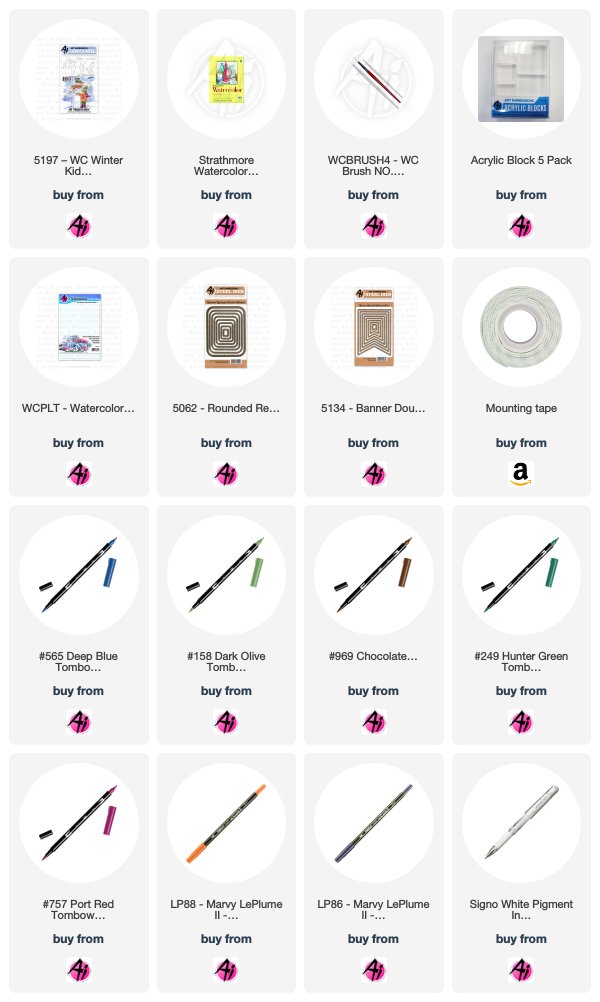
Have you seen the new stamp set from Art Impressions 5197 - WC Winter Kids Set? It is fabulous and my favorite from the new release! I made this card for the Watercolor Weekend and I'm sure I will be making many more in different ways and colors for Christmas. I inked both stamps the same way, in both 969 and 565, then I stamped it off on scratch paper first before I stamped it on my watercolor paper. I pulled the color out of the lines, then I watercolored everything. I used 757 on the snowman's hat band, gloves, scarf and the hat on the little girl and the sweater of the little boy. I used the fine tip to draw the strings on the girl's scarf. You would think I used black on the snowman's hat, boy's boots and little girl's pants but it was just the color of the 969 mixed with the 565 that came out of the 565 pen when I scribbled it on the palette. I used two greens on the clothes and scarves, 158 and 249. I used 757 and the #1 brush to paint the lines on the snowman's scarf. I used 969 on the little girl's boots and the branch arm of the snowman. I used 88 terra cotta for the carrot nose. I used 77 pastel peach on the little kids' faces and 67 bubble gum pink on their cheeks. I used African violet on the palette to paint the snow and sky and shadows on the snowman. I took my fine tipped Copic pen to darken the eyes, mouth and buttons of the snowman and to darken some of the lines of all the images, including the kids' eyelashes. I took my white Uni-ball Signo pen and added snow everywhere. I cut out my image and the background paper with the 5062 - Rounded Rectangle Dies. I typed and printed that sentiment (that you can't say without singing) on my computer and then cut it out using the 5134 - Banner Stitched Dies along with a smaller tag out of the background paper.


Karen Day - Blog - Facebook - Pinterest
I am using two of the newest sets in the Art Impressions Watercolor line this week to create a couple of Southwestern scenes. I am just going to go through the steps to create my oval image today, and I began by cutting out the 5065 Double Stitched Oval Die from my Canson XL Watercolor paper. I chose the large flat-topped mountain image from 5198 WC Mountain Set, coloured it with my #969 Chocolate Tombow Dual Brush marker, and stamped it slightly right of center, in the top third of my oval. Since I wanted this to look like more of a ranch scene, I chose one of the buildings from 4962 WC Rustic Cabins Set. I coloured it in #565 Deep Blue, stamped it off, and coloured #969 over top of it before stamping onto my paper. With #177 Dark Jade, I coloured and stamped two of the cacti from 5196 WC Desert Set in the foreground, masking each one as I went along. Then I chose the fence from 4807 Old Barn Mini Set, and used my stamp positioner to place it where I wanted, stamping it in #969 over the masked cacti. I added the small rock image from the Desert Set in and around the cabin, fence and cacti, as well as the larger rock image from 4763 Southwest set, all in #969.

With all of my images in place, I used my damp #4 paintbrush to pull out the colour in the mountains, keeping the crevices darkest, and spreading the brown down the mountain. I did the same to the fence and rocks, spreading the brown pigment onto the ground, and creating shadows. For the cabin, I used #N57 Warm Grey 5 to add a weathered wood look to the walls, using my #1 paintbrush to also paint the suggestion of individual boards. I picked up #899 Redwood from my palette, and added a red/brown shade to the door and chimney. I pulled the green out of the cacti with my brush, keeping the top edges of them light or white as a highlighted area.

Now I scribbled some #565 Deep Blue onto my palette, using it to paint in the sky, add shadows to the mountain, cabin, fence and rocks, keeping in mind that the sun was setting on the right side of my image. I used the fine point of my #565 marker to add shadow lines directly to both cacti, and on a few other areas of my scene. I also used the fine point of #991 Light Ochre to draw small yellow lines on the top edges of the cacti, to add a sunny glow to the highlighted areas. Lastly, I picked up #636 Imperial Purple from my palette, adding touches of colour to the sky, mountains and shadows, which really helped the scenes from becoming too 'brown'. I matted my images on some warm brown cardstock, and adhered them to my patterned paper with pop dots.


Tricia O'Bin - Blog - Instagram - YouTube - Pinterest - Facebook
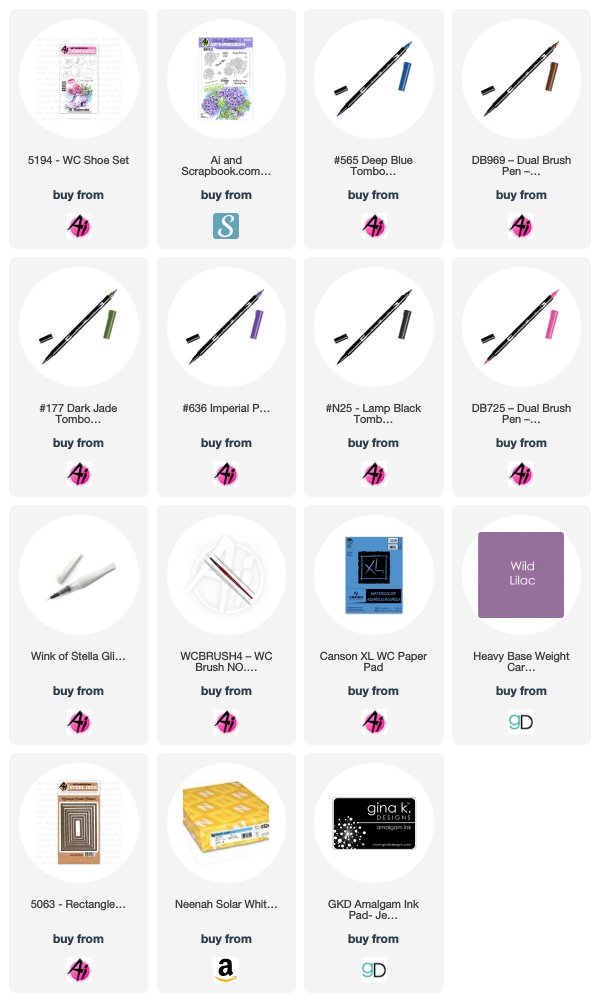
WOW, can you believe it is already October!!! Fall is in the air. I love this time of year. Fall in New England is the best. I wanted to use some fall colors along with one of the new shoes. I decided to make a Vintage Flower card. I wanted it to be really soft and old looking so I used some 969 and some 636 for a soft purple color. 

Card Details

I started off by inking up the Vintage shoe from the New WC Shoe Set with 969 and 636. I stamped it off a couple of times and then stamped it in the middle of my watercolor paper. I pull the color out of the lines making sure to keep the shadowed area really dark. I added some additional color from my TwinTouch brown marker. I love it's fine tip. Using my palette, I added some additional 636 to some of the darker areas on the shoe.

I took the vine from the original foliage set and inked it up with 177. I added it to each side and around the top of the shoe. I used a damp brush and softened the leaves. I took the small flowers (shaped like hearts) from the Bible Flowers Set. In order to get a balanced look, I inked the flowers in 055, 856, and 925. I stamped them 3 times each around the shoe trying to maintain an oval type shape.


Thanks, team! With such different projects today, it's a fun reminder that the possibilities are endless with our watercolor stamps! Want to cling onto the heat of summer? Paint up a desert scene inspired by Karen's creations! Ready for winter? Why not build a snowman with Dot? Just want to enjoy the fall season we are in? Make an autumn floral arrangement like Tricia's shoe bouquet! We can't wait to see what stamp this weekend! Share your creations with #aistamps on Instagram and Facebook!

Happy Stamping!

Thursday, August 29, 2019

NEW VIDEO! Vintage Shoes Watercolor

Hello Ai Fans!

Bonnie is BACK with a new Watercolor Wednesday! We are excited to kick off our latest release with this video! Bonnie designed two of our WC Shoe Set images, including an antique boot and adorable baby bootie! This set is so fun to fill with your flowers and foliages and design with colors for any recipient!

Make sure to check out artimpressions.com today to view all FIVE new Watercolor sets from our summer release!


View on YouTube: https://youtu.be/VP9gLvGkT-E


NEW Watercolor Sets NOW Available! PLUS, Challenge 265 Watercolor Stamping!
New Watercolor Sets
Watercolor enthusiasts rejoice! We have FIVE new Watercolor sets available today at artimpressions.com! Bonnie's newest favorite is our WC Shoe Set, featuring footwear from baby to antique boots, which you can fill with your flowers and foliage. As we draw closer to the holiday season, Bonnie created a WC Winter Kids Set, with the littles dressed in their snow gear and one even giving a hug to a snowman. Use your critters or kids sets with our new WC Swing Set for nostalgic outdoor scenes. For our southwest friends, we included a WC Desert Set featuring cacti, an adobe house, tall grasses, rocks, and twigs. You can also use the WC Mountain Set plateaus with our Desert Set, or add a snowy mountain in the background of your watercolors! The possibilities are endless!


Watch the video below, as Bonnie introduces the summer release and all her favorite details. You can add all five sets to your collection at artimpressions.com!
 
WC Mountains   Winter Kids Winter Kids  
WC Shoe Set   Boy Shoes
Swing Set Swing Set   WC Desert Set Desert Scene  

Let's take a look at what the designers have created today! Remember, you can visit the designer's blog or social media by clicking the pink links by their name - and give them a follow while you're there for more inspiration in your feeds!

Dot Freel - Instagram - Blog - Pinterest
 
Hello Friends,

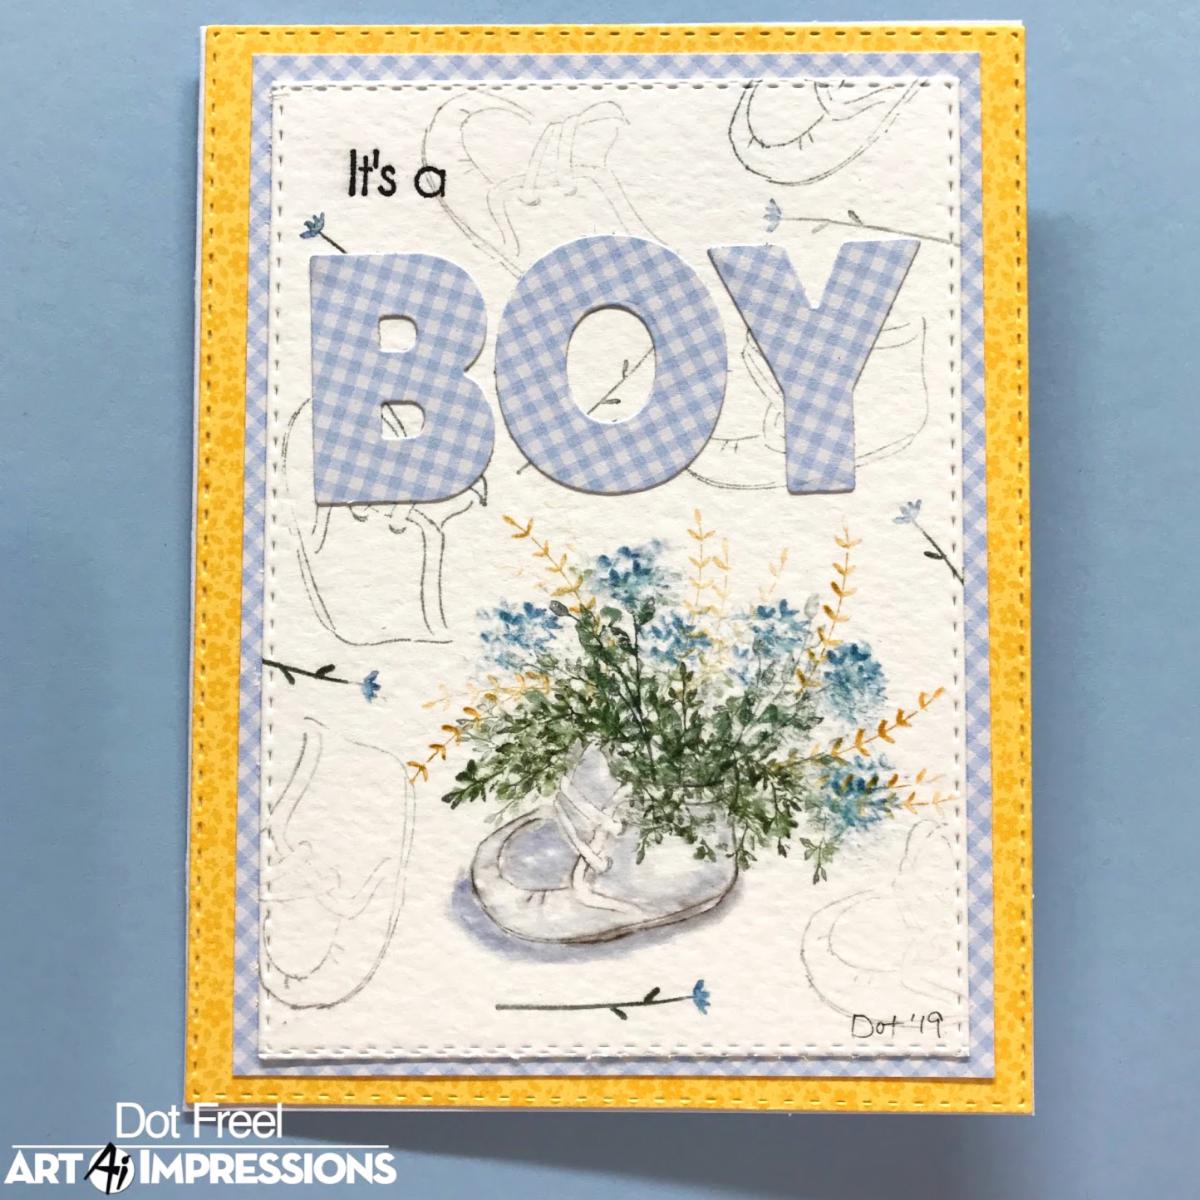
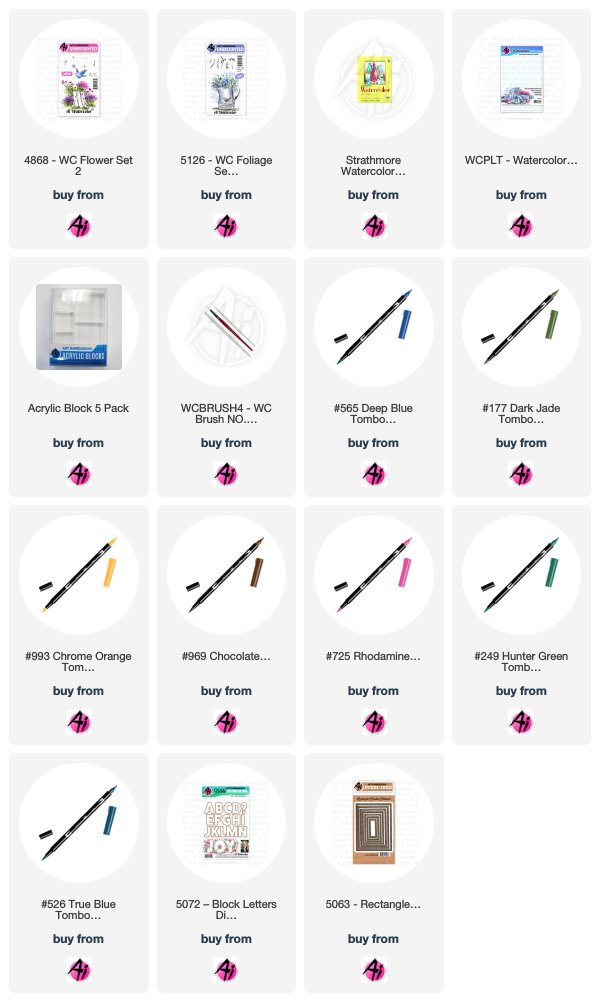
Have you seen Art Impression's brand new stamps 5194 - WC Shoe Set? There are 6 different shoes! I actually had these little white leather shoes for all three of my sons, long ago, when they were babies. Some people even had them bronzed and mounted on a plaque. I stamped the shoes in two colors, first the 969 then the 565. I stamped them off on scratch paper first and then pulled the color out of the lines. I added the foliage from the 5126 - WC Foliage Set 4 in 177 and 249. I stamped the longest ones in 105 lt. teal for the girl card and in 993 for the boy card. I stamped the heart flowers from the 4868 - WC Flower Set 2 in 725 for the girl card and in 526 for the boy card. I used 565 to paint the shadows under and on the shoes. I stamped the shoe again in random orientations all over the background using Memento grey ink. I stamped the long stem flower all over both cards as well. I used the 5072 - Block Letters Die Set to cut out the words "girl" and "boy" and ran the letters through a Xyron Create-a-Sticker. I used the 5063 - Rectangle Double Stitched Dies to cut out the background pieces and the watercolored pieces to complete my cards.


Karen Day - Blog - Facebook - Pinterest
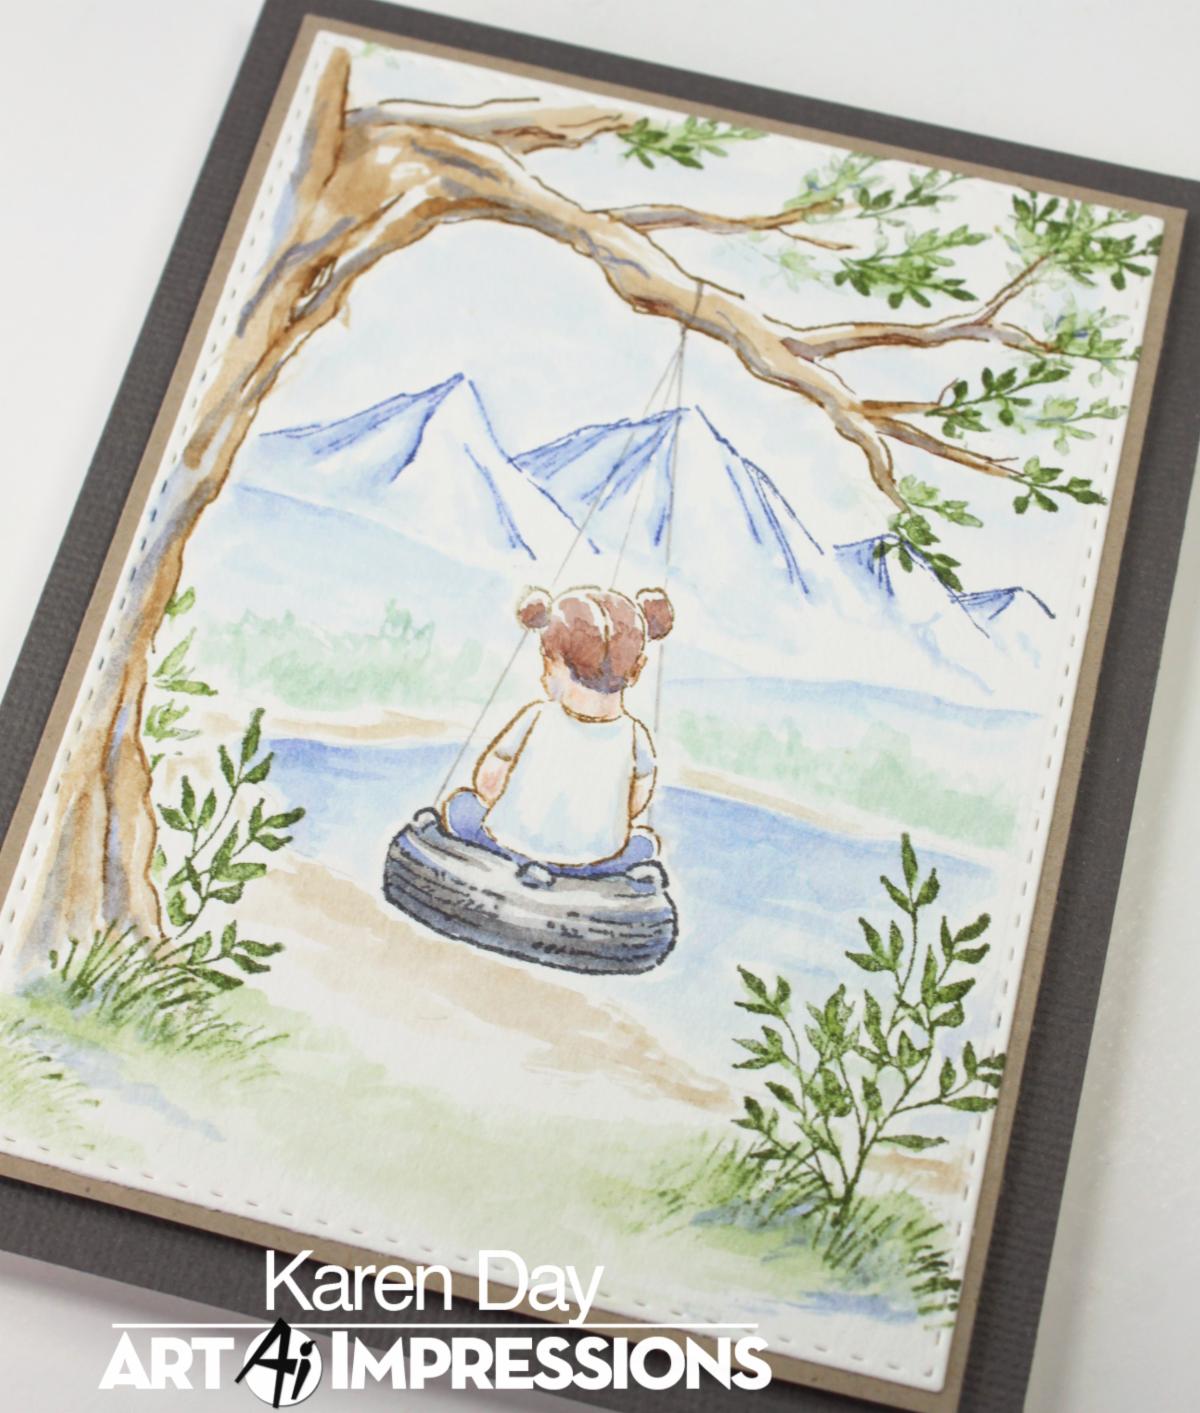
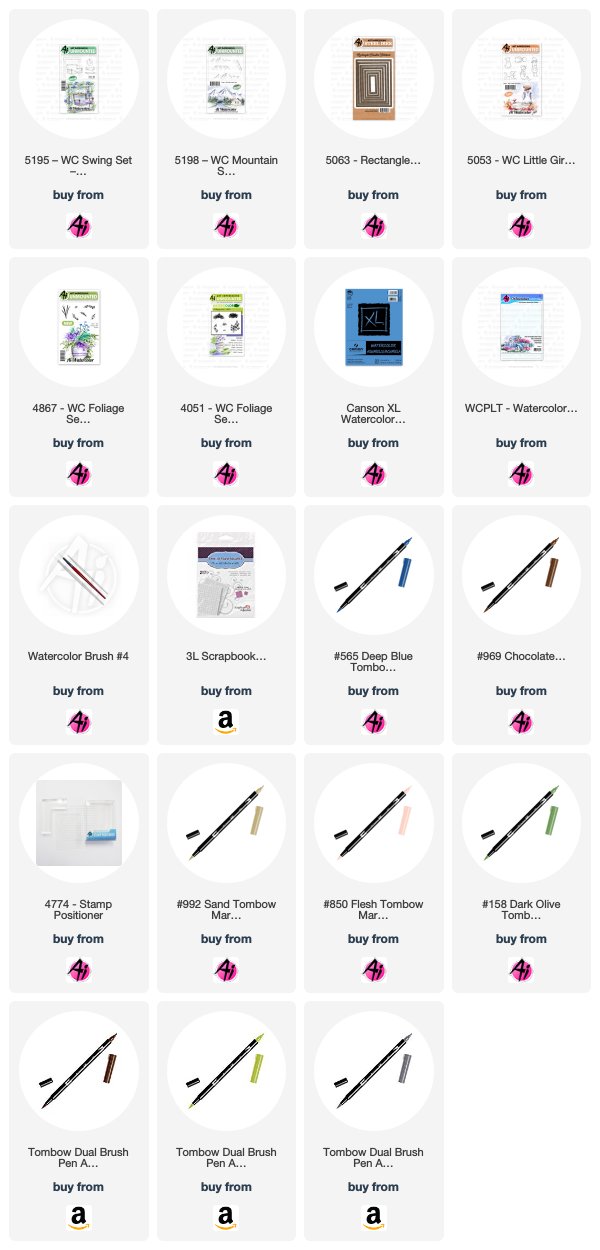
I had the idea to combine these two sets on my projects, so decided to use the tire swing from 5195 WC Swing Set, the mountains from 5198 WC Mountain Set, and created a scene around them. I first sketched out my idea on scrap paper to determine exactly where I wanted things to be - nothing worse than being half way through a scene like this, and stamping your mountains too high! It also helped me determine that my tree swing would be up on a hill overlooking a lake and the mountains beyond. I started by diecutting my Canson XL watercolour paper with the 3 3/4" x 5" Rectangle Double Stitched Die, and I sketched in my tree with a pencil. Using #N45 Cool Grey 10, I coloured and stamped the tire, and then masked it. With my stamp positioner, I placed the little girl from 5053 WC Little Girls Set, coloured in #992 Sand. With my #1 paintbrush, I added #850 Flesh to her skin, and #899 Redwood to her hair. With the fine point of the #992 marker, I added short sleeves to her t-shirt. #565 Deep Blue was painted as her jeans, and after adding more water to it, I used it to add shadows. I added several layers of the N45 to the tire to build up the colour, creating it darker on the underside of it. Next I stamped the mountains, after colouring them with 2nd generation #565, and a layer of #533 Peacock Blue over top. I used my damp #4 paintbrush to soften the lines and pull out the colour to add shading to the mountains. I painted in the hills in front of them, and the lake - pulling the colour from my palette, and used a light wash for the sky. I used my Twintone marker in #41 Chocolate to outline my tree, and added a few texture lines to the trunk. I painted shades of #969 Chocolate over the entire tree, keeping it darker on the undersides of the branches, and added #565 as shadows. With the large leafy image from Foliage Set - 4051 coloured in #158 Dark Olive, I added greenery on either side of the swing, and softened it by dabbing with a damp brush. I also used the Jumbo Grass stamp with #158 stamping it multiple times, then using the colour from them to paint a suggestion of a grassy bank. I picked up #992 from my palette and painted in the shore line around the lake. And finally, to add leaves to the trees, I used the larger leafy image from 4867 - WC Foliage Set 2 New. Oh - and the last step was to use a fine point grey marker to draw in the chain of the tire swing. I matted my image with a light kraft cardstock, and used pop dots to mount it on some textured dark grey cardstock.


Tricia O'Bin - Blog - Instagram - YouTube - Pinterest - Facebook
First I inked up the entire cactus from the NEW Desert Set with 126. I then added some 249 to just the areas I wanted to be a little darker. I stamped it towards the bottom right hand side. Next, I masked it off, re-inked it with the same colors and stamped it to the left of the first one but down a little. I pulled the color out of the lines. 

I inked up the southwest house with 969 and stamped it to the left of the cacti close to the middle of the paper. I masked it off and stamped the Large mountain from the NEW Mountain Set inked with 969. I also used the same smaller mountain inked in 969 and stamped it a little up and to the right. I wanted it to appear to be further back. I pulled the color out of the lines, making sure to leave white highlights. I pulled some additional color underneath the mountains to give them some depth.

I added some 565 to my palette and added it between the mountains for a small river flowing between the mountains. I added 969 to my palette and added some additional ground around the river and darkened beneath the mountains. I added some 969 and 847 to the small grass and stamped it on either side of the house. I pulled the color up and out of the lines. I added water to the house making sure to make the left really dark. I pulled color out of the lines around the house. I continued to add 969 from my palette to create more ground.

I added some 969 to the small rocks and placed them to the left in the white space. I pulled the color out of the lines making sure to leave a highlight. I added some pink to the cactus and added water. I replaced the mask on the cactus, inked up the other cactus in the set with 177 and using my positioner stamped it to the right of the cactus. I pulled the color out of the lines and added some additional 126. I added the small cactus near the rocks and pulled the color from the lines. Using my fine tip, I added some dark shadows beneath the house and softened them with water. I continued to add 969 and 847 to the ground.

Finally I used some 565 watered down to create clouds in the sky. Lastly, I signed it.


Thanks, team! Your projects are so inspiring and fun to see in your unique styles!

For our new challenge, we want to see you try watercoloring stamping! You can watercolor the art impressions way or another watercolor stamping technique, we can't wait to see!
Here are the Challenge Rules...
✻ Please make a new card or creation. You can make any crafty item you wish; this is not limited to cards!
✻ Limit two submissions per person. You will receive extra votes if you use Art Impressions stamps!
✻ The Ai Challenge is open to everyone, international submissions are welcome!
✻ Include a link back to the Ai Blog or grab our button on the top right of our sidebar!
✻ Share the Ai love by clicking and commenting your fellow crafters.
✻ Make sure to get your link up by the deadline to enter your creations.
✻ Good luck and happy stamping!

You are invited to the Inlinkz link party!
Click here to enter

Before we go, let's recognize the winners of last week's Gotta Gingham challenge!

Top Spot goes to...

Reeta!

Congrats, Reeta! We love your Perfect Duet singing on this easel card with pretty pink and red gingham paper! Such a sweet anniversary card! Email annelise@artimpressions.com with your address to claim your prize pack!

Honorable Mentions go to...

Mary Ann!

Helen F!
 Congrast, you two! Mary Ann, we love how you created a nostalgic card with your class WC Truck image! Thanks for joining us in class at Scrapbook Expo! And Helen, we love your blue-toned gingham with this snowy scene with our retired Whoots set! Too cute. Email annelise@artimpressions.com with your address and a stamp set of your choice!

We hope to see your entires and more in our new challenge! Have an awesome weekend!

Happy Stamping!