

Hello, Ai Fans!
Welcome to our first Watercolor Weekend of June!
Our fantastic design team has been hard at work creating some beautiful, bright cards to add to your weekend.
Welcome to another fabulous weekend of inspiration from the awesome watercolor design team. I decided to do an easy design that uses just a few stamps. Join me as I show you how I created this simple Kindness card.

Step 1:
I added a piece of 1 inch post-it tape in the top third of the card, this will protect the area where I want to stamp the sentiment.
Step 2:
First, I inked up the vine from the Foliage Set 2 with green (177). I stamped it along the top and bottom of the post-it tape.
Step 3:
Next, I inked the lilies from the original Flower Set with pink (725) and green (177) and stamped it in the middle of the card along the top and bottom of the post-it tape.
Step 4:
I inked up the long stems from the Flower Sets 1 & 2 with purple (606) and stamped them to the left and right of the pink blooms along the top and bottom of the post-it tape.
Step 5:
I removed the post-it tape and beginning with the foliage, started softening the leaves. I added some additional green along the bottom of the foliage. Next, I softened the blooms. I used the color left on my palette to do some splatters over the entire piece. Once it was dry, I placed the piece into the MISTI and stamped the sentiment with Gina K Designs Amalgam ink into the blank area. I cut it down to 5 x 3.75, signed and dated it.
Step 6:
For embellishments, I added some Gina K Design
s galaxy sequins, with connect glue, to add some interest. I added this to a Gina K Designs bubblegum card stock cut to 5.25 x 4 mat. I added the whole thing to a Neenah white card base.
I hope you are inspired to create something this weekend. I know for me, I paint to alleviate stress and anxiety. Please share your creations with us on Facebook and Instagram. Have a great day!


Dot Freel - Instagram - Blog - Pinterest
Hello,
This card was inspired by my oldest son's place in Colorado. He lives in a blue and white house with a barn, on four acres on a hill, with his wife and two daughters. He just finished creating an amazing swimming pond and the deer are always on his property. He pretty much lives in paradise. I grew up in Colorado and absolutely loved it.
This card was inspired by my oldest son's place in Colorado. He lives in a blue and white house with a barn, on four acres on a hill, with his wife and two daughters. He just finished creating an amazing swimming pond and the deer are always on his property. He pretty much lives in paradise. I grew up in Colorado and absolutely loved it.

I thought it would be good for his birthday card or even his anniversary.
Thank you!


Hello!
I have a Southwestern scene to share this week!


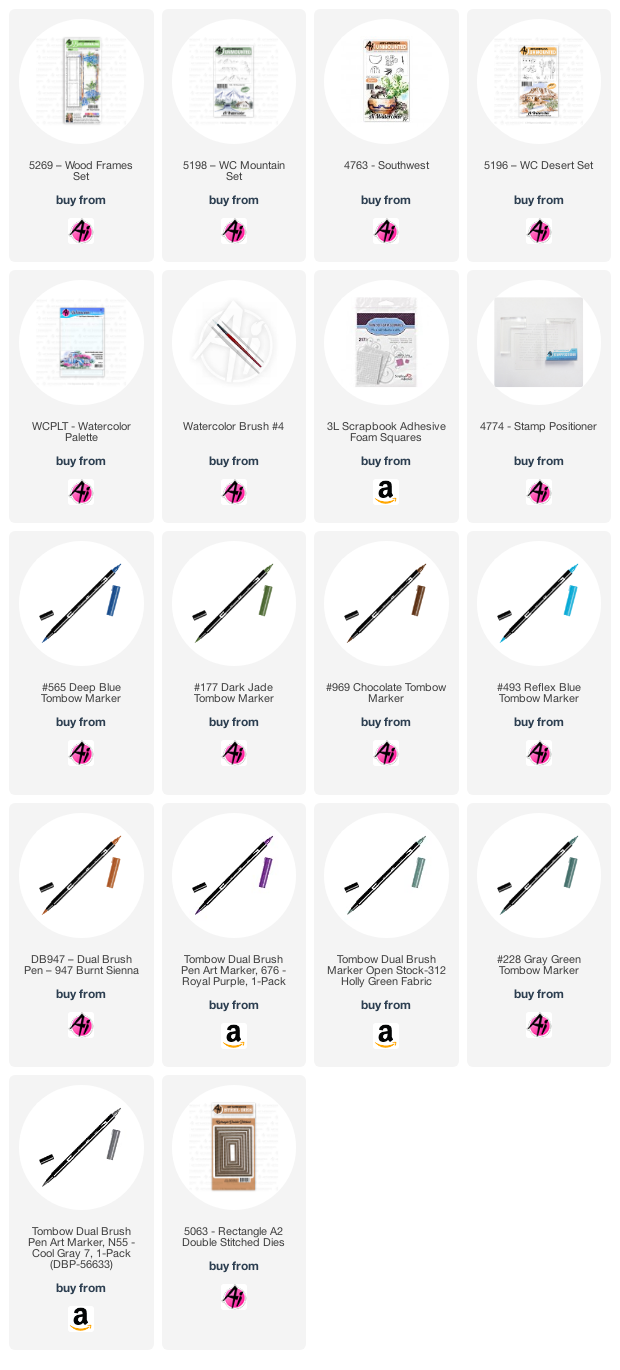
I masked the stones, and stamped the prickly cactus from 4763 Southwest in #228 Grey Green, masked it - and stamped the spiky greenery in #312 Holly Green. With all of the masks in place, I added the larger cactus from 5196 WC Desert Set in #177 Dark Jade in the background.

I used the smaller rock formation from the 5198 WC Mountain Set coloured in #947, stamping it in the upper left, and after masking the frame, a portion of it in the lower right. I stamped the tiny rocks from 5196 Desert Set around the base of the mountains several times in #947.

Finally the sky was added with #493 Reflex Blue, and I added touches of it to my scene as well. I die cut my painting with a 5063 Rectangle A2 Double Stitched die, matted it with kraft cardstock and adhered it to my base with some thin 3D adhesive. A few sequins finished it off. *I had intended to hand write a sentiment just below the frame - but chickened out at the thought of maybe messing it up after all my hard work! I may think about it a little longer and add it in... I have a Pacific Northwest version of this card, using a pine tree instead of a cactus - you can see it on my blog here.

Thank you, ladies, for your wonderful weekend additions to our blog!
Happy Stamping!
No comments:
Post a Comment