Showing posts with label WC Southwest Set. Show all posts

Saturday, June 6, 2020

Watercolor Roundup 6/6/2020


Hello, Ai Fans!

Welcome to our first Watercolor Weekend of June!

Our fantastic design team has been hard at work creating some beautiful, bright cards to add to your weekend.

Be sure to follow these lovely ladies on social media by clicking the link in pink next to their names!


Tricia O'Bin - Blog - Instagram - YouTube - Pinterest - Facebook

Hello again watercolor fans!  
Welcome to another fabulous weekend of inspiration from the awesome watercolor design team.  I decided to do an easy design that uses just a few stamps.  Join me as I show you how I created this simple Kindness card.


Step 1:
I added a piece of 1 inch post-it tape in the top third of the card, this will protect the area where I want to stamp the sentiment.
Step 2:
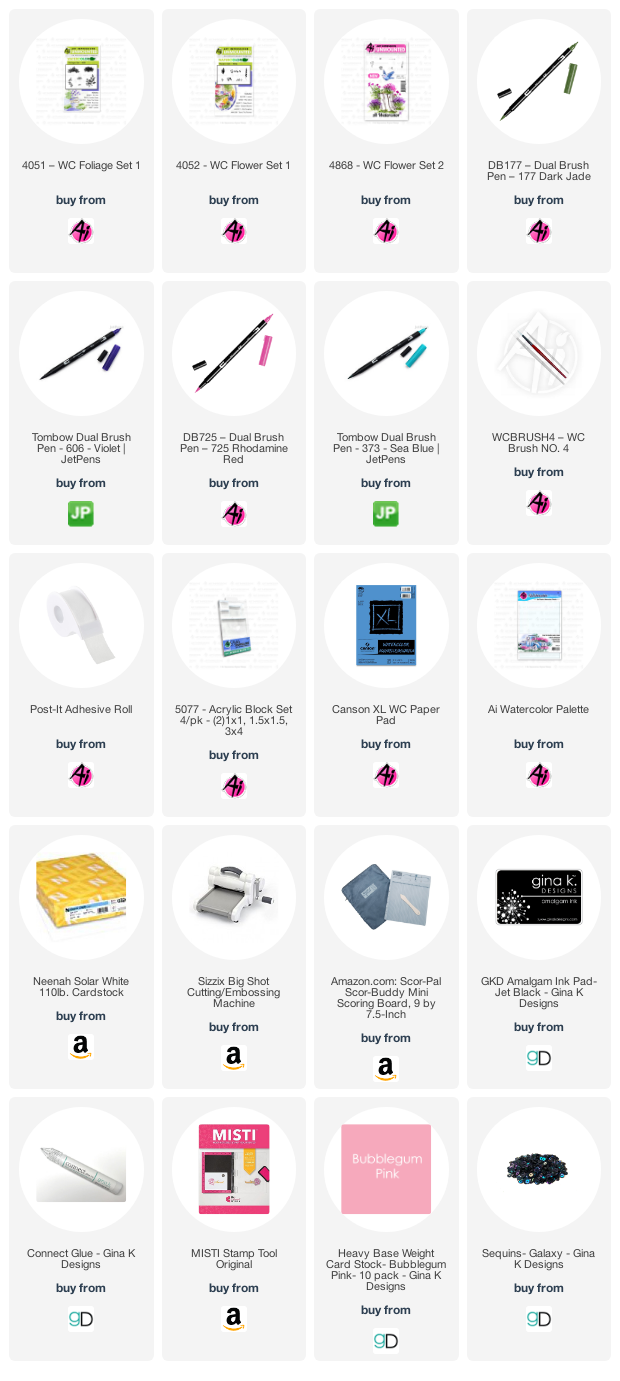
First, I inked up the vine from the Foliage Set 2 with green (177).  I stamped it along the top and bottom of the post-it tape.
Step 3:
Next, I inked the lilies from the original Flower Set with pink (725) and green (177) and stamped it in the middle of the card along the top and bottom of the post-it tape.
Step 4:
I inked up the long stems from the Flower Sets 1 & 2 with purple (606) and stamped them to the left and right of the pink blooms along the top and bottom of the post-it tape.
Step 5:
I removed the post-it tape and beginning with the foliage, started softening the leaves.  I added some additional green along the bottom of the foliage.  Next, I softened the blooms.  I used the color left on my palette to do some splatters over the entire piece.  Once it was dry, I placed the piece into the MISTI and stamped the sentiment with Gina K Designs Amalgam ink into the blank area.  I cut it down to 5 x 3.75, signed and dated it.
Step 6:
For embellishments, I added some Gina K Design
s galaxy sequins, with connect glue, to add some interest. I added this to a Gina K Designs bubblegum card stock cut to 5.25 x 4 mat.  I added the whole thing to a Neenah white card base.

I hope you are inspired to create something this weekend.  I know for me, I paint to alleviate stress and anxiety.  Please share your creations with us on Facebook and Instagram.  Have a great day!


Dot Freel - Instagram - Blog - Pinterest

Hello,

This card was inspired by my oldest son's place in Colorado. He lives in a blue and white house with a barn, on four acres on a hill, with his wife and two daughters. He just finished creating an amazing swimming pond and the deer are always on his property. He pretty much lives in paradise. I grew up in Colorado and absolutely loved it. 


I thought it would be good for his birthday card or even his anniversary. 
I made a tutorial on YouTube on it.  Click here to watch it!

Thank you!


Karen Day - Blog - Facebook - Pinterest

Hello!

I have a Southwestern scene to share this week!  


For most of my cards (but especially this one!) I like to plan them out on scrap paper ahead of time.  I usually sit down in front of the TV and design a whole bunch of cards, planning the layout, the stamp sets and even colours/paper if I can.  I don't like to just sit down in front of a blank piece of watercolor paper and try to start stamping - I find I'm much more productive if I have a sketch and a plan.  Here's what my sketches look like:


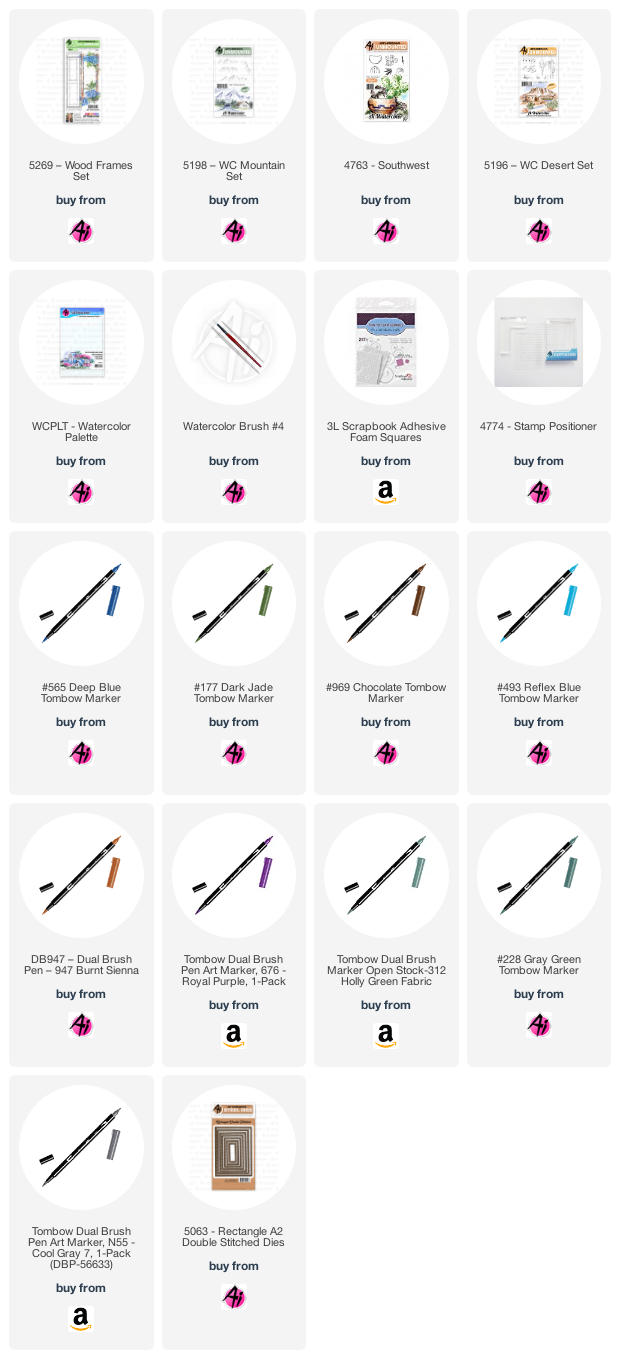
With my sketch beside me, I planned out what the cactus cluster was going to look like on scrap paper, mixing and matching stamps, and trying out colours to get it just right.  I started stamping it on Bristol Smooth Watercolor paper from the bottom up, using the rock cluster from 4763 Southwest, colouring them in my Tombow Dual Brush Marker #N55 Cool Grey 7, then I added the smaller stones from 5196 WC Desert Set in #947 Burnt Sienna.  

I masked the stones, and stamped the prickly cactus from 4763 Southwest in #228 Grey Green, masked it - and stamped the spiky greenery in #312 Holly Green.  With all of the masks in place, I added the larger cactus from 5196 WC Desert Set in #177 Dark Jade in the background.


I put my watercolor paper into my Misti, along with the frame from 5269 Wood Frames Set from the Bible Journaling line.  I coloured about 3/4 of the frame with #969 Chocolate - just enough to stamp the left side of the frame.  Then I repositioned my paper, moving it about 1/2" to the left and coloured the portion to the right of the cacti, and stamped it.  I did this to make the frame longer than it is, about 1/2" extra so that I could fit the scene in the background.  

I used the smaller rock formation from the 5198 WC Mountain Set coloured in #947, stamping it in the upper left, and after masking the frame, a portion of it in the lower right.  I stamped the tiny rocks from 5196 Desert Set around the base of the mountains several times in #947.


Now that the stamping was done, I finally grabbed my #4 paintbrush, and pulled the colour out of all the images, concentrating it in areas where the shadows would be, and leaving plenty of white highlight areas.  I purposely kept the frame very streaky, adding warmer and darker browns to achieve a worn wood effect.  The river was painted in with #565 Deep Blue, picking it up off my palette, and then using it to add shadows in the mountain crevices and on the rocks & cacti.  I added touches of #676 Royal Purple all over my painting to liven it up a bit!  

Finally the sky was added with #493 Reflex Blue, and I added touches of it to my scene as well.  I die cut my painting with a 5063 Rectangle A2 Double Stitched die, matted it with kraft cardstock and adhered it to my base with some thin 3D adhesive.  A few sequins finished it off. *I had intended to hand write a sentiment just below the frame - but chickened out at the thought of maybe messing it up after all my hard work!  I may think about it a little longer and add it in...  I have a Pacific Northwest version of this card, using a pine tree instead of a cactus - you can see it on my blog here.



Thank you, ladies, for your wonderful weekend additions to our blog!
Happy Stamping!

Tuesday, May 21, 2019

Hedgehog Birthday Card by Jil Lebel

Hello Ai fans!

One of my favorite things about Art Impressions is the cute images that give me a good chuckle.  The Hedgehogs set in the new funny farm release had me rolling.  The image I used today is a bit laid back, but I wanted to pair it with the WC Southwest set.  I often forget that I can use my watercolor series stamps with an ink pad.  Do you do the same thing?
The main image with the hedgehog leaning on the cactus was stamped onto the watercolor paper with Versafine Clair Nocturne Ink and heat set.  I then stamped the image onto a piece of mask paper and cut it out.  When cutting a mask, cut right along the middle of the stamped line.  The mask was then placed right over the image to protect it from the rest of the stamping. I then stamped the pot and the rock from the southwest set with the same ink and heat set the image again.  I stamped the pot onto a piece of mask paper and cut it out and placed it over the pot.  The cactus image from the watercolor set was the last image to be stamped and heat set.  All of the masks were removed.  The greeting was stamped into the top corner. One thing to remember when you are masking a scene is that you want to first stamp the images that you want in the front and work your way backwards.
Now for the fun part!  All of the coloring was done in the same way.  I worked in one section at a time and colored the Tombow markers directly onto the paper where I wanted the color to be the darkest.  I would then add very little water to my brush and add the water to the area that I wanted my color to be the lightest and move my brush into the color covering the entire image.  I did that for all of the same color at one time and let it dry.  Once it was dry it would usually need a second layer of color applied the same way.  I was sure to leave highlighted areas to add life to the images. The colors I used are listed at the end of this post.
Tombow Marker Colors Used:
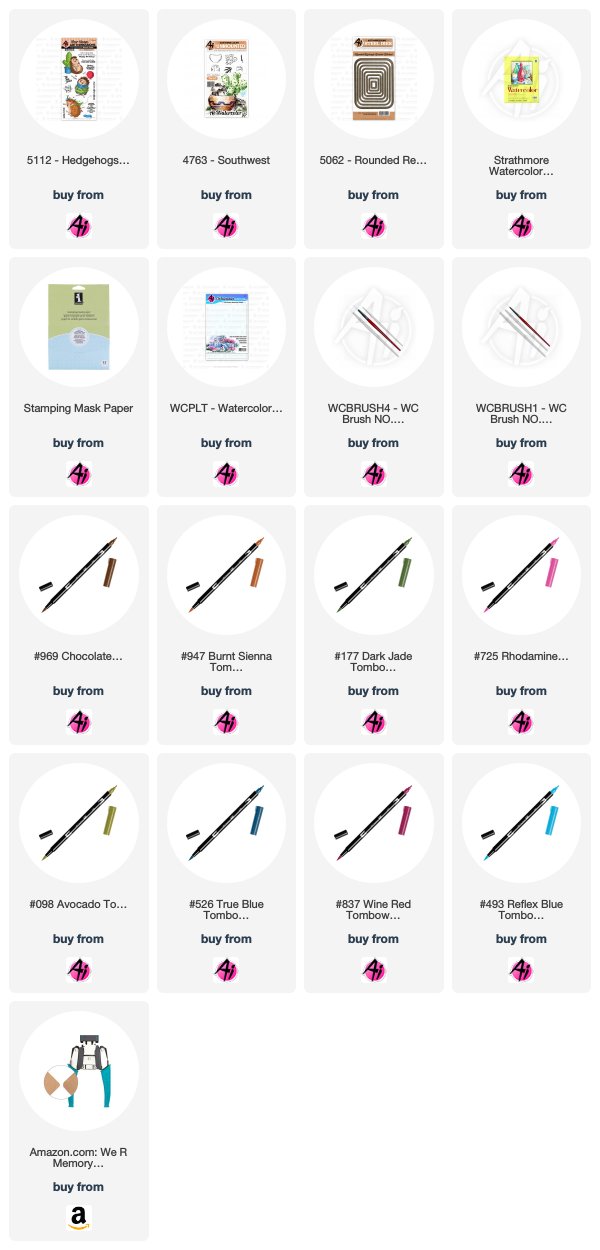
Hedgehog - 969 Chocolate, 947 Burnt Sienna, 725 Rhodamine Red
Cactus - 177 Dark Jade, 098 Avocado
Pots - 837 Wine Red, 526 True Blue
Rocks - 969 Chocolate, 526 True Blue
Sky - 493 Reflex Blue

Thanks for stopping by and Have a Great Day!

Saturday, July 7, 2018

Watercolor Weekend Roundup - Stretch Your Stamps!

Hello, Ai Watercolor fans! We love finding new ways to use our Ai Watercolor stamps, and our three WC designers have some fantastic ideas for you today! Let's take a look!

Dot Freel - Instagram - Blog - Pinterest
Hello Watercolor Friends,

I had so much fun making this whimsical card for the Watercolor Weekend roundup. I used the stump and the stamp positioner to widen the stamp and make it taller. I used one of the hobbit doors along with that cute little mailbox to make it look like my chipmunks have a home. It's a play off of Watercolor Wednesday (my favorite day of the week!) Art Impression's Owner/Creator Bonnie Krebs tutorial on YouTube, see it here. Create one of these cards yourself using any of the animals and any of the flowers and grasses. I love how they all work together to create whatever scene you can imagine.

Other Supplies: Canson XL Watercolor Paper

Tricia Kennedy - Instagram
My project for today’s Watercolor Weekend features my state – ARIZONA. This idea can be adapted to any state or country – the possibilities are endless. Print out the state onto copy paper. Trace the state onto masking paper and cut out with an X-Acto knife. Using the negative cut out, adhere to watercolor paper. Watercolor the Art Impressions Way by inking up the cacti from the Southwest Set in Olive Green and Pine Green using masks from Post-It Notes as you go. Stamp the long stem from Flower Set 2 in Terra Cotta and Olive Green. Add dried grass to the bottom from Foliage Set 1 in Sepia. Scribble a little Olive Green, Pine Green and Salvia Blue to your palette. Brush Olive Green and Pine Green onto the cacti to add depth and dimension and Salvia Blue for the sky. Be sure to get the color all the way to the mask edge to create a definite outline. Remove the mask for that WOW moment!
Marvy Le Plume II Markers: 15 Olive Green, 45 Sepia, 60 Salvia Blue, 72 Pine Green, 88 Terra Cotta
Other Products: Masking Paper, Post-It Notes, X-Acto Knife, state outline printed from www.50states.com

Tricia O'Bin - Blog - Instagram - YouTube - Pinterest - Facebook
I am still obsessed with card quilting. I wanted to create my own patterned paper to use on my quilt card. I thought red, white and blue would be fitting for the 4th of July holiday! I used a retired quilt die from Stampin Up! I created watercolor background using only 2 stamps. 

First, I created a template with the quilt die so I could do a bunch of watercoloring at one time. I backed the watercolor sheet with Stick it adhesive. Using Crimson Lake and Prussian Blue, I created watercolor flowers all over the watercolor paper using the daisy bunch. I added vines using Olive Green. Once the page was full, I die cut the quilt pieces out. I also cut quilt pieces out of another piece of white watercolor paper. I pieced it all together and adhered it to a piece of Black Onyx cardstock. I ran this through my machine using a quilt top textured embossing folder. I adhered the piece to a folded notecard. I die cut the 4th from a retired number die from Stampin Up! I embossed the “TH” and “Happy” from the Gina K Designs stamp set “Peony Wishes”. 

I hope you will join us and share your projects with us! 

Marvy Le Plume II Markers: 15 Olive Green, 29 Prussian Blue, Crimson Lake

Thanks, team! What FUN ideas! From chipmunk mailboxes and lengthening a tree stump, to creating an interesting border mask, to fabulous floral quilts, there are just so many ways you can use your stamps! We hope this inspires you to take another look at your stamps and find more creative uses for them. Be sure to share your creations with us with Happy Stamping!