Showing posts with label Art Impressions Watercolor. Show all posts

Sunday, May 10, 2026

Cottage Cards by Jami Steiger


Good morning! I hope everyone is enjoying a lovely weekend. I have two cottage cards to submit this weekend.  

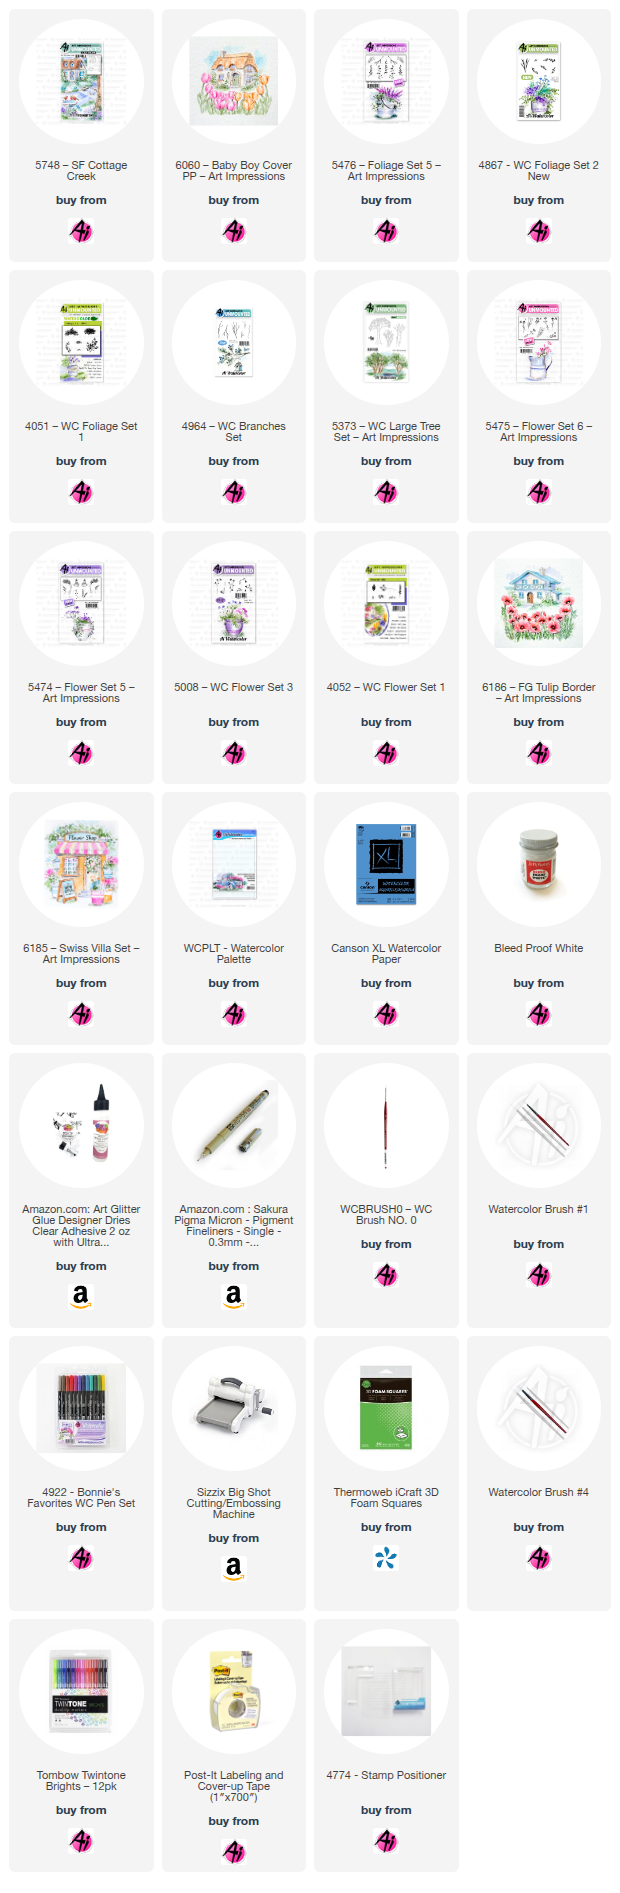
For the first card on the Art Impressions blog, I used the 5748-SF Cottage Creek stamp set. This is such a beautiful stamp. All of the additional floral and foliage stamps used are listed below in the Linkdeli list. 

Tombow markers used: 177, 969, 565, 606, 515, 526, 977, N55, N75, and 837


____________________

For the following card, I used the recently released 6185-Swiss Villa Set and the new 6186-FG Tulip Border.

Tombow markers used: 969, 565, 177, 192, 098, 606, 837, 025, 993, 933, 312, N65, N55, and 992


Sunday, April 26, 2026

Spring Bird Cards by Jami Steiger


Good morning, watercolor friends. With everything in Ohio now in full bloom and beautifully vibrant, I've been delighted watching the birds in our backyard. They served as my inspiration for today's cards.  


For my first card, I used the 5261-WC Large Birdhouse Set. I started by coloring the birdhouse stamp with Tombow markers 565 and 969. I stamped off once. I used the stamp positioner to place the birds in the scene. I then painted the birds, trying to make them as realistic as possible. After the scene was painted, I added Dr. PH. Martin's Bleed Proof White to add white highlights. I used a sentiment from the 5797-Little Sentiment Set and die-cut a tag using paper from the 6082-Bible Journaling S1 Paper Pack.


Tombow markers: 969, 565, 177, 837, 025, 879, 856, 528, N65, and N35.


____________________


For my second card, I used these supplies: 5130-On The Sparrow Set; 6045-Scalloped Circle Dies; and Tombow markers: 969, 565, 177, N35, N65, 977, 837, 025, and 879.


Sunday, April 12, 2026

Spring Foundation Cards by Jami Steiger


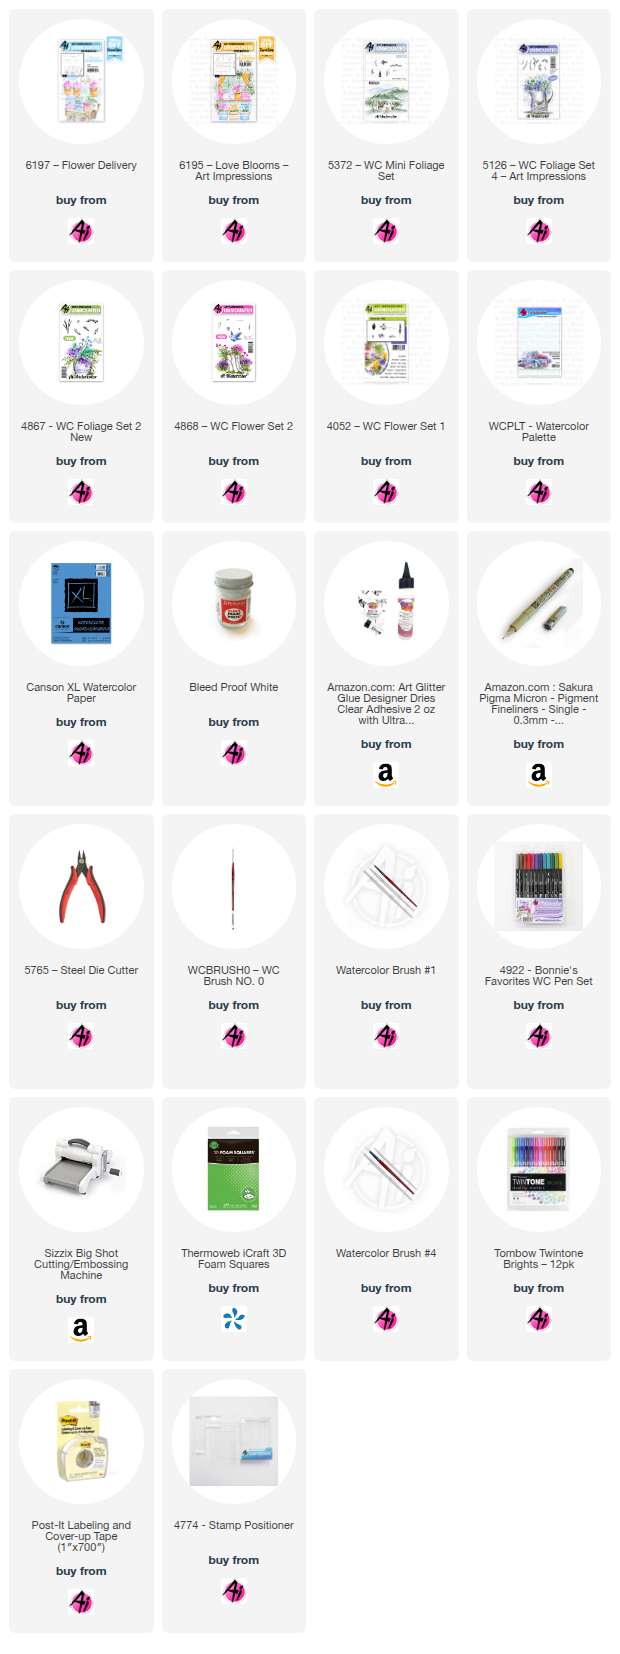
Good morning, Watercolor friends! Spring has finally arrived here in Ohio! The new Spring Foundations stamp sets are perfect for creating spring-themed cards. Six new foundation sets are available, and they are fantastic because they provide a complete scene for you. Just add a few flower and foliage sets to craft a beautiful scene. For my first card, I used 6197-Flower Delivery, and for the second, 6195-Love Blooms. I used the same flowers and foliage on both cards, which are listed in the Linkdeli listing below. I began by coloring the stamps for the cards with Tombow 969 and 565, stamping off once. 

Now, for the fun part! I painted both images with the following Tombow markers: 228, 679, 757, 177, 817, 925, 312, 947, 192, 993, 969, N65, N75, 528, 977, 606, 837, 565, 228, and 772.

After completing the painting, I used Dr. Ph. Martin's to add white details to both images. The picture of the flower cart is deceiving because the color is actually purple, and the papers used came from the 5955-Encouragement Paper Pack.


____________________


The teal paper for the background came from the 6011-Basic Teal Paper Pack.


I hope everyone is enjoying a wonderful weekend and finding some time for creativity! Looking forward to seeing you all soon. 


Sunday, March 22, 2026

Vintage Easter Cards by Jami Steiger


My goodness, it's already my turn for Watercolor Weekend! We've made a few updates with Art Impressions, and now I will post cards twice a month for WC Weekend, plus a card at the end of the month for a monthly Challenge. The new changes are definitely keeping me busy, but it is also a lot of fun creating new cards.

I have been watching Bridgerton on Netflix and love the show's vintage style, so when I made my cards this month, I thought the 5116-Basket of Blessings Set would be perfect. 

I started by stamping the rabbit with Archival Ground Espresso. I used the following Tombow markers to paint: 992, 977, 528, 312, 817, 772, 969, N75, 177, 025, and 933. To paint the buttons on his jacket, I used a Signo Pigment Ink Gel Pen in gold. To die-cut the rabbit, I used the lacy rectangle from 5804-Decorative Belly Bands, and the small decorative die-cut in the upper left corner came from 5591-Journal Rectangle Frames Die. Next, I used the 5724-Nested Rectangle Dies to cut a pale blue mat. The decorative paper for the card base came from 6036-Easter Bunny PP. Before I assembled the card, I used Simon Hurley's die ink pad in Grrr!, which is a very light beige, and a small dauber to antique the edges of all the elements. To complete the design, I added a small paper doily, a vintage button, and a piece of vintage flower lace.


____________________


Items used to create the Easter Egg card: 5116-Basket of Blessings, 5809-Decorative Journal Page Set 2, 5724-Nested Rectangle Dies, 6082-Bible Journaling S1 Paper Pack, Archival Ink in Ground Espresso, Dr. Ph. Martin's Bleed Proof White, Small Dot Stencil, and Pearl Embossing Paste, Small Pearls, Vintage Green Lace, Corner Rounder Paper Punch, Foam Adhesive Dots

Tombow Markers used: 526, 933, 025, 312, 837, and 177

____________________


I hope you all enjoy the Easter cards as much as I enjoyed creating them!


Sunday, February 22, 2026

Spring Bee Cards by Jami Steiger


Welcome, Watercolor Weekend friends! We have had so much snow here in Ohio that I am thinking of bees and spring flowers. The same stamp set, 5925-Honey Bee, was used to create the next two cards.

For the flying bees card, I started by punching out 1-inch hexagons from the 6012-Basic Yellow Paper pack and a "bee" paper pack I had on hand. I used a round paper punch to cut out the leaves for the flower. Next, I stamped the adorable bees onto watercolor paper using an Archival Ground Espresso stamp pad. I painted the bees with the following Tombow markers: N25, N45, N55, N65, 772, 025, 933, and 993. Next, I die-cut the bees using the coordinating dies in the stamp set. I hand-cut the "grass" for the bottom of the card, then glued down the paper pieces to make the flower. I stamped the sentiment onto yellow paper from the yellow paper pack and attached it to the card with foam dots. Before adding the bees, I stamped the honeycomb onto the gray paper with Versamark to give the card a tone-on-tone look. I also added the bees using foam dots. I drew the stem and leaf veins with a Micron Black 005 pen.


____________________


For my next card, the first step was to mask off the watercolor paper with Post-It removable tape to create a 2 3/4 x 3 1/2 rectangle. I used the branch from set 5010-WC Tree 1 and stamped it upside down to create a place to hang the beehive birdhouse from set 5925-Honey Bee, using Archival Ground Espresso. I stamped the tree's foliage with the foliage stamp from 5373-WC Lg Tree. I stamped the bees and painted them flying around the birdhouse. I then cut out the 3 pieces of paper with the 6048-Scalloped Rectangle Dies. I also used the smallest die to cut out my stamped sentiment. I attached the layers to a yellow card base and added a dark gray bow. The sentiment was popped up with foam dots for added dimension.


I hope everyone is staying warm, and that spring will be here before we know it!


Sunday, January 4, 2026

Glass container & Birthday Set by Karen Day

 Hello Ai Watercolour fans!


Welcome to a whole new year of watercolour painting!  I have two projects today featuring older products.  After all of the holiday crafting over the past few months, I'm always needing to replenish my stash of cards in the New Year, and birthday cards top the list.


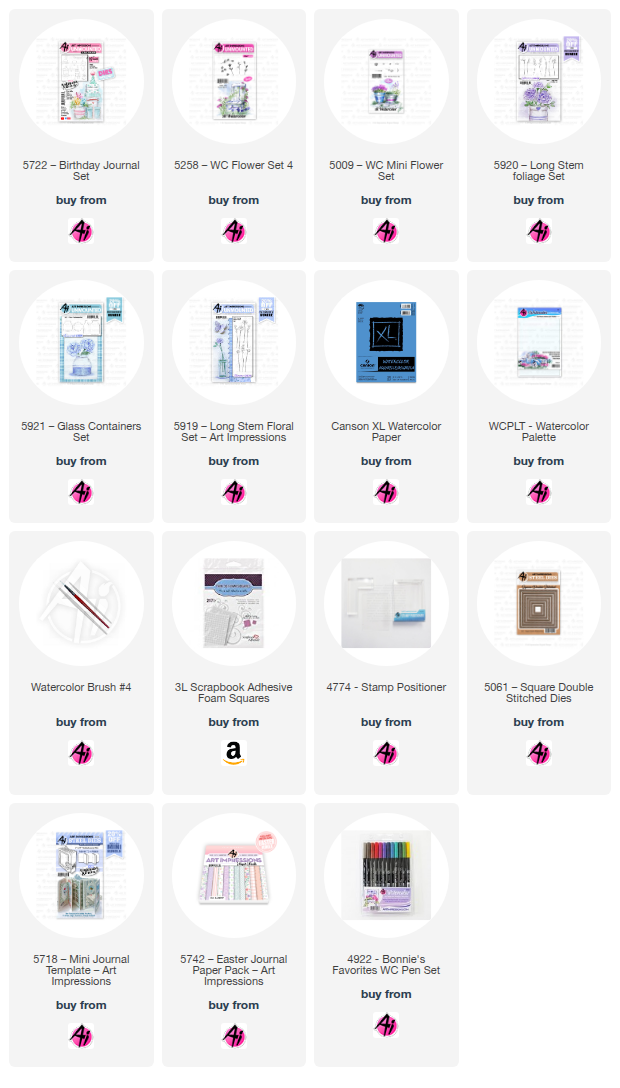
I stamped the sweet pup from 5722 - Birthday Journal Set in Tombow #N45, masked him, and stamped the stack of presents beside him, and the banner across the top.  I am using the 5742 - Easter PP on both projects today, and choosing my pretty background paper was the starting point for picking my colour palette.  I painted the pup in #947, keeping the undersides a little darker, and the face area almost down to nothing.  The florals are from 5258 - WC Flower Set 4, painted in #703 & #636, surrounded by the small green from 5009 - WC Mini Flower Set in #312.  I took a damp brush to my bouquet, softening everything.  


The packages were painted with #761/703/312/N45/636 in various washes & patterns, and the banner was washed with N45.  565 was used as a wash in the sky, and to darken up a few shadowy areas.  I used my grey Twintone marker to darken up some of the lines of my scene, and to draw a bow on either end of the banner.  I used the 5061 - Square Double Stitched dies to cut out my scene, and mounted it on a larger square of dark grey textured cardstock.  I cut the hello from 5718 - Mini Journal Template in the grey cardstock, and adhered it across the top.  I added 3D foam adhesive and attached it all to my card base - the finished card is 5 1/4" square.


I have never painted a glass container before!  It was time to give it a try.  


Using Bonnie's examples as inspiration, I stamped the largest vase from 5921 - Glass Containers Set in #N45, then masking the rim only with a tiny sliver of paper, I stamped in the flowers and foliage from 5920 - Long Stem Foliage Set and 5919 - Long Stem Floral Set using #312/177/636/N45.  I picked up all of the colours from my palette, and painted in the foliage softly.


Most of the stems were stamped inside the vase, but for a few that weren't, I painted the stems using the green shades.  I used tones of #451 and 565 to paint in blue lines suggesting the inside of the vase and the waterline, adding a few streaks of green for the reflection of the stems.  #565 was used as a wash in the background, and around the base of the vase.  To add a little glimmer, I used my silver Gel Pen to paint the flowers of the baby's breath - to echo the silver cardstock.


The scene was cut out with a decorative rectangular die, and mounted on some silver cardstock.  Everything was adhered to the card base with 3D foam adhesive, and a few iridescent jewels added more sparkle.

Thursday, December 18, 2025

Karen's Top 5 of 2025

 Hello Ai Watercolour fans!


It's one of my favourite posts of the year, when I get to review all my Ai projects painted this year, and pick my favourites.  It's also a chance to say a sincere thank you to those of you who leave such lovely comments both here on the blog, and on all of our social media posts.  I appreciate you all so much!  And a big thank you to Bonnie and everyone at Ai, who gives us these wonderful products to work with.  So here in no particular order, are Karen's Top 5:

5916 - Woodland Castle Set


5789 - Hot Air Balloon Set


5466 - WC Lighthouse Set


6105 - Fall Keepsake Set


6117 - A Cozy Christmas Set

Here's to a wonderful Painting New Year in 2026!


Wednesday, December 17, 2025

Diane's Top 5 of 2025

 Hello to my Watercolor Friends and Fans!

As 2025 winds down, I’m excited to look back on my Top 5 Projects of the Year! Being on the Ai Watercolor Design Team for nearly three years has been such a rewarding adventure, full of creativity and growth. Each new project has brought joy, and I can’t wait to see what inspiration 2026 has in store. 

I would like to take this opportunity to thank Bonnie Krebs and family for bringing me along on this creative journey. I so appreciate the opportunity to create for such a wonderful company! Additionally, a big thank you to Leah, we couldn't do it without her. And a shout out to ReneĆ©, our amazing Design Team leader - thank you for all you do for us. I also send a heartfelt thank you to everyone who has supported our posts with likes and comments—you make this journey even more meaningful. Let’s celebrate together as I share my Top 5 favorites of 2025! (Click the link above each card to revisit the original post).

Thank you so much for joining me as I shared my Top 5 of 2025! Revisiting these Watercolor Weekend favorites has been such a joy, and I hope they brought a little inspiration your way. I’ll be back in January with new projects to kick off 2026. Until then, wishing you a Merry Christmas, Happy Holidays, and a New Year full of creativity, laughter, good health, and Happy Painting!