Hello, Ai Fans!
Welcome to another Watercolor Roundup!
This weekend our Watercolor Design Team has some creative, inspiring creations for you!
This weekend, we have a Throwback post from Tricia, using our Scrapbook.com Poinsettia Exclusive Set!
WOW! December came in like a hurricane up here in the New England Region. These poinsettias were the perfect pop of color amidst all of the glorious snow. I loved watercoloring these beautiful flowers. They are quick and easy so you can make lots of beautiful Christmas cards. I hope you will try your hand at watercoloring these amazing images created by Bonnie Krebs at Art Impressions.
COLORING DETAILS
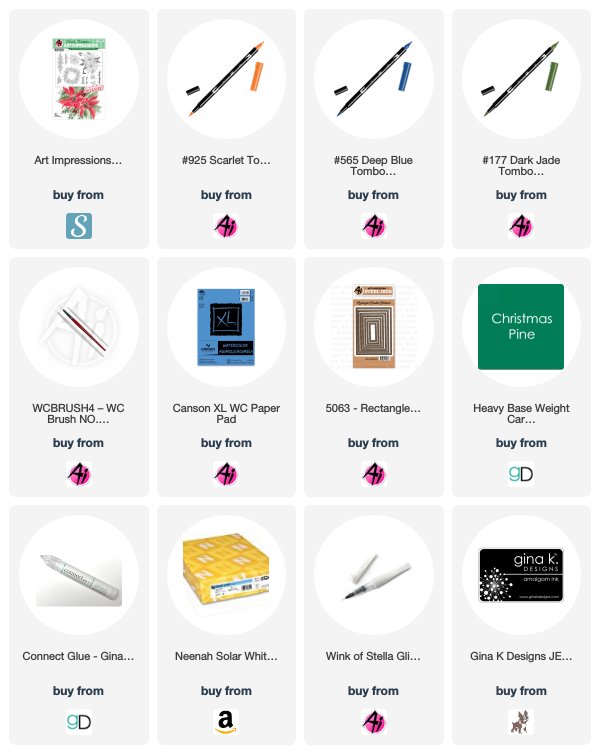
Using my MISTI stamping tool, I positioned the poinsettias in the middle of a 4.5 x 6 inch piece of watercolor paper. I inked the poinsettias and the berries up with 925. Next I inked the foliage up with 177. I stamped it down on the watercolor paper (similar to watercoloring with the AI watercolor stamp line). I used my brush and added water to the lines, remembering where the darkest areas would be. After the first layer dried, I added some additional color from my palette. I continued to add color to the areas I wanted the darkest until I was satisfied with the result. I did go in with my fine tip and darken some additional areas.
Next I moved onto the foliage. I dabbed my brush around to soften the color and give the branches some depth. Once that was dry, I added some 569 around the bottoms of the poinsettias and leaves for a shadow. As a final detail I threw a little bling on the poinsettias with my Wink of Stella pen.
CARD DETAILS
Using a method that I saw on Jennifer McGuire’s site, I did partial die cutting around the pointsettias. I wanted the stitched look to continue without cutting into the hard work I did on the flowers. I fussy cut out anything that didn’t get cut with the partial die cutting. I placed the piece back into the MISTI and lined up the sentiment. Using Gina K Designs Amalgam ink, I stamped it along the bottom right of the poinsettias.
I added the watercolor piece to a mat of Gina K Designs Christmas Pine card stock cut to 4 x 5.25. I secured it to a card base made out of Neenah Solar White 110 lb card stock.
This card was so easy to make that I am going to enjoy creating some beautiful cards with these designs. I would love to see what you come up with. Tag me on Instagram (@tobin0971)! Happy stamping!
If you love this set, you can hop over to Scrapbook.com!
Hello,
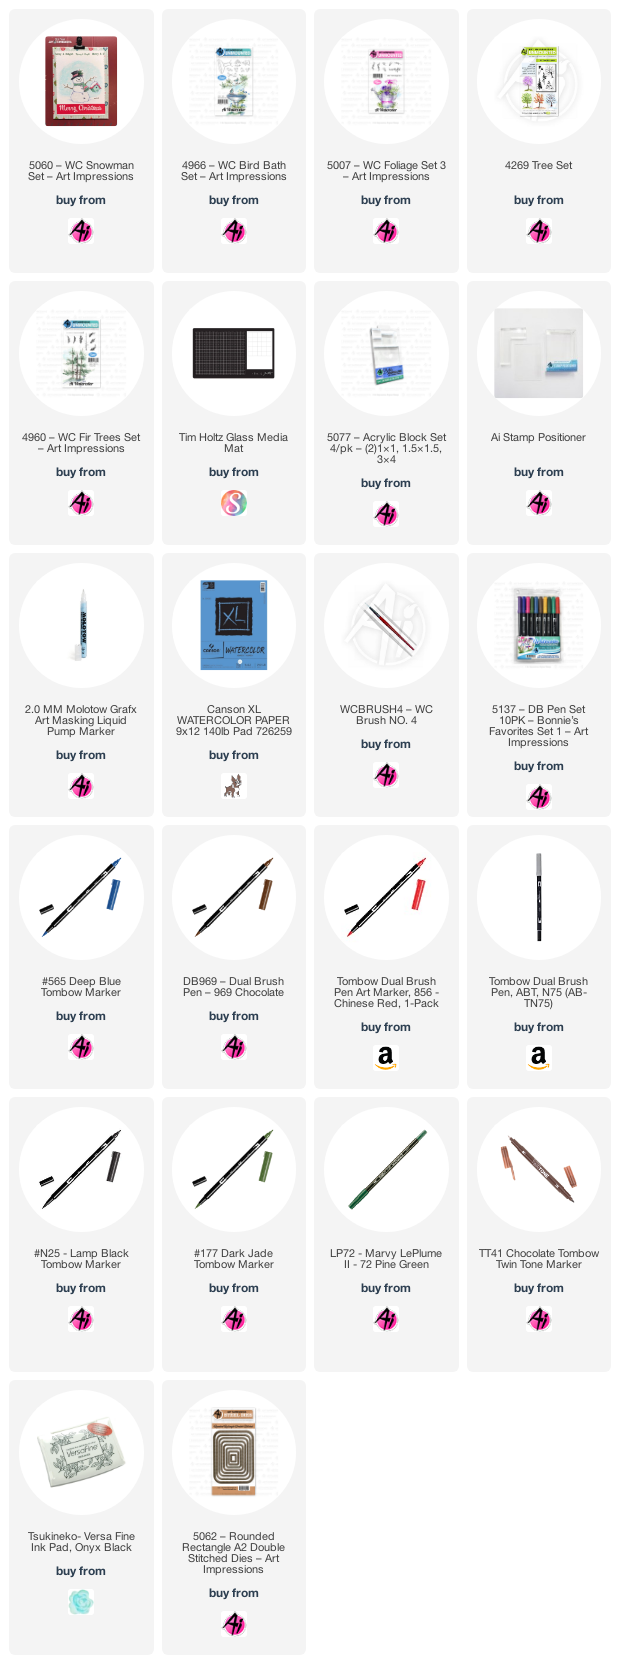
I made this snowman card for the Art Impression's Watercolor Weekend and it's pretty quick and easy. I hope you try it.
To watch my tutorial on YouTube, click this link https://youtu.be/
Merry Christmas to all of you!
Happy Holidays, Ai fans!
One of my favourite things to do with my Art Impressions Watercolor stamps, is to use them differently than how they were intended. I wanted to do a fireplace scene, and stumbled upon 5127 - Build My Life Set, and knew it would be perfect:
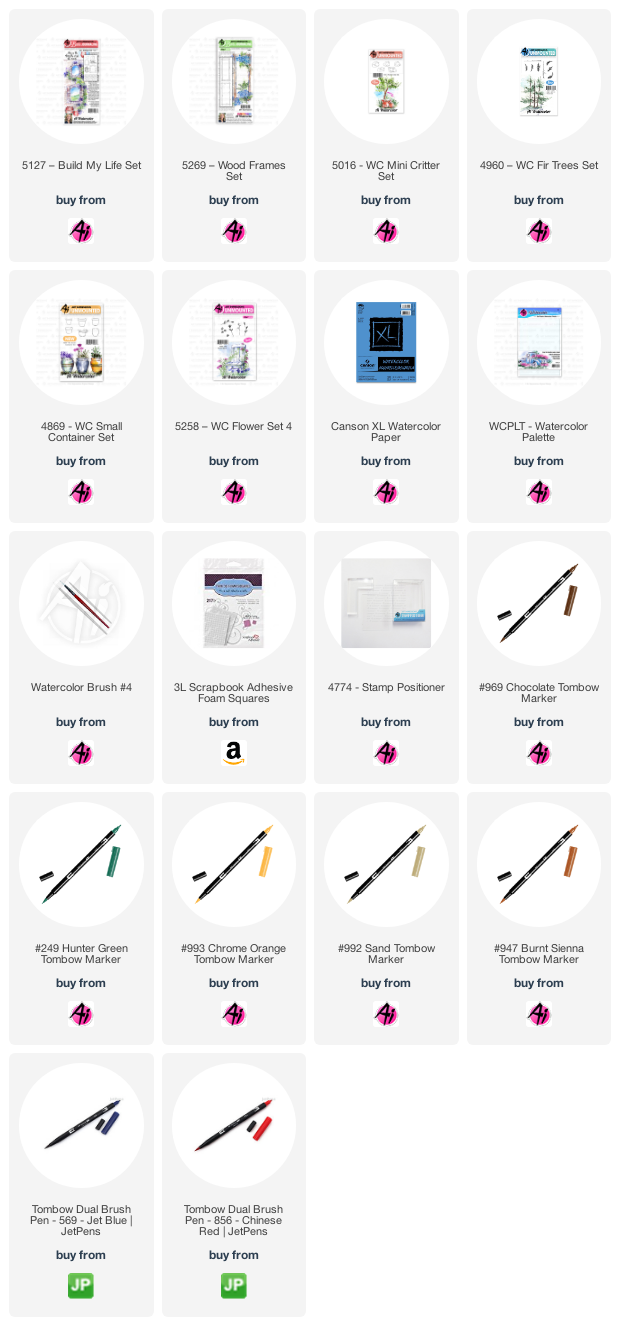
I used 6 different stamp sets to create my scene today! I started with 5269 - Wood Frames Set, colouring just a portion of one side with my Tombow #969 Chocolate to create the wooden mantle. I had to build my scene from front to back, so I used my stamp positioner to stamp the kitten from 5016 - WC Mini Critter Set in #947 Burnt Sienna, and covered him with a mask. Next came the small window, which was coloured with #N45 Cool Grey 10, stamped in the center of my panel, and then covered with a mask. I masked off the sides of my scene with purple tape, since the brick image is quite a bit larger - coloured the bricks in #N55 Cool Grey 7, and stamped it just below the mantle. When I removed the purple tape and masks, I used my N55 marker directly on the paper to draw in the edges of the bricks that were cut off by the tape. I used a damp brush to soften all the lines of my painting, and to pull out the colours.
One of the small pots from 4869 - WC Small Container Set was coloured in N55, and stamped to appear just in front of the fireplace, then the rose trio from 5258 - WC Flower Set 4 was coloured in #856 Chinese Red and stamped above it. I used four of the branch images from 4960 - WC Fir Trees Set, colouring just a portion of each in #249 Hunter Green to add greenery to the pot, and across the mantle. I used a pencil to sketch in the logs and candles, then went over them with my 969/N55 markers. The flames are a combination of #991 Light Ochre/993 Chrome Orange. With my #992 Sand marker, I sketched in the wooden floors and painted in some streaks to suggest wood grain. I picked up the colours of my scene from my palette, darkening the kitten, and adding shadows to the pot and bricks, as well as a darker shadow for the interior of the fireplace. I used #569 Jet Blue to paint the walls, and create a contrast with the lighter bricks.
Thank you to everyone who views our creations, and leaves such lovely comments. Wishing you a happy, healthy holiday - we'll see you in 2021!


1 comment:
Five weeks ago my boyfriend broke up with me. It all started when i went to summer camp i was trying to contact him but it was not going through. So when I came back from camp I saw him with a young lady kissing in his bed room, I was frustrated and it gave me a sleepless night. I thought he will come back to apologies but he didn't come for almost three week i was really hurt but i thank Dr.Azuka for all he did i met Dr.Azuka during my search at the internet i decided to contact him on his email dr.azukasolutionhome@gmail.com he brought my boyfriend back to me just within 48 hours i am really happy. What’s app contact : +44 7520 636249
Post a Comment