

Hello, Ai Fans!
Welcome to another Watercolor Roundup!
This weekend our Watercolor Design Team has some creative, inspiring creations for you!

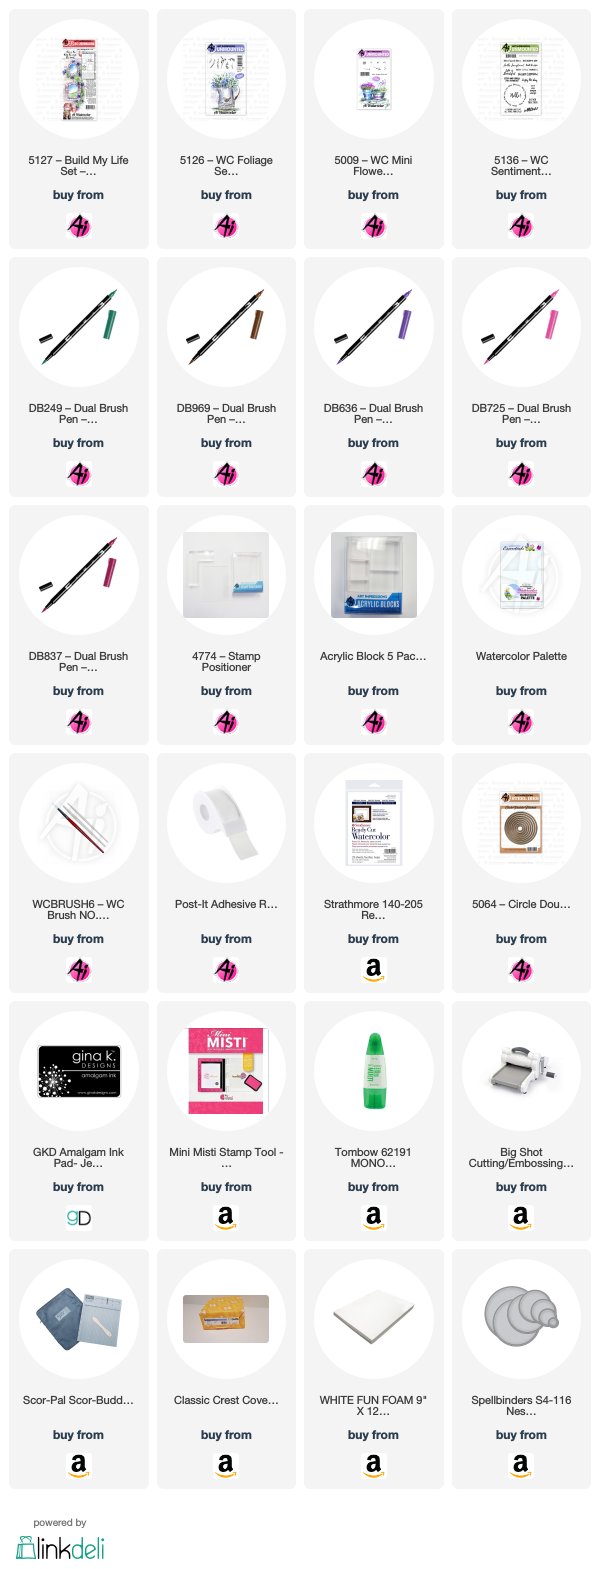
Step 2: I masked the top of the pot with a piece of post-it tape. I inked up the tall foliage from the New WC Foliage set with 969-Chocolate and 249-Hunter Green and stamped it several times on the left side of the pot. I removed the mask and softened the leaves with water.
Next, I inked the small vine from the New WC Foliage Set with 249-Hunter Green and stamped it several times along the right and into the top of the pot. I softened the lines.
Step 3: I inked up the small dots from the WC Mini Flowers set in 725-Rhodamine Red and stamped it several times in a circle. I added water to the bloom. I didn't really get a good depth so I inked it up with 636-Imperial Purple and again stamped it in a circle on top of the pink. I added water.
Finally I added some Chocolate underneath the pot to ground it. Finally, I signed and dated it.
Card Details
I placed the watercolor piece into my MISTI and lined up the Dear Friends circle over the pot. I inked it up with Gina K Amalgam ink and stamped it twice.
I used the double stitched circle die to cut the watercolor piece. I used a watercolor background to cut a mat using a Spellbinder circle slightly bigger than the watercolor piece. I cut a piece of fun foam to pop it up.
I die cut the background with Altenew Layered Medallians dies cut from Neenah Solar White 80 lb card stock. I added these to a Neenah Solar White 110 lb card base. I glued the watercolor piece to the top of the card.

Hello Friends!
I have created a Valentine for the "king of my heart," my husband of 41 years, for the Art Impressions Watercolor Weekend.

We are childhood sweethearts, although not quite as young as the kids in this picture. Hey, maybe Bonnie Krebs, the incredibly talented owner/creator of Ai can make us some adult stamps. Anyway, back to how I made this card.
It was my fourth attempt which I finally decided to use. I'm a little rusty after not playing with my stamps for several weeks! I hope you recreate this card for your sweetheart and tag me in it so I can see. I'm sincerely flattered when my stuff inspires others to try it.
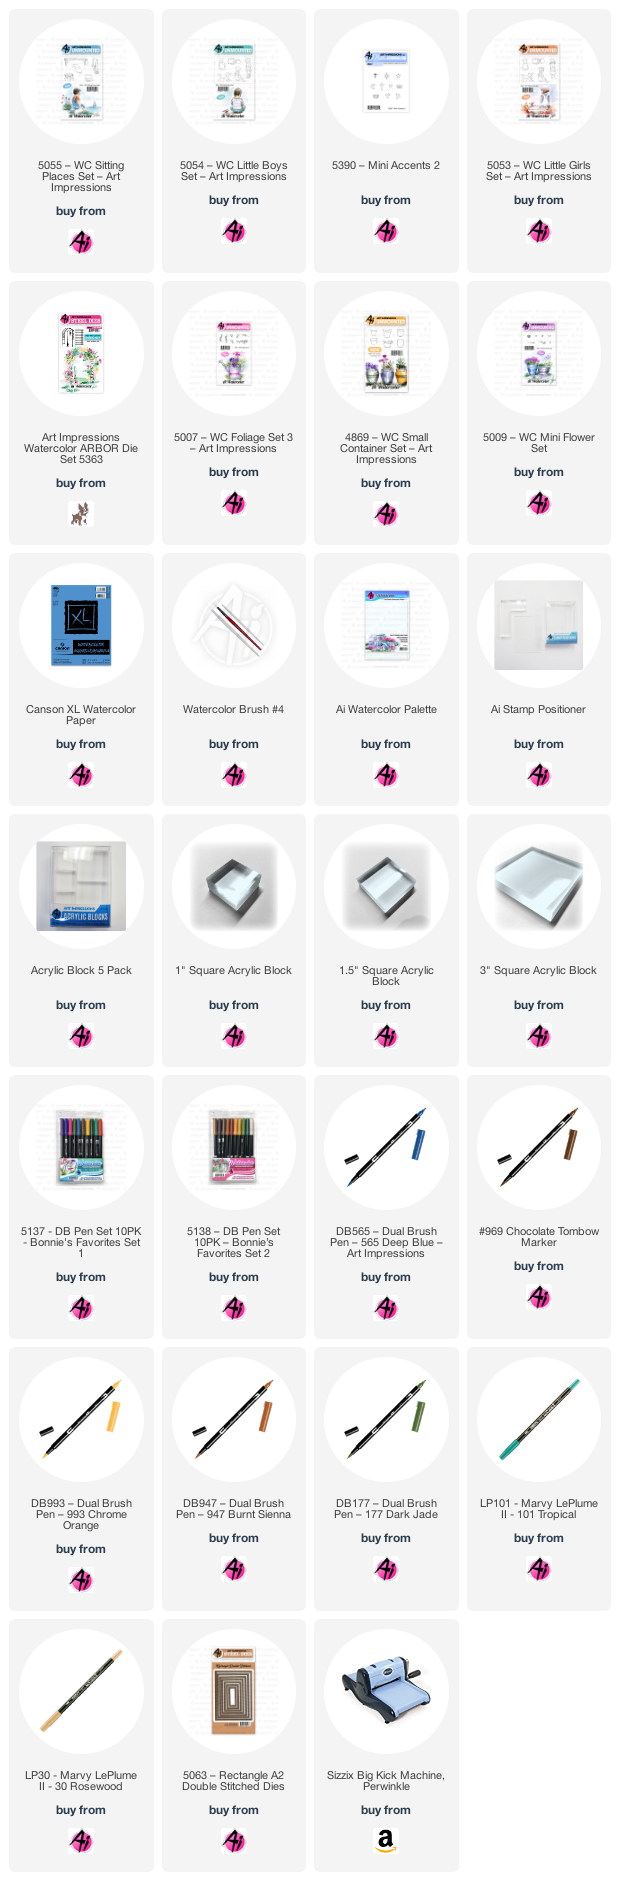
First, stamp the bench from the 5055 Sitting Places Set inked only on the outer sides in first the brown 969 Tombow pen, then the blue 565 pen and stamp it off onto scratch paper first so it's not too dark. I used Canson Watercolor Paper. You can use a pencil and a ruler to put the lines back in the center of the bench after you stamp the kids on it. I barely pulled the color out of the lines of the bench so it would look white.
Use a stamp positioner to stamp the little boy from the 5054 Little Boys Set inked in the 969. Stamp the crown from the 5390 Mini Accents Set inked in 993. I used 993 and some 947 to color his hair. I used Marvy 101 tropical for his overalls and 565 for the pockets, tab and cuff. I used Marvy 30 rosewood for the skin.
Use the stamp positioner to stamp the little girl from the 5053 Little Girls Set also inked in 969. Her hair is 969 and her overalls and both kids cheeks are Marvy bubble gum pink.
Use the lamp post die from the 5363 Arbor Set to cut out the post from Canson Watercolor paper and use 565 to put a shadow on one side of it. Stamp the pot from the 4869 Small Container set inked in 969 and colored in 969 and 947. Use the heart flowers from the 5009 Mini Flower Set inked in 856 to create the flowers above the pot. Use the little foliage from that same set inked in 177 to create the foliage of the flowers in the pot.
Ink the single stem flower from that same set 5009 in the 856 and 177 and stamp it like the little girl is holding it. Glue the lamp post after you cut off the lantern part, then stamp the grass from the 5007 Foliage Set 3 by it. Pull the color along the bottom. Use 526 to paint the heart cloud around the couple. Use the mini flower bunch from 5009 inked in 856 and 177 to put the flowers at the bottom of the bench on both sides. Paint a shadow under the bench with 565.
I stamped the sentiment in Archival pink peony ink but I also took a Gelly Roll glitter pen to the sentiment, the crown, their eyelashes that I penciled in and the flowers. Use the 5063 Double Stitched Rectangle dies to cut it out along with a background piece.
Happy Valentine's Day everyone!

Hello Ai Watercolor fans!
I'm going back to basics this week with a classic container of flowers. These are great cards to keep on hand - leave off the sentiment, and add it in when you need to send a thank you, birthday or thinking of you card:

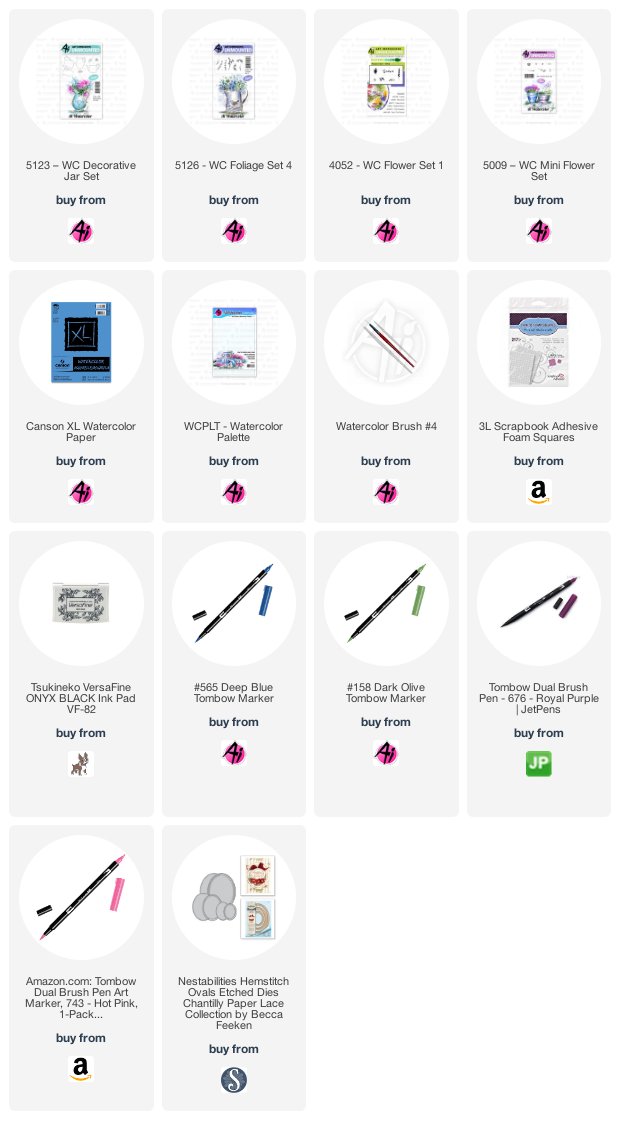
I began by inking up the pitcher from 5123 - WC Decorative Jar Set in Tombow Dual Brush Marker #N45 Cool Grey 10, and pulled out the colour with my damp paintbrush, concentrating it on the undersides of the rounded image. For my bouquet, I started with the greenery, using #158 Dark Olive and the two trailing foliage stamps in 5126 - WC Foliage Set 4. My flowers are all from Flower Set - 4052, and I used the Daisy Bunch in #743 Hot Pink, the Salvia in #565 Deep Blue and the Mini Foxglove in #676 Royal Purple. To fill in where there were holes or white areas, I used the tiny green from 5009 - WC Mini Flower Set in #126 Light Olive, which added a little brightness.

After lightly touching my stamped images with a damp brush, I picked up a few of the colours to add shading to the pitcher - mainly #565 for shadows, and a touch of #676 for a bit of a pink reflection. I die cut the image and layered it over an ink blended panel of the same tones. The sentiment is from the Hydrangea Exclusive set available from Scrapbook.com. Lastly, I picked up some black ink from my palette, and lightly spattered it across my card.

Hope you enjoyed this weekend's inspiration, and Happy Stamping!
1 comment:
Five weeks ago my boyfriend broke up with me. It all started when i went to summer camp i was trying to contact him but it was not going through. So when I came back from camp I saw him with a young lady kissing in his bed room, I was frustrated and it gave me a sleepless night. I thought he will come back to apologies but he didn't come for almost three week i was really hurt but i thank Dr.Azuka for all he did i met Dr.Azuka during my search at the internet i decided to contact him on his email dr.azukasolutionhome@gmail.com he brought my boyfriend back to me just within 48 hours i am really happy. What’s app contact : +44 7520 636249
Post a Comment