

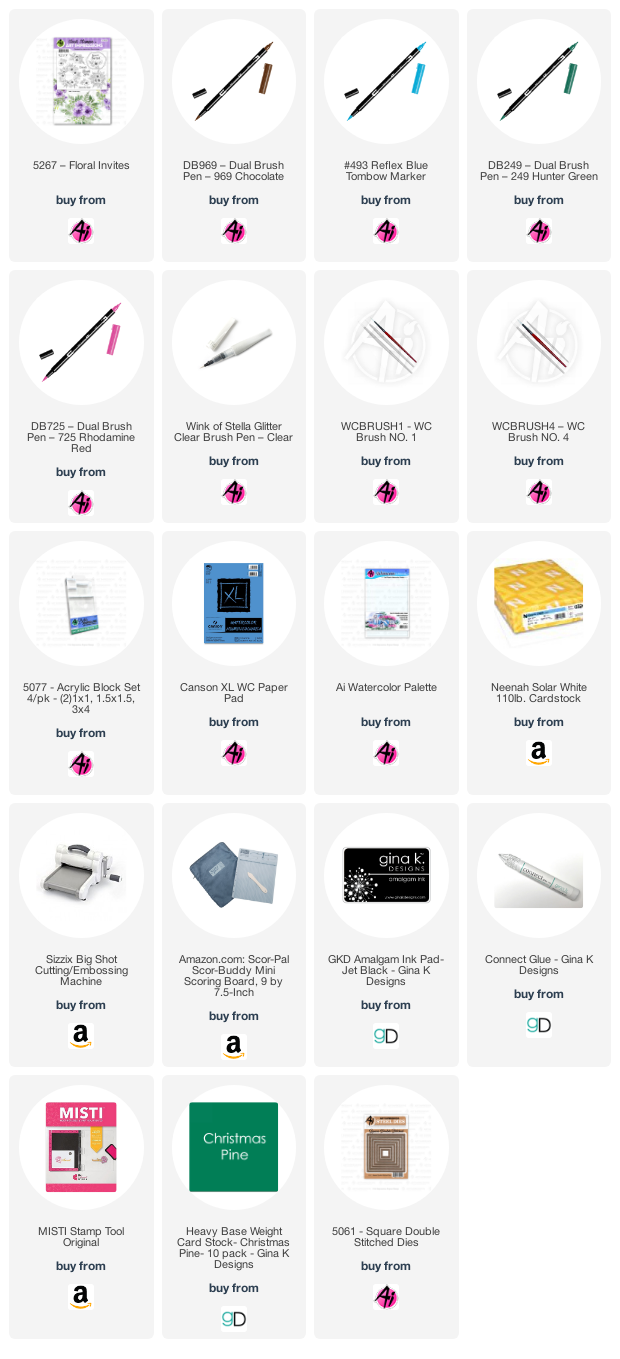
For my project this week, I decided to make a Thank You wreath card. I love the Floral Invites set because you can use it in so many different ways. Just change the color of the flowers and foliage and the message and the card has a whole new feel.

TIP: When using clear stamps it is sometimes difficult to see the design so I prep my stamp by coloring it completely with my 725 and cleaning it off. The pink stains the stamp (which is fine) and allows me to see where the details are.
To start, I placed the large wreath from the Floral Invites set in my MISTI. I am using my MISTI because I want to use several different markers and it allows me to stamp several times. First, I inked up the blooms with my pink (725), I made to sure to include the buds as well. I stamped it onto my watercolor paper. Next, I inked up the foliage in green (249) and stamped them onto my watercolor paper. Lastly, I inked the berries in brown (969) and stamped those. I left my stamp in my MISTI in case I wanted to come back and add some darker color.
I started by adding water to the blooms. In order to get some depth, I made sure to only slightly pull color from the inside of the blooms, cleaning my brush and adding clean water to bring the color to the edges. I added some additional color from my palette being sure to leave a highlight. Next, I pulled the color from the foliage, again adding some additional color from my palette. Lastly, I added some water to the berries and some additional color.
For the center, I added water around the middle and then dropped in some blue (493) around the edges and then blended it toward the middle. Once it was dry, I stamped the Thank you from the set into the middle using some black versafine ink. Make sure to sign and date your work. Thank you so much for stopping by and spending some time watercoloring with us! Have a crafty day!


Hello Ai Watercolor Fans!
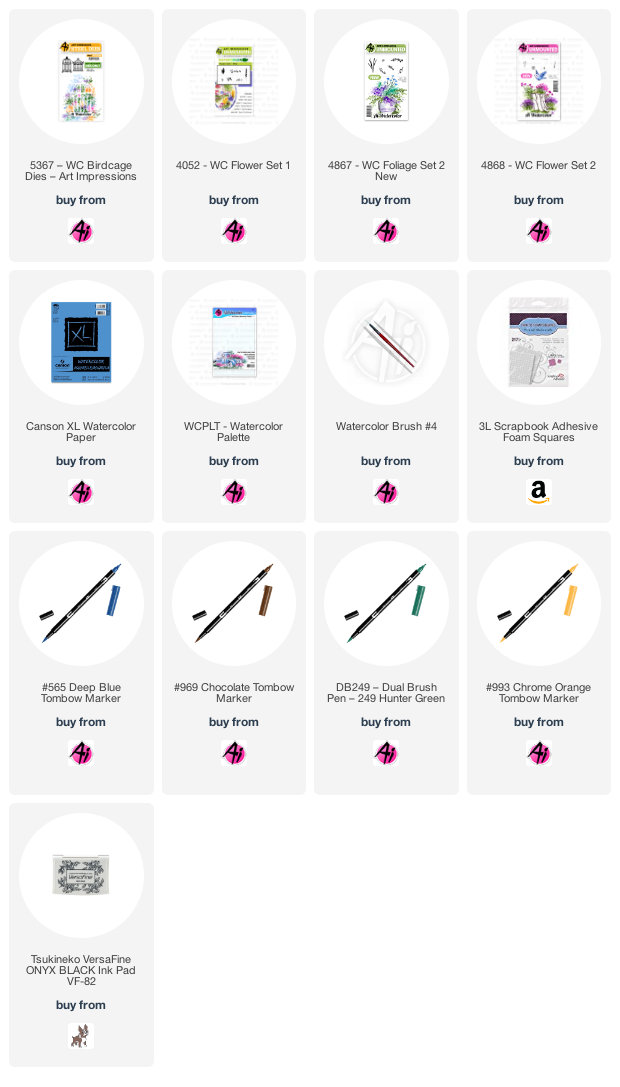
I'm using one of the new die-only sets from the Fall release for this week's project. Here is 5367 - WC Birdcage Dies:

I started by diecutting the larger birdcage die from some Masking Paper, then placed it onto my Canson XL Watercolor Paper. Be sure to stick it down firmly, as you don't want paint or water seeping under the mask. I began stamping with my flowers - using the small daisy bunch from 4052 - Flower Set in #993 Chrome Orange, then used the circle of V shaped flowers from 4868 - WC Flower Set 2 in both#533 Peacock Blue and #565 Deep Blue, stamping multiple times in a circle to create my clusters.

To add the foliage, I used the two trailing ivy stamps in 4867 - WC Foliage Set 2 New, in #249 Hunter Green, stamping in and around my flowers. To fill in any empty spots, I used the tiny green in the set with #126 Light Olive - which gave my scene a nice bright punch of colour. To finish, I picked up #565 from my palette and painted in the background - carefully making sure to paint right up against all of the birdcage bars, so that when the mask was removed, the white 'negative' of the cage remained. With my fine #1 paintbrush, I painted thin lines around my birdcage to create shadows, and the suggestion that it is a 3D object.


1 comment:
Five weeks ago my boyfriend broke up with me. It all started when i went to summer camp i was trying to contact him but it was not going through. So when I came back from camp I saw him with a young lady kissing in his bed room, I was frustrated and it gave me a sleepless night. I thought he will come back to apologies but he didn't come for almost three week i was really hurt but i thank Dr.Azuka for all he did i met Dr.Azuka during my search at the internet i decided to contact him on his email dr.azukasolutionhome@gmail.com he brought my boyfriend back to me just within 48 hours i am really happy. What’s app contact : +44 7520 636249
Post a Comment