Hello Ai fans!
Welcome to the final Watercolor Weekend Roundup of 2021.
Our designers did not disappoint! (but when do they?)
And...we have a special guest this weekend.
Tricia needed the day off so we asked the amazing Diana Sheely to step in and be a guest designer.
First up we have Dot with our first Valentine for 2022!
Hello,
Have I mentioned how much I LOVE all of the Art Impressions Foundations? They make it so easy to make a great card that looks like it was tons of work. I love how this Valentine's Day card turned out.
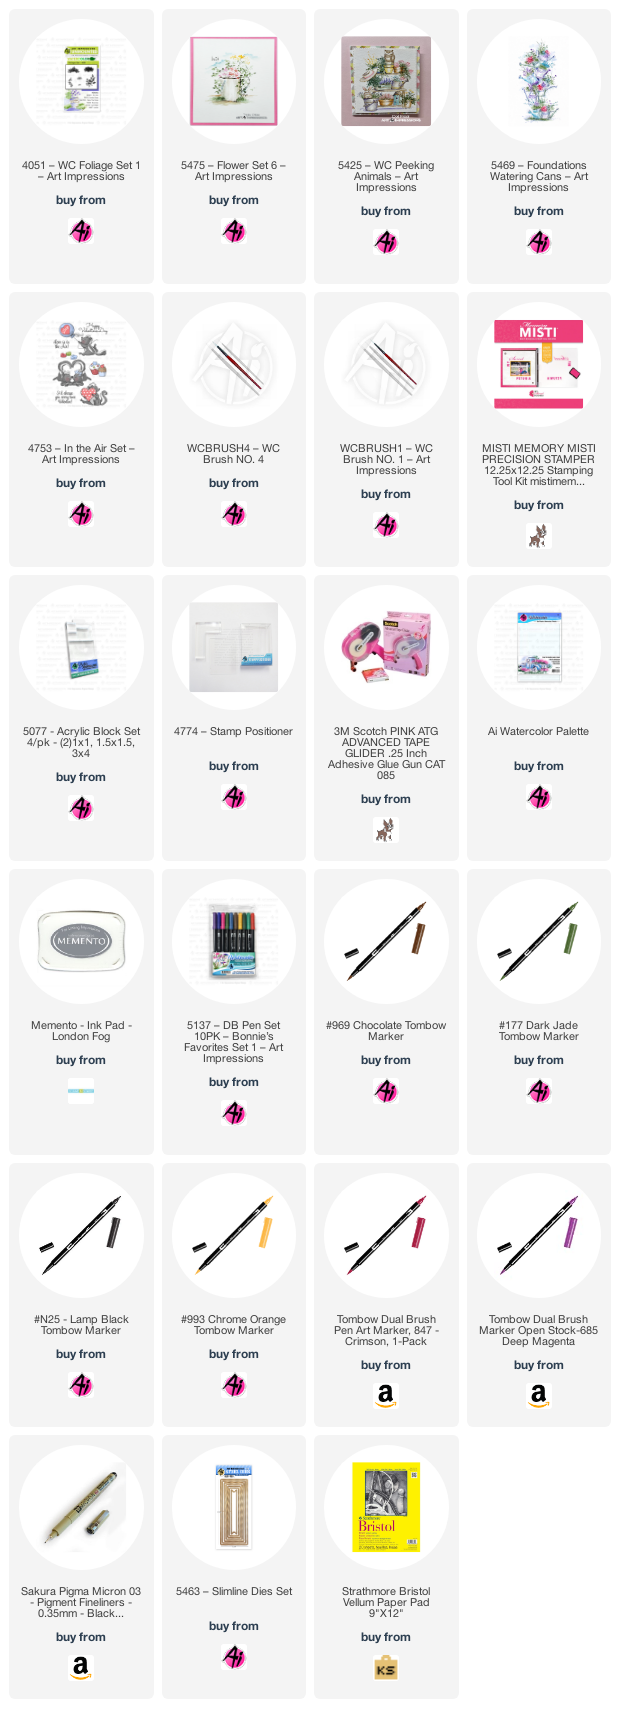
I kept all of the watering cans grey with red accents until the end when I added the enamel hearts. I didn't want it to be too busy. So if you want to make it, stamp the 5469 Watering Cans using a Misti inked in Memento London Fog ink. I used Strathmore Bristol Vellum paper that I buy from Michaels or Hobby Lobby when it's on sale. I just love how easy the ink blends on it. Color the watering cans in with Tombow N25, leaving the striped accents till the end because when you use red and then you get too close, the red will really spread. Stamp the raccoon and the squirrel inked in 969 using the Stamp Positioner. Color the raccoon with N25 and the squirrel in with 969. Give the squirrel a pink cheek using 847. Use a fine tip black pen to darken the animal's eyes, nose, mouth and then add some whiskers. The flowers are all from the brand new 5475 Flower Set 6 inked in 177 for the stems and leaves.The flowers are inked in 847, 993 and 685 but of course you can use whatever flowers and colors you have to fill the pots. The pole is colored in 969 but be sure to the leave the highlight in the center so it looks round. The grass is from the original Foliage Set 1 inked in 177. I then added more N25 to the sides of the pots before adding the lined accents with the 847. The sentiment is from the In the Air Set 4753. I finally got to use the new 5463 Slimline Dies Set but I did have to cut the papers on one end shorter by lining it up with the side lines and running it through the die cut machine again because I didn't cut the original piece long enough.

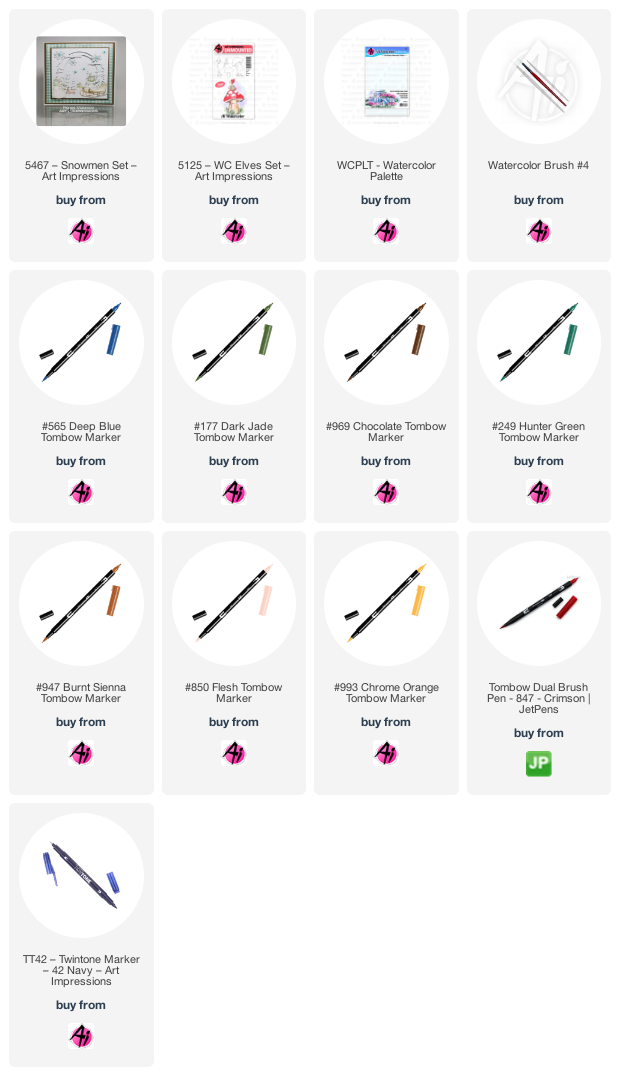
I created a small holiday scene today, using the sleigh from the recently released 5467 - Snowmen Set:
Since they were drawn in pencil, the presents needed more definition, so I used my Navy Twintone Marker to trace the shape of each package, and redefined any other lines in my scene that needed it. This is it for 2021 for me on the Art Impressions blog, so I wanted to thank all of you for viewing our projects, and leaving likes & comments on social media. Happy Holidays, and we'll see you soon in 2022!

She created two cards and asked me to choose. How could I choose between these two?

- Color the stockings: Bring color out on the cuffs and add 565 for shadow on the white cuffs. The colors used on the stockings are 249 & 856. Use Molotow to create the white dots on the heel/toe of the 1st stocking and body of the 2nd stocking. Use a pencil to lightly draw squares for the patchwork design on the 3rd stocking. Add details to the stockings with the fine tips of both pens.
- Color the puppy, kitty, and presents: Use a #1 brush on all 3 of them. Bring color out on puppy. Leave area around his eyes light. Add more 969 to his ears, 856 to his tongue, and darken his eyes and nose with the brown Twin Tone. Bring color out on the kitty, again leaving eye area light. Add a mixture of 969 & 565 to give her more of a gray color. Add a little 856 to the ears and brown Twin Tone to darken her eyes and nose. Color the presents with 249 and 856.
- Use the small foliage from Set 5126 - Foliage Set 4 in 177 for the wreath. I used the #1 brush to add water to the wreath.. Use the fine tip of 856 to add the berries. Use the pine branches from Set 5472 - Christmas Wreath Set in 249 for the garland. Use #1 brush to lightly add a little water. Use the berry bunch from that same set in 856 for the berries. Add water to them.
- Mantel & Hearth: Cut 2 masks of the stockings and 1 each of the puppy, kitty, and presents. Put on the masks of the puppy, kitty, and presents. Use the positioner with the wood plank stamp from 5019 - Wall Texture Set in 969. Only used 2 of the 3 horizontal lines from that stamp for the mantel. Bring color out and add more 969 as desired. I added a few dashes of the brown Twin Tone to look like wood grain, then softened it with water. Leave the above masks on, and put masks on the first 2 stockings. Use the positioner and the rock wall stamp from 5019 - Wall Texture Set in 969 & 565. Work your way over and move the mask from the 1st stocking over to the last stocking to finish stamping the rocks on the hearth. Bring color out on stones, leaving tops light. Mix 969 & 565 on pallet and add to some of the rocks. Water down the 969 & 565 mixture and dab between rocks for the "concrete" look.
- Use the candle and bible stamp from 5419 - Bible icons 1 Set. Color the candle ONLY in 969 & 565. Use the positioner to help place them on the mantel. Use the #1 brush and 026 to color the dish of the candle, 565 on the candle itself, and 993 for the flame and glow around the flame.
- Use brown Twin Tone to draw nails for the stockings and to add whiskers to the kitty. Erase any visible pencil lines.
- I used the 2nd largest die from 5062 - Rounded Rectangle A2 Double Stitched Dies set to die cut the painting. Mounted it on patterned papers, and added a small bow to the top of the wreath.
Don't forget to check out all of the 2021 releases as well.


2 comments:
I love Diane's cards and I'm pretty sure I am Karen's biggest fan!
Thanks for sharing your knowledge with us
Best Valentines gifts for her
Valentine’s day gift
Gift Ideas
Valentine’s day gift
Gifts for her
Post a Comment