Showing posts with label Bonnie Krebs. Show all posts

Wednesday, August 17, 2022

Bonnie's Christmas WC Journal Tutorial #3

Hello Ai fans!

It's time for Bonnie's third WC Christmas Journal tutorial!
Tune in at 10 am PST on Facebook,  Wednesday, Aug. 17th  to see her next pages.

***Please take note...the original LinkDeli where you upload your cards apparently maxed out.  I've added a new one at the very bottom of the page where you can add your beautiful art.  


If you missed her LIVE, you can view it here.


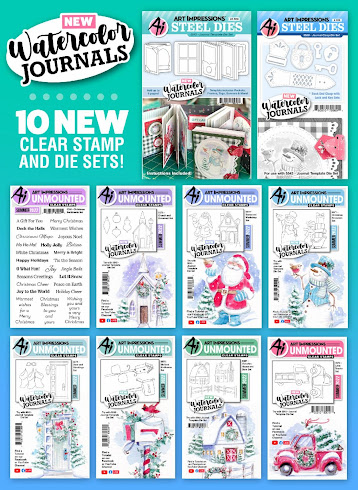
There are 7 new sets with images,  a new Christmas sentiment set and 2 new die sets!

All of these amazing sets can be used individually to make cards or other projects or they can be used together to create a magnificent journal for yourself or as a gift for someone.


We will share photos of her pages here, as well as links to the products she used in case there's anything you don't have yet that you'd like to add to your collection.

Bonnie will be going through the journal starting with the cover and adding pages as she goes.
If you don't have the exact supplies she's using just use what you have.

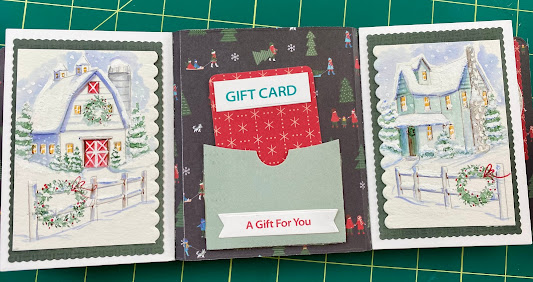
For her most recent tutorial Bonnie will be making this.


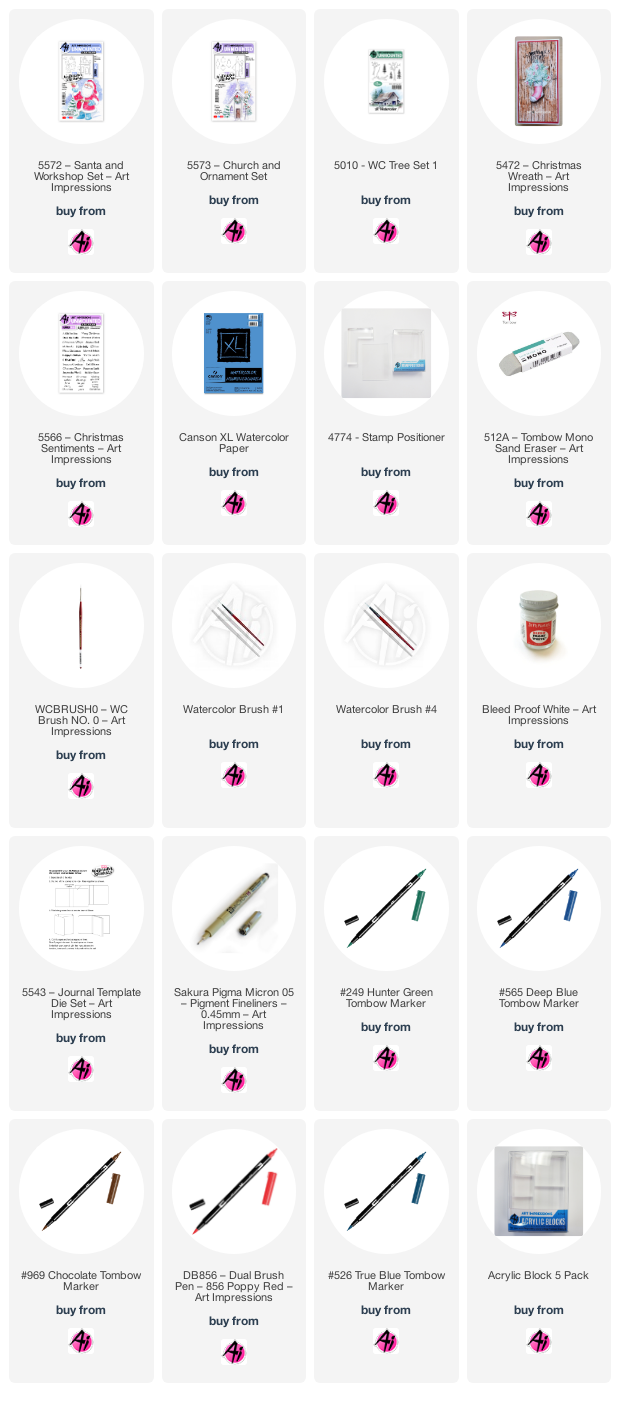
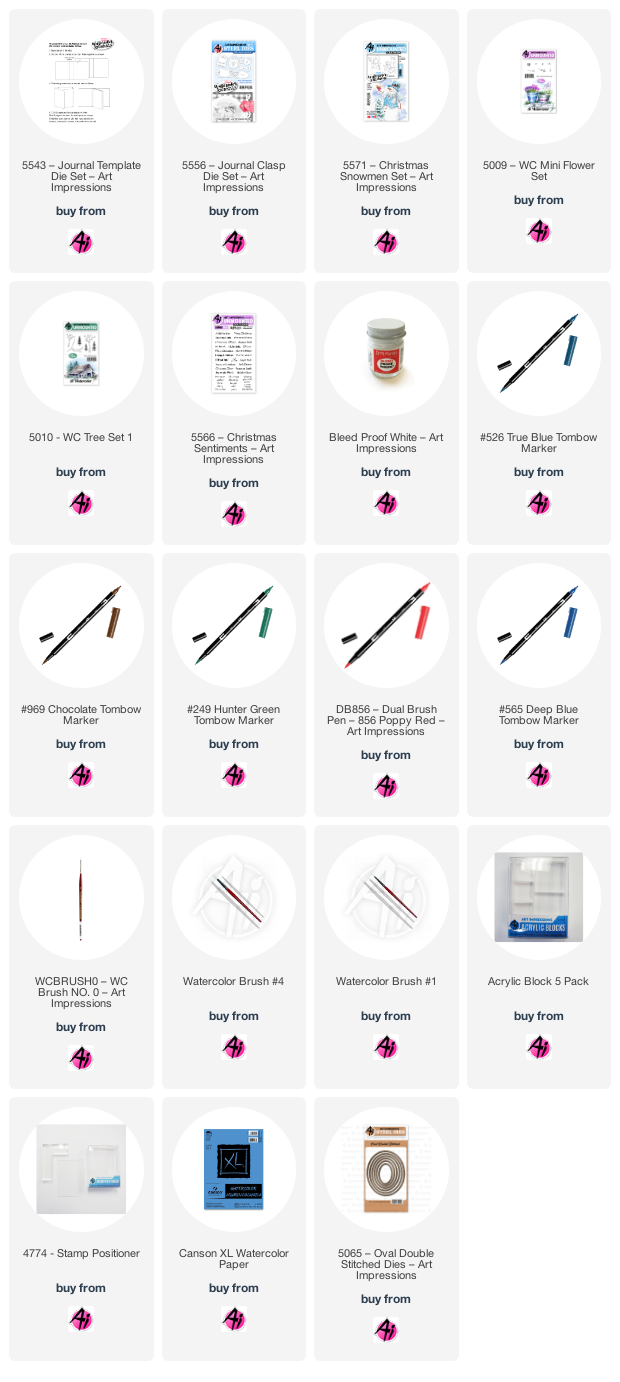
She'll be using Tombow markers 249, 526, 565, 856 and 969 to color her pages.
She'll also be using a black micron pen,  Dr. PH Martin Bleed Proof White and the 5543 – Journal Template Die Set.

Most of the frames and dies she'll be using come right in the Journal Template Die Set or the Journal Clasp Die Set.

All of the new WC Journal sets are sized perfectly to fit in the frames and on the journal pages though many other sets would work.

You'll see there are lots of pockets to tuck little treasures away.

We hope you'll stop by and paint along with her.


We'd also LOVE to see your projects, so if you scroll down, you can upload your photos so that we can see what you've created.  You'll upload your pages just like you would a challenge card.  Please include your first name and last initial when you upload so people know whose project it is.  Also, keep in mind that if you link from a private IG page or FB group we may not be able to comment on your work.  That doesn't mean we aren't thrilled to see it!

If you share on Instagram we'd love for you to tag it #AiWCChristmasJournal (I don't think any of the capitol letters actually matter...lol)

I'll be updating this page every two weeks with the latest tutorial.  You will be able to find the current tutorial at the top of the page under the little tab called Bonnie's Journal. 

You are invited to the Inlinkz link party!

Click here to enter
      For those of you wishing to work ahead or see what's coming next,  here is Bonnie's entire journal.


Create and share here and on IG with #AiWCChristmasJournal.

You are invited to the Inlinkz link party!

Click here to enter

Wednesday, July 20, 2022

Bonnie's Christmas WC Journal Tutorial #1

Hello Ai fans!

Today is the day we begin our Journal Journey!


Starting today, Bonnie will be sharing a tutorial video every two weeks for her Christmas WC Journal.
If you missed her LIVE today or simply need more time to re-watch it you can see that HERE.


There are 7 new sets with images,  a new Christmas sentiment set and 2 new die sets!


All of these amazing sets can be used individually to make cards or other projects or they can be used together to create a magnificent journal for yourself or as a gift for someone.


We will share photos of her pages here, as well as links to the products she used in case there's anything you don't have yet that you'd like to add to your collection.

Bonnie will be going through the journal starting with the cover and adding pages as she goes.
If you don't have the exact supplies she's using just use what you have.


She'll be using Tombow markers 249, 526, 856 to color her pages.


Most of the frames and dies she'll be using come right in the Journal Template Die Set or the Journal Clasp Die Set.


All of the new WC Journal sets are sized perfectly to fit in the frames and on the journal pages though many other sets would work.


You'll see there are lots of pockets to tuck little treasures away.


We hope you'll stop by and paint along with her.


We'd also LOVE to see your projects, so if you scroll to the bottom of the page, you can upload your photos so that we can see what you've created.  You'll upload your pages just like you would a challenge card.  Please include your first name and last initial when you upload so people know whose project it is.  Also, keep in mind that if you link from a private IG page or FB group we may not be able to comment on your work.  That doesn't mean we aren't thrilled to see it!

If you share on Instagram we'd love for you to tag it #AiWCChristmasJournal (I don't think any of the capitol letters actually matter...lol)

I'll be updating this page every two weeks with the latest tutorial.  You will be able to find the current tutorial at the top of the page under the little tab called Bonnie's Journal. 

You are invited to the Inlinkz link party!

Click here to enter
      For those of you wishing to work ahead or see what's coming next,  here is Bonnie's entire journal.


Create and share here and on IG with #AiWCChristmasJournal

Wednesday, February 23, 2022

Bonnie's Camper Challenge 2-23-2022

 Hello Ai fans!

We know how much you all love to watercolor!!

Bonnie has a beautiful, new tutorial challenge for you!

She created this amazing "camper truck" and is challenging you to recreate her scene.


You can find her video on the Art Impressions Facebook page.  She'll be live at 10am PST but you can always catch the replay!

Bonnie and Kendra's video tutorials are here.

Just like with all of the Art Impressions challenges, there will be one Top Spot awarded and one random winner. 

For this challenge, both winners will receive a $25 gift card to the Art Impressions online store.


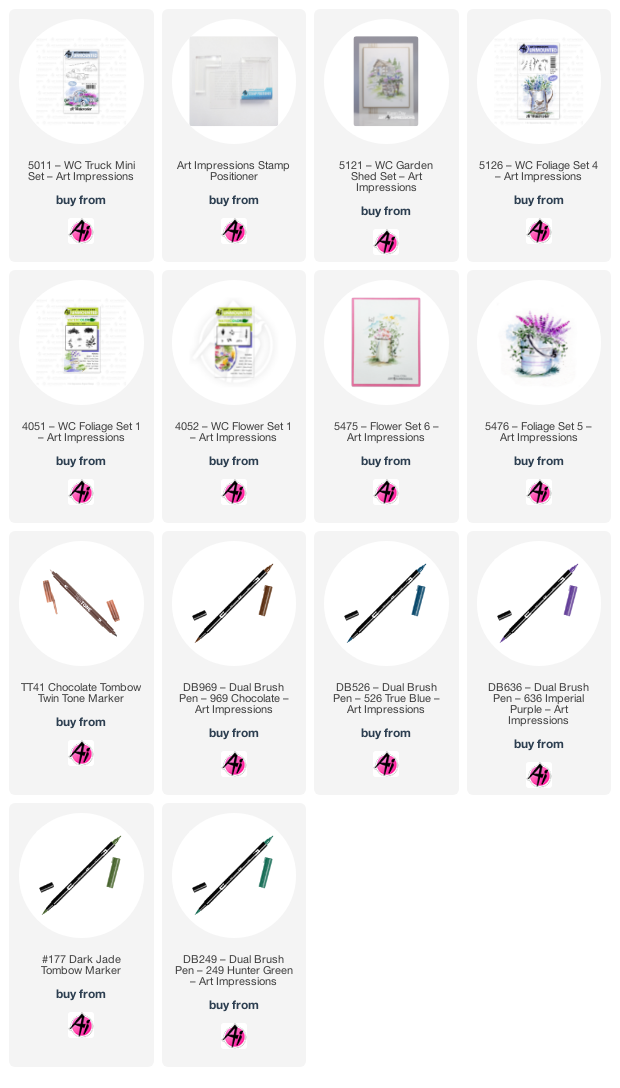
Below is a list of the products Bonnie used for her card.  Remember...You can use what you have.  You don't need the EXACT supplies she used. 


You can upload your challenge entry below.  Be sure to include your first name and last initial so we know whose card (or project) it is.  Use mostly Ai stamps and hand drawn items are permitted.
Winners will be announced on Bonnie's Watercolor Wednesday Live.  Don't worry if you can't make it.  We'll share the winners on FB and IG as well.

We're so excited to see what you create!!

You are invited to the Inlinkz link party!

You are invited to the Inlinkz link party!

Click here to enter

Saturday, December 18, 2021

Final Watercolor Weekend Roundup for 2021 December 17, 2021

 Hello Ai fans!

Welcome to the final Watercolor Weekend Roundup of 2021.

Our designers did not disappoint!  (but when do they?)

And...we have a special guest this weekend.

Tricia needed the day off so we asked the amazing Diana Sheely to step in and be a guest designer.

First up we have Dot with our first Valentine for 2022!

Hello,

Have I mentioned how much I LOVE all of the Art Impressions Foundations? They make it so easy to make a great card that looks like it was tons of work. I love how this Valentine's Day card turned out.


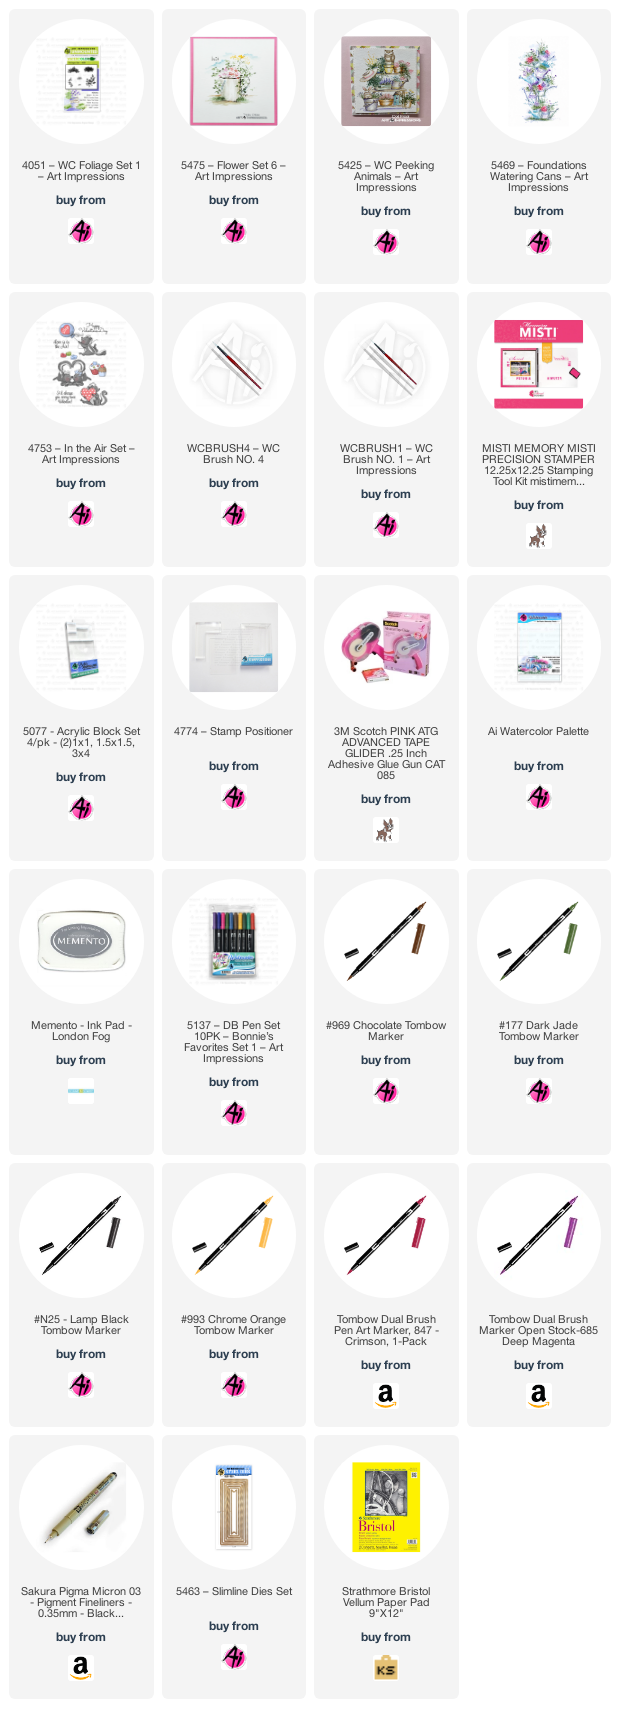
I kept all of the watering cans grey with red accents until the end when I added the enamel hearts. I didn't want it to be too busy. So if you want to make it, stamp the 5469 Watering Cans using a Misti inked in Memento London Fog ink. I used Strathmore Bristol Vellum paper that I buy from Michaels or Hobby Lobby when it's on sale. I just love how easy the ink blends on it. Color the watering cans in with Tombow N25, leaving the striped accents till the end because when you use red and then you get too close, the red will really spread. Stamp the raccoon and the squirrel inked in 969 using the Stamp Positioner. Color the raccoon with N25 and the squirrel in with 969. Give the squirrel a pink cheek using 847. Use a fine tip black pen to darken the animal's eyes, nose, mouth and then add some whiskers. The flowers are all from the brand new 5475 Flower Set 6 inked in 177 for the stems and leaves.The flowers are inked in 847, 993 and 685 but of course you can use whatever flowers and colors you have to fill the pots. The pole is colored in 969 but be sure to the leave the highlight in the center so it looks round. The grass is from the original Foliage Set 1 inked in 177. I then added more N25 to the sides of the pots before adding the lined accents with the 847. The sentiment is from the In the Air Set 4753. I finally got to use the new 5463 Slimline Dies Set but I did have to cut the papers on one end shorter by lining it up with the side lines and running it through the die cut machine again because I didn't cut the original piece long enough.  

Ai_Dot_DT.png


 Next, Karen has a beautiful sleigh! 

I created a small holiday scene today, using the sleigh from the recently released 5467 - Snowmen Set:

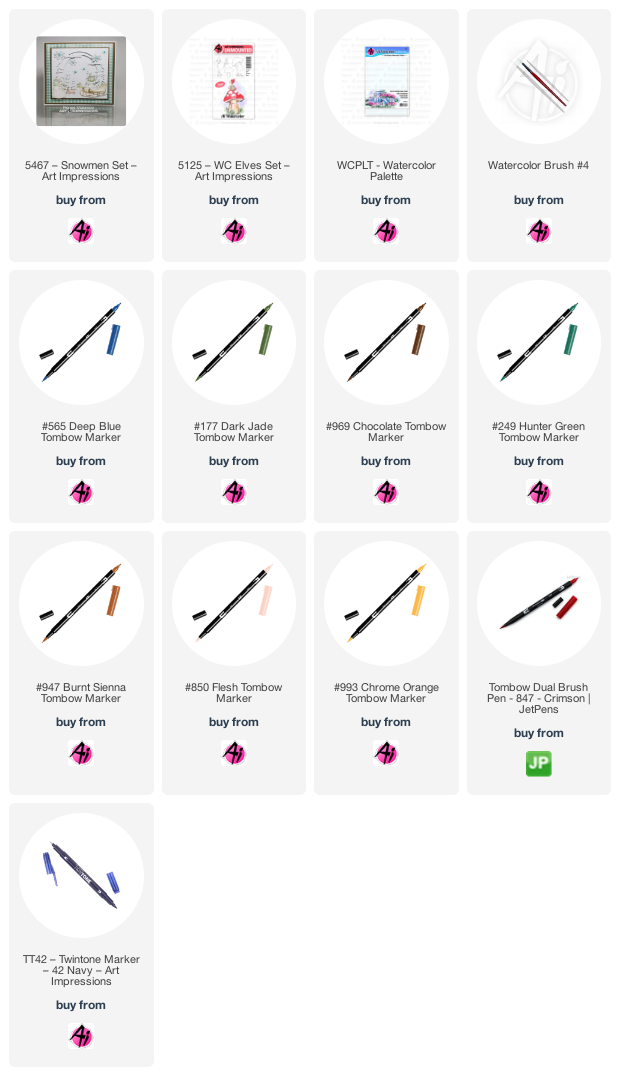
I coloured the sleigh in my Tombow Dual Brush markers #969/565, and stamped it onto my Bristol Smooth cardstock.  I did the same with my elf from 5125 - WC Elves Set, positioning him above the sleigh, and slightly forward - and then sketched in the toy bag and presents around him with a pencil.  I wanted the bag to be bulging over the sides, and also needed a bit of a shelf for him to perch on, so I kept that in mind when I drew the curves.  For the elf's skin tone, I painted in #850, and #947 for his hair, then for all the greens in my scene, I used #177, the reds are #847, and the yellows are #993 - adding several layers of each to achieve the darker shades.  For the toy sack, I mixed #249 and #565 on my palette to create the teal/blue shade, again adding layers to achieve the darker colours.  For the sleigh, I mainly pulled out the colour from the stamped lines, and added a few tones of #177 and #565 for contrast and shadows.  I lightly painted in a sky and snow shadows with #565.

Since they were drawn in pencil, the presents needed more definition, so I used my Navy Twintone Marker to trace the shape of each package, and redefined any other lines in my scene that needed it.  This is it for 2021 for me on the Art Impressions blog, so I wanted to thank all of you for viewing our projects, and leaving likes & comments on social media.  Happy Holidays, and we'll see you soon in 2022!


Last, but not least, our guest designer Diana!
She created two cards and asked me to choose.  How could I choose between these two?


All Pens used are Tombow

Stamp a 4" x 5 1/4" piece of Stampin Up Shimmery White cardstock with the wreath, inside sentiment, and small holly from GF Christmas Set - 4938 in Ranger Distress Black Soot Archival Ink. 
Holly leaves: I colored the entire leaf in 177, and then used 249 and went over the black veining. Lastly, I added a little 133 to the tips of the leaves. The berries and bow are colored with 757 -  make sure you leave highlights on the berries.
Girls: the 1st and 3rd girls' hats, scarf, and mitten are colored with a mixture of 373 & 379. The dots on the mitten are 379. The hats and scarf on the 2nd and 4th girl are colored with 757. I added some shadow to the hat cuffs and pompoms with 565. The hair on girls 1 & 2 is done in 969, and 947 was used on girl 4. Their skin tone is 910 mixed with a tiny bit of 969, lips are 757, and cheeks are 761.
The card base is made from Stampin Up Merry Merlot and the patterned paper comes from SU's Penguin Playmates DSP. I die cut the front of the card with the largest circle from 5064 - Circle Double Stitched Dies Set. Adhere the 4" x 5 1/4" painted piece to the inside of the card so you can see the wreath through the circle.
Stamp the front sentiment (from the same Ai set used for the wreath) and 2 of the small  holly leaves on scrap SU shimmery white cardstock in the Black Soot Archival Ink. Color the holly leaves and berries the same as above. Die cut the sentiment and fussy cut the holly leaves. Adhere them to the front of the card with pop dots.


Draw a light pencil line for the top of the mantel a little less than halfway down. Use a positioner to stamp the stockings from Set 5472 - Christmas Wreath Set in 969 & 565 at mantel line. Use a positioner to stamp the puppy in 969 from set Set 4959 - Dog Set, the kitty in 969 from set 4873 - Cats Set, and the large and small presents in 969 & 565 from the Simon Says Exclusive Train stamp set - SSE21B. Now that things are placed, use a pencil to draw a small circle for the wreath and the arcs for the garland at the top of the paper. 
  1. Color the stockings: Bring color out on the cuffs and add 565 for shadow on the white cuffs. The colors used on the stockings are 249 & 856. Use Molotow to create the white dots on the heel/toe of the 1st stocking and body of the 2nd stocking. Use a pencil to lightly draw squares for the patchwork design on the 3rd stocking. Add details to the stockings with the fine tips of both pens.
  2. Color the puppy, kitty, and presents: Use a #1 brush on all 3 of them. Bring color out on puppy. Leave area around his eyes light. Add more 969 to his ears, 856 to his tongue, and darken his eyes and nose with the brown Twin Tone. Bring color out on the kitty, again leaving eye area light. Add a mixture of 969 & 565 to give her more of a gray color. Add a little 856 to the ears and brown Twin Tone to darken her eyes and nose. Color the presents with 249 and 856.
  3. Use the small foliage from Set 5126 - Foliage Set 4 in 177 for the wreath. I used the #1 brush to add water to the wreath.. Use the fine tip of 856 to add the berries. Use the pine branches from Set 5472 - Christmas Wreath Set in 249 for the garland. Use #1 brush to lightly add a little water. Use the berry bunch from that same set in 856 for the berries. Add water to them.
  4. Mantel & Hearth: Cut 2 masks of the stockings and 1 each of the puppy, kitty, and presents. Put on the masks of the puppy, kitty, and presents. Use the positioner with the wood plank stamp from 5019 -  Wall Texture Set in 969. Only used 2 of the 3 horizontal lines from that stamp for the mantel. Bring color out and add more 969 as desired. I added a few dashes of the brown Twin Tone to look like wood grain, then softened it with water. Leave the above masks on, and put masks on the first 2 stockings. Use the positioner and the rock wall stamp from 5019 - Wall Texture Set in 969 & 565. Work your way over and move the mask from the 1st stocking over to the last stocking to finish stamping the rocks on the hearth. Bring color out on stones, leaving tops light. Mix 969 & 565 on pallet and add to some of the rocks. Water down the 969 & 565 mixture and dab between rocks for the "concrete" look.
  5. Use the candle and bible stamp from 5419 - Bible icons 1 Set. Color the candle ONLY in 969 & 565. Use the positioner to help place them on the mantel. Use the #1 brush and 026 to color the dish of the candle, 565 on the candle itself, and 993 for the flame and glow around the flame.
  6. Use brown Twin Tone to draw nails for the stockings and to add whiskers to the kitty. Erase any visible pencil lines.
  7. I used the 2nd largest die from 5062 - Rounded Rectangle A2 Double Stitched Dies set to die cut the painting. Mounted it on patterned papers, and added a small bow to the top of the wreath.
                                                                                      Diana Sheely

Be sure to check out Bonnie's latest video tutorial on Youtube.
She created a gorgeous Snowy Christmas Church.


Thank you for joining us for our final 2021 WWR!
Don't forget to check out all of the 2021 releases as well.
See you in 2022 for more watercolor inspiration!


You can also find amazing deals in our Deal of the Week category.


From the entire Art Impressions family we wish you all a safe and happy holiday season.
Merry Christmas!

Saturday, July 31, 2021

Watercolor Weekend Roundup Final Summer 2021 New Releases!


 Hello Ai fans!

It's time for another Watercolor Weekend Roundup!

These are the 1st and 3rd weekend of every month but we make exceptions like today when we have new releases.  Our WC Design Team always has something special to share with you.  Today it's the last of the summer 2021 watercolor new releases!

Check out all of their fabulous inspiration below!


We'll kick things off with Karen!

's been a great few weeks slowly releasing the new Art Impressions Watercolor stamps on the Ai blog.  We've reached the end!  The last 4 sets will be available for purchase on the Ai website (here!) today.  I made a slimline card using two of the new sets:

There are 3 new Silhouette sets, this is 5428 - WC Silhouette Horses, and the fences are part of 5416 - WC Vintage Car Set.  The barn is from the previously released 5262 - WC Mini Cabins Set, trees are 5372 - WC Mini Foliage, and the fence is from 5371 - WC Barn Set.  The rocks are the new 5415 - WC Rocks Set.

I started by stamping my barn and fences, to determine where everything would go, and then I sketched in the mountains, hillsides and driveway.  I then painted them all in with a light wash, as I knew I'd be stamping overtop, and didn't want to have to paint around the small images.  With my stamp positioner, I added in the two horses, being careful to place the slightly larger one in the foreground, and the smaller horse slightly back.  I added in the rocks and trees, darkening them with several different colours.  To brighten things up, I added grasses and a few dots of yellow as wildflowers, and painted in the barn.  Finally I used my #565 Tombow to add shadows where needed.

By the way, these are very well behaved horses that don't leave through the open gate...


Thanks Karen!

Did you catch the new releases on Wednesday with Bonnie and her tutorial?  If not you can always find them on Facebook, Pinterest and YouTube.


 Now we have Tricia...

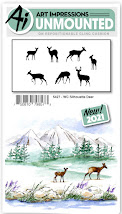
Who is as excited as I am about the next NEW Watercolor Release from Art Impressions?  It is bulging again!  This week the new Silhouettes (including deer, horses and skaters) and the Vintage Card set. I am so excited as I see all the possibilities for Christmas Cards, Winter cards, masculine cards and cards for any occasion. 


Here is how I made this card project.


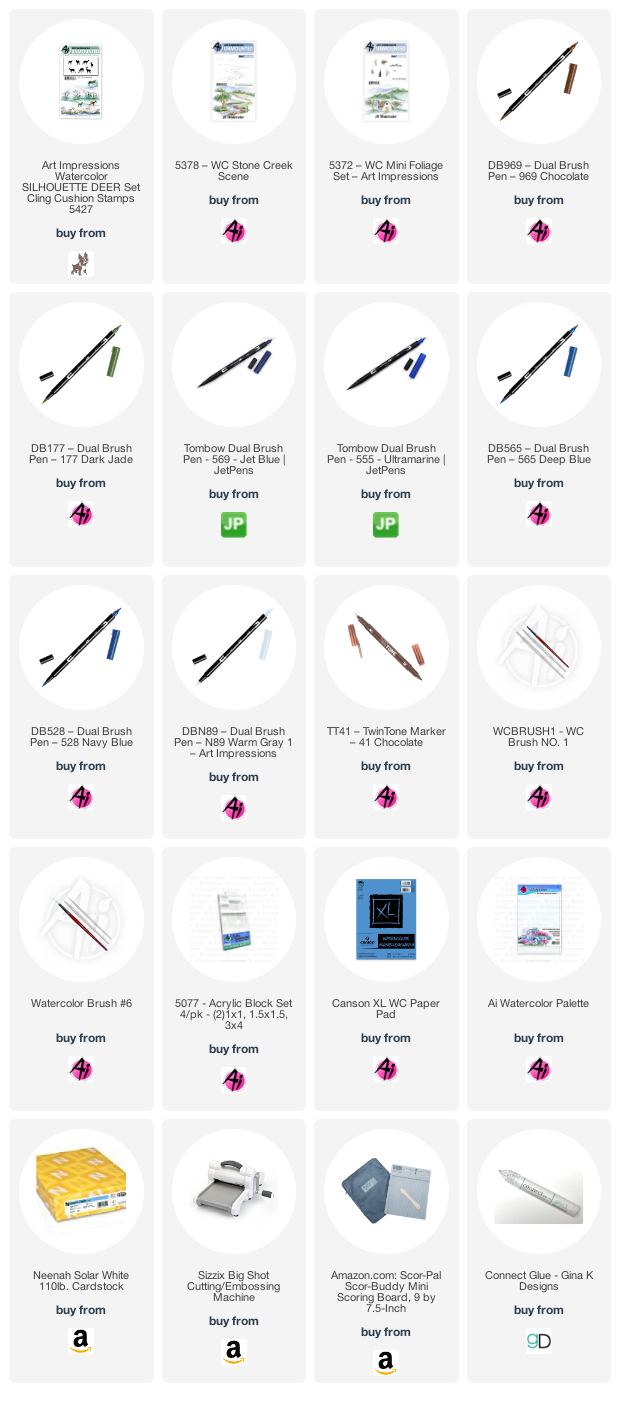
I started out by inking the WC Stone Creek Scene with N89.  This is a really light gray.  I wasn’t sure where I wanted to place the deer so I wanted to make it as light as possible.  I went back in with some green along the lines to darken them up.


At this point I wasn’t sure how I wanted to place my deer, so I stamped them all onto some post-it tape and cut them out.  I used the masks to move the deer around until I was happy with their placement.  I inked the deer with brown and lifted each one individually so I could make sure they were where I had them.  You could use a positioner but I just decided to wing it (except for the one with his head in the water, he needed to be positioned). 


Using my small brush (#1), I added some color from my palette to the rocks.  Make sure to start pulling the color from the bottom and leaving a highlight on top to give them dimension.  I added some additional brown and blue to them to give them some added interest.  I finished them up by using my twintone marker to darken some of the rock shadows.  I added blue and purple to the water making sure that my brush strokes followed the lines of the banks. It is dark on one side fading out to a lighter color.  I also added some 569 to get some shadows into the water.  The areas in front of the rocks would be really dark. 


Using the masks I created at the beginning, I covered the two upper deer and inked up the tree line from the Mini Foliage set.  I followed the gray line that was created by the Stone Creek stamp. I added water to soften the lines.   I also pulled some of the color out into the hills making sure to leave it light at the center.  I added some additional green from my palette to the ground, but I didn’t go all the way out, I stayed where the deer and water are.  I added some green shadows under the deer.  Next, I inked the small pine tree from the Mini Foliage set (I love this set!) and stamped it on either side of the card to create a forest illusion ðŸ˜Š.  And as you know, we almost always use the small grass in our paintings and this is no exception.  I stamped it a few places around the rocks and river bank.  I went back in with some additional dark green to highlight the river bank.


For the sky I added some blue from my palette (watered down) and dropped it in several places pushing the color around.  I then use a paper towel to dab and pull some of the color up. I like to leave the hard edges sometimes and soften others.  I took a bit of blue and brown (gray) and added that in the same fashion after the first layer was dry.


I added some water to the deer to soften them, if you push the paint towards the areas that would be the darkest, it creates a nice shadow.  Once they were dry, I darkened some of the undersides of them.  To finish the scene, I thought it needed some trees, Using the tree branch from the Mini Foliage Set (Shocking right) and just stamped it in a few spots, no water required.  I signed and dated. 


This project took a little more time but it was worth it.  This makes a perfect card for any occasion including men’s birthday (perfect hunter card!...maybe).  Check out my blog if you want to know how I created the card itself.  I hope you are all doing well and I really appreciate you spending your time with us.  Make sure to use the #aiwatercolor on Instagram and tag us to make sure we see what you are creating.  I can tell you I am so impressed by each and every one of you and so humbled by your love and appreciation.  Keep painting and sharing…we LOVE it and you!


Have a crafty day!


And last but not least, Dot!


Hello,

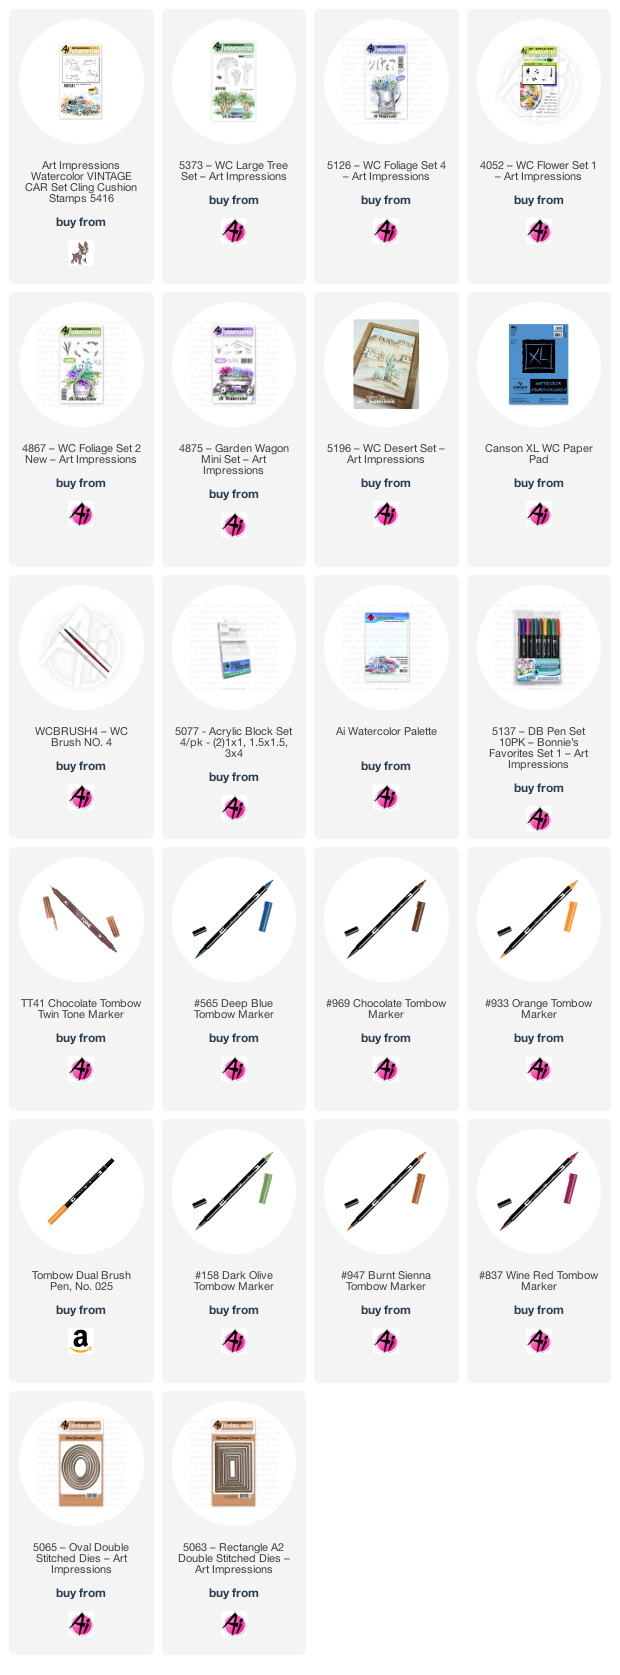
This is the last of the new Watercolor Releases from Art Impressions for the summer. I made a fall card using the brand new 5416 Vintage Car Set. To make it, use the Tombow 979 and 565 to ink the car, stamp it off first then stamp it on your watercolor paper and pull the color out of the lines. I colored the tires in N35, the windows in 565 and the body of the car in 947. The tree is from the 5373 Lg Tree Set and I inked it in 969 but forgot to stamp it off. I wish I would have since it's a little dark for yellow and orange leaves 025, 933. I used 158 for the green foliage from the 4875 Garden Wagon Set and 4867 Foliage Set but you can use whatever foliage and flowers you have for pretty much any scene. I used 837 for the red flowers from the 4052 Flower Set. The tall leave stems are from the 5126 Foliage Set 4 inked in 947. The yellow grass is inked in 025 and 933 from the 5196 Desert Set. The sky is 565. I used the 5065 Oval Double Stitched Dies and the 5063 Double Stitched Rectangle Dies. Hope you give it a try!