Welcome back Ai friends, this is Mercy with two fun Halloween cards. The first card is a peek-a-boo surprise card with a twist. I used the Ai slider die in a shaker card design.
Let’s take a look!


It’s a pretty easy card to create, this is what I did!
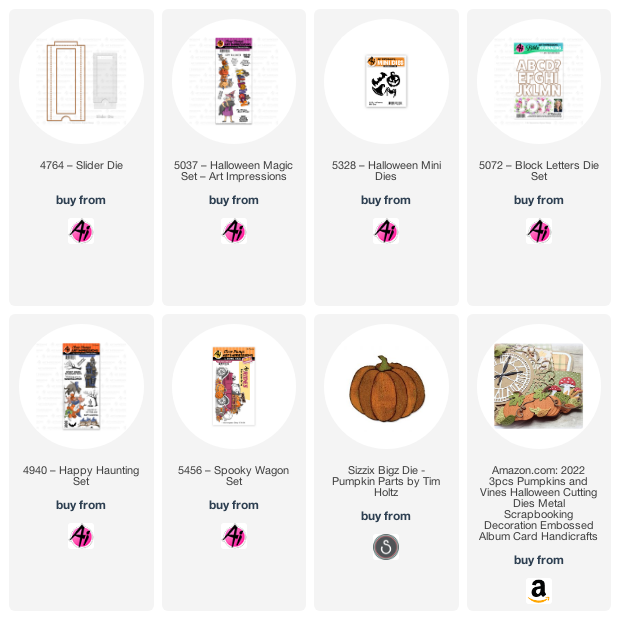
First, I die cut the front card panel in black and stamped the hidden element on white cardstock.
I proceeded to roughly mark where the slider opening would be on the card and die cut the word Boo as shown. I suggest to place the middle letter first and then the rest to ensure the design will be centered.
Then, I die cut the opening for the shaker slider window.
I die cut the remaining elements including the acetate panels. I could have used one panel, but at the moment I chose to cut two.
I prepped the shaker panel by creating separate cavities for each letter and the hidden window. You can opt to create just one large shaker panel but the shaker bits will fall to the bottom.
This is what It looks like prior to adding the shaker bits and permanently adhering to the card panel.
At this point the card is ready for assembly. I stamped a sentiment next to the pumpkins, stamped the front panel of the slider window, assembled and adhered the sliding mechanism, and just like that, we got a fun card!
For the second card I used two fun techniques, but first let's take a look at the card.
I use the first technique quite frequently since I love it. It’s a scored background (I used my Scor-Buddy) inked by swiping an ink pad gently against the raised details of the card after scoring. It can be done on either side of the panel resulting in two very different looks.
The second technique is to partially emboss two integrated stamped elements (for example, the girl and the Halloween sign) stamped by masking one of the elements.
The first element was stamped.
Then I created a mask and stamped the girl with the cat.
I used a Misti tool to stamp both elements and did not move the stamp position on the Misti so I can go back to it. I used opposite sides of my Misti.
I proceeded to “restamp” the Halloween element using VersaMark ink and heat emboss.
The result is one element that visually pops more than the other. At this point, I die cut the pumpkins, Copic colored, and assembled the card. In this picture, you will see how the girl and the cat look look to be in the background and the Halloween sign in the foreground. It’s a cool technique.


1 comment:
Girl, you blow me away!! Spectacular design and coloring!!
Post a Comment