Showing posts with label Art Impression Challenge. Show all posts

Thursday, August 22, 2024

Happy Retirement by Dori Mendiola

 Happy Thursday AI Friends!

My card today was inspired by the current challenge - Keep Calm and Celebrate On!  This challenge only asks you to create and enter a card/project for any type of celebration.  How easy and fun is that?  Check out the tab above - "Bi Weekly Challenge" for details.  Hope you play along for a chance to win a free stamp set.  

Since I recently retired, I decided to create a Happy Retirement card.  This seems to be the year for many of us.  Finally!!  LOL!

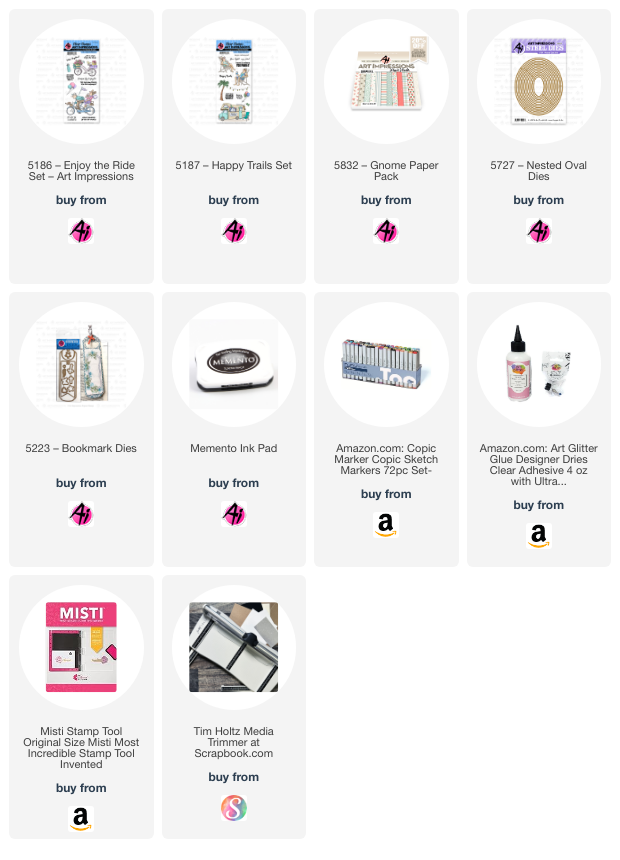
I love making fun fold cards so this one is a twist on the standard easel card.  I call it the reverse easel.  Very simple to make!  Let's create the base first.  Cut a standard A2 card base (5 1/2 by 8 1/2) and score the long side at 2 1/8" and 4 1/4".  Fold at the 4 1/4 and opposite fold at the 2 1/8 to create a valley and a mountain fold towards you.  See card picture above.  For the background base, cut two from green cardstock (one - 4 1/8 x 5 3/8 and one - 2 x 5 3/8).  For the pattern paper, I used the 5832 Gnome Paper Pack and cut two pieces (one, 4 x 5 1/4 and one, 1 7/8 x 5 1/4).  At this point I mounted the pattern paper to the corresponding green base.  Before adhering these to the A2 card base, I used the 5223 bookmark die and placed the top part of the bookmark over the pattern paper, making sure to place the bookmark portion of the die underneath the pattern paper so that won't cut.    See Picture 1.


                        Picture 1:

Then, I partially cut the tab on the large green/pattern paper piece.  I want the tab to remain intact so to partial die cut you need to place your cutting mat only over the portion you wish to cut.  See picture 2.
As you can see, I did this upside down so make sure you put the cut edge of the die facing the cutting mat.  😞  Since I'm admitting my boo boos, I suggest you cut the tab before adhering the A2 card base.  As you can see in the picture, I adhered to the A2 base first.  You'll find it's easier to cut through without the A2 card base plus it won't make an indent into your card base.   

                        Picture 2:

Okay, now that the base is done, let's go to the image.  I used the 5186 Enjoy the Ride stamp set.  I love this fun little couple and their dog, but I especially love the lady drinking her coffee with her feet up.  No help from her!  My husband says that is exactly why we'll never own a tandem bike.  LOL!  
He knows me too well!  

I stamped the image on copic friendly paper and colored with my copic markers listed below.  I stamped the sentiment, from the 5187 Happy Trails set, into a rounded shape by curving onto my stamping platform.  I used the two largest dies from the 5727 Nested Oval dies to cut the image and also the pink frame.  I adhered the bottom half to the folded part of the card and tucked it into the tab for display.  I added some enamel dots and a bow and it's ready to go.

I hope you enjoyed my card today and it inspired you to join the challenge.

Have a great day and keep creating!

Copics used:  E000, E00, E11, E21, E23
T0, T2, T4, T6
R20, R32, R81
BG000, BG01
G20, G21, G24


Thursday, August 8, 2024

Lady Golfer by Dori Mendiola

 Happy Thursday AI Friends!

Today I am sharing a card that is inspired by the current bi-weekly challenge - "Never Have I Ever".  Check out the tab above for details and make sure to enter for a chance to win a free stamp set of your choice. 

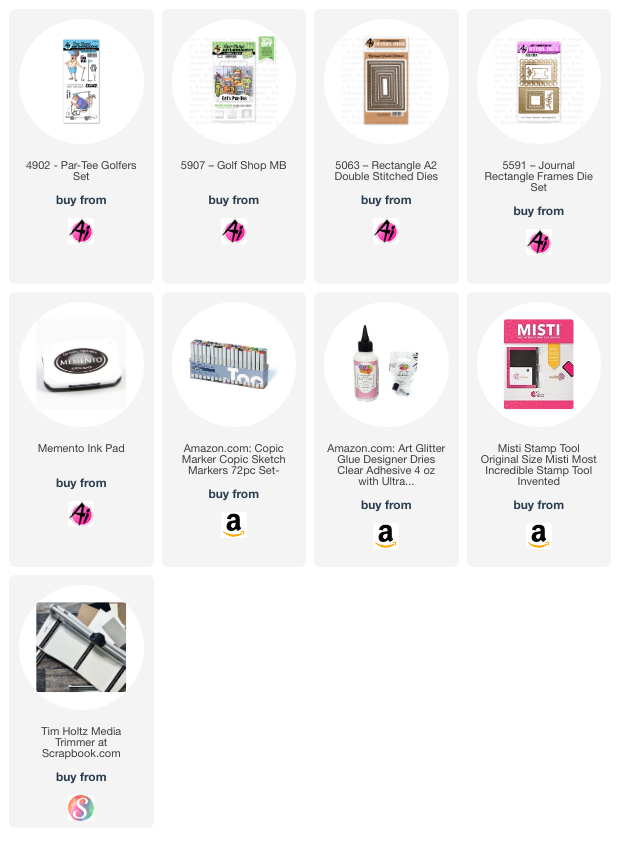
I laugh because I buy all these stamp sets and swear that I have used them all only to find out that there are many images on each set that I have never used.  Actually, more than I should admit.  LOL!   One I found in my collection of "Never Have I Ever" is the lady golfer from the #4902 Par-Tee Golfer stamp set.


I stamped the lady golfer image on copic friendly paper and colored her with copic markers.  I then used the #5063 Rectangle A2 Double Stitched Die to cut the panel.  I also cut a red frame with two of the dies to highlight the image.

 I also stamped the sentiment "Wanna Play Around" and the ball and tee from this same stamp set onto a slightly larger panel to fit under the frame.  The golf sign and the "Let's Par-Tee" sentiment comes from the #5907 Golf Shop Matchbook.

To make the Pop-Up Slider, check out the Jennifer McGuire - DIY Pop-Up Slider youtube video.  She explains it very well.


I hope you enjoyed my card for today.  Until next time, enjoying creating!!

Copics used:  E000, E01, E11, E21, E23, E25
N0, N1, N2, N3
B0000, B000
R20, R24
G43, G46
Y15, Y17


Thursday, July 11, 2024

FairyLand PopUp Card by Dori Mendiola

 Happy Thursday AI Friends!

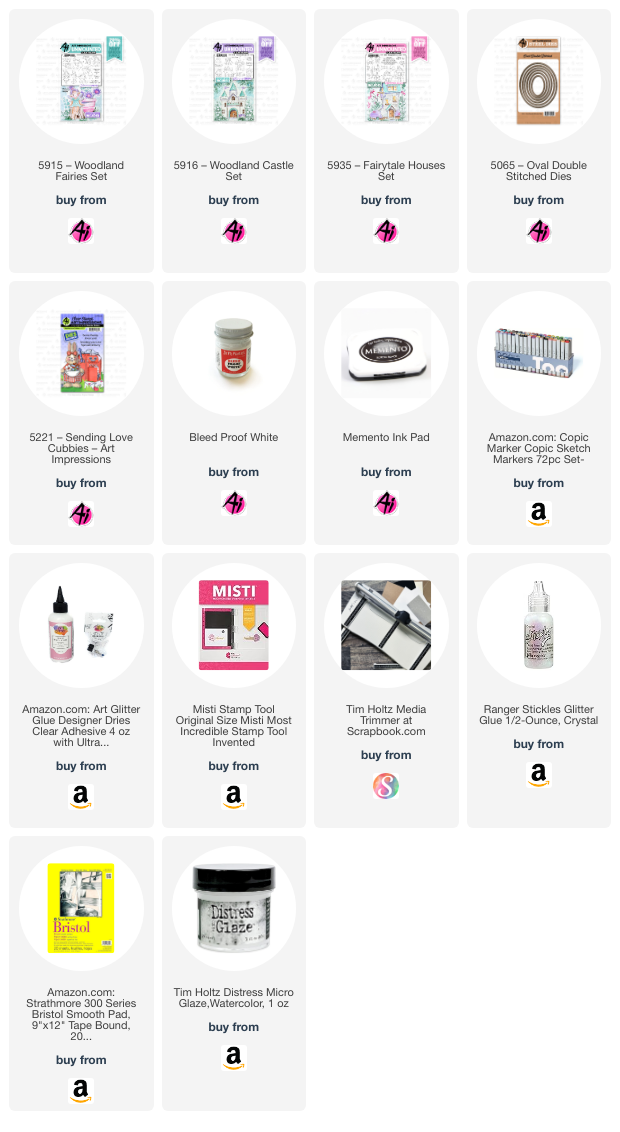
Today I'm sharing a card that was inspired by the current challenge - Magical Creatures.  I decided to make a popup tunnel card using the new 5915 - Woodland Fairies and 5916 - Woodland Castles.  This type of card provides several layers so that you can display many of the little fairies.  From of this set, I was able to place five, out of the eight, nicely on this card.


I started with the background by inking up three panels of 6 x 6 Strathmore Bristol Smooth cardstock with Ranger Distress Oxide Spray.  I used tumbled glass and prize ribbon for the top portion of the panels and shabby shutters and mowed lawn for the bottom portion.  Once dry, I brushed on a layer of Ranger Distress Glaze over each panel and wiped off the excess.  I placed some Dr. Ph Martin's bleed proof white paint on my glass mat and diluted with some water.  I then dipped a No. 5 paint brush into this mixture and spattered onto each panel by tapping the brush over my finger onto the cardstock.  This will create a magical background.  I determined which panel I wanted for each layer of the tunnel and used the 5065 - Double Stitched Oval dies to cut the top two layers using the largest ovals.  Cut the forefront panel first with the largest die and then place the middle panel under the forefront and place the second largest oval die to cut the middle panel.

To make the popup feature, I used 80 lb. cardstock and cut two pieces of 2 1/2" x 6 ".  Score each piece every 1/2" lengthwise to form the side popups.  You should have four score lines on each piece.  Fold and score each (mountain, valley, mountain, valley).  Refer to picture below for adhering each background panel.  You may need to trim the middle layer down slightly so that it lays flat when popup is pushed down.


I stamped all of the images onto copic friendly paper with Memento black ink and colored with my copic markers listed below.  Using the coordinating dies, cut each of the images.  I used green polka dot paper and die cut with a grass die I had in my stash.  I inked the grass tines with mowed lawn oxide ink so it matched nicely to the background.  I stamped the sentiment, included in the 5915 - Woodland Fairies stamp set, onto a cloud die cut.  Lastly, I used stickles on the fairy wings to give them some sparkle.

This popup card will lay flat in an envelope and pop up when you take it out.

I hope you enjoyed my "magical" card.  Have a wonderful crafty day!  

Remember to join our challenge to win a free stamp set.  Check out the tab "Bi-Weekly Challenge" above to participate.


Copics used:  B0000, B00, B12, B14
C1, C3, C5, C7
E000, E00, E11, E21, E23, E50, E51, E53
R11, R12, R14, R20
V12, V15
Y21, Y23
BG000
YG41, YG45


Thursday, June 13, 2024

Twirling Panda by Dori Mendiola

 Happy Thursday AI Friends!

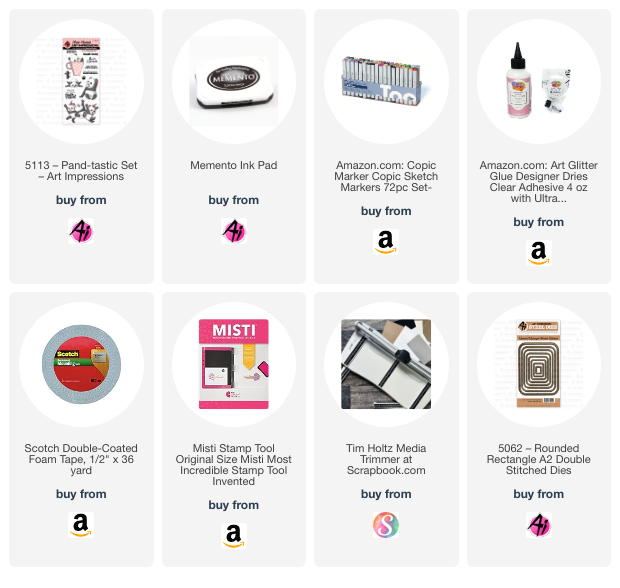
My inspiration for today's card came from the current challenge "Panda-Modium".  This Pand-tastic stamp set is just the cutest and when I saw this interactive-style card, I knew that these pandas would be perfect and I just had to make one.  It looks like this panda will just run across the card, but actually he cartwheels across it.  Check out the video below to see him in action.  


I started off by stamping the pandas with Memento black ink on copic friendly paper.  I colored the images with my copic markers (colors listed below).  After coloring the pandas, I fussy cut them out.  The Pand-tastic stamp set has three pandas together as one image and the one on the right looked like he was prepping to do a cartwheel, so I decided to cut him off of the threesome and use him as the twirling panda.

To make the bottom panel, I cut the green cardstock with the largest Rounded Rectangle A2 Double Stitched die.  I then cut the grass edge and the slider channel with dies I had in my stash.  Stamp the sentiment onto the green panel at this point, before creating the mechanism and attaching the foam tape.  Create the pull tab by cutting a piece of 1/2" x 6" green cardstock to match the grassy panel.  Cut a matching piece out of heavy weight cardstock and adhere to the backside for more stability.  Punch a 1/4" hole into one end of the pull tab and stamp "pull" on the other end.  Cut two discs (about 1/2" diameter) and glue a (1/4"or less) piece of rounded foam dot onto the middle of one of the discs.  Place the foam dot through the pull tab hole and through the slider channel to the front of the panel.  Adhere the other disc to the foam dot.  Attach your twirling image to this disc (front side).


To make the mechanism so that the panda twirls, I first made a sleeve, or collar, for the pull tab so that it wouldn't move around when pulling.  To do this, just take a scrap piece of paper (approx. 1/4" x 1 1/2") and fold into thirds.  Glue the tail down and then place the pull tab within the collar.  Glue the collar to the backside of the grassy panel making sure to hide it so it doesn't show through the slider channel.  Now here is the trick to make it twirl.  Take a piece of fishing line, adhere one end to the foam tape on the right side of the panel.  Make sure the front side of the panel is facing down and the grassy edge is facing up.  Bring the fishing line under the disc and then wrap clockwise three times around the disc.  Pull tightly, leaving no slack, and adhere the other end of the fishing line to the left side over the collar, with foam tape (see above).  Place another piece of foam tape over the fishing line and pull the line back over the new tape.  Place double foam tape around the edges.  Test the mechanism and adhere the green grassy panel to the card base.  Your image should be doing cartwheels across the card.

Add your finishing touches and your interactive card is complete.


Thank you for joining me today and I hope you enjoyed my card!
Have a great day!

Copics used:  C00, C1, C3, C5
R20, R22, R43, R46
BG53, BG57, YG13, YG17

Thursday, September 14, 2023

New Release! by Mercy Sauer

Hello friends, Mercy here showcasing another newly released set.  This week, I would like to highlight sets that are staples in my collection.  They can easily be used as the main part of the card, as demonstrated on this card, or as background elements supporting the overall design of the card.  Let's look at my example,


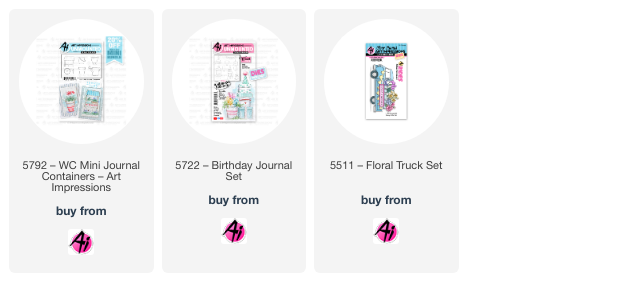
I consider these three sets staples in my collection.   The new set of pots can easily be incorporated in any card and the same goes for the flowers and the puppy.  When purchasing stamps I categorize the sets to determine if it's one that I could potentially use many times or if it's more limited to a theme or occasion.   However you choose your stamps and dies, visit our website.  Art Impressions has a huge collection perfect to meet all your needs and wants.

Take care,


Thursday, September 7, 2023

STAMPTEMBER '23 IS HERE!!!!! by Mercy Sauer

Before I even say hello, please note this Simon Says Stamptember Art Impressions Exclusive set will sell out very QUICKLY.   If you like it, go to Simon Says website to purchase and then come back...

Now that you are back, welcome, this is Mercy.  I am beyond excited to post and show you my card using this year's Ai Stamptember set!   It is so awesome and fun.   It's perfect for any occasion, but for me, it's all about Fall......So let's see it!


This sassy lady says it all.   Included in the set are multiple sentiments including a candle and birthday wishes.   

For this card, I fussy cut around the stamped border and used a black marker around the edges to mask all cutting lines yielding a clean and precise trimmed edge.  I love using this technique.   Check out Ai blog for lots of inspiration from the design team.  

If you are like me, I look forward to this event and most nights I do stay up past midnight to check out the new releases.   Congrats if you bought this set,  and have fun! 

ly: tim es; font-size: medium;">


Thursday, August 31, 2023

Two for One Part II by Mercy Sauer

Thank you for your time and checking out my second project for the week.   As promised, this project is what I call a "freebie" a "two for one".   Before I begin, let me start by showing you the project.  It's a Christmas tag, super versatile, we always need tags!


You might ask, what is so cool about this tag? well, it was created by using the spent cardstock I used to die cut snowflakes for my challenge project.  I was about to throw it away when I realized it was a perfect stencil and I could use it to create another project.


I used two shades of the same color, a darker and lighter one to create a bit of interest.


I used the darker ink on one side and the lighter on the other, resulting in an ombre effect.   Then I die cut the tag and stamped a sentiment directly onto the tag.   I also added white ribbon and cute little pom poms for a whimsical finish. This tag took me five minutes to create!!!   
You can even save the stencil with the dies and use for future projects.

I hope this technique inspires you to look at your waste and explore other options to recycle and/or reuse.   Not only you save on materials but also on time!

Have a wonderful rest of the week,  I will catch you next time.  


Two for One Part I--Feeling Blue Challenge by Mercy Sauer

Welcome to Challenge three for the month of August.  Today's challenge is anything blue and it made me think of Christmas.   So here it is, my first Christmas project of 2023.   It's crazy to think we are soon welcoming autumn and the holidays....pretty fun!

The card I created is perfect if you choose to make multiple ones.   It's simple and easy to make.   Using three colors of blue cardstock and the Ai Snowflake Die Set, I die cut multiple sets and adhered them to a card base. The snowflakes were glued past the edge of the card so all edges appeared finished.  Then, I simply trimmed the excess using scissors.  Let's take a look how the card turned out,


To complete the card, I popped up a sentiment adding a bit of dimension.   You can even turn this card into a family project, the kids can help in glueing the snowflakes onto the card stock and even die cutting the elements (with supervision of course!).    

Please check out my second card for this week for even more ideas...


Thursday, August 24, 2023

Back to Scenes by Mercy Sauer

Welcome back friends...today I decided to create a whimsical scene using the newly released Ai products, Fairy House Set, Whimsical Mushroom Set and Little Things Sentiment Set. Before we begin, let's take a look,


My intention was to create a scene highlighting the glow of the late afternoon sun.   To achieve this effect, I used yellows throughout the scene mixed with other colors.

    The first step was to stamp all the elements.  


Then I added some lines to depict far away hills and the ground. The smaller fairy house looks to be separated from the front, and larger fairy house, by open land.


At this point, I proceeded to color the scene using Copics, and, most importantly I added yellow in the areas I did not want to forget.

 
Many times when I create a card that requires lots of coloring, it looks like a hot mess and I have the urge to start over; however, I stop myself, most times it does work out!


It's important to be patient and continue working on the scene, one area at a time, slowly it begins to look better and come together.


This summer release is so special.   I love the whimsy and beauty of the stamps.   Definitely looking forward to creating lots of new projects.    Until next time,


Thursday, August 17, 2023

All Wrapped Up Challenge by Mercy Sauer

Welcome to this week's challenge. Please join us and tag your creations. You may be the lucky one to win a great prize.   

Today's card is a simple yet colorful card. I followed the same principles I used in this week's blog. I used two sets of complementary colors, pink and yellow, blue and orange, and gray as the neutral color. I used layers of printed paper in the same color as the ones I used for the main element of the card. Let's take a look! 

Although the complementary colors of the card may not be next to each other, they still create a harmonious design. You would think blue and orange need to be together, but even with the white separating them, the card still comes together. I used gray as the neutral color to center the card, allowing the other colors to really stand out. Finally, I adhered the whole assembly to the card base, then used scissors to give the card its V shape. 

Have a great week!