


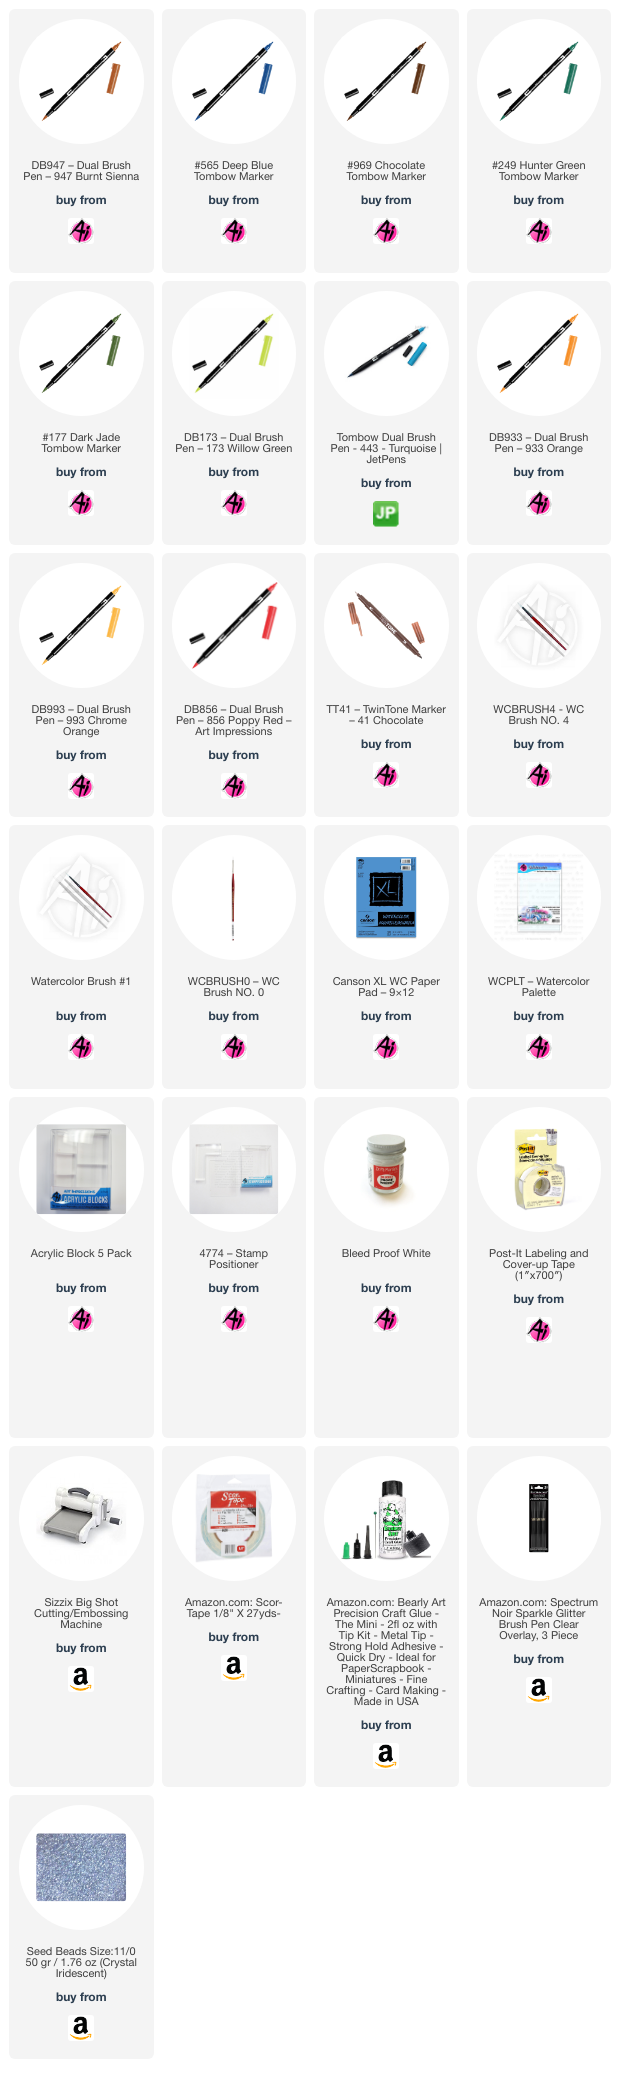
To create my card, I started with a 4 x 4 inch white card base. For the card front, I cut a 4 x 4 piece of shiny gold cardstock and a 3.75 x 3.75 inch piece of patterned paper. I cut an opening in the patterned paper using the circular die from the Snow Globe Set, ensuring there was space for the base. I used scraps of white and gold paper to die-cut snowflakes and stars. Next, I trimmed the painted scene to fit under the patterned paper, making it about 3.5 x 3.5 inches. I arranged the snowflakes and stars in the center of my painting and added a few clear iridescent seed beads for extra shake. After that, I removed the backing from the back side of the dome and firmly attached it in place. I then secured the gold paper to the card base and layered the patterned paper over the painting and the dome, adhering it to the base. Finally, I glued the snow globe base under the dome and added three tiny gold stars for a finishing touch.

I used a MISTI stamp platform to stamp the Snowman and sentiment in Versafine Onyx Black ink on the inside of the card. After removing the protective film from the dome, I gently shook the card – and it worked perfectly!

What will you choose to stamp inside your Snow Globe? There are plenty of Art Impressions stamps to choose from that fit perfectly, so why not give it a try!
Moving on to my Haunted Happy Halloween Card...
I love the Art Impressions Watercolor line of stamps for
their ability to help me create unique scenes. In the creating of this
Halloween-themed card, I combined stamps from various sets to establish an
eerie yet whimsical atmosphere. Notably, I used the car stamp from the 5823 –
Christmas Cars Set, demonstrating its versatility beyond the Christmas season.
In my creative vision, the driver of the car had a pumpkin for a head. The
small pumpkin stamp from the 5487 – Front Porch Halloween Set, a part of Art
Impressions' regular stamp collection, fit perfectly into the driver's seat. The
creative possibilities with these stamps are endless!

Let's dive into the process of bringing this spooky yet whimsical scene to life. Initially, I created a "blueprint" as a starting point. This blueprint served as a guide for envisioning the final scene's appearance and determining the stamping order.

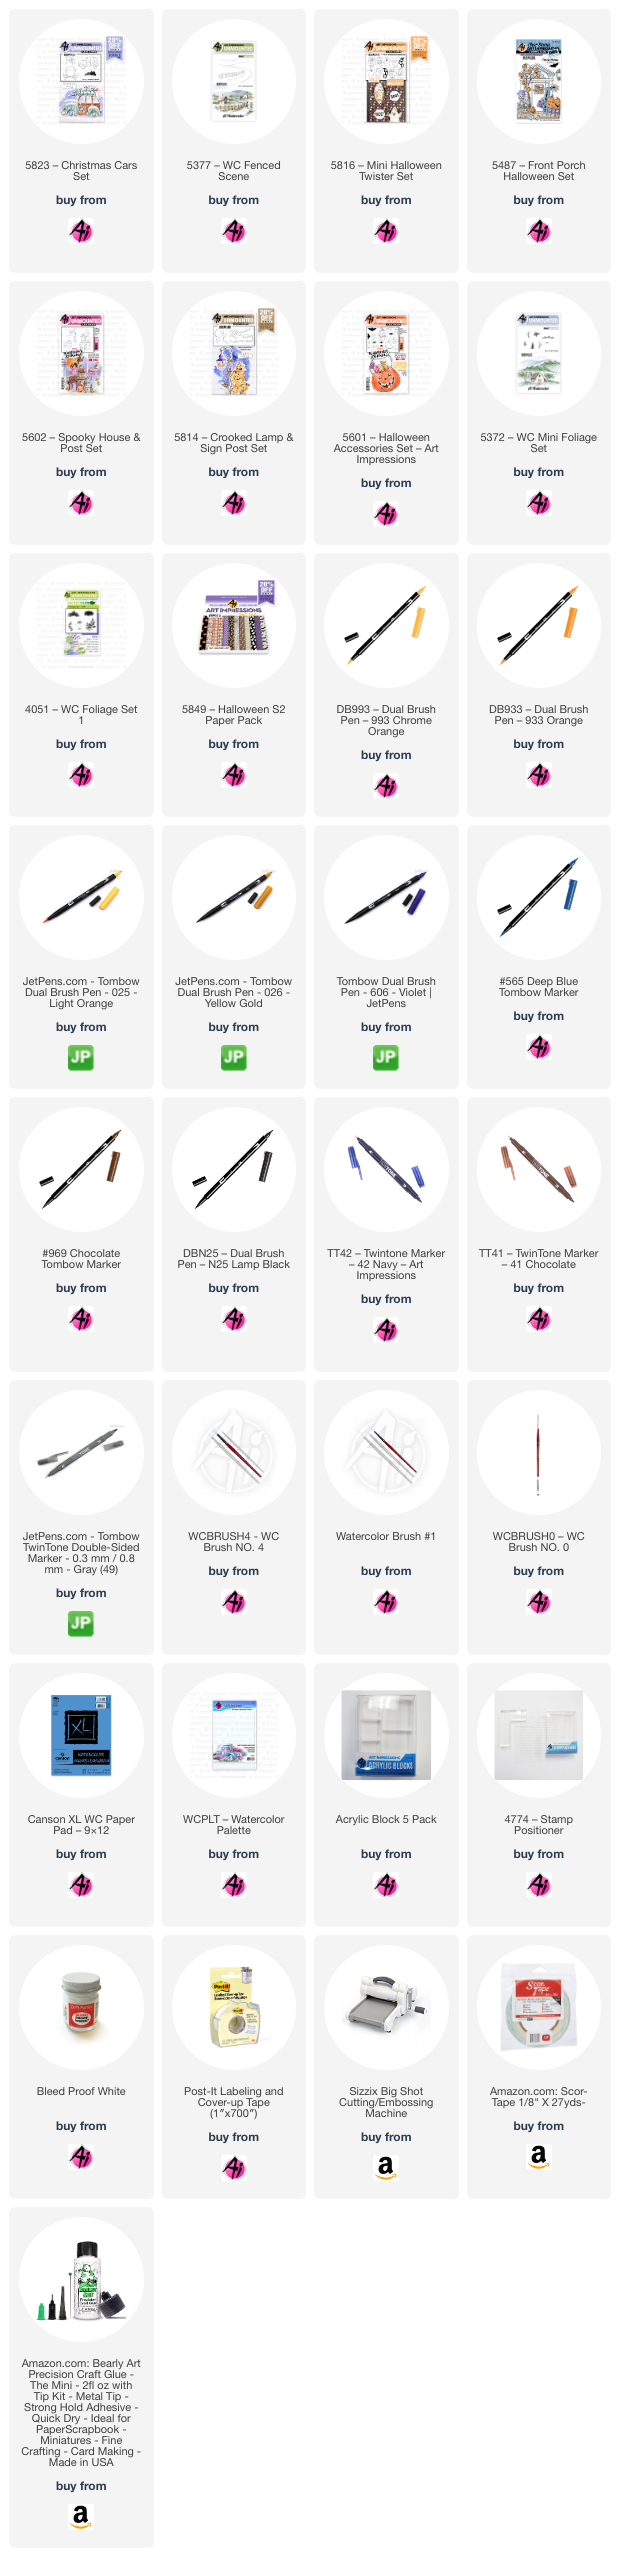
With a pencil, I drew a 3.75 x 5 inch rectangle on my Canson XL watercolor paper and masked the edges with Post It tape. Following the blueprint, I used N25 to ink the haunted house stamp from 5602 – Spooky House & Post Set, stamping off once before stamping it onto my paper. Next, I stamped the car from 5823 – Christmas Cars Set again in N25. For the lamp post from 5814 – Crooked Lamp & Sign Post Set, I inked the wood in 969 and the lantern in N25/969, also stamping off once. With these images in place, I masked off the left edge of the house before stamping 5377 – WC Fenced Scene. I inked the stamp with N25, leaving off some of the bottom edges, and stamped it into place. I sketched in the missing part of the road with a wider width as it approached the edge to maintain perspective. To create the harvest moon behind the house and hills, I traced around a small bottle I had on my desk. You can use any round object of appropriate size or freehand the moon. I masked off the car window and stamped the small pumpkin from 5487 – Front Porch Halloween Set in 969 into place. I then inked the two small ghosts from 5601 – Halloween Accessories Set in 565 and stamped them into place after stamping off once. The bat, branches, and the foreground ghost would be stamped later.

With these images in place, I used a damp brush to pull color from the lines, creating shadows and contours while avoiding the areas inside the ghosts. I painted the sky with a watery mix of 565. Once dry, I painted the moon with 025 and 993, also coloring inside the windows. I applied more N25 on the house where needed and darkened the shadowed areas and the door frame. I painted the door with a mix of 565/N25. For the shutters, I added a light layer of 565. Moving on to the car, I layered 606 for the body, keeping some areas lighter for highlights. I used 025 and 993 for the headlights and N25 for the tires. The metal around the headlights and the grill was lightly shaded with N25. The pumpkin head was painted in 933 and 025, with 969 for the stem. Next, I painted the wooden lamp post with 969. I carefully painted the lantern frame with a No. 0 brush, pulling color from the lines. For the lantern top, I added a mix of 969/N25 where needed. I added 993 to the center of the lantern to create a glow and extended the glow inside and outside with a watery mix of 025. I stamped the left-facing ghost from 5816 – Mini Halloween Twister Set in 565 (stamped off once) over the wooden lamp post. I added some 993 to the hilltops for a moonlight glow. Shrubbery from 5372 – WC Mini Foliage Set was added to one of the hilltops and around the base of the house. The tiny grass from 5372 was stamped in N25 below the shrubs around the house and along the fence posts. A damp brush was used to soften those areas and pull out the blades of grass. I added shadows to the ground and road in 565, as well as moonlight reflections to the road with 025. The windshield of the car was lightly shaded with 565. A dark layer of 565 was painted under the car for shadows. Reflections from the windows were added to the porch and roof in 025, and on the hood of the car from the lantern. Grass and vines from 4051 – WC Foliage Set 1 were stamped with 879 in the area left of the car and around the lamp post, then blended with a damp brush. I added a layer of 879 to the fence posts and to the lamp post above and below the ghost, leaving the center light for transparency. The lines on all the ghosts were lightly pulled out with a damp brush. To create transparent-looking ghosts, it's important to keep the layers inside the body lighter. If any area appears too dark, lightly wet it with a small brush and lift the color with a dry tissue. I darkened the eyes and mouth with a fine black Micron pen. I stamped the small bat from 5601 in Versafine Onyx Black ink over the moon. Branches from 5814 were stamped into the scene with N25, and the ink was carefully pulled from the lines with a small brush. Shadows from the branches and fence posts were added with 565. A few stars were dotted in with Dr. Ph. Martin’s Bleed Proof White, as well as on the pumpkin head's teeth. I used a gray TwinTone marker to add lines to the shutters. Any lost details were added back with a black or navy TwinTone. The Post It tape was removed from the edges, and any remaining pencil lines were erased. I covered my white card base with patterned paper from the new 5849 – Halloween S2 Paper Pack. The painting was die-cut with a 3.75 x 5 inch rectangle die from 5724 – Nested Rectangle Dies and adhered on top of the patterned paper layer with foam squares. To complete the card, I stamped the Jack O’Lantern and BOO from 5816 in Memento Tangelo ink on the inside.

I was quite happy with how the card turned out; it was a good challenge! I hope I've inspired you to explore new ways to use your stamps for fun scenes. Thank you for joining me for another Watercolor Weekend, and until next time – Happy Painting!


6 comments:
These are both incredible!
Wonderful projects, Diane!
Amazing! And what a clever way to work out your layers for masking, Jo x
These cards are so gorgeous, Diane!! I don't think I could pic k a favorite if I had to!
Diane I am in love with both of your cards. Especially the Water Globe card. Your gingerbread house is adorable.
Awesome cards
Post a Comment