Showing posts with label Diane. Show all posts

Thursday, October 19, 2023

Give Us a Fright Challenge #362 Week Two!

 Welcome to week #2 of our Give Us a Fright challenge!

We're loving all of the incredible Halloween cards that we're seeing so far. Keep them coming!!

 
Last week I was the featured artist and I made several projects.
You can find the picture tutorials and links to all the products I used HERE.


Now we have the rest of the Design Teams creations for you.  They're all SO CUTE!!

Tasha used:


Nina used:


Links to Diane's amazing card are HERE.


Thank you to our amazing Design Teams for their gorgeous Halloween inspiration!

✻ Please make a new card or handmade crafty creation. You can make any item you wish; this is not limited to cards!
✻ Limit two submissions per person. You will receive extra votes if you use Art Impressions stamps!
 ✻Please include your first name and last initial on your submission.
✻We love to comment on your entries, but keep in mind if you use a private group or a platform that you need to sign up for, we probably won't be able to.
✻ The Ai Challenge is open to everyone, international submissions are welcome!
✻ Include a link back to the Ai Blog or grab our button on the top right of our sidebar!
✻ Share the Ai love if you can, by clicking and commenting on your fellow crafters.
✻ Make sure to get your link up by the deadline to enter your creations.
✻ Good luck and happy stamping!

We want to see your handmade Halloween cards and crafty items!


You are invited to the Inlinkz link party!

Click here to enter

Sunday, October 15, 2023

Gingerbread House Snow Globe Shaker Card and Haunted Happy Halloween Card by Diane Mason


Hello and welcome, Watercolor Weekend Fans!


We hope you're enjoying our new format. Every 3rd Sunday, I will be sharing two cards/projects with you. My first card is a wintery snow globe shaker card. I've always loved snow globes; there's something delightful about watching the magical, snowy scene come to life before your eyes! With the newly released Art Impressions stamp set 5791 – WC Snow Globe Set and 5808 – 5pk Snow Globe Shaker Dome, we are able to bring the enchantment of a snow globe to a card (minus the water, of course).


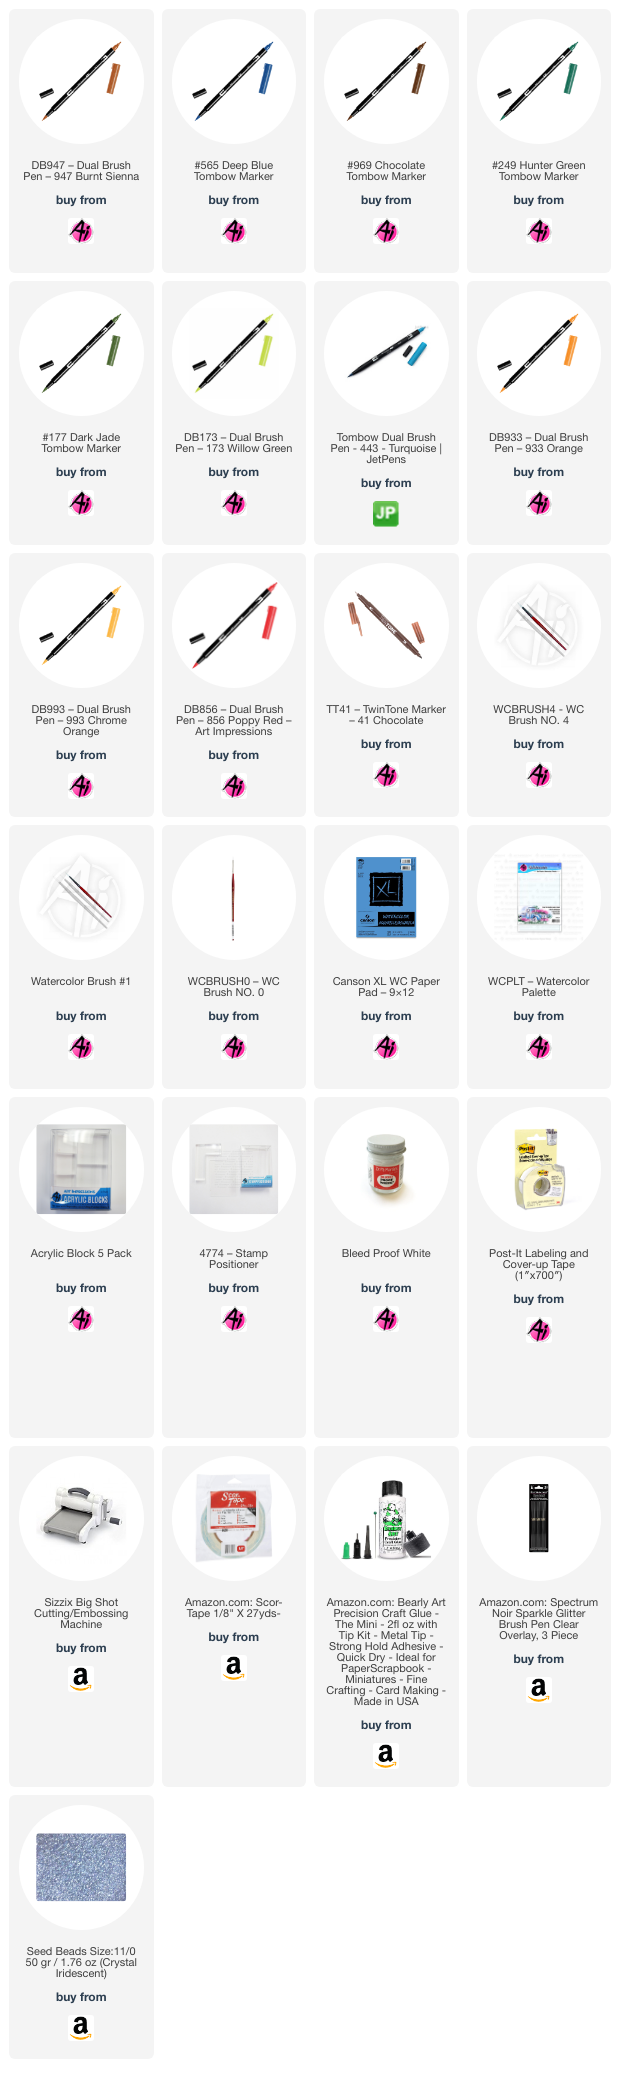
I decided to create a Gingerbread House scene within my snow globe. To start, I traced the circle die included with 5791 with a pencil on Canson XL watercolor paper to set the boundaries for my painting. I began by stamping the house with 969 and used a damp brush to pull some color from the lines and create shadows. I painted the house and windows with 947, adding layers to deepen the shadows. Next, I painted a watery sky with 565. After it dried, I masked off the house and stamped the trees with 249. Using a damp brush, I blended the colors in the tree branches. I added a touch of 565 around the base of the house to create shadows on the snow and along the path. I used a No. 0 brush to paint the house and tree's white details with Dr. Ph. Martin's Bleed Proof White. I also painted smoke rising from the chimney and added snowy dots to the sky. I added candy decorations on the roof and around the base of the house using the bullet tip of 173, 993, 933, 443, and 856. Additionally, I painted the heart with 856. To create a subtle shimmering effect on the snow, I used a Clear Spectrum Noir Sparkle brush pen. Because I used a patterned background paper for my card, I had to paint the base separately and then carefully cut around it. I stamped the base with 969 and layered additional 969 to create depth and shading. Finally, I added details to both the scene and the base using a brown TwinTone marker.

To create my card, I started with a 4 x 4 inch white card base. For the card front, I cut a 4 x 4 piece of shiny gold cardstock and a 3.75 x 3.75 inch piece of patterned paper. I cut an opening in the patterned paper using the circular die from the Snow Globe Set, ensuring there was space for the base. I used scraps of white and gold paper to die-cut snowflakes and stars. Next, I trimmed the painted scene to fit under the patterned paper, making it about 3.5 x 3.5 inches. I arranged the snowflakes and stars in the center of my painting and added a few clear iridescent seed beads for extra shake. After that, I removed the backing from the back side of the dome and firmly attached it in place. I then secured the gold paper to the card base and layered the patterned paper over the painting and the dome, adhering it to the base. Finally, I glued the snow globe base under the dome and added three tiny gold stars for a finishing touch. 

I used a MISTI stamp platform to stamp the Snowman and sentiment in Versafine Onyx Black ink on the inside of the card. After removing the protective film from the dome, I gently shook the card – and it worked perfectly!

What will you choose to stamp inside your Snow Globe? There are plenty of Art Impressions stamps to choose from that fit perfectly, so why not give it a try!

Moving on to my Haunted Happy Halloween Card...

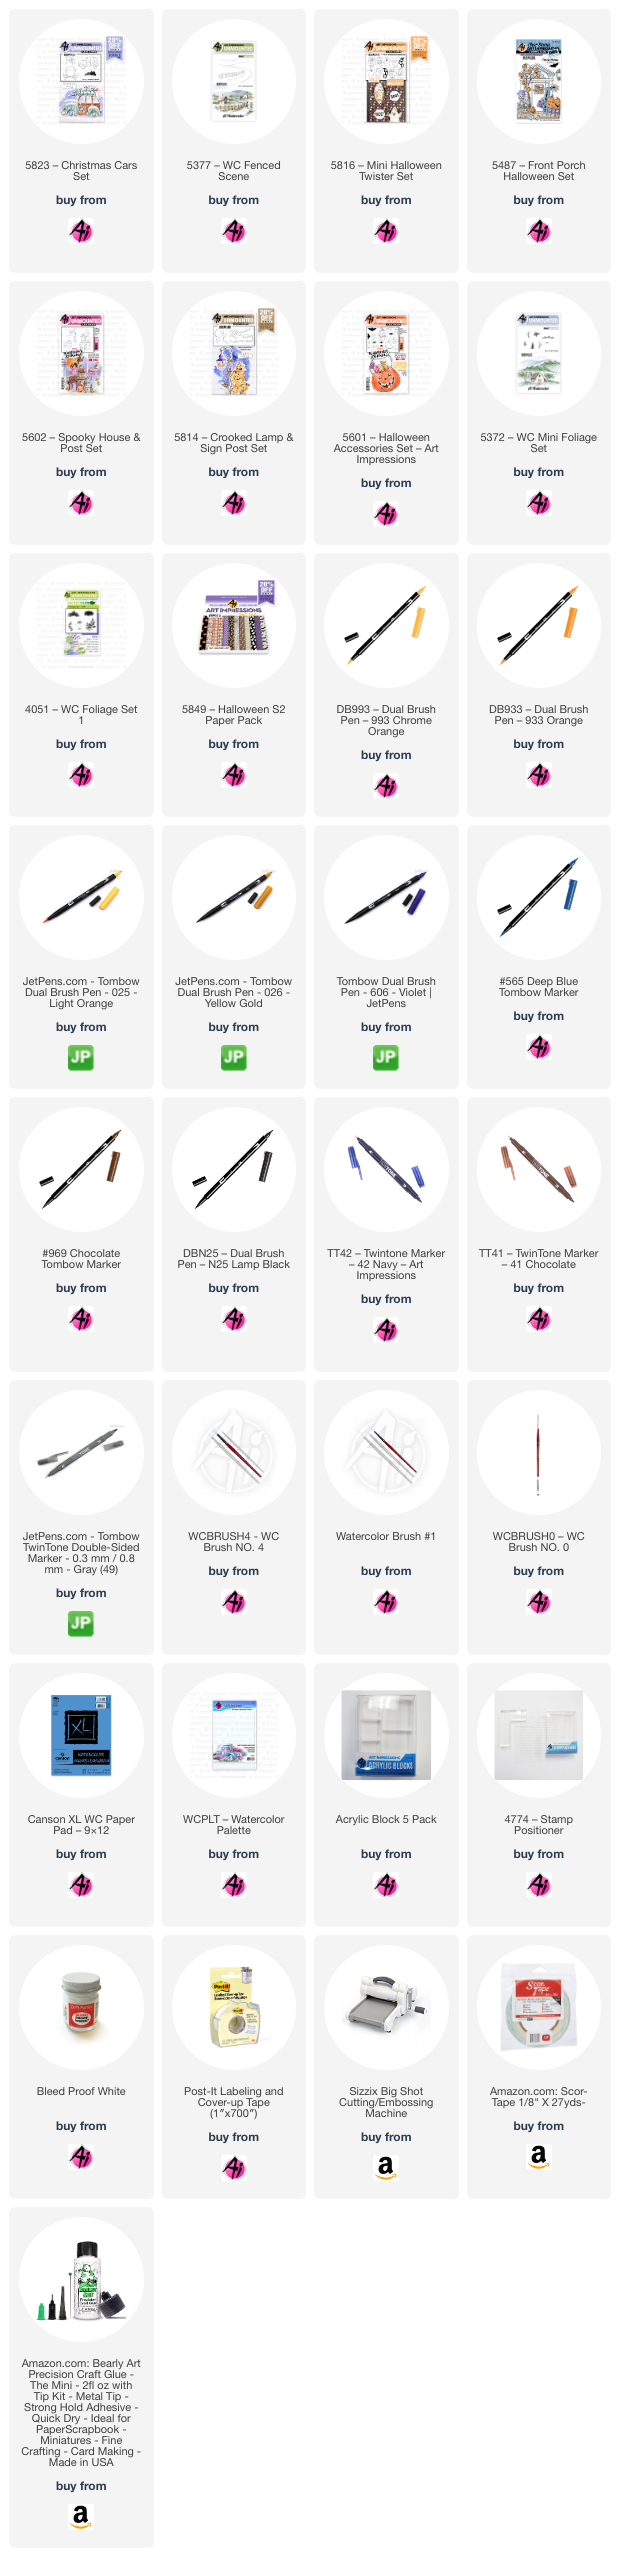
I love the Art Impressions Watercolor line of stamps for their ability to help me create unique scenes. In the creating of this Halloween-themed card, I combined stamps from various sets to establish an eerie yet whimsical atmosphere. Notably, I used the car stamp from the 5823 – Christmas Cars Set, demonstrating its versatility beyond the Christmas season. In my creative vision, the driver of the car had a pumpkin for a head. The small pumpkin stamp from the 5487 – Front Porch Halloween Set, a part of Art Impressions' regular stamp collection, fit perfectly into the driver's seat. The creative possibilities with these stamps are endless!

Let's dive into the process of bringing this spooky yet whimsical scene to life. Initially, I created a "blueprint" as a starting point. This blueprint served as a guide for envisioning the final scene's appearance and determining the stamping order.

With a pencil, I drew a 3.75 x 5 inch rectangle on my Canson XL watercolor paper and masked the edges with Post It tape. Following the blueprint, I used N25 to ink the haunted house stamp from 5602 – Spooky House & Post Set, stamping off once before stamping it onto my paper. Next, I stamped the car from 5823 – Christmas Cars Set again in N25. For the lamp post from 5814 – Crooked Lamp & Sign Post Set, I inked the wood in 969 and the lantern in N25/969, also stamping off once. With these images in place, I masked off the left edge of the house before stamping 5377 – WC Fenced Scene. I inked the stamp with N25, leaving off some of the bottom edges, and stamped it into place. I sketched in the missing part of the road with a wider width as it approached the edge to maintain perspective. To create the harvest moon behind the house and hills, I traced around a small bottle I had on my desk. You can use any round object of appropriate size or freehand the moon. I masked off the car window and stamped the small pumpkin from 5487 – Front Porch Halloween Set in 969 into place. I then inked the two small ghosts from 5601 – Halloween Accessories Set in 565 and stamped them into place after stamping off once. The bat, branches, and the foreground ghost would be stamped later.

With these images in place, I used a damp brush to pull color from the lines, creating shadows and contours while avoiding the areas inside the ghosts. I painted the sky with a watery mix of 565. Once dry, I painted the moon with 025 and 993, also coloring inside the windows. I applied more N25 on the house where needed and darkened the shadowed areas and the door frame. I painted the door with a mix of 565/N25. For the shutters, I added a light layer of 565. Moving on to the car, I layered 606 for the body, keeping some areas lighter for highlights. I used 025 and 993 for the headlights and N25 for the tires. The metal around the headlights and the grill was lightly shaded with N25. The pumpkin head was painted in 933 and 025, with 969 for the stem. Next, I painted the wooden lamp post with 969. I carefully painted the lantern frame with a No. 0 brush, pulling color from the lines. For the lantern top, I added a mix of 969/N25 where needed. I added 993 to the center of the lantern to create a glow and extended the glow inside and outside with a watery mix of 025. I stamped the left-facing ghost from 5816 – Mini Halloween Twister Set in 565 (stamped off once) over the wooden lamp post. I added some 993 to the hilltops for a moonlight glow. Shrubbery from 5372 – WC Mini Foliage Set was added to one of the hilltops and around the base of the house. The tiny grass from 5372 was stamped in N25 below the shrubs around the house and along the fence posts. A damp brush was used to soften those areas and pull out the blades of grass. I added shadows to the ground and road in 565, as well as moonlight reflections to the road with 025. The windshield of the car was lightly shaded with 565. A dark layer of 565 was painted under the car for shadows. Reflections from the windows were added to the porch and roof in 025, and on the hood of the car from the lantern. Grass and vines from 4051 – WC Foliage Set 1 were stamped with 879 in the area left of the car and around the lamp post, then blended with a damp brush. I added a layer of 879 to the fence posts and to the lamp post above and below the ghost, leaving the center light for transparency. The lines on all the ghosts were lightly pulled out with a damp brush. To create transparent-looking ghosts, it's important to keep the layers inside the body lighter. If any area appears too dark, lightly wet it with a small brush and lift the color with a dry tissue. I darkened the eyes and mouth with a fine black Micron pen. I stamped the small bat from 5601 in Versafine Onyx Black ink over the moon. Branches from 5814 were stamped into the scene with N25, and the ink was carefully pulled from the lines with a small brush. Shadows from the branches and fence posts were added with 565. A few stars were dotted in with Dr. Ph. Martin’s Bleed Proof White, as well as on the pumpkin head's teeth. I used a gray TwinTone marker to add lines to the shutters. Any lost details were added back with a black or navy TwinTone. The Post It tape was removed from the edges, and any remaining pencil lines were erased. I covered my white card base with patterned paper from the new 5849 – Halloween S2 Paper Pack. The painting was die-cut with a 3.75 x 5 inch rectangle die from 5724 – Nested Rectangle Dies and adhered on top of the patterned paper layer with foam squares. To complete the card, I stamped the Jack O’Lantern and BOO from 5816 in Memento Tangelo ink on the inside.

I was quite happy with how the card turned out; it was a good challenge! I hope I've inspired you to explore new ways to use your stamps for fun scenes. Thank you for joining me for another Watercolor Weekend, and until next time – Happy Painting!


For the Gingerbread Snow Globe Shaker Card:

For the Haunted Happy Halloween Card:


Saturday, September 16, 2023

Watercolor Weekend 9-16-2023

 Hello and welcome to Art Impressions' Watercolor Weekend!


Today we have three very unique and amazing cards from our Watercolor Design Team.
This week it's Diane's turn to share first.  Let's see what she made!

*******************************************************

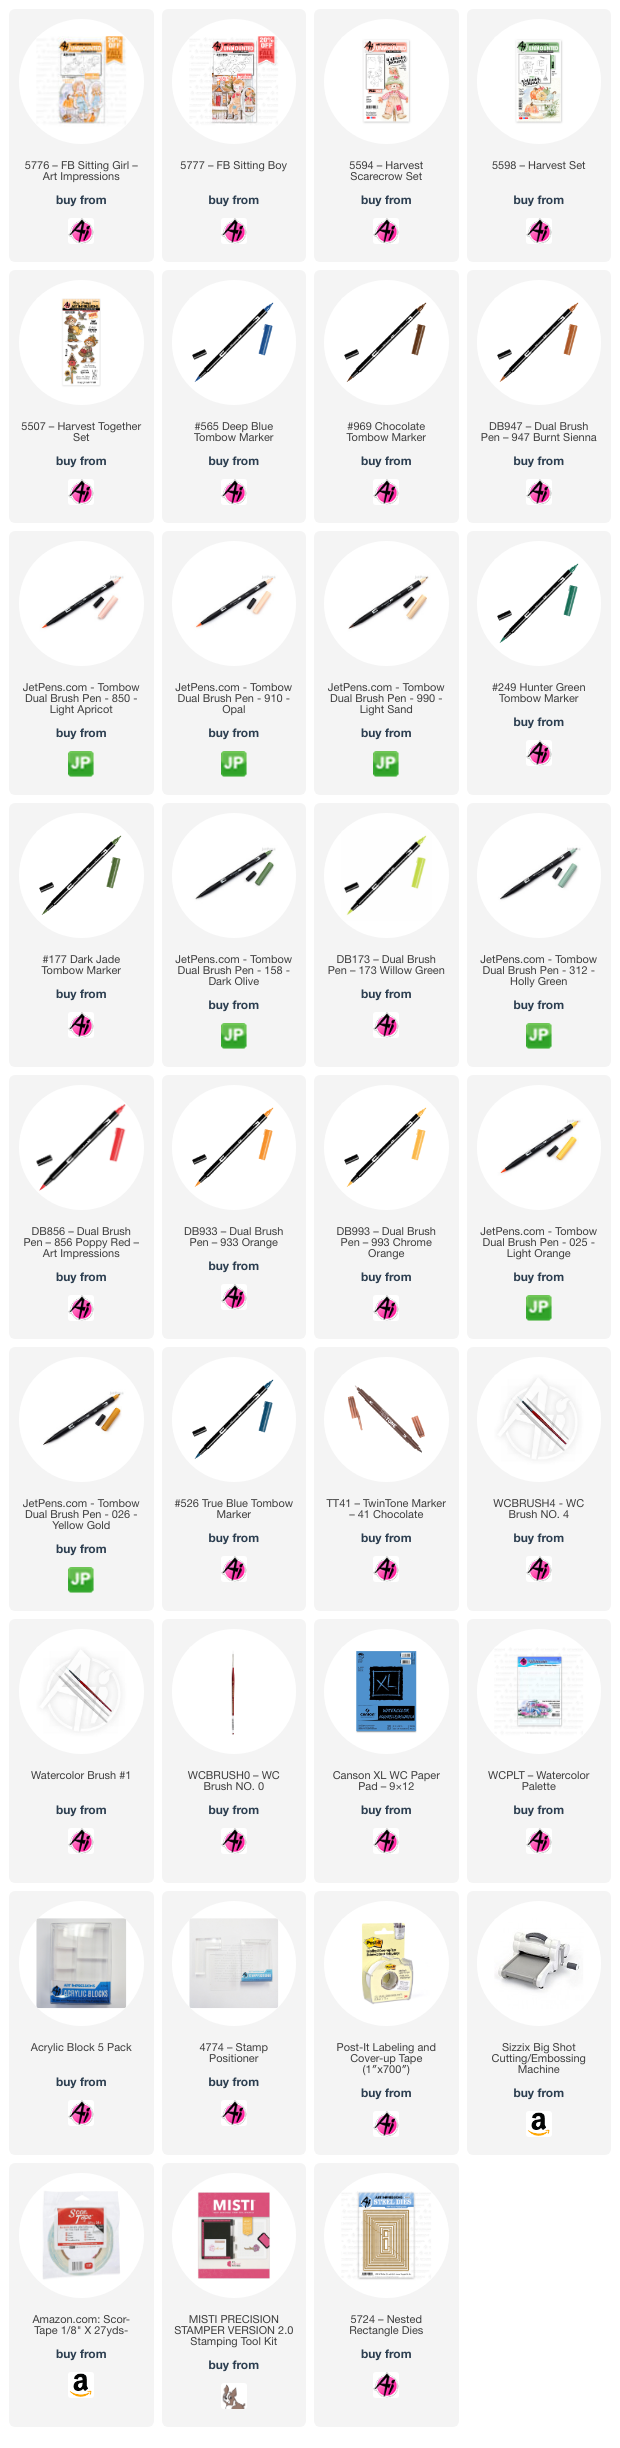
Hello Ai Watercolor Fans! Who is ready for fall? I’m looking forward to cooler temperatures, the leaves changing colors, sweater weather, apple cider, and pumpkin spice! One of our favorite things to do in the fall is to visit our local pumpkin patch for an afternoon of fun and food. When our son and daughter were little, we always made sure to get a photo of them sitting on straw bales, surrounded by pumpkins and other fall decorations. Today’s card is inspired by those memories. I’ll be using Art Impressions 5776 – FB Sitting Girl, 5777 – FB Sitting Boy, 5594 – Harvest Scarecrow Set, 5598 – Harvest Set, and 5507 – Harvest Together Set to create this adorable fall scene.


For this card, some masking is required – but nothing too complicated. When I have a scene that uses multiple image stamps, I will create a “blueprint” of sorts to follow. This way I’ll know what order to stamp each image to create the scene. When it comes time to stamp the images onto your Canson XL watercolor paper, you can place your blueprint into a Misti Stamp Platform and align your stamps in the proper positions. Or you can use a clear block and stamp positioner where necessary.


I started off by making masks of the girl and boy from 5776 and 5777, making sure to cut all around them and between their feet. All images where stamped in 969 (you could use 565/969 instead). Remember to stamp off before adding to your watercolor paper! I used the blueprint to guide where to stamp the girl and boy. I covered the kids with the masks and then stamped the straw bales from 5598, aligning so as to make it appear they are sitting on the bales. Next, I used a small piece of Post-It tape to mask the straw bales. With the masks still in place, I stamped the basket of pumpkins, gourds, and apples between the girl and boy, just back a bit, so it will appear to be behind them. Next I stamped in the sunflowers from 5594. And finally, I stamped the scarecrow into the basket of fall produce and removed the masks. With a damp brush, I pulled out some color from the stamped images to add contours and shadows.


I used the following colors to paint each image:

Girl – skin (850, 910), cheeks (touch of 856), hair (969), shirt, shoes and hair ties (856), overalls (565)

Boy – skin (850, 910), cheeks (touch of 856), hair (025, 026), shirt (158), overalls (990, 969), patch (933, 993) and boots (969)

Straw bales – straw (026), twine (969)

Sunflowers – flowers (025, 026), leaves and stems (249)

Produce Basket – basket (990, 969), red band (856, 847), green band (249), orange pumpkins (933, 993), blue pumpkin (312), yellow orange pumpkin (993), red apple (856, 026), green apple (173­­­, 177), stems (969), and gourd (850, 910)

Scarecrow – face (850, 910, 969), nose (933), straw hair and hands (026), shoes (969), shirt (933), overalls (947), hat (158, 177), patches (856, 933, 565), pole (969) and robins (969, 856)

I used 969 for the ground, and I added more layers of 969 to darken the shadowed areas. I brushed in a watery sky with 526. Next I stamped the “Hay Friend” sentiment from 5507, in the upper left area. As a final touch, I added back any details where necessary with a brown TwinTone. To finish the card, I die cut the painting with a rectangle from 5724 – Nested Rectangle Dies and mounted to an A2 card base.


I hope you’ve enjoyed this little taste of the coming season! Thank you for joining us for another Watercolor Weekend and until next time – Happy Painting!


Now let's see what Karen made.  She has a different type of card than you're used to seeing from her and we know you're going to love it!

*******************************************************

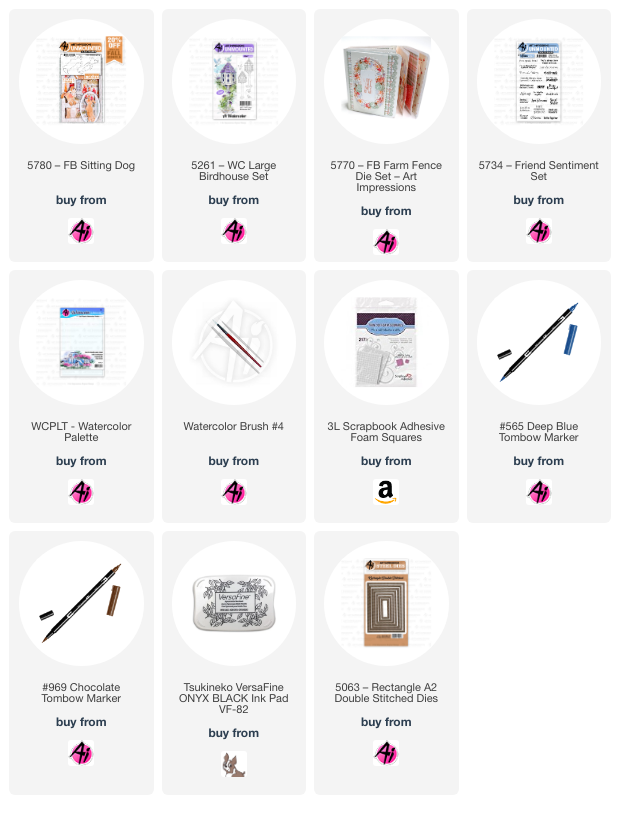
I stamped the little 5780 - FB Sitting Dog onto some Bristol Smooth Cardstock using Tombows 565 & 969, and painted him with N55, adding layers where he needed to be darker.  I went over his features with my Black Twintone marker, then cut both the front and back out with the matching dies.  I did the same with the bird from 5261 - WC Large Birdhouse Set, painting him with 533 and fussy cutting him out.
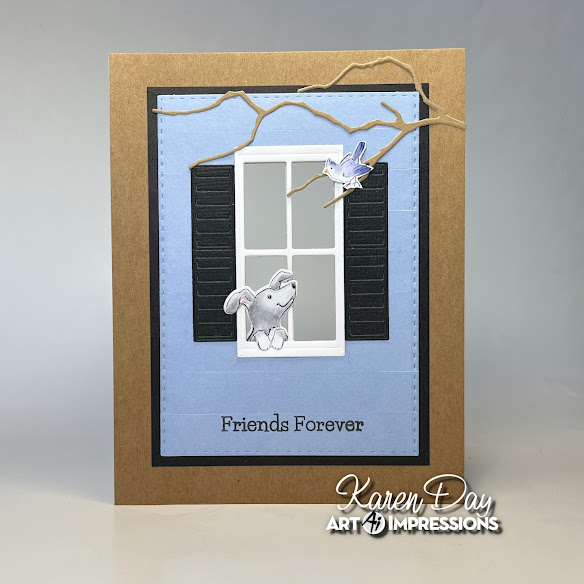

To create the window, I cut the window frame from 5770 - FB Farm Fence Die Set in white cardstock - twice, and cut the shutters out in black.  It's a little hard to see in the photos, but I cut 1/2" strips of pale blue cardstock, and glued them all together to mimic the wood siding on a house.  I ran this panel through my machine with the 5063 A2 Rectangle Double Stitched Die, then cut out two black & white polka dot rectangles as well.  The black one was glued inside my card to be the 'inside' of the house, and the white polka dot piece was glued to the inside of the window.  Once I had created my layers for the front of my card, I used the rectangle die that cuts out the window, then glued the two window frames on the inside and outside of my card.
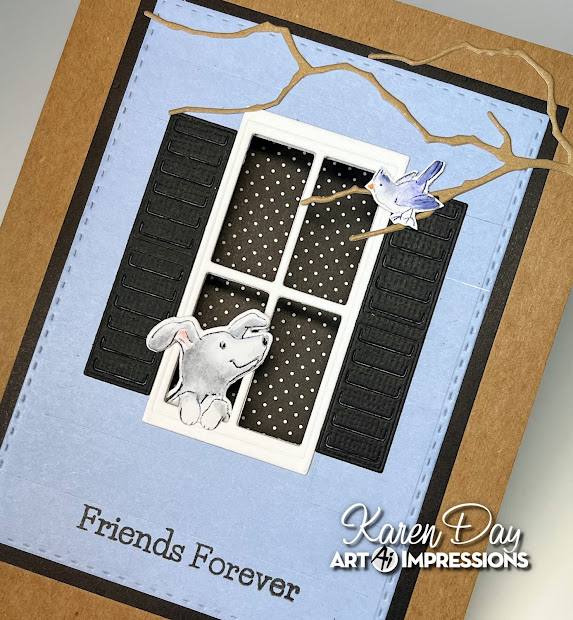
The pup was glued together and placed with his head sticking out the window to look up at the bird.  The dies that cut him out also cut out under his paws, which allowed me to let them perch on the windowsill.  I cut out my Memory Box Twig die in some kraft cardstock and glued it to my card so that there would be a good spot to have the bird standing on one of the branches.  The sentiment from 5734 - Friend Sentiments Set was stamped in Versafine Onyx Black ink.


Even though this is an easy card - it required a lot of planning!  You have to think before you glue things together, making sure you're not missing a step.  It's also important with a Front & Back card to have the inside look nicely finished - so I made sure to have some patterned paper on the reverse of the front panel to not have the dog sitting there on his own.


Tricia did something a little different this week too in the form of how she is presenting her card.  She created a step by step slideshow to help you recreate her card.  You can pause this slideshow to follow along with her.

*******************************************************


(Hey there!  This is Reneé chiming in on Tricia's card.  Do you know I was so fascinated by the two children and how incredible they are that I didn't even notice the ghosts haunting them until the third or fourth time I looked at this?? lol! What a focal point.  The details around them are just a huge bonus)


Thank you amazing DT!!  You always have such gorgeous art to share with us.

Remember, if you create something using Art Impressions products be sure to tag us on IG or FB. @ArtImpressions

We'll see you back here on October 7th.
WOW!! Can you believe it's almost October??


Thursday, September 7, 2023

Feeling Blue Week #2 and the 2023 Simon Says Stamp Exclusive STAMPtember® set!

 Hello everyone and welcome to Week 2 of our Feeling Blue challenge.

Did you see the big announcement earlier today?

It's here!  The 2023 Simon Says Stamp exclusive set from Art Impressions!

SSE23A Apple Cider Set

Get yours NOW because these will sell out fast and once they're gone, they're gone forever.
Scroll back earlier today to see all of the fabulous Design Team inspiration.  Both our Daily and our Watercolor Team participated so you'll see marker and WC cards and tags.


Last week, Nina was our Featured Artist for our Feeling Blue challenge.  She came up with two beautiful blue cards!

To hear all about how Nina created her cards and what sets she used, visit our Week 1 Challenge post HERE.


Now for the rest of the DT.  This week our WC Team played along with the challenge as well.


To hear what sets Diane, Karen and Tricia used and to find directions how to make these cards, visit our Watercolor Weekend post HERE.


Link up your blue project below for the chance to win a free stamp set of your choice.
Good luck!  We can't wait to see what you make.

✻ Please make a new card or handmade crafty creation. You can make any item you wish; this is not limited to cards!
✻ Limit two submissions per person. You will receive extra votes if you use Art Impressions stamps!
 ✻Please include your first name and last initial on your submission.
✻We love to comment on your entries, but keep in mind if you use a private group or a platform that you need to sign up for, we probably won't be able to.
✻ The Ai Challenge is open to everyone, international submissions are welcome!
✻ Include a link back to the Ai Blog or grab our button on the top right of our sidebar!
✻ Share the Ai love if you can, by clicking and commenting on your fellow crafters.
✻ Make sure to get your link up by the deadline to enter your creations.
✻ Good luck and happy stamping!

Join our challenge by linking up below.

You are invited to the Inlinkz link party!

Click here to enter