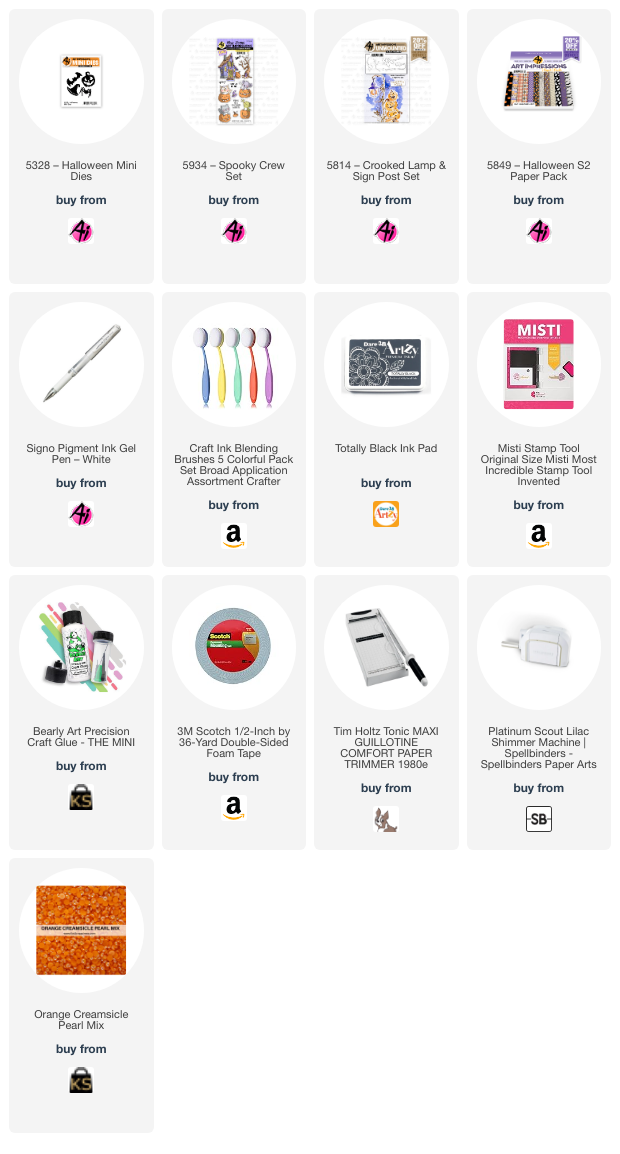
Tasha here sharing a Halloween card created with the new 5934 - Spooky Crew Set. I love making Halloween cards and this set has several super cute images to use on your project. I selected this adorable Cat stamp and created a not-so-spooky Halloween night scene.
The little kitty and witch hat were stamped with black ink and colored with Copic Markers. I used the included die set to cut the images out and attached the cat to the card with foam tape. This cat looks so happy; I love her smile!
This set also includes several sentiments, but I thought it would be fun to use the 5814 - Crooked Lamp & Sign Post Set and make a greeting. I stamped the sign post and used scissors to cut the image out. After coloring, I used a white gel pen to write "Happy Halloween" and "Boo!" on the signs.
To create the background, I added layers of multi-colored leaves and little orange embellishments for the ground. For the sky, I added a bright white moon and two fun bats cut with the 5328 - Halloween Mini Dies Set. I love the pink color on the bats!
Lastly, I attached layers of black and deep pink card stock and a layer of Art Impressions Halloween pattern paper. This colorful pattern paper is great for Fall projects and I love the colors!
I hope you enjoyed today's project and are having a wonderful day!
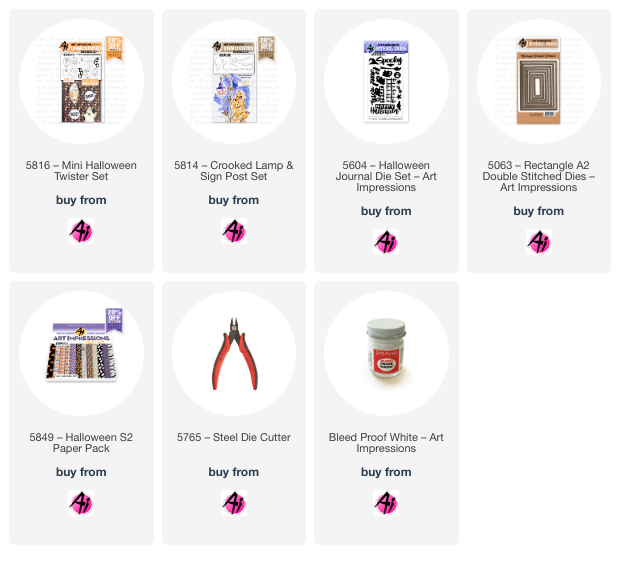
Let's have some fun today and create a cute little Mini Halloween Twister Card! This interactive card is so much fun to create and to give! We will be using the Ai Mini Halloween Twister (5816) Set which includes several "twister" choices such as the little owl, a pumpkin, a ghost and a cat. This stamp set includes both the front and back of the images so that you can see them from both the inside and the outside of the card. The set also includes the dies necessary to create the "twister" mechanism and I will show you exactly how to do this in today's video.
We will also be using the Ai Crooked Lamp & Signpost (5814) Set for the signage on the card. For the sentiments on the signs, we will use the Ai Journal Series Paper Pack (5849).
Now we will stamp, color and die cut the images, and to do the coloring we will be using the Zig Clean Color Real Brush Pens in the following colors: Blender, Yellow, Orange, Beige, Lt Brown, Mid Brown.
Let's go ahead and create our spooky background for the front and inside of the card using the Ai Rectangle A2 Double Stitched Die (5063) Set, cutting the largest one for the front of the card and the second largest one for the inside of the card. To ink the backgrounds, we will be using the Tim Holtz Distress Oxide Inks in Wilted Violet, Blueprint Sketch, Chipped Sapphire and Black Soot. Using a blending brush, we can apply these to the background to get a really spooky look! We can spatter these backgrounds with water, white ink and metallic watercolors for lots of interest.
Now we will stamp a couple of branches on the background, and one will be a place for our owl to sit. Let's also die cut our wrought iron fence a couple of times, a few bats, the "spooky" sentiment, and the "Happy Halloween" sentiment from the Ai Halloween Journal Die (5604) Set.
We will also die cut a stitched hillside border from some patterned paper using the Ai Journal Series Paper Pack (5849). We can ink up the edges of this border for a bit of a shadow.
Now we can create the opening for the "twister", and I will show you exactly how to do this in the video.
Finally, let's do the assembly by gluing the front and back of the owl together and place it in the "twister" opening! Let's also assemble all of the other images on the inside and outside of the card!
Now you can twist and spin until your heart is content!!!
I hope you are inspired to give this card design a try...it is really fun and easy to do! If you enjoyed this "twister" design, you may want to check out my other video using this technique, and I will link that below:
Thank you so much for joining me today! Have a fun and crafty day!!!
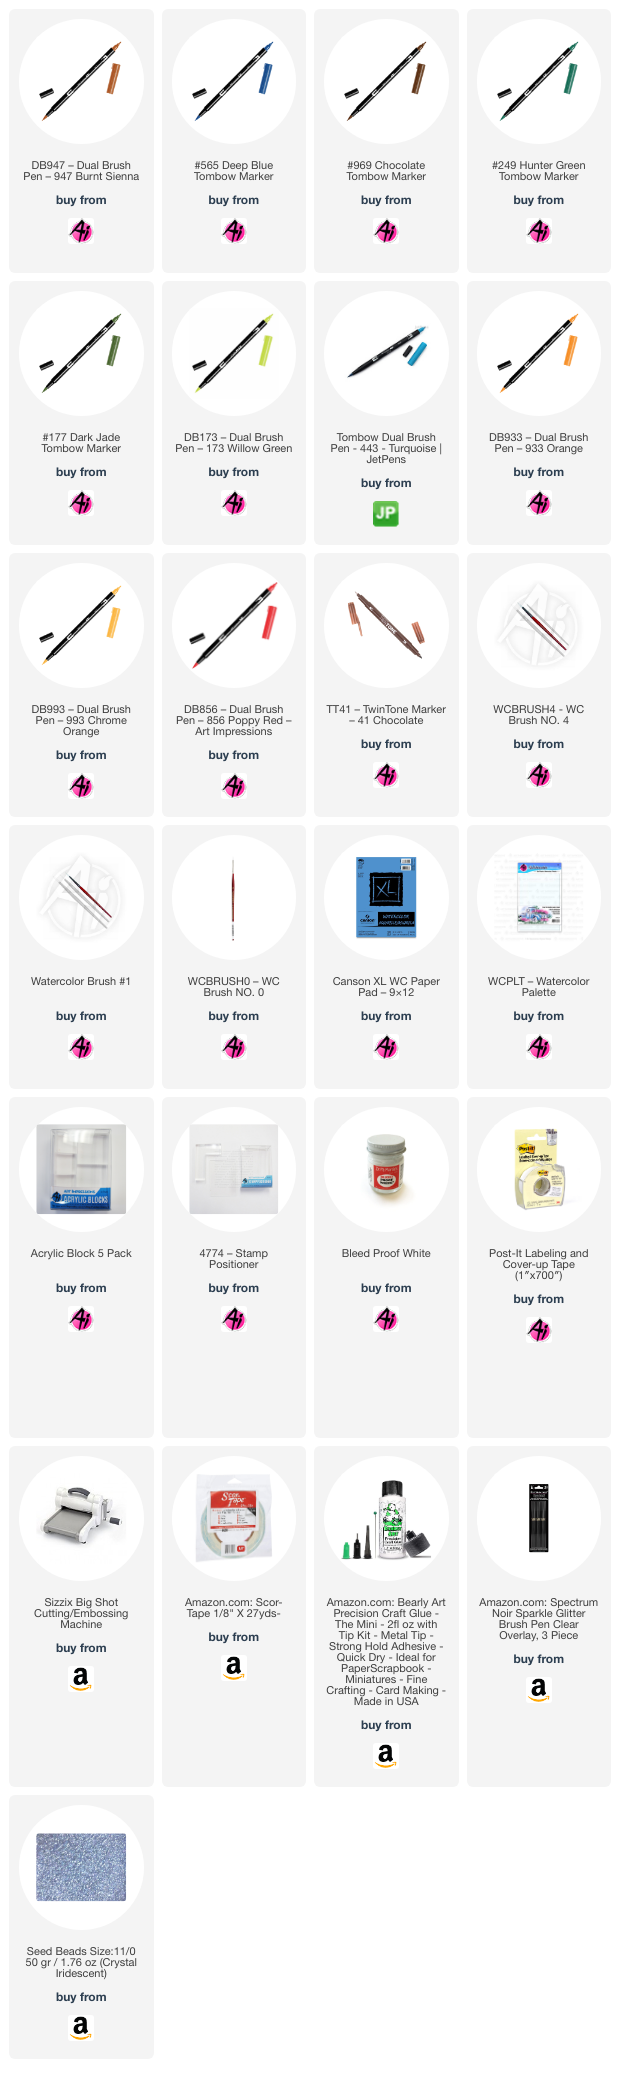
We hope you're enjoying our new format. Every 3rd Sunday, I will be sharing two cards/projects with you. My first card is a wintery snow globe shaker card. I've always loved snow globes; there's something delightful about watching the magical, snowy scene come to life before your eyes! With the newly released Art Impressions stamp set 5791 – WC Snow Globe Set and 5808 – 5pk Snow Globe Shaker Dome, we are able to bring the enchantment of a snow globe to a card (minus the water, of course).
I decided to create a Gingerbread House scene within my snow
globe. To start, I traced the circle die included with 5791 with a pencil on Canson XL watercolor
paper to set the boundaries for my painting. I began by stamping the house with
969 and used a damp brush to pull some color from the lines and create shadows.
I painted the house and windows with 947, adding layers to deepen the shadows.
Next, I painted a watery sky with 565. After it dried, I masked off the house
and stamped the trees with 249. Using a damp brush, I blended the colors in the
tree branches. I added a touch of 565 around the base of the house to create
shadows on the snow and along the path. I used a No. 0 brush to paint the house
and tree's white details with Dr. Ph. Martin's Bleed Proof White. I also
painted smoke rising from the chimney and added snowy dots to the sky. I added
candy decorations on the roof and around the base of the house using the bullet
tip of 173, 993, 933, 443, and 856. Additionally, I painted the heart with 856.
To create a subtle shimmering effect on the snow, I used a Clear Spectrum Noir Sparkle
brush pen. Because I used a patterned
background paper for my card, I had to paint the base separately and then
carefully cut around it. I stamped the base with 969 and layered additional 969
to create depth and shading. Finally, I added details to both the scene and the
base using a brown TwinTone marker.
To create my card, I started with a 4 x 4 inch white card
base. For the card front, I cut a 4 x 4 piece of shiny gold cardstock and a 3.75
x 3.75 inch piece of patterned paper. I cut an opening in the patterned paper
using the circular die from the Snow Globe Set, ensuring there was space for
the base. I used scraps of white and gold paper to die-cut snowflakes and
stars. Next, I trimmed the painted scene to fit under the patterned paper,
making it about 3.5 x 3.5 inches. I arranged the snowflakes and stars in the
center of my painting and added a few clear iridescent seed beads for extra
shake. After that, I removed the backing from the back side of the dome and
firmly attached it in place. I then secured the gold paper to the card base and
layered the patterned paper over the painting and the dome, adhering it to the
base. Finally, I glued the snow globe base under the dome and added three tiny
gold stars for a finishing touch.
I used a MISTI stamp platform to stamp the
Snowman and sentiment in Versafine Onyx Black ink on the inside of the card. After
removing the protective film from the dome, I gently shook the card – and it
worked perfectly!
What will you choose to stamp inside your Snow Globe? There
are plenty of Art Impressions stamps to choose from that fit perfectly, so why not give it a
try!
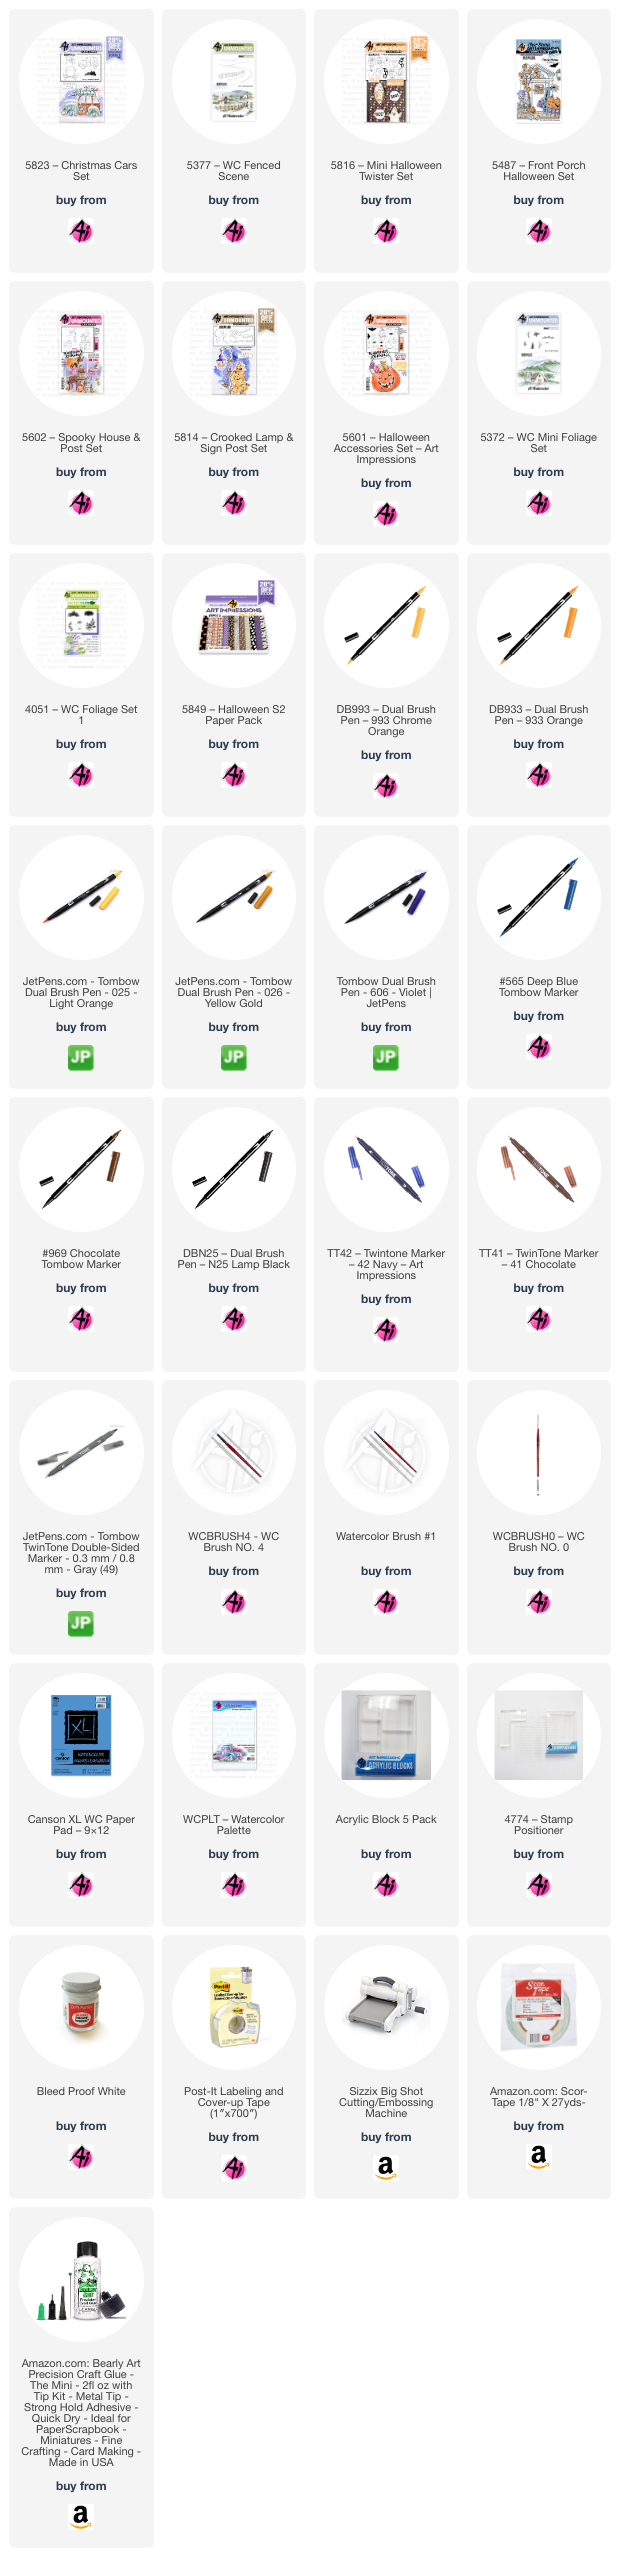
Moving on to my Haunted Happy Halloween Card...
I love the Art Impressions Watercolor line of stamps for
their ability to help me create unique scenes. In the creating of this
Halloween-themed card, I combined stamps from various sets to establish an
eerie yet whimsical atmosphere. Notably, I used the car stamp from the 5823 –
Christmas Cars Set, demonstrating its versatility beyond the Christmas season.
In my creative vision, the driver of the car had a pumpkin for a head. The
small pumpkin stamp from the 5487 – Front Porch Halloween Set, a part of Art
Impressions' regular stamp collection, fit perfectly into the driver's seat. The
creative possibilities with these stamps are endless!
Let's dive into the process of bringing this spooky yet
whimsical scene to life. Initially, I created a "blueprint" as a
starting point. This blueprint served as a guide for envisioning the final
scene's appearance and determining the stamping order.
With a pencil, I drew a 3.75 x 5 inch rectangle on my Canson
XL watercolor paper and masked the edges with Post It tape. Following the
blueprint, I used N25 to ink the haunted house stamp from 5602 – Spooky House
& Post Set, stamping off once before stamping it onto my paper. Next, I
stamped the car from 5823 – Christmas Cars Set again in N25. For the lamp post
from 5814 – Crooked Lamp & Sign Post Set, I inked the wood in 969 and the
lantern in N25/969, also stamping off once. With these images in place, I masked
off the left edge of the house before stamping 5377 – WC Fenced Scene. I inked
the stamp with N25, leaving off some of the bottom edges, and stamped it into
place. I sketched in the missing part of the road with a wider width as it
approached the edge to maintain perspective. To create the harvest moon behind
the house and hills, I traced around a small bottle I had on my desk. You can
use any round object of appropriate size or freehand the moon. I masked off the
car window and stamped the small pumpkin from 5487 – Front Porch Halloween Set
in 969 into place. I then inked the two small ghosts from 5601 – Halloween
Accessories Set in 565 and stamped them into place after stamping off once. The
bat, branches, and the foreground ghost would be stamped later.
With these images in place, I used a damp brush to pull
color from the lines, creating shadows and contours while avoiding the areas
inside the ghosts. I painted the sky with a watery mix of 565. Once dry, I
painted the moon with 025 and 993, also coloring inside the windows. I applied
more N25 on the house where needed and darkened the shadowed areas and the door
frame. I painted the door with a mix of 565/N25. For the shutters, I added a
light layer of 565. Moving on to the car, I layered 606 for the body, keeping
some areas lighter for highlights. I used 025 and 993 for the headlights and
N25 for the tires. The metal around the headlights and the grill was lightly
shaded with N25. The pumpkin head was painted in 933 and 025, with 969 for the
stem. Next, I painted the wooden lamp post with 969. I carefully painted the
lantern frame with a No. 0 brush, pulling color from the lines. For the lantern
top, I added a mix of 969/N25 where needed. I added 993 to the center of the
lantern to create a glow and extended the glow inside and outside with a watery
mix of 025. I stamped the left-facing ghost from 5816 – Mini Halloween Twister
Set in 565 (stamped off once) over the wooden lamp post. I added some 993 to
the hilltops for a moonlight glow. Shrubbery from 5372 – WC Mini Foliage Set
was added to one of the hilltops and around the base of the house. The tiny
grass from 5372 was stamped in N25 below the shrubs around the house and along
the fence posts. A damp brush was used to soften those areas and pull out the
blades of grass. I added shadows to the ground and road in 565, as well as
moonlight reflections to the road with 025. The windshield of the car was
lightly shaded with 565. A dark layer of 565 was painted under the car for
shadows. Reflections from the windows were added to the porch and roof in 025,
and on the hood of the car from the lantern. Grass and vines from 4051 – WC
Foliage Set 1 were stamped with 879 in the area left of the car and around the
lamp post, then blended with a damp brush. I added a layer of 879 to the fence
posts and to the lamp post above and below the ghost, leaving the center light
for transparency. The lines on all the ghosts were lightly pulled out with a
damp brush. To create transparent-looking ghosts, it's important to keep the
layers inside the body lighter. If any area appears too dark, lightly wet it
with a small brush and lift the color with a dry tissue. I darkened the eyes
and mouth with a fine black Micron pen. I stamped the small bat from 5601 in
Versafine Onyx Black ink over the moon. Branches from 5814 were stamped into
the scene with N25, and the ink was carefully pulled from the lines with a
small brush. Shadows from the branches and fence posts were added with 565. A
few stars were dotted in with Dr. Ph. Martin’s Bleed Proof White, as well as on
the pumpkin head's teeth. I used a gray TwinTone marker to add lines to the
shutters. Any lost details were added back with a black or navy TwinTone. The Post
It tape was removed from the edges, and any remaining pencil lines were erased.
I covered my white card base with patterned paper from the new 5849 – Halloween
S2 Paper Pack. The painting was die-cut with a 3.75 x 5 inch rectangle die from
5724 – Nested Rectangle Dies and adhered on top of the patterned paper layer
with foam squares. To complete the card, I stamped the Jack O’Lantern and BOO
from 5816 in Memento Tangelo ink on the inside.
I was quite happy with how the card turned out; it was a
good challenge! I hope I've inspired you to explore new ways to use your stamps
for fun scenes. Thank you for joining me for another Watercolor Weekend, and until
next time – Happy Painting!