

Today,
I'm switching things up by sharing both a project and a card! With the holidays
just around the corner, I wanted to craft a Treat Box that could serve as both
a place card on your holiday dinner table or a small gift for your guests. I
mean, who wouldn't love a charming treat box filled with chocolate? To create
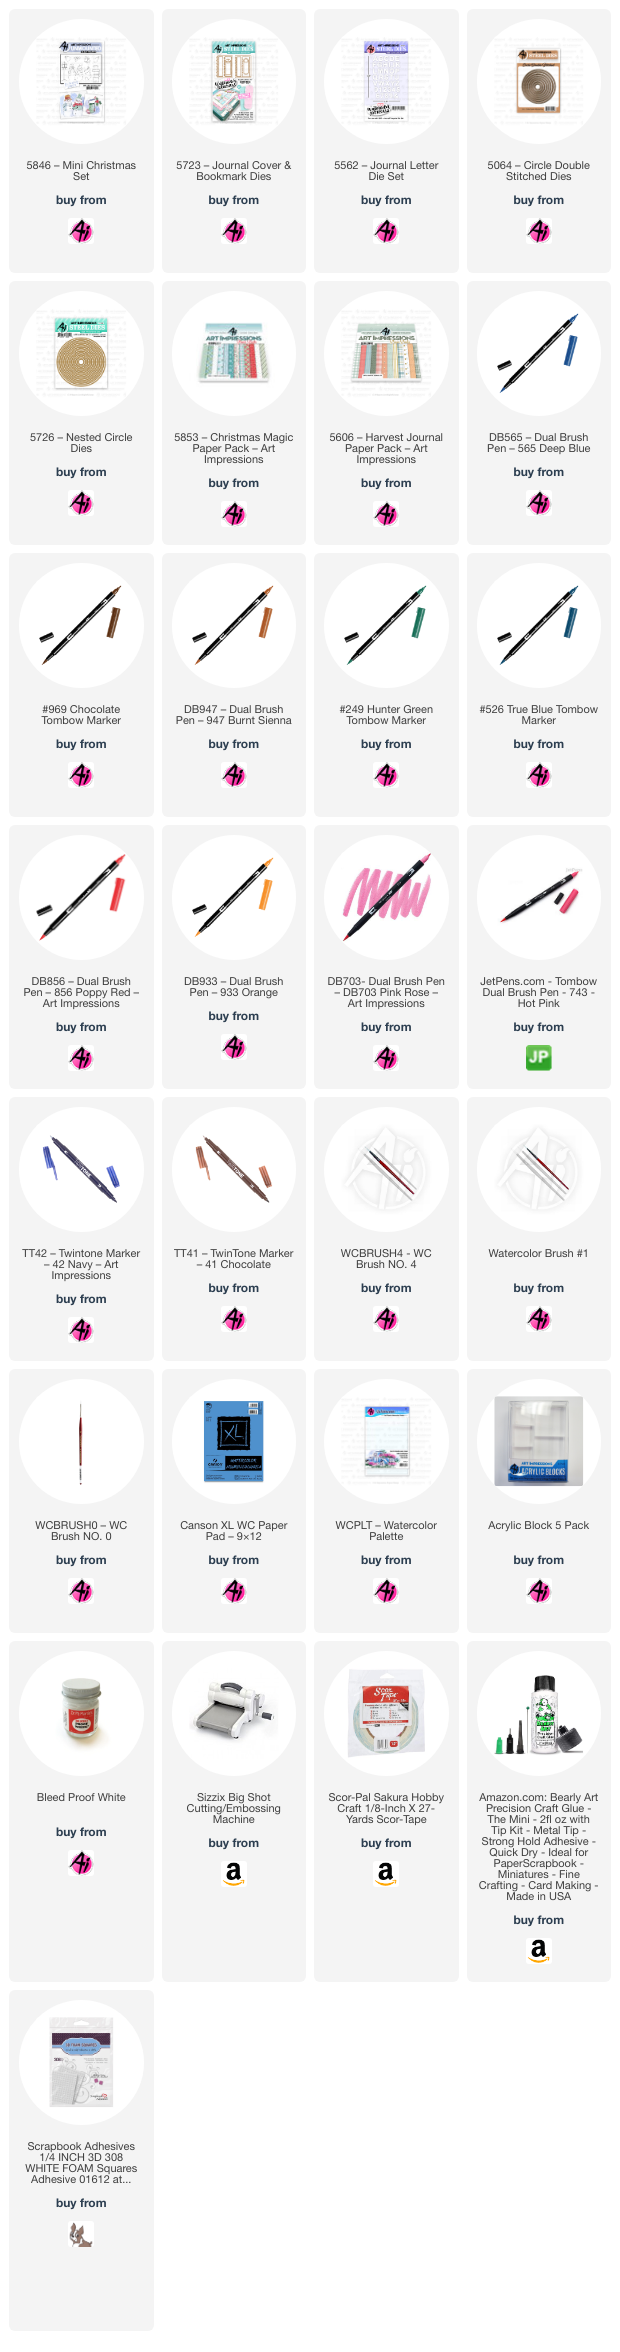
these boxes, I used the 5723 - Journal Cover and Bookmarks Dies. While these
dies weren’t intended for box-making, they happened to be on my craft desk from
a recent journal project, prompting me to experiment with making a box using
them. Many of you might already have these dies if you've previously purchased
the Journal Bundles.
Here is the Thanksgiving version:

And here
is one for Christmas:

For the Thanksgiving design, I used the Exclusive Turkey
2023 Limited Freebie Stamp. This adorable freebie stamp, one of six available,
can be added to your cart when you spend $30 or more at artimpressions.com. I
inked the turkey in 969 and stamped off once before stamping onto my Canson XL
watercolor paper circle die cut (5064 - Circle Double Stitched Dies). It proved
easier to stamp the turkey directly onto the die-cut circle rather than cutting
it out later. The circle die I used cuts out a 1 ¾ inch circle approximately.
Colors used to paint the turkey:
Body: 947
Lower wing feathers, tail feathers,
and feet: 969
Feather tips: 947
Head and Beard: 526 and 565
Beak: 933
Snood and wattle: 856
For the ground, I used 969, while for the sky, I used a
diluted mix of 565. A black TwinTone marker helped to darken the eye and
eyebrow. Any details that might have washed out were added back with a brown TwinTone
marker. I also added a touch of Dr. Ph Martin’s Bleed Proof White on the beak
and a few tail feathers.
As for the Christmas version, I inked the snow-couple
entirely in 565 and selectively in 969 on the non-snowy parts such as the hat,
scarves, and jacket. I added shading and depth to the snow-couple using 565.
Again, I stamped off once before stamping onto the circle die cut.
Colors used to paint the snow-couple:
Top hat, stocking cap, and jacket: 526
Hat band and snowman’s scarf: 249
Carrot noses: 933
Snowwoman’s scarf: 703 and 743
Cheeks: diluted 856
Once more, I painted
the sky using a diluted mix of 565 and added some shadows to the ground in front
of the snow-couple. I used a sharp pencil to darken the mouths and eyes. Thin
stripes were painted onto the snowman’s hat band and scarf using 249 and a size
0 brush. Plaid lines were added to the snowwoman’s hat and jacket using 526 and
a size 0 brush. Dr. Ph Martin’s Bleed Proof White was used for polka dots on
the snowwoman’s scarf and dotted across the painting for snowflakes. The
buttons were darkened with a black TwinTone marker. For any details that needed
to be added back, I used a brown or navy blue TwinTone marker. The paintings
were layered onto a slightly larger die-cut circle and secured with pop dots. I
opted for shiny metallic papers for the bottom layers to add an extra touch.

Now, onto the box-making process: I die-cut two panels from cardstock for each box using the Journal Cover die from 5723 – Journal Cover & Bookmark dies. For the Thanksgiving version, I used the lacy-edged panel, and for the Christmas version, I chose the scalloped one. I then scored each panel using a scoreboard, scoring at ¾ inch on each flat side. To create tabs for gluing the box together, I carefully cut along the score line on each side, stopping at the first score line. On the front panel, I trimmed off the remaining corner pieces from each side. On the back panel, I snipped a small wedge off each tab piece (you can refer to the above photo for clarity on where to cut and apply glue). After folding along all the score lines, I began assembling the box. First, I glued the bottom of the front panel to the back panel, then added glue to the tabs and sides, folding them up to form the box structure. To finish, I created a band by gluing together two thin wavy-edged die-cut pieces from 5723 and wrapped it around the box, securing it in place with glue. To finish, I centered the painting on the front and secured it in place with glue. For the back, I used die-cut letters for each guest's name and glued them onto the band. Now that the box was assembled, it was time to add the candy! In mine, I managed to fit two Ghirardelli Squares with a bit of room to spare.


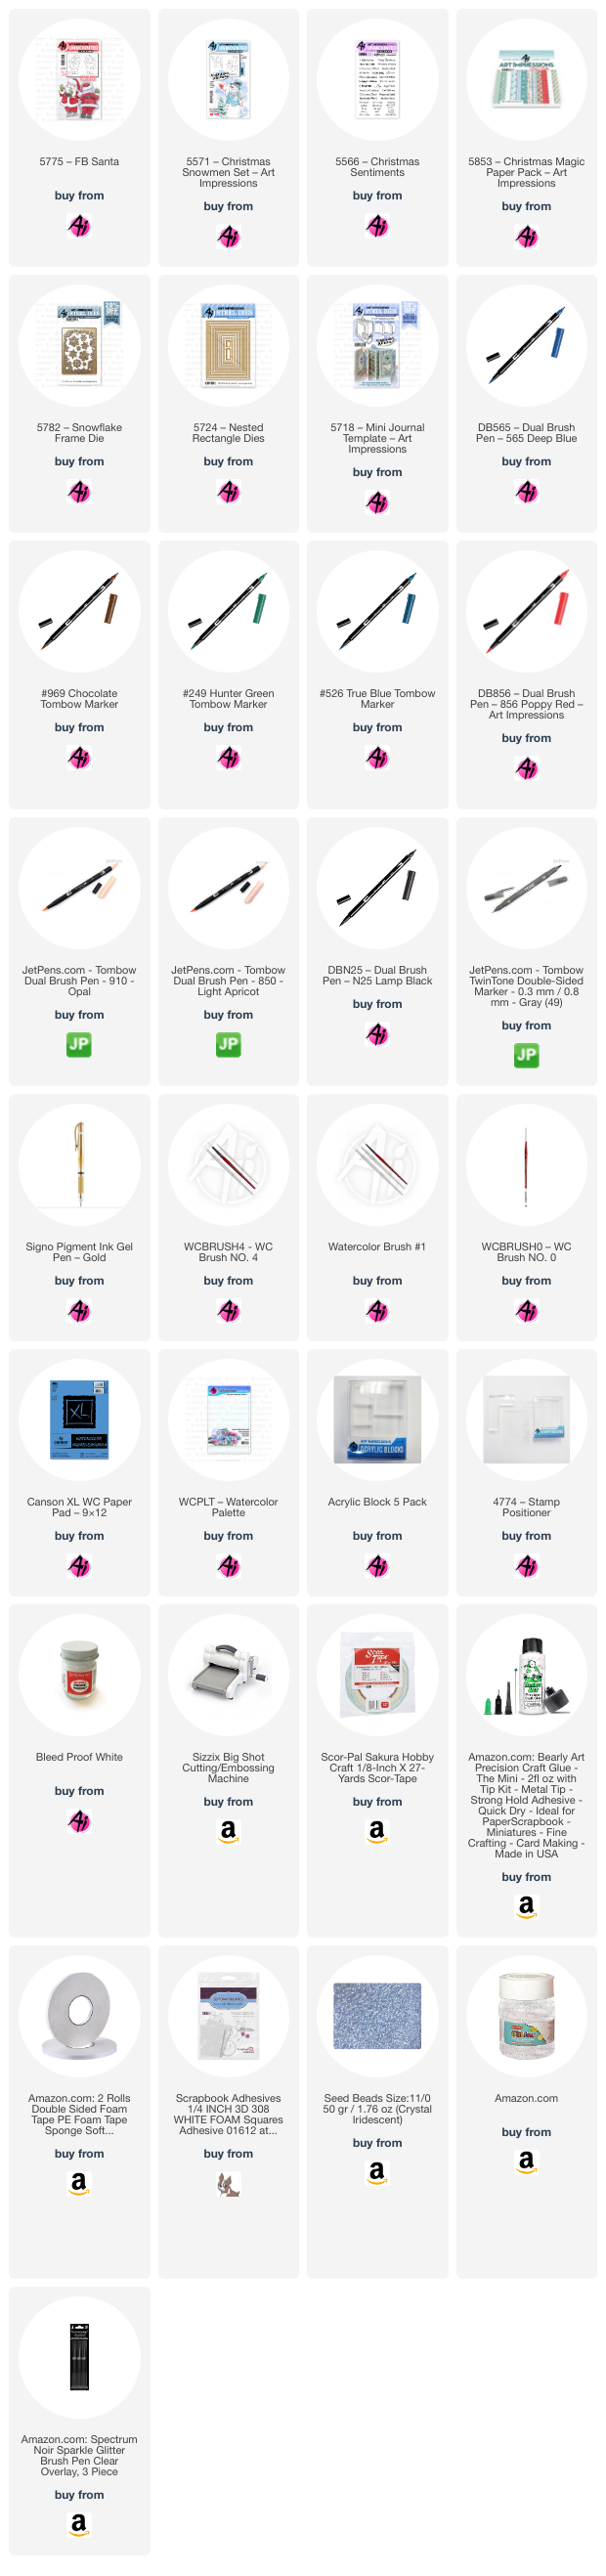
I kept the color palette for the magical Santa’s Sleigh
Shaker Card to red, blue and green. The colors I chose paired well with the new
5853 – Christmas Magic Paper Pack.
I inked just the front-facing Santa stamp from 5775 – FB Santa
with 969 and 565 and stamped off twice before stamping onto my Canson XL
watercolor paper. Then I used the coordinating die to cut out the Santa.

Colors used to paint the just the front of the 5775 – FB Santa:
Santa’s face
and wrist: 850 and 910
Jacket,
pants, and hat: 856
Belt and
boots: N25
Buckle: Gold
Signo Pen
I used 565
to add shadows and contours to the fur, gloves, and beard.
I inked just the sleigh from 5571 – Christmas Snowmen Set in 969 and 565 and stamped off twice before stamping onto my watercolor paper.
Colors used for the
sleigh and packages:
Sled body and package bow: 856
Runners: 565/969
Packages: Red (856), Blue (526), and Green (249)
I used 565
to add shadows and contours to the white areas
I painted in the sky with a watery mix of 565 and also added a few shadows near the sled. Details were added to the packages with 856, 526, 249, and Dr. Ph Martin’s Bleed Proof White. White was dotted across the painting for snowflakes. I also added snowy dots with a Spectrum Noir Clear Sparkle brush to the sky and brushed some onto the snow near the sled for extra sparkle!
I die-cut the 5782 – Snowflake Frame Die from pearly white cardstock and also some snowflakes from the set. I cut down a piece of the blue snowflake paper from 5853 – Christmas Magic Paper Pack to 4.25 x 5.5 and used a rectangle die from 5724 – Nested Rectangle Dies to cut an opening in the patterned paper. I glued the Snowflake frame to the front of the patterned paper. I glued a piece of acetate to the back of the patterned paper to cover the opening. I attached foam tape to the back around the opening and all around the edges. Next, I attached the sleigh painting to the front of a white A2 card base. I added snowflakes, clear beads, and clear glitter to the center of the painting. Then I carefully placed the decorative panel over the painting to complete the shaker part of the card.

I attached the Santa die-cut to the bottom right corner with foam squares. I stamped a sentiment from 5586 – Christmas Sentiments set onto a piece of white card stock and die-cut it with the frame from 5718 – Mini Journal Template. I only used the interior part. I die-cut the frame again from the blue snowflake patterned paper. The frame and the sentiment where then attached to the inside of the card.

Thank you for joining me today for Watercolor Weekend! Until next time, Happy Thanksgiving (to those who celebrate) and Happy Painting!


7 comments:
Genius idea Diane!!
Wonderful projects, Diane! Love the treat holders.
OMG! You're a genius!! I will ABSOLUTELY be making some of these treat boxes for Christmas! LOVE!!! All of your projects are amazing! Thank you so much for showing us more ways of using these dies!
I forgot to comment on your painting skills! Gorgeous!!!
Thank you Tricia, Karen and Sharon! 🥰
What a wonderful idea. The treat boxes made from the Journal cover dies. I love your Santa’s sleigh card. The coloring is fantastic. Thank you for sharing.
Thank you, Deb! 🥰
Post a Comment