Showing posts with label 5782 Snowflake Frame Die. Show all posts

Monday, December 9, 2024

A small ornament and some tags by Sharon Caudle

 Hello AI Fans!

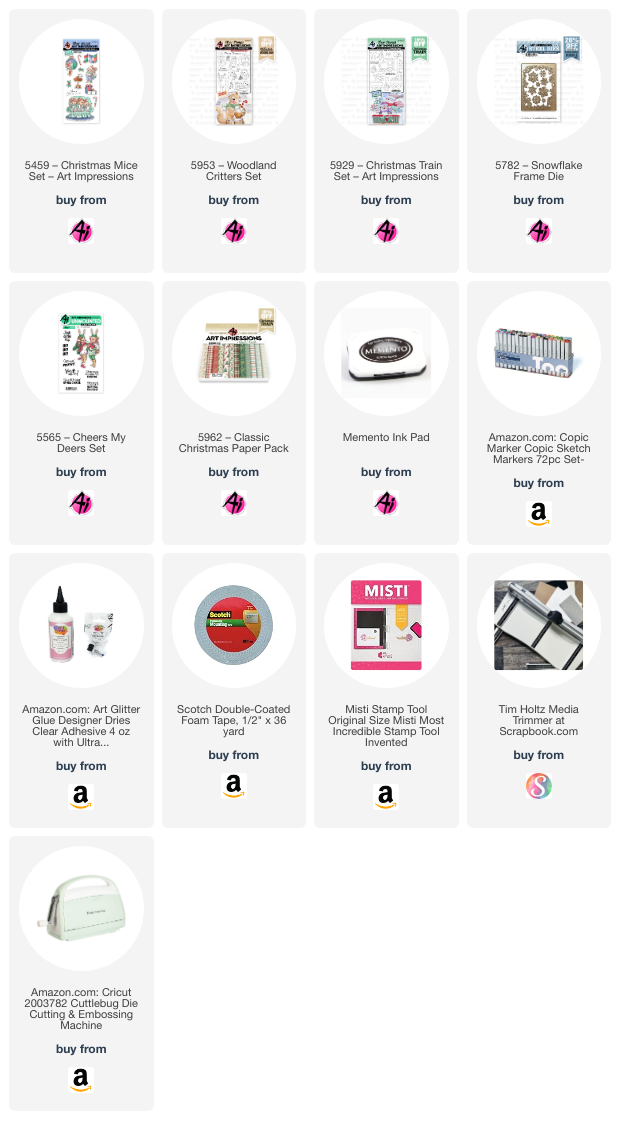
The new challenge at Art Impressions is Teeny Tiny! How fun!! So I've made a few things that fit right in! The first thing I did was grab the cute little ornament stamp and die from 5459 Christmas Mice Set. I stamped and colored it one time, and then used the die to cut out five more layers out of cardstock.  Glued them all together and then glued the colored piece on top for a cute, quick little ornament! Added some twine and three jingle bells and it was done. 


Next I decided I wanted to make some tags. I used a variety of sets for these, but made them all cohesive. They're fold up tags so the top decorated piece actually lifts up so you can put a greeting on the inside or a to/from stamp. Whatever you want! I chose to use a cute sentiment from 5565 Cheers My Deers Set on the inside. They're Super easy to make, just score your top panel about 1/2" down and only glue the top portion to your tag underneath it. 


So that's it for me today! Thanks so much for stopping by for a visit and until next time - stay crafty!!


Tuesday, November 19, 2024

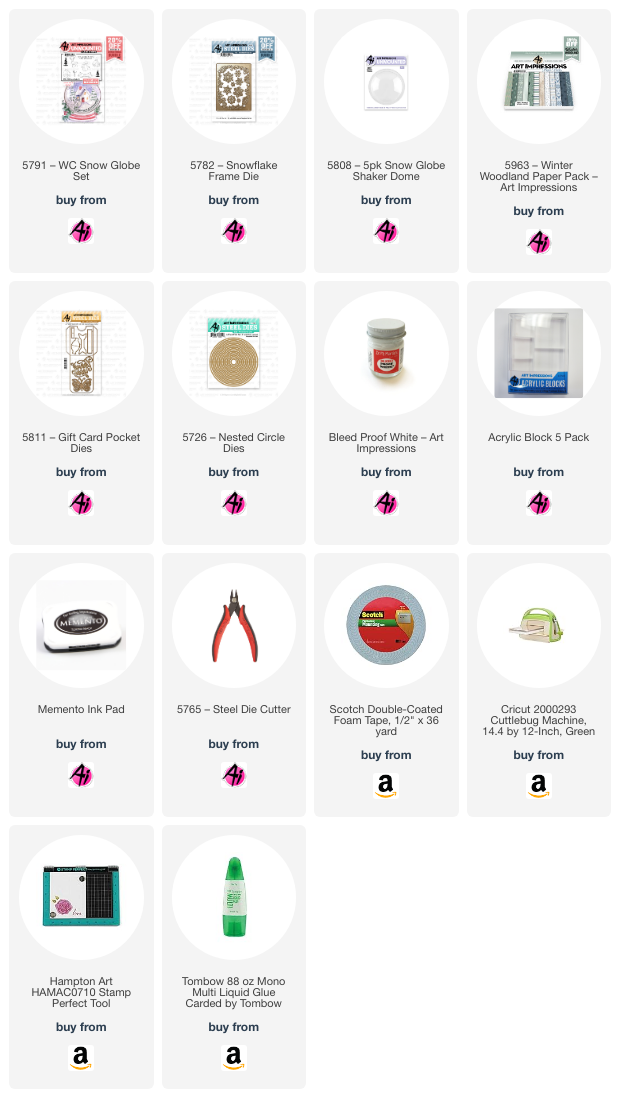
Deer Shaker Card for Under the Dome Challenge by Reneé Matarese

Hello Ai fans!

Welcome to the Under the Dome Challenge at Art Impressions. 
I had so much fun making this shaker dome card. It's got a masculine feel, but I as a woman, would also LOVE to receive a card like this.


I used a bunch of Art Impressions products and you can find them all linked below.


I live in the country and seeing deer is a daily occurrence for us. I love watching them stroll through our yard. It's hunting season and we always breath a sigh of relief when we see our regulars show up the next day.


Sunday, October 20, 2024

Tis the Season for Pumpkin Spice and Warmest Wishes cards by Diane Mason

Hello, and welcome back for Watercolor Weekend!


Hello, Ai Watercolor Friends! I hope you are enjoying a fabulous fall weekend! For the last several weeks, it has been unseasonably hot in the San Francisco Bay area. It has finally cooled down, and it’s beginning to feel like fall has arrived—so bring on the Pumpkin Spice!

Today, I’m excited to share two Woodland Critter cards with you, one for fall and the other for Christmas. These cards feature stamped images from the recently released 5953 – Woodland Critters Set, KH5951 – Foxes Set, and 5954 – Woodland Bears Set. These new sets are so adorable, and both the Woodland sets come with dies that can be used to cut the images out!

Tis the season for Pumpkin Spice card:

Both of my cards today feature the adorable little squirrel from 5953 – Woodland Critters Set. I just love this sweet little image of a squirrel enjoying a hot beverage! I wanted it to appear that he was enjoying a Pumpkin Spice latte, so when I inked the stamp in 565/969 I purposely left off the candy cane. First, I selectively stamped the two pumpkins (from the pumpkin pile) from 5595 – Harvest Pumpkin Set in 969 and the stems and leaves in 249. I masked the pumpkins, and then stamped the squirrel image, remembering to leave off the candy cane. The leaves in the foreground are from KH5951 – Foxes Set and were stamped in 969. I watercolored the squirrel in 947 and 969. I added rosy cheeks with a touch of 856 and also inside the ears. I used 312 to paint the scarf and the plaid stripes. For the coffee mug, I used 993, 933 and 947. I shaded the whipped cream with 565. I painted the cinnamon stick with 947. For the left pumpkin, I painted it with 933 and 925. For the right pumpkin, I used a combination of 993 and 933. The stems and leaves were painted with 312. The tree stump was painted with 947 and 969. I washed in the grassy area with 312 before adding leafy foliage around the squirrel from KH5951 in 312, 249, and 993. I painted the leaves in the foreground with 993, 933, 312, and 947. I added grass with 249 using the tiny grass stamp from 4051 – WC Foliage Set 1. The sky was washed in with 565. I darkened the squirrel’s eyes and nose with a brown TwinTone. I also used the brown TwinTone to add back some details.

The “Tis the season for Pumpkin Spice!” sentiment from 5191 – Feast Mode Set was stamped in orange on watercolor paper and die-cut using a tag die from 5132 – Tag Stitched Dies. Using the leaf dies from 5783 – Fall Leaf Frame Die Set, leaves were die-cut from cardstock, embellished, and attached to the tag. The plaid patterned paper is from the 5838 – Fall Journal Paper Pack. The painting and tag were both mounted with foam tape for added dimension.

For the inside of the card, I stamped the sentiments from 5600 – Harvest Sentiments Set in green and orange. The pumpkin and vine in the corner are from 5595 – Harvest Pumpkin Set.

Warmest Wishes card:

For my second card, I inked the squirrel image from 5953 with 565/969. The squirrel’s body and tree stump were painted in the same way as the first card. For the scarf, I left it white and added shadows with 565. I then added a green plaid stripe using 177. The hot cocoa mug and candy cane were painted in 856. I added a green stripe to the mug in 177. Again, the whipped cream was shaded with 565.

I brushed in a watery sky and added snowy shadows with 565. Once the painting was thoroughly dry, I heat-embossed the snowflake images from the 5954 – Woodland Bears Set using VersaMark clear embossing ink and Ranger’s White Super Fine Detail embossing powder. Additional snow flurries were dotted in with Dr. Ph. Martin’s Bleed Proof White.

The peppermint striped patterned paper from 5853 – Christmas Magic Paper Pack was die-cut with the second largest banner die from 5134 – Banner Double Stitched Dies. To create a flap for the card front, I needed the banner to be longer to make a fold at the top. To extend the banner, I did a partial cut, then shifted the die and did another partial cut, and voilà – a longer banner die-cut! The card front was matted with red embossed cardstock. I used double-sided tape to attach the banner flap to the inside and folded it over to the front. The painting and embellishments were arranged and popped up with foam tape (leafy vine from 5805 – Mini Journal Box Dies, snowflakes from 5782 Snowflake Frame Die, and decorative frame cut in half from 5768 – Decorative Journal Page Set 1). I stamped the Merry Christmas sentiment from 5953 – Woodland Critters Set in green, die-cut with a banner die, and mounted with foam squares

To open the card, you lift the banner and open the card from left to right. For the inside of the card, I added a strip of patterned paper to the bottom edge, snowflake die-cuts from 5782, and stamped the sentiment from 5566 – Christmas Sentiments Set in red.

Thank you for joining me for Watercolor Weekend! I hope these cards brought you as much joy as they did for me while making them. It was a fun challenge to use the same image and adapt it for both fall and winter. Until next time, Happy Painting!


Tuesday, February 6, 2024

Snowman Thank You by Reneé Matarese

Happy Tuesday everyone!

 It's February and still VERY much winter where I live.

I needed a thank you card and pulled out some fairly new sets and also used a
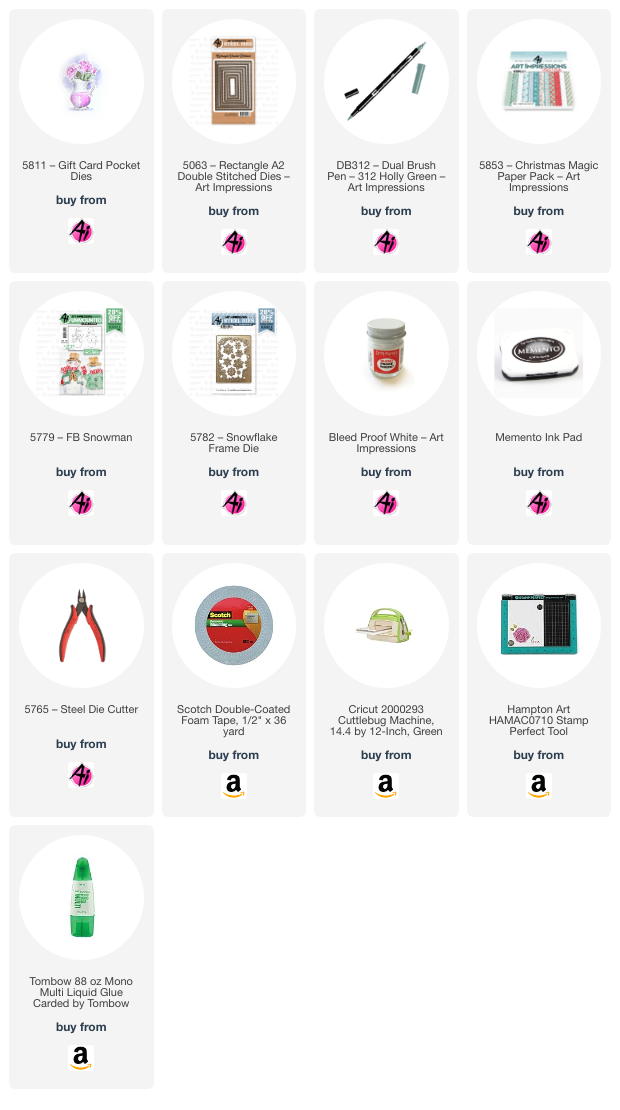
 BRAND NEW die from the 5811 – Gift Card Pocket Dies.


This smiley little snowman is a front and back so he can be used in window cards as well. I used Dr. Ph Martin's white paint to add details to his clothing.  This paint is AMAZING and so versatile.
All Art Impressions products that I used are linked below.


Copics used:
R00, R02, R37, R81, E31, E40, BG0000
BG02, BG34, W3, W4, N2, N4


Friday, December 15, 2023

Tasha's Top 10 of 2023!

 Happy Friday Ai Friends!

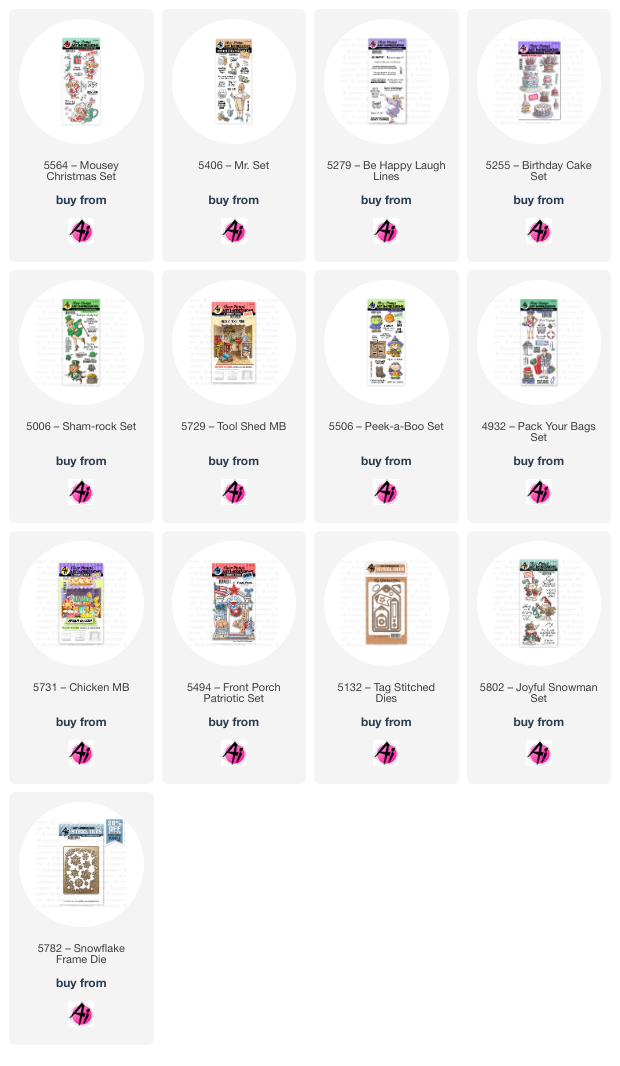
As we approach the end of 2023, it's the perfect time to reflect on the creative journey I've had throughout the past months. From birthdays to holidays, each project holds a special place in my heart. Join me as I revisit my top 10 favorite creations of 2023!

10. Here's to Birthdays!
Celebrating birthdays with the joyous glow in the background and the delightful lady stamp from the Be Happy Laugh Lines Set.

Stamp Sets: 5279 - Be Happy Laugh Lines Set, 5255 - Birthday Cake Set

9. Get Your Green On!

A St. Patrick's Day favorite with a cool guy in his green outfit and cute hat using the Sham-rock Set and Mr. Set.

Stamp Sets: 5006 - Sham-rock Set, 5406 - Mr. Set


8. Here's Tool You!

A girly tool shop takes the spotlight in the eighth spot. The pink aesthetics and pretty plaid paper background make this Tool Shed MB set a delightful addition to my Top 10.

Stamp Set: 5729 - Tool Shed MB


7. Trick or Treat Triple Cube Card!
Bringing interactive fun to the seventh spot with a triple-cube card featuring cute trick-or-treaters. The Halloween vibes and the playful pattern paper make this a standout project.
Stamp Set: 5506 - Peek-a-Boo Set

6. Pack Your Bags Card!

Inspired by vacation memories with my husband, the sixth spot goes to the Pack Your Bags Card. The tropical vibes and the joy of coloring the happy traveler's clothing make it a memorable addition to the list.

Stamp Set: 4932 - Pack Your Bags Set


5. Merry & Bright!

Embracing the holiday spirit, the fifth spot is dedicated to the Merry & Bright project. The sweet mouse, combined with modern farmhouse elements like buffalo check pattern paper and a snowflake background, secures its place in the Top 5.

Stamp Set: 5564 - Mousey Christmas Set


4. Spring Chicken MB Card!

In the fourth spot, the Spring Chicken MB Card steals the show. The chicken-themed fun, complemented by a starry background and adorable chicks, makes it a delightful creation. I just love the MB sets!

Stamp Set: 5731 - Chicken MB


3. Have a Blessed Day!

Taking a deviation from cards, the third spot is reserved for the Americana-themed Tag. Red, white, and blue colors are great for Summer, and the sleeping doggie adds an extra touch of cuteness.

Stamp Sets: 5512 - Front Porch Door, 5494 - Front Porch Patriotic Set, 5132 - Tag Stitched Dies


2. Merry Christmas Card!

A tough decision for the second spot, but the Merry Christmas Card steals the show with sparkle, pastel colors, and an adorable snowman. This card makes me so happy!

Stamp Set: 5802 - Joyful Snowman Set

1. Seasons Greetings!

After much contemplation, the number one spot goes to the Seasons Greetings project. The charming snowflake frame around the sweet mouse creates a picturesque winter scene that I absolutely adore.

Stamp Sets: 5782 - Snowflake Frame Die, 5564 - Mousey Christmas Set

Thank you for checking out my Top 10 projects of 2023. Wishing you all a Merry Christmas and a Happy New Year filled with endless creativity and joy!


Sunday, November 19, 2023

Holiday Treat Boxes and Santa's Sleigh Shaker Card by Diane Mason

Hello and welcome, Watercolor Weekend Fans!


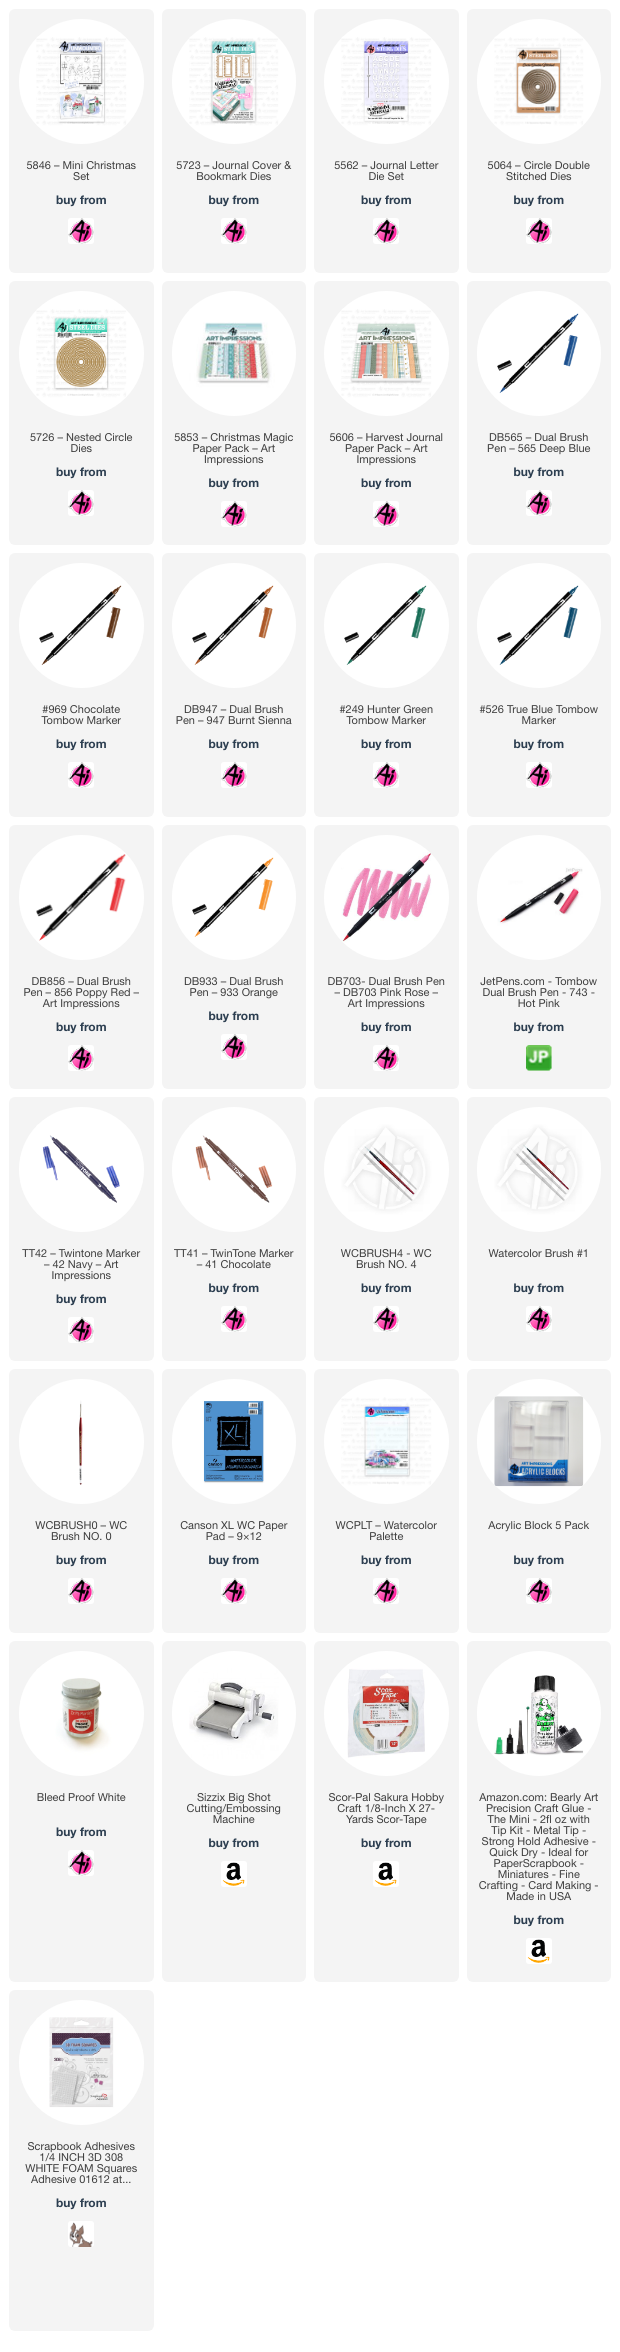
Today, I'm switching things up by sharing both a project and a card! With the holidays just around the corner, I wanted to craft a Treat Box that could serve as both a place card on your holiday dinner table or a small gift for your guests. I mean, who wouldn't love a charming treat box filled with chocolate? To create these boxes, I used the 5723 - Journal Cover and Bookmarks Dies. While these dies weren’t intended for box-making, they happened to be on my craft desk from a recent journal project, prompting me to experiment with making a box using them. Many of you might already have these dies if you've previously purchased the Journal Bundles.

Here is the Thanksgiving version:


And here is one for Christmas:


For the Thanksgiving design, I used the Exclusive Turkey 2023 Limited Freebie Stamp. This adorable freebie stamp, one of six available, can be added to your cart when you spend $30 or more at artimpressions.com. I inked the turkey in 969 and stamped off once before stamping onto my Canson XL watercolor paper circle die cut (5064 - Circle Double Stitched Dies). It proved easier to stamp the turkey directly onto the die-cut circle rather than cutting it out later. The circle die I used cuts out a 1 ¾ inch circle approximately.

Colors used to paint the turkey:

Body: 947

Lower wing feathers, tail feathers, and feet: 969

Feather tips: 947

Head and Beard: 526 and 565

Beak: 933

Snood and wattle: 856

For the ground, I used 969, while for the sky, I used a diluted mix of 565. A black TwinTone marker helped to darken the eye and eyebrow. Any details that might have washed out were added back with a brown TwinTone marker. I also added a touch of Dr. Ph Martin’s Bleed Proof White on the beak and a few tail feathers.

As for the Christmas version, I inked the snow-couple entirely in 565 and selectively in 969 on the non-snowy parts such as the hat, scarves, and jacket. I added shading and depth to the snow-couple using 565. Again, I stamped off once before stamping onto the circle die cut.

Colors used to paint the snow-couple:

Top hat, stocking cap, and jacket: 526

Hat band and snowman’s scarf: 249

Carrot noses: 933

Snowwoman’s scarf: 703 and 743

Cheeks: diluted 856

Once more, I painted the sky using a diluted mix of 565 and added some shadows to the ground in front of the snow-couple. I used a sharp pencil to darken the mouths and eyes. Thin stripes were painted onto the snowman’s hat band and scarf using 249 and a size 0 brush. Plaid lines were added to the snowwoman’s hat and jacket using 526 and a size 0 brush. Dr. Ph Martin’s Bleed Proof White was used for polka dots on the snowwoman’s scarf and dotted across the painting for snowflakes. The buttons were darkened with a black TwinTone marker. For any details that needed to be added back, I used a brown or navy blue TwinTone marker. The paintings were layered onto a slightly larger die-cut circle and secured with pop dots. I opted for shiny metallic papers for the bottom layers to add an extra touch.


Now, onto the box-making process: I die-cut two panels from cardstock for each box using the Journal Cover die from 5723 – Journal Cover & Bookmark dies. For the Thanksgiving version, I used the lacy-edged panel, and for the Christmas version, I chose the scalloped one. I then scored each panel using a scoreboard, scoring at ¾ inch on each flat side. To create tabs for gluing the box together, I carefully cut along the score line on each side, stopping at the first score line. On the front panel, I trimmed off the remaining corner pieces from each side. On the back panel, I snipped a small wedge off each tab piece (you can refer to the above photo for clarity on where to cut and apply glue). After folding along all the score lines, I began assembling the box. First, I glued the bottom of the front panel to the back panel, then added glue to the tabs and sides, folding them up to form the box structure. To finish, I created a band by gluing together two thin wavy-edged die-cut pieces from 5723 and wrapped it around the box, securing it in place with glue. To finish, I centered the painting on the front and secured it in place with glue. For the back, I used die-cut letters for each guest's name and glued them onto the band. Now that the box was assembled, it was time to add the candy! In mine, I managed to fit two Ghirardelli Squares with a bit of room to spare.


To provide further guidance or if the written instructions were a bit confusing, I've included a link below to a video I made, demonstrating how to create the box. It might offer a clearer visual walkthrough of the process.


And now, on to my Santa's Sleigh Shaker Card:


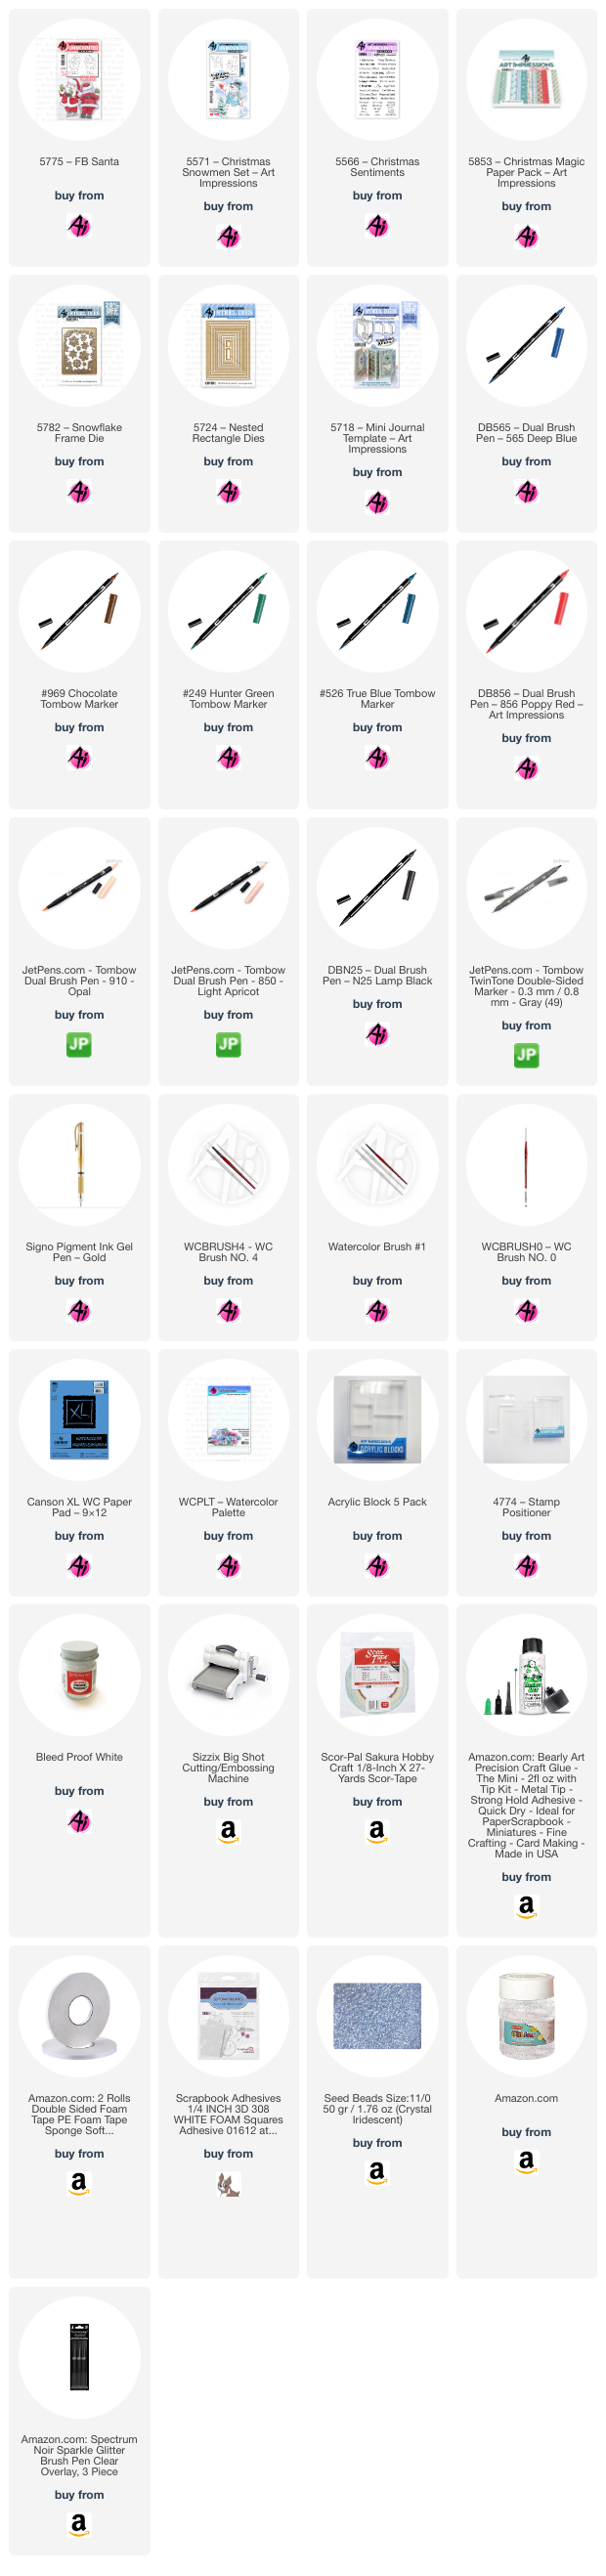
I kept the color palette for the magical Santa’s Sleigh Shaker Card to red, blue and green. The colors I chose paired well with the new 5853 – Christmas Magic Paper Pack.

I inked just the front-facing Santa stamp from 5775 – FB Santa with 969 and 565 and stamped off twice before stamping onto my Canson XL watercolor paper. Then I used the coordinating die to cut out the Santa.


Colors used to paint the just the front of the 5775 – FB Santa:

   Santa’s face and wrist: 850 and 910
   Jacket, pants, and hat: 856
   Belt and boots: N25
   Buckle: Gold Signo Pen
   I used 565 to add shadows and contours to the fur, gloves, and beard.

I inked just the sleigh from 5571 – Christmas Snowmen Set in 969 and 565 and stamped off twice before stamping onto my watercolor paper.

Colors used for the sleigh and packages:

   Sled body and package bow: 856
   Runners: 565/969
   Packages: Red (856), Blue (526), and Green (249)
   I used 565 to add shadows and contours to the white areas

I painted in the sky with a watery mix of 565 and also added a few shadows near the sled. Details were added to the packages with 856, 526, 249, and Dr. Ph Martin’s Bleed Proof White. White was dotted across the painting for snowflakes. I also added snowy dots with a Spectrum Noir Clear Sparkle brush to the sky and brushed some onto the snow near the sled for extra sparkle!

I die-cut the 5782 – Snowflake Frame Die from pearly white cardstock and also some snowflakes from the set. I cut down a piece of the blue snowflake paper from 5853 – Christmas Magic Paper Pack to 4.25 x 5.5 and used a rectangle die from 5724 – Nested Rectangle Dies to cut an opening in the patterned paper. I glued the Snowflake frame to the front of the patterned paper. I glued a piece of acetate to the back of the patterned paper to cover the opening. I attached foam tape to the back around the opening and all around the edges. Next, I attached the sleigh painting to the front of a white A2 card base. I added snowflakes, clear beads, and clear glitter to the center of the painting. Then I carefully placed the decorative panel over the painting to complete the shaker part of the card. 


I attached the Santa die-cut to the bottom right corner with foam squares. I stamped a sentiment from 5586 – Christmas Sentiments set onto a piece of white card stock and die-cut it with the frame from 5718 – Mini Journal Template. I only used the interior part. I die-cut the frame again from the blue snowflake patterned paper. The frame and the sentiment where then attached to the inside of the card.


Thank you for joining me today for Watercolor Weekend! Until next time, Happy Thanksgiving (to those who celebrate) and Happy Painting!


Holiday Treat Boxes:

Santa's Sleigh Shaker Card: