Hello Ai Watercolour fans!
My first card today is intended to be for any occasion, but would work perfectly as a Valentine if you wanted it to!
I stamped the largest bike from the 5124 - WC Bicycle Set onto my Canson XL Watercolour Paper using #N55, then added the heart balloon from 5722 - Birthday Journal Set above it. I mixed together #565/249 to make an aqua shade that was painted onto the bike, and shades of N55 & black were painted onto the tires and handlebar. A wash of #126/177 was added in to create the grassy ground, and using the bullet tip of #177, I hand drew in some longer blades of grass around the tires. I picked up #443 from my palette, and added it as a wash to the sky. The large floral from 4868 - WC Flower Set 2 was stamped with #565 to fill in the square basket, then softened with a damp brush to pull out the colour. For the front basket, I used the heart circles from 4868, in #743 and the Daisy Bunch from Flower Set - 4052 in #676 to create the floral clusters, then filled around them with the tiny sprig from 4867 - WC Foliage Set 2 in #126 and #177. My favourite stamp - the Mini Foxglove from 4052 - was stamped repeatedly in #565 to create the two taller flower stalks. After softening everything with a damp brush, the small twig from 4964 - WC Branches Set was added several times with #969. I painted shades of #743/676 onto the balloon, being careful to keep some areas lighter to suggest a rounded shape. I used a grey Twintone marker to draw in the string of the balloon. Layers of #992/969 were added to the baskets for a natural look. I used the single stem from 4868 in #743/177 to place some flowers around the tires, and used the markers directly on the paper to suggest some tiny flowers.
My scene was die cut using the 5062 - Rounded Rectangle A2 Double Stitched Dies, and the sentiment from 5734 - Friend Sentiments Set was stamped with Versafine Onyx Black ink. I added a 1/16" dark grey mat, and adhered everything on an angle with 3D foam tape, to the background paper from 5955 - Encouragement PP.
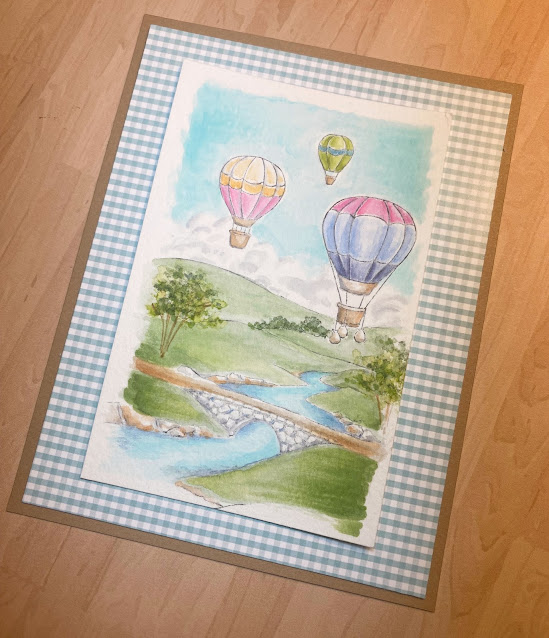
I have been wanting to create a window card for a while, so my second card is a scene that I painted onto my Canson XL Watercolour Paper, starting with the 5577 - Stone Bridge Simple Scene In #N55, then added 3 of the 5789 - Hot Air Balloon Set images in various sizes so they would look like they were floating away into the distance.
Since I knew I'd be using a window, I kept my scene tall and narrow, and used the window die as a guide. I painted in #443 as the sky, being sure to leave some fluffy white spaces above the hills as a bank of clouds, and then also painted the blue into the stream, keeping the center of it lighter. The clouds had streaks of grey added to them to create some texture, and the stream had #565 added to the edges to darken it even further. #177 was washed in on all the hillsides, getting a little stronger in tone in the foreground, with some #126 added in. The pathway and banks of the stream were painted with #992/947, and tones of N55/565 were painted around the bridge and rocks along the stream. I stamped the tree & foliage from 5372 - WC Mini Foliage using #969/177/126, and added the clump of shrubs along one of the hills using #177. The balloons were painted with #565/533/743/993/991/126/443 with 992 on the baskets. I added darker shades of each colour where the lines of each balloon were, to indicate the shape of each one.
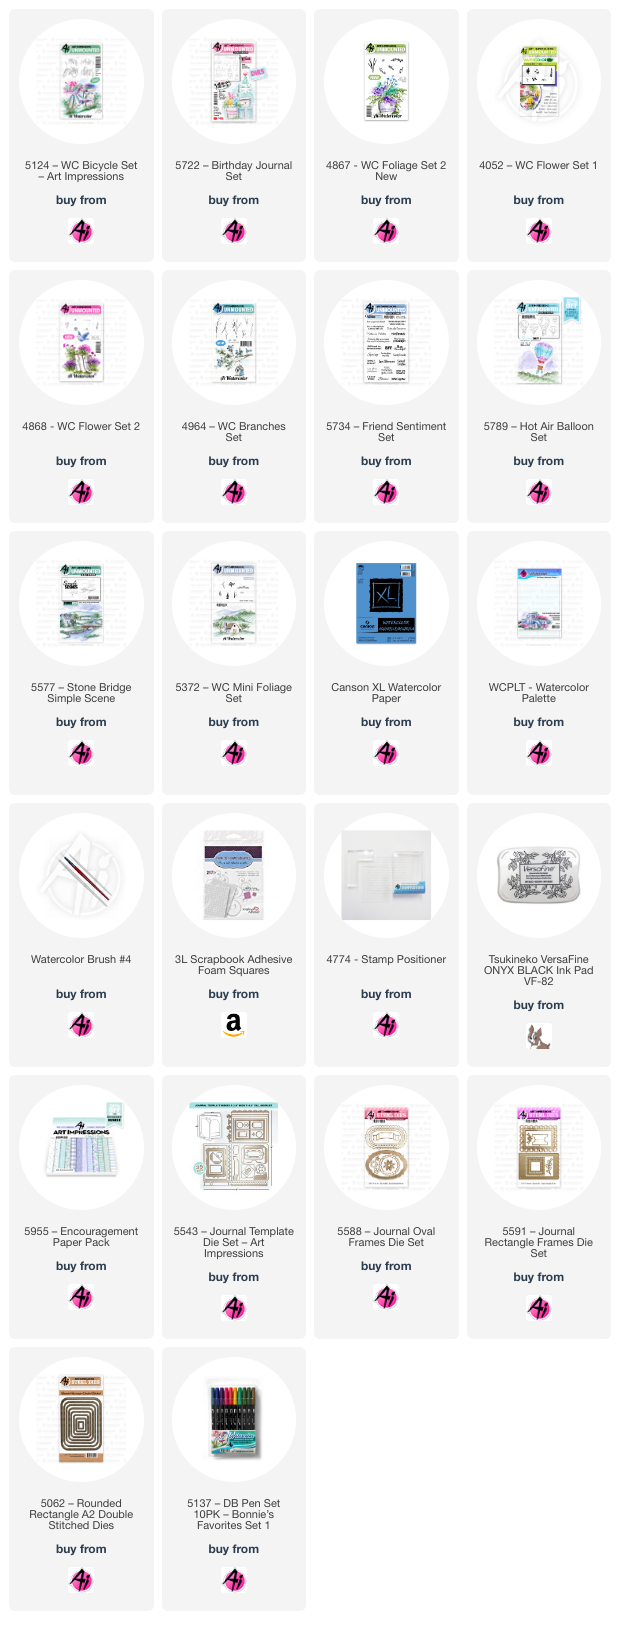
There is definitely a bit of planning involved in a window card! I cut three layers of the window from 5543 - Journal Template Die Set, and glued them together, as I wanted the frame to be sturdy, and stand out from the wall. I cut a piece of gingham paper from 5955 - Encouragement PP to 4" x 5 1/4", then cut a rectangle with just enough overlap to be able to glue the 1/8" wide window onto it. To create my embellishments, I cut out the three flowers from 5588 - Journal Oval Frames from watercolour paper, along with the leafy sprig from 5591 - Journal Rectangle Frames, then painted all of my pieces using the same Tombow colours as my painting. I used tweezers and some liquid glue to attach everything to the background.
The painting was adhered to a piece of tan cardstock, by holding it behind the window to ensure it was placed correctly. I added 3D foam adhesive to the back of my window panel, as I wanted the dimension it would give to have my scene appear far away. As I said - lots of planning! But I think the end result was worth it. There is room on the lower right panel for a sentiment - I almost stamped one, but thought I would jinx my finished piece... but a word or phrase could be easily added. My sentiment will go on the inside. See you next month!


3 comments:
You know I'm one of your biggest fans. These cards are so gorgeous!! You consistently blow me away, each and every time I see your work!! Spectacular!!!
I agree with Sharon! These are amazing Karen!
Thank you for sharing your best blog us> we are grateful for your best knowledge for birthday balloons.
Post a Comment