Showing posts with label Birthday Journal Set. Show all posts

Thursday, March 13, 2025

I Like to Move it, Move it!" Challenge #399 Week #1

Hello Ai fans!

Welcome to our new, "I Like to Move it, Move it!" challenge!

We want to see your projects that have movement on them.

These can be sliders, shakers, wobbles, pop up cards etc. You name it! If something on your project moves, then it qualifies.

Our featured artist is Dori Mendiola but before we see her amazing birthday card, we need to see who won our last challenge.

Out Top Spot went to Rachel B. for her wonderful interpretation of Carol Hintermeier's card.


Here is Carol's card that Rachel CASEd.

Please contact Leah at Feedback@artimpressions.com
to claim a free stamp set of your choice!!

Our Lucky Random Winner was 

Kimberly W.


Kimberly was inspired by this card from Amy Tsuruta.


Please contact Leah at Feedback@artimpressions.com
to claim a free stamp set of your choice!!

Now let's see Dori's fabulous creation. You're going to LOVE it!

---------------------------------------------------------------------------------------------------------------------------
 
I am soooo thrilled to be the feature for this challenge - "I Like to Move it, Move it".  I am such a fan of interactive cards, so this is a delight for me.  I had soooo much fun creating this card and I am soooo excited for how it turned out.  

First of all, I stamped all of the images on copic friendly paper with Memento black ink and colored with my copic markers listed below.  Some images were dies so I cut them with copic friendly paper and then colored with copic markers. 
I cut two 4 1/4 x 4 1/4" pieces of heavy white cardstock and scored each piece at 1".  Do NOT adhere together yet as you need to place the acetate pieces in between.
  
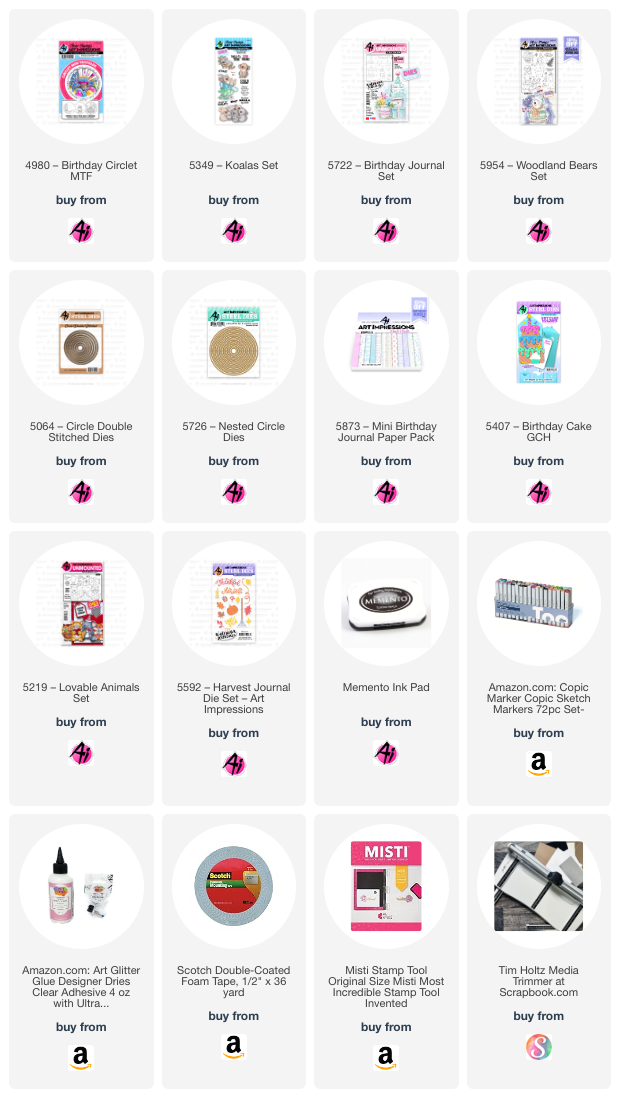
Let's decorate the front of the card first.  I matted a piece of pattern paper onto a piece of purple cardstock allowing for an 1/8" border around all sides.  This is then adhered to one of the white cardstock pieces. The 1" fold should be towards the back at the bottom.  I started by using the front layer (balloons) of the #4980 Birthday Circlet MTF.  I die cut this layer with the coordinating die and then cut the whole circle with one of the #5726 Nested Circle dies.  I used the koala sitting in the teacup from the #5349 Koala set and cut him off of the teacup so that I could place him on the stack of presents from #5954 Woodland Bears set.  I only used the bottom three presents of that stamp so that it fit nicely in the circlet.  I popped the circlet onto foam dots and placed onto a stitched circle die cut from purple cardstock.  I then glued the bottom two presents behind the balloons and popped up the top present as well as the koala so that they sat on top of the circlet.  I colored several confetti pieces from the #5407 Birthday Cake GCH and adhered them to the front of the card.  I saved several colored pieces for the inside of the card.  

Now, for the inside of the card.  I cut several strips of acetate, about 1/2" x 3" for each item.  I arranged the images how I wanted them to pop up over the front flap of the card.  I glued each to the top of a piece of acetate making sure there is enough acetate at the bottom to glue between the 1" folds.  Once the images are glued to a piece of acetate, I then glued the bottom of the acetate to the back of the front flap fold.  When all of the acetate pieces are glued down, I took the back flap and glued the two fold pieces together, making sure the acetate pieces are glued in firmly.  I then finished decorating the inside of the card with pattern paper and purple cardstock over the exposed white cardstock.  Lastly, I added the final pieces of confetti to decorate.  

Below is a video of how the card wobbles.


I hope you enjoyed my feature card and that it has inspired you to enter our bi-weekly challenge for a chance to win a free stamp set. We love to see what you create!
Have a great day and happy creating!
Copics used:  E21, E50, E51, E53
W5, R20
Y11, Y21, Y23, Y35
RV55, RV63, V12, V15
G40, G43, B41, B45
You are invited to the Inlinkz link party!

Click here to enter

Sunday, February 2, 2025

A Bicycle and Hot Air Balloons by Karen Day

 Hello Ai Watercolour fans!


My first card today is intended to be for any occasion, but would work perfectly as a Valentine if you wanted it to!


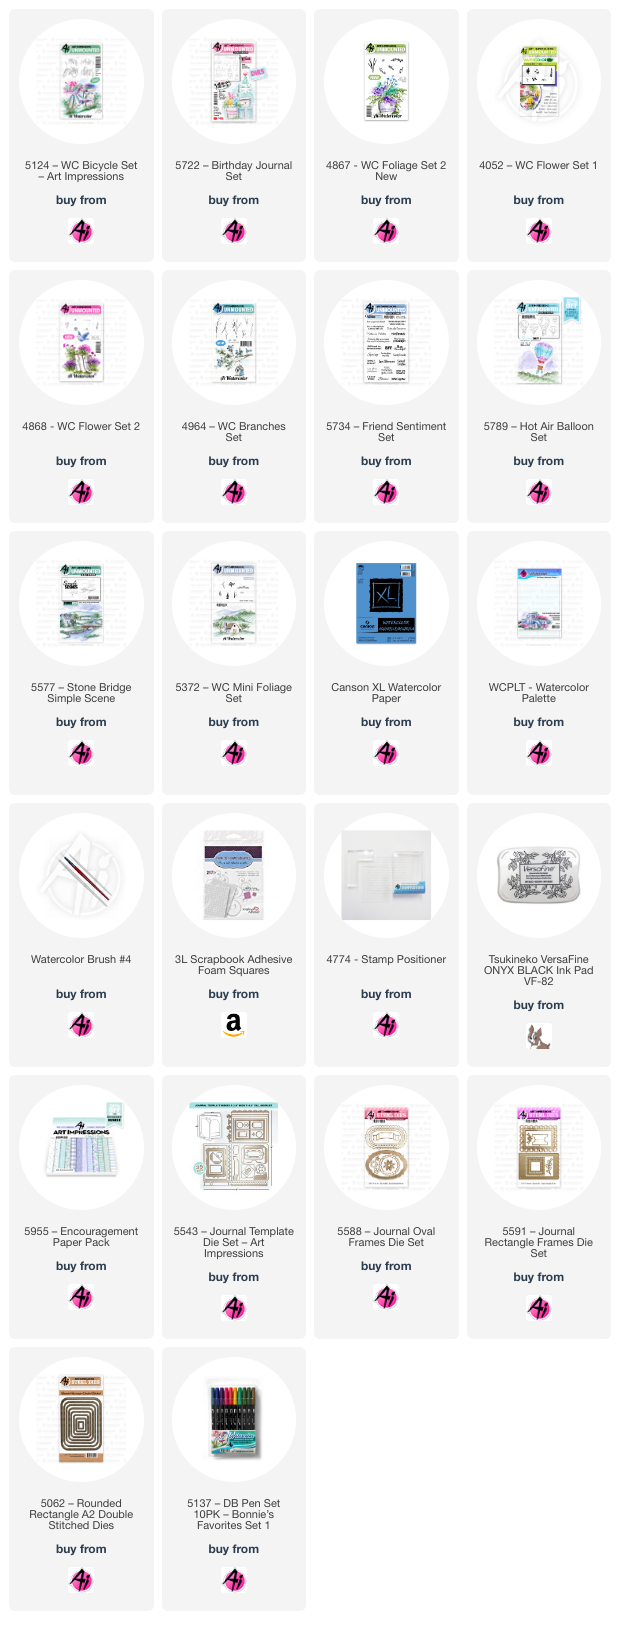
I stamped the largest bike from the 5124 - WC Bicycle Set onto my Canson XL Watercolour Paper using #N55, then added the heart balloon from 5722 - Birthday Journal Set above it.  I mixed together #565/249 to make an aqua shade that was painted onto the bike, and shades of N55 & black were painted onto the tires and handlebar.  A wash of #126/177 was added in to create the grassy ground, and using the bullet tip of #177, I hand drew in some longer blades of grass around the tires.  I picked up #443 from my palette, and added it as a wash to the sky.  The large floral from 4868 - WC Flower Set 2 was stamped with #565 to fill in the square basket, then softened with a damp brush to pull out the colour.  For the front basket, I used the heart circles from 4868, in #743 and the Daisy Bunch from Flower Set - 4052 in #676 to create the floral clusters, then filled around them with the tiny sprig from 4867 - WC Foliage Set 2 in #126 and #177.  My favourite stamp - the Mini Foxglove from 4052 - was stamped repeatedly in #565 to create the two taller flower stalks.  After softening everything with a damp brush, the small twig from 4964 - WC Branches Set was added several times with #969.  I painted shades of #743/676 onto the balloon, being careful to keep some areas lighter to suggest a rounded shape.  I used a grey Twintone marker to draw in the string of the balloon.  Layers of #992/969 were added to the baskets for a natural look.  I used the single stem from 4868 in #743/177 to place some flowers around the tires, and used the markers directly on the paper to suggest some tiny flowers.


My scene was die cut using the 5062 - Rounded Rectangle A2 Double Stitched Dies, and the sentiment from 5734 - Friend Sentiments Set was stamped with Versafine Onyx Black ink.  I added a 1/16" dark grey mat, and adhered everything on an angle with 3D foam tape, to the background paper from 5955 - Encouragement PP.


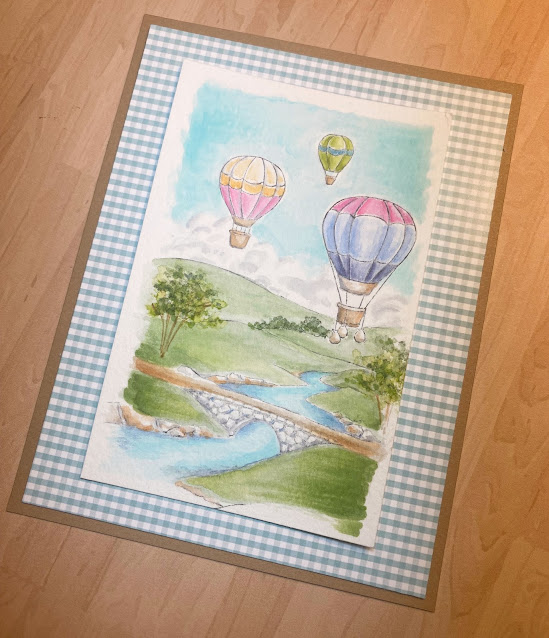
I have been wanting to create a window card for a while, so my second card is a scene that I painted onto my Canson XL Watercolour Paper, starting with the 5577 - Stone Bridge Simple Scene In #N55, then added 3 of the 5789 - Hot Air Balloon Set images in various sizes so they would look like they were floating away into the distance.


Since I knew I'd be using a window, I kept my scene tall and narrow, and used the window die as a guide.  I painted in #443 as the sky, being sure to leave some fluffy white spaces above the hills as a bank of clouds, and then also painted the blue into the stream, keeping the center of it lighter.  The clouds had streaks of grey added to them to create some texture, and the stream had #565 added to the edges to darken it even further.  #177 was washed in on all the hillsides, getting a little stronger in tone in the foreground, with some #126 added in.  The pathway and banks of the stream were painted with #992/947, and tones of N55/565 were painted around the bridge and rocks along the stream.  I stamped the tree & foliage from 5372 - WC Mini Foliage using #969/177/126, and added the clump of shrubs along one of the hills using #177.  The balloons were painted with #565/533/743/993/991/126/443 with 992 on the baskets.  I added darker shades of each colour where the lines of each balloon were, to indicate the shape of each one.


This is what my scene looked like before putting it behind the window.


There is definitely a bit of planning involved in a window card!  I cut three layers of the window from 5543 - Journal Template Die Set, and glued them together, as I wanted the frame to be sturdy, and stand out from the wall.  I cut a piece of gingham paper from 5955 - Encouragement PP to 4" x 5 1/4", then cut a rectangle with just enough overlap to be able to glue the 1/8" wide window onto it.  To create my embellishments, I cut out the three flowers from 5588 - Journal Oval Frames from watercolour paper, along with the leafy sprig from 5591 - Journal Rectangle Frames, then painted all of my pieces using the same Tombow colours as my painting.  I used tweezers and some liquid glue to attach everything to the background.


The painting was adhered to a piece of tan cardstock, by holding it behind the window to ensure it was placed correctly.  I added 3D foam adhesive to the back of my window panel, as I wanted the dimension it would give to have my scene appear far away.  As I said - lots of planning!  But I think the end result was worth it.  There is room on the lower right panel for a sentiment - I almost stamped one, but thought I would jinx my finished piece... but a word or phrase could be easily added.  My sentiment will go on the inside.  See you next month!


Thursday, January 9, 2025

Golden Celebration by Dori Mendiola

 Happy New Year AI Friends!

Hope you all had a wonderful holiday season and are off to a fantastic 2025! 

 My card today was inspired by the current challenge "Craft Time is Golden".  I sort of went "all out" golden.  😁  When I started creating, the gold was minimal, then all of a sudden, it went full on gold! Guess you could say it screams New Year's celebration, but wouldn't it be great for a 50th wedding anniversary card or add a little black and make it a graduation card.  So many options.

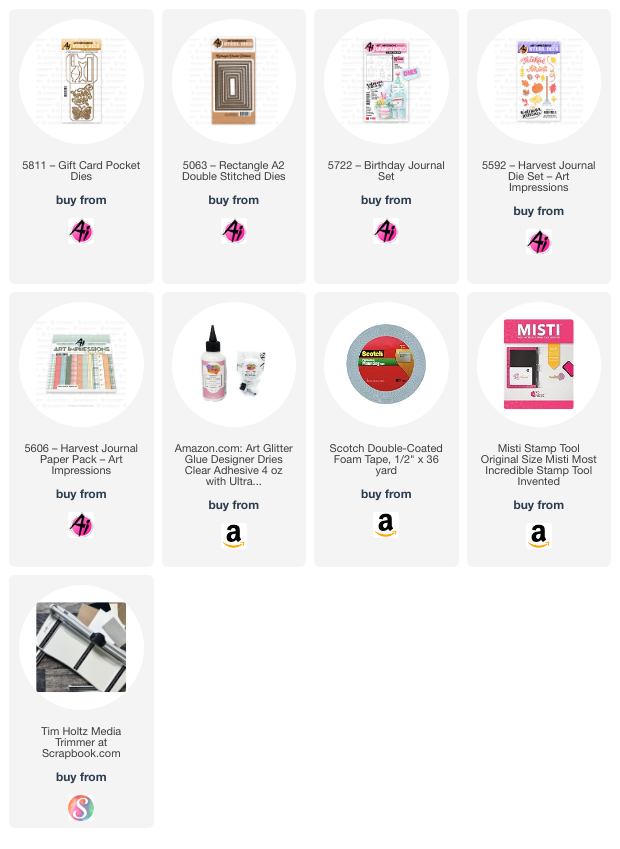
I used the 5811 - Gift card pocket die set for the bow and the 5722 - Birthday Journal set for the balloons and celebrate word die.  The streamer is from the 5592 - Harvest Journal die set.   I also used the 5063 - Rectangle A2 Double stitched die set for the frame and gift box.  And lastly, I used the 5606 - Harvest Journal PP for the striped pattern paper background.


To make the balloons pop out of the box, I used a slider pull tab and cut a vertical strip in the white frame piece, under the box, for the pull tab to slide.  I adhered a strip of acetate to the bottom of the bow and adhered some balloons on it.  I adhered a pop dot onto the pull tab and placed the pop dot through the vertical slit and onto the bottom of the acetate, so that when you pull the tab the bow rises and the balloons pop up.

Hope you enjoyed my card today.   

Make sure to play along in our blog challenges for your chance to win a free stamp set!

Thursday, November 7, 2024

Dancing Santa Tag by Dori Mendiola

 Happy Thursday AI Friends!

Have you seen the new Art Impressions Christmas release?  Wow, what a bundle!  Two cute stamp sets, a die set and two beautiful paper packs.  I decided to play with the #5931 Santa Puppet die set and boy, did I have fun making several versions of this Santa.  I have several more that aren't christmas so I'll save those for another post.  Stay tuned.

For my first Santa, I made him a dancing tag.  His body and legs move.  Check out the video below.


I partial die cut the pants (cut up to top of pant and then hand cut to make pant waist higher - see Pic 1).  I die cut all of the other pieces as well as an extra jacket and hands and decorated accordingly (see Pic 1 below).  The oval white piece on the right is a rough cut of the back of the head as you will need a base piece.  I then punched a hole in the three pieces as seen in Pic 1.  To put them together so that Santa dances, hold the leg piece where you want it to fall under the finished jacket.  Turn this over and adhere a foam dot into the hole (Pic 2).  Layer the extra jacket behind the back of the other jacket and adhere with the foam dot (see Pic 3).  Next hold the face over the front of the jacket, turn over and place another foam dot into the hole on the back of the jacket (see Pic 4).  Adhere the head base piece onto the foam dot in the jacket.   Your dancing Santa is ready for decorating with a pompom on the hat and a string to hang from the tree or present.

       Pic 1                                                                                      Pic 2

    Pic 3                                                                                           Pic 4

     Pic 5

My other variations using the 5931 Santa Puppet die set:

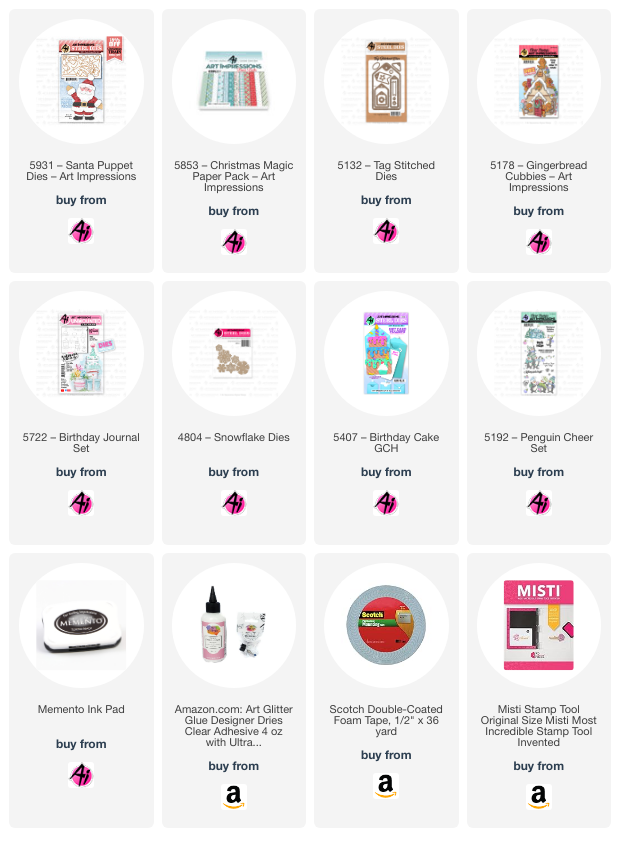
Cut my Santa in half and made two tags, one of which using the 5132 Tag Stitched Die.  I popped up the chimney and placed the body of Santa upside down into the chimney.   The second tag, I scored the arms before putting the cuffs on and folded them in half, then put the cuffs on the outer side so he was wrapping his arms around the star.  I also added google eyes to him for fun.  I cut several snowflakes from the 4804 Snowflake dies and the icicles on the chimney are from the 5407 Birthday Cake gift card die.  The sentiment is from 5350 Animal Nativity set and the candy canes are from 5457 Christmas Truck cubbies and the 5187 Gingerbread cubbies.


For the following tag I decided to make him a gnome santa.  I shortened his arms and legs and placed the hat lower on his face.  For his beard, I cut two but I cut one differently, by cutting half and then moved the die to stretch his beard and make it wider.  Another thought, you could use the 5223 Bookmark die and cut the top tab off to make a smooth beard.  He actually fits perfectly, but I wanted a fuller beard.  The die used for the santa sack is included in the 5931 Santa Puppet die set.  I believe it is actually to be used as the santa face base, however, I saw someone suggest a possible santa sack so I borrowed her great idea.  I wish I could remember who it was, so I could give her a shout out.   The candy canes are from the 5178 Gingerbread Cubbies and the banner is from 5722 Birthday Journal die set.  The sentiment is from 5192 Penguin Cheer set.


Tuesday, June 20, 2023

Tag Journal Recap by Nina

             Hi Ai fans, Nina here and I am so excited to recap with you all the tag pages I enjoyed creating using the adorable images and the die sets from Art Impressions.

This Tag Journal documented my moods since beginning of March all the way until today, each one of them gave me tremendous joy as I dig into my Art Impression collection of stamps and dies, mixing and matching elements from different sets to create one single adorable project.

I will include links to all of the tags in this article along with some photos so it will be easier for you to find them all in one place.

I used the Tag stitched Die Set for all the tags to create the base, I would usually die cut it twice and glue them both to each other so all my tags are sturdy and flat (not warped). For the elements I place on the tags you will find thier name below with each project.

1. You Rule! Tag


This was created for the Teacher Appreciation week using Teacher Rule Set. 


I also have a Video Tutorial here:


I created this one for our Windows Challenege, I used the Little Girl Front & Back set.


3. Spring Harvest Pastel Tag

To kick off the Spring season, I created this tag using the Harvest Together Set.


4. Easter Bunny Tag

Here I used the Sweet Easter Set.


5. Explore Nature Tag

I used the bag stamp from from Ole Buck Set.


6. Woodland Treehouse Tag

This project was created for the April Showers Ai Challenege where we included rain or clouds, I used Woodland Tree Cubbies Set.


7. Teacher Appreciation Tag

I created this one to thank all teacher as we hit the second day of Teacher Appreciation Week. I used Teacher Rule Set.

8. Barnyard Party Tag

This tag was for our Ai challenege "Don't Fence Me Up". I mixed and matched many decorations and critters from different Ai sets to achieve this adorable partying scene on the inside, it had an interactive door than opens up to this fun scene. I used:

4967 – WC Fence Dies
5180 – Barnyard Animal Cubbies
5455 – Birthday Buggy Set
5491 – Front Porch Party Set
5722 – Birthday Journal Set
5443 – MB Nativity


9. Life is Sweet Tag

Yet another tag, I used the adorable Birthday cake GCH Die set.


10. Spring Time Tag

 For this Spring tag I used the cute HM Garden Set which is an add-on for the Holiday Mansion Set.


11. Fabulous Flowers Tag


I was the featured Design Team member for the Fabulous Flowers Challenege and I created this tag as one my projects for this challenege. I used Birdhouses stamp Set.

12. Baby Steps Tag

I used images from MB Nursery Set which is one of the Matchbook sets. Matchbook sets were the perfect size to create scenes on these tags.


13. Chicken Coop Tag

Again for this Spring Tag using one of the Matchbook sets, just the perfect size. Here I used the Chicken Coop Set.


I also created another tag for our current Midnight Snack Challenege that will be up on Art Impressions Blog Next Tuesday. Stay tuned.

Here are images for the complete Journal..


I had a blast creating this Tag Journal I hope you enjoyed each one of them. Thanks for being part of this journey!