
Hello, and welcome back for Watercolor Weekend!

Hello, Ai
Watercolor friends, thank you for joining me for Watercolor Weekend! I have two
watercolor projects to share with you today. The first is a monochromatic slider
card, and the second is a Baby Girl Portfolio.

“To a Dear Friend” Slider Card:
Recently, my husband and I visited
the city of Solvang, California. Solvang is known for its Danish-style
architecture, European bakeries, wineries, and shops. While Delft Blue pottery
is from the Netherlands, it is also popular in Denmark, and many of the shops
in Solvang had Delft Blue-inspired items for sale. I purchased a beautiful blue
and white Solvang Christmas ornament to commemorate our trip. On the way home,
I kept thinking about all the pretty blue and white pottery. That’s when
inspiration hit – maybe I should try painting a blue monochromatic teacup for
Watercolor Weekend? And then, much to my surprise, Bonnie did a YouTube tutorial
on monochromatic painting this past week for Watercolor Wednesday! I love it
when all the planets align – lol. Monochromatic painting is so much fun!

I love interactive cards, so I created a pop-up
A2 slider card to showcase my painting. For monochromatic painting, you only
need one marker. I chose 569 (not 565). 569 is a bit darker and doesn’t turn purplish
like 565 tends to do when water is added. To begin, I inked the roses stamp
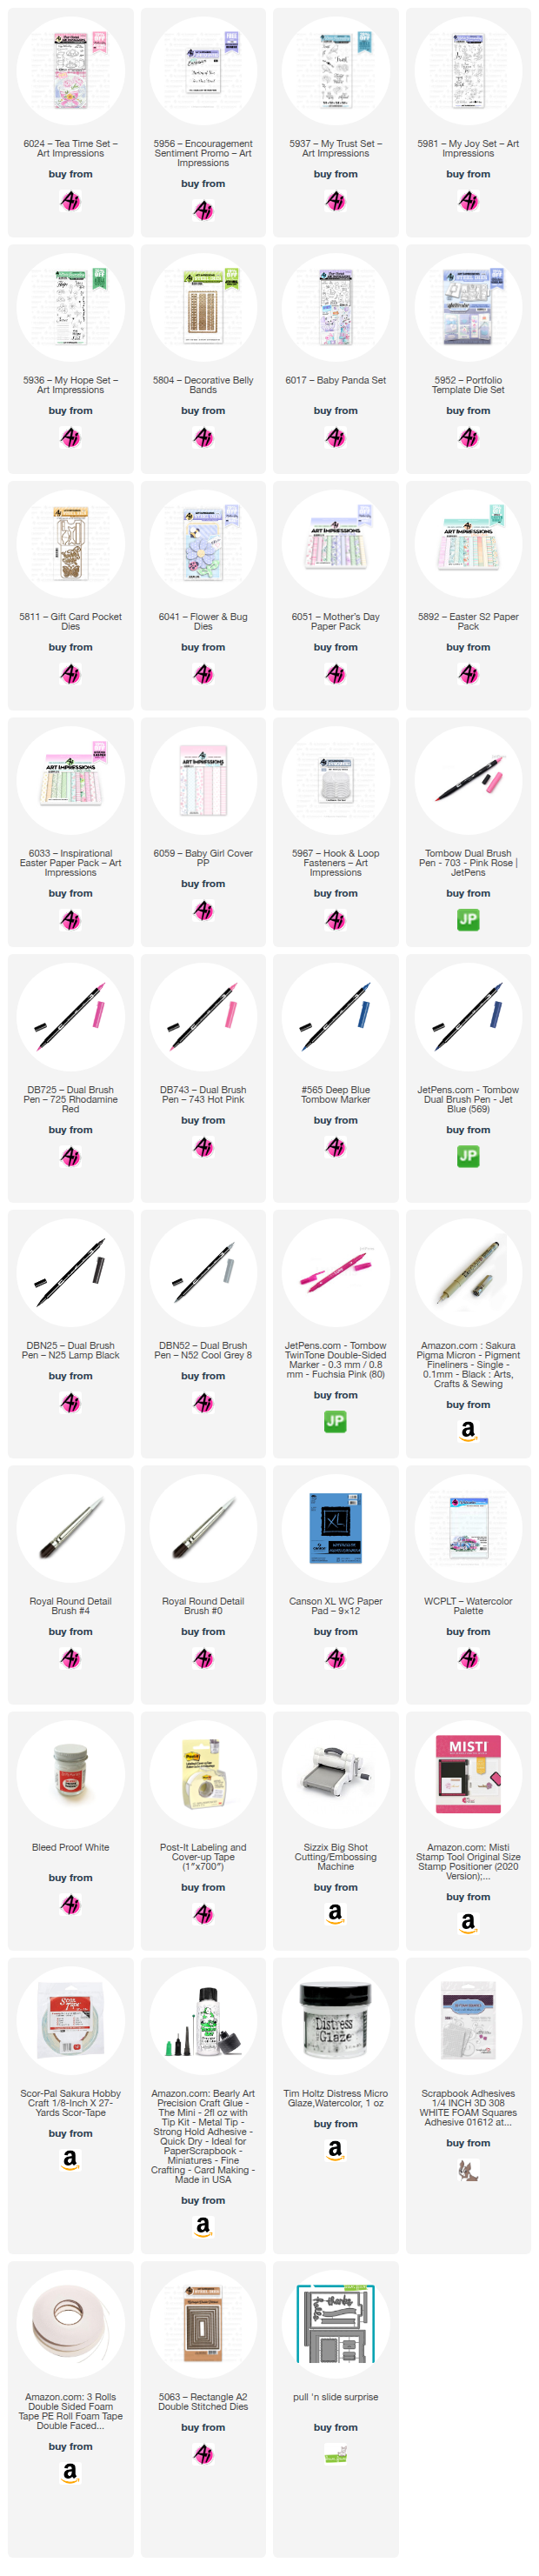
from 5937 – My Trust Set in 569 and stamped it onto Canson XL watercolor paper.
I made a mask for the roses and then inked and stamped the teacup from 6024 –
Tea Time Set. Since I knew I wanted to add some leaves around the flowers, I
left off the rim line on the front teacup. With the mask still in place, I stamped
in leaves from 5936 – My Hope Set. I inked and stamped the spoon from 6024 on a
small scrap of watercolor paper.

Monochromatic painting focuses on creating contrast through variations in light and dark values. I started by pulling out the ink with a damp brush, as usual, to create shadows and contours. Next, I added more 569 from my palette, gradually building up the color until I reached the desired value. Using a #0 round brush, I painted fine details and deepened some areas. I followed the same process for the spoon. I placed my painting back into my stamp platform and stamped the “To a Dear Friend” sentiment from 5956 – Encouragement Sentiment Promo Set above the teacup. I die-cut the painting with the decorative journal die from 5804 – Decorative Belly Bands Set. I also die-cut the spoon using the coordinating die from 6024.

To make the slider portions of the card, I stamped the floral border from 5981 – My Joy Set onto two separate pieces of watercolor paper. On one, I stamped the “Thinking of You” sentiment from 5956 above the border. The floral borders were painted in the same manner as above, and then I die-cut the panels for the slider card. I attached the painting to the front of the slider and popped up the spoon with foam tape. (If you don’t have a die for making pop-up slider cards, you can simply mat the painting and attach it to the card front. Then, add the floral border and sentiment to the inside of the card).

Since this is a one-panel card, I die-cut a
rectangle from white cardstock using a die from set 5063 – Rectangle A2 Double
Dies to create a space for a personal message. To decorate the top edge, I
stamped a border from set 5981.
.jpg)
I love how this card
turned out, and I’ll definitely be using this monochromatic painting style
again soon.
Welcome Little One
Portfolio:
Next, I have this adorable baby girl portfolio. I’ve been wanting to make
one of these for a while now. I used the 5952 – Portfolio Template Die Set and
6059 – Baby Girl Cover Paper Pack to create the base of the portfolio.

For the front closure of the portfolio, I die-cut a piece of matching
pink cardstock using one of the dies from 5952. I then traced around the
smaller die with a pencil onto some watercolor paper so I would know where to
place the stamped sentiment and panda bear from 6017 – Baby Panda Set. The
panda was inked in N52. I used N25 for the panda’s body, arms, eyes, and ears.
I used 565 to shade the white areas of the panda. For the bow, I used 725 and a
Fuchsia Pink TwinTone marker for the details. Rosy cheeks were added using a
watery mix of 725. I dotted the eyes with Dr. Ph. Martin’s Bleed Proof White
and added a black dot to the pupils with a .005 Micron black pen. I then
die-cut the watercolor piece and mounted it onto the pink cardstock die-cut
using foam tape for added dimension. I attached the closure to the front of the
portfolio by gluing down only the right side of the die-cut. Then, I added a
hook and loop fastener (5967 – Hook & Loop Fasteners) to the left side to
keep the portfolio securely closed.

There are many ways to decorate the interior of the portfolio. You can add
as many elements as you wish. The Portfolio Die Template Set has many options
to choose from, and all the Art Impressions Journal Dies work well too!

For the focal painting of the portfolio, I stamped the stack of gifts from
6017 – Baby Panda Set, inked with N52. The gift boxes, ribbons, and bags were painted with 703,
725, 743, and decorated with Dr. Ph. Martin’s Bleed Proof White. I used 565 in
some areas for shadows. On another piece of watercolor paper, I stamped the girl
panda and the peeking panda, inked with N52. The pandas were painted the same
way as the panda on the front of the portfolio. Both pandas were then die-cut
with the coordinating dies. I glued the baby panda to the painting and brushed
in some shadows below the panda and packages with 565. I added a die-cut frame to the painting and
mounted it to the center of the portfolio with foam tape.

I created a gift card pocket for the portfolio using 5811 – Gift Card Pocket Dies and the new 6041 – Flower & Bug Dies. I used leftover pink striped cover paper to make the pocket and lined it with a pink and white dot paper from 6051 – Mother’s Day Paper Pack. Here are the patterned papers I used to build the paper pieced flower: flower petals (6051 – Mother’s Day Paper Pack), flower center (5892 – Easter S2 Paper Pack), and stem (6033 – Inspirational Easter Paper Pack). I die-cut the petals twice, curled the tips of the petals, and glued them together offset. I used foam tape to pop up the flower center. I attached the flower to the gift card pocket holder with foam tape and then glued the stem into place. I attached the pocket to the left side of the portfolio with double-sided adhesive.


I created a gift tag and pocket for the right side of
the portfolio. I used the pink and white dotted paper for the pocket using the
pocket die from 5952. The tag was die-cut from the white and pink dotted paper
and white cardstock for the back. I glued the two tags together, stamped the
sentiment from 6017 in pink, and tied on some pink baker’s twine. The pocket
was attached to the right with double-sided tape. I slid the tag into the
pocket with the white and pink dotted side up. Foam tape was added to the
peeking panda die-cut, avoiding the paws, and attached the panda just above the
notch on the pocket. The tag can be used to write a note to the recipient.
To decorate the pocket, I inked the blocks and rattle
stamp with N52 and painted them with 703, 725, and 743. 565 was added for
shadows. Again, details were added with Dr. Ph. Martin’s and a Fuchsia Pink
TwinTone marker. I die-cut the blocks with the coordinating die and attached them
to the pocket with glue.

The stamps, patterned paper packs, and template dies really simplified the process. Now this sweet little portfolio is ready for gift giving!

Well, who’s this cute little brown teddy bear? Just for fun—I wanted to
show you that the panda stamps can turn into the sweetest little brown bears
too!
That’s all for now—thanks so much for stopping by
for Watercolor Weekend! If you try out the monochromatic painting style or
create a portfolio, we’d love to see what you make. Don’t forget to tag us on
social media. Until next time, Happy Painting!


3 comments:
Stunning card and portfolio, Diane!!! <3 <3 <3
Absolutely gorgeous Diane! Always so beautifully done!
Love them both! I need to try the monochromatic and wishing it would be as good as yours.
Post a Comment