Showing posts with label 6024 Tea Time Set. Show all posts

Tuesday, April 14, 2026

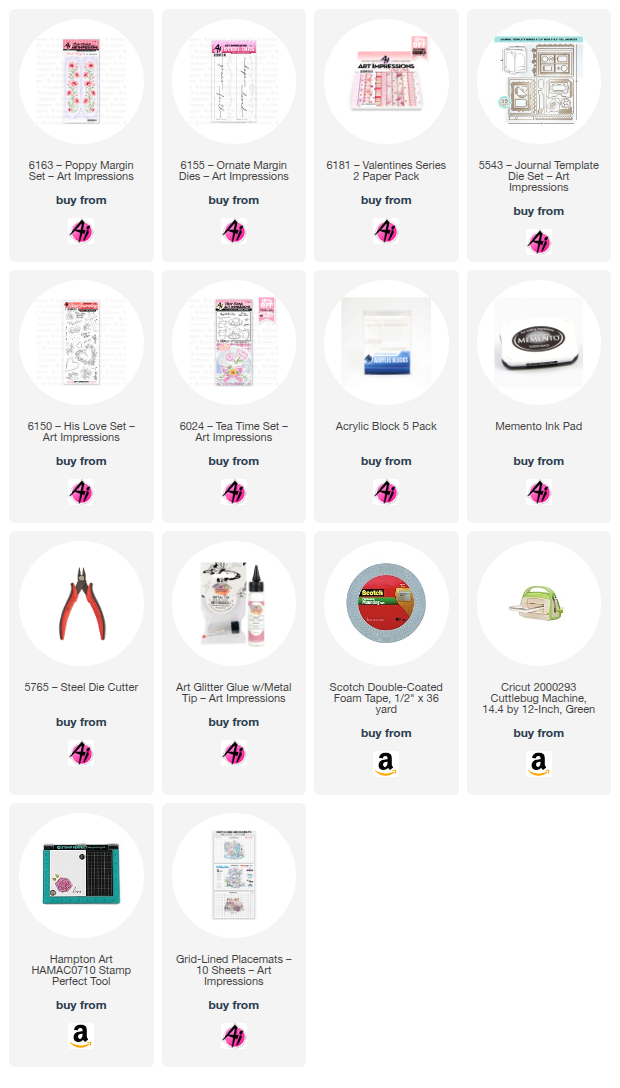
To the Best Mom! by Reneé Matarese

Hello Ai fans!

I had fun with the "I See Right Through You" challenge.
For this card, I used an acetate panel combined with the new Margin Dies
to create a see through card front.


I added some tiny gems that look like they're floating which is a cool effect.


The flowers are trimmed out from the larger stamp.
I thought they went well with the beautiful paper.


I hope you're inspired to try the challenge. Your card doesn't have to be see through.
You just need to have something see through on your card, even a window or a clear vase.


Sunday, May 18, 2025

“To a Dear Friend” Slider Card and “Welcome Little One” Portfolio by Diane Mason

 Hello, and welcome back for Watercolor Weekend!


Hello, Ai Watercolor friends, thank you for joining me for Watercolor Weekend! I have two watercolor projects to share with you today. The first is a monochromatic slider card, and the second is a Baby Girl Portfolio.


“To a Dear Friend” Slider Card:

Recently, my husband and I visited the city of Solvang, California. Solvang is known for its Danish-style architecture, European bakeries, wineries, and shops. While Delft Blue pottery is from the Netherlands, it is also popular in Denmark, and many of the shops in Solvang had Delft Blue-inspired items for sale. I purchased a beautiful blue and white Solvang Christmas ornament to commemorate our trip. On the way home, I kept thinking about all the pretty blue and white pottery. That’s when inspiration hit – maybe I should try painting a blue monochromatic teacup for Watercolor Weekend? And then, much to my surprise, Bonnie did a YouTube tutorial on monochromatic painting this past week for Watercolor Wednesday! I love it when all the planets align – lol. Monochromatic painting is so much fun!


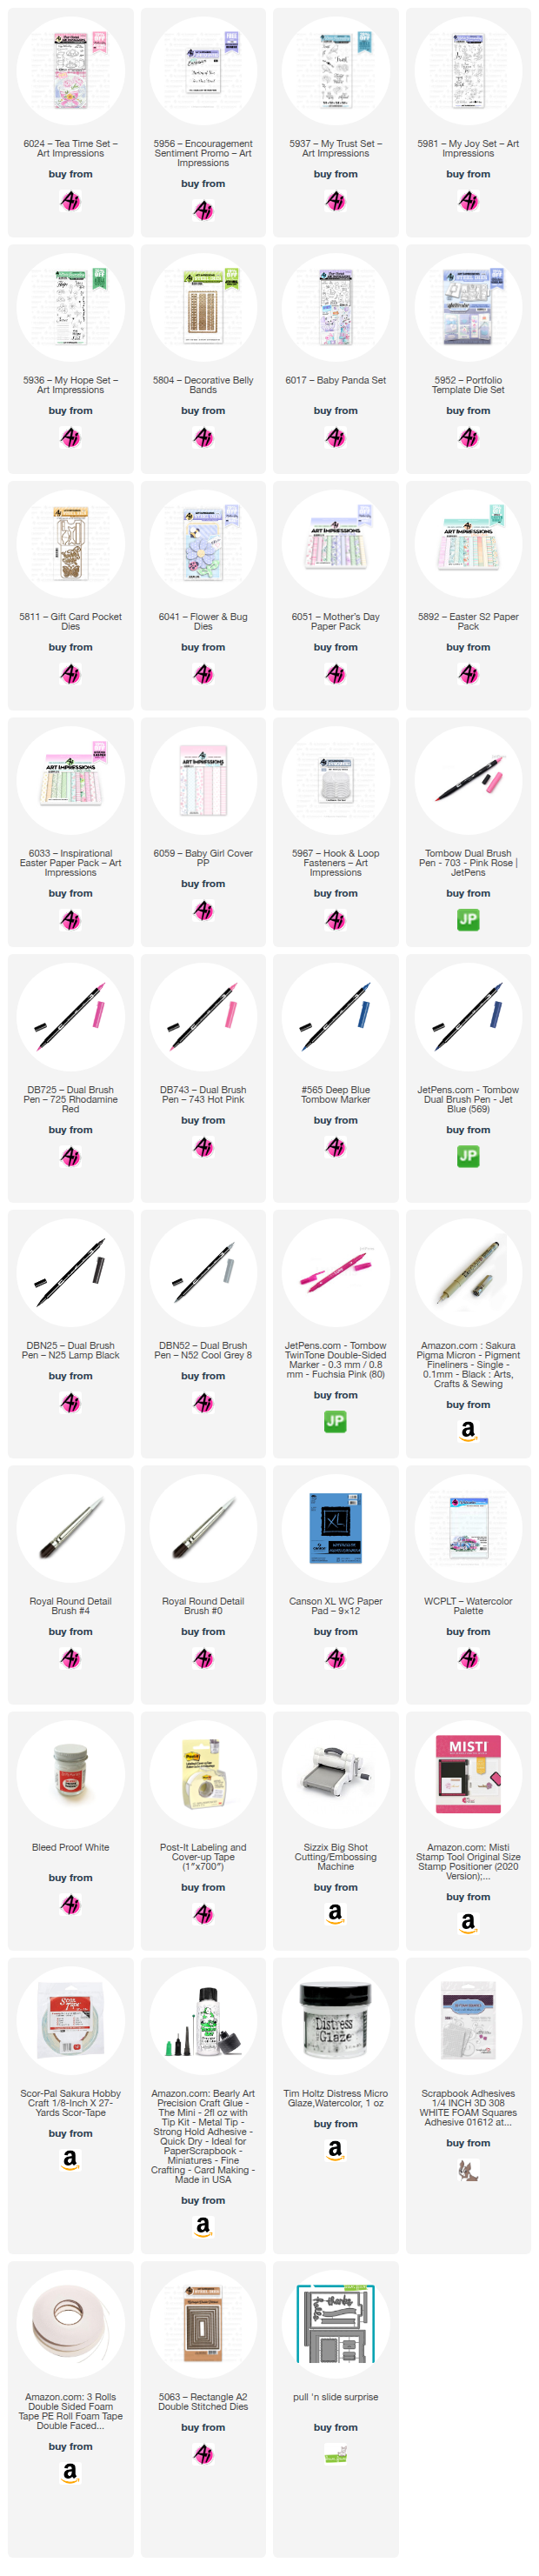
I love interactive cards, so I created a pop-up A2 slider card to showcase my painting. For monochromatic painting, you only need one marker. I chose 569 (not 565). 569 is a bit darker and doesn’t turn purplish like 565 tends to do when water is added. To begin, I inked the roses stamp from 5937 – My Trust Set in 569 and stamped it onto Canson XL watercolor paper. I made a mask for the roses and then inked and stamped the teacup from 6024 – Tea Time Set. Since I knew I wanted to add some leaves around the flowers, I left off the rim line on the front teacup. With the mask still in place, I stamped in leaves from 5936 – My Hope Set. I inked and stamped the spoon from 6024 on a small scrap of watercolor paper.


Monochromatic painting focuses on creating contrast through variations in light and dark values. I started by pulling out the ink with a damp brush, as usual, to create shadows and contours. Next, I added more 569 from my palette, gradually building up the color until I reached the desired value. Using a #0 round brush, I painted fine details and deepened some areas. I followed the same process for the spoon. I placed my painting back into my stamp platform and stamped the “To a Dear Friend” sentiment from 5956 – Encouragement Sentiment Promo Set above the teacup. I die-cut the painting with the decorative journal die from 5804 – Decorative Belly Bands Set. I also die-cut the spoon using the coordinating die from 6024. 


To make the slider portions of the card, I stamped the floral border from 5981 – My Joy Set onto two separate pieces of watercolor paper. On one, I stamped the “Thinking of You” sentiment from 5956 above the border. The floral borders were painted in the same manner as above, and then I die-cut the panels for the slider card. I attached the painting to the front of the slider and popped up the spoon with foam tape. (If you don’t have a die for making pop-up slider cards, you can simply mat the painting and attach it to the card front. Then, add the floral border and sentiment to the inside of the card).


Since this is a one-panel card, I die-cut a rectangle from white cardstock using a die from set 5063 – Rectangle A2 Double Dies to create a space for a personal message. To decorate the top edge, I stamped a border from set 5981.


I love how this card turned out, and I’ll definitely be using this monochromatic painting style again soon. 

Welcome Little One Portfolio:

Next, I have this adorable baby girl portfolio. I’ve been wanting to make one of these for a while now. I used the 5952 – Portfolio Template Die Set and 6059 – Baby Girl Cover Paper Pack to create the base of the portfolio. 


For the front closure of the portfolio, I die-cut a piece of matching pink cardstock using one of the dies from 5952. I then traced around the smaller die with a pencil onto some watercolor paper so I would know where to place the stamped sentiment and panda bear from 6017 – Baby Panda Set. The panda was inked in N52. I used N25 for the panda’s body, arms, eyes, and ears. I used 565 to shade the white areas of the panda. For the bow, I used 725 and a Fuchsia Pink TwinTone marker for the details. Rosy cheeks were added using a watery mix of 725. I dotted the eyes with Dr. Ph. Martin’s Bleed Proof White and added a black dot to the pupils with a .005 Micron black pen. I then die-cut the watercolor piece and mounted it onto the pink cardstock die-cut using foam tape for added dimension. I attached the closure to the front of the portfolio by gluing down only the right side of the die-cut. Then, I added a hook and loop fastener (5967 – Hook & Loop Fasteners) to the left side to keep the portfolio securely closed.


There are many ways to decorate the interior of the portfolio. You can add as many elements as you wish. The Portfolio Die Template Set has many options to choose from, and all the Art Impressions Journal Dies work well too! 


For the focal painting of the portfolio, I stamped the stack of gifts from 6017 – Baby Panda Set, inked with N52. The gift boxes, ribbons, and bags were painted with 703, 725, 743, and decorated with Dr. Ph. Martin’s Bleed Proof White. I used 565 in some areas for shadows. On another piece of watercolor paper, I stamped the girl panda and the peeking panda, inked with N52. The pandas were painted the same way as the panda on the front of the portfolio. Both pandas were then die-cut with the coordinating dies. I glued the baby panda to the painting and brushed in some shadows below the panda and packages with 565. I added a die-cut frame to the painting and mounted it to the center of the portfolio with foam tape.


I created a gift card pocket for the portfolio using 5811 – Gift Card Pocket Dies and the new 6041 – Flower & Bug Dies. I used leftover pink striped cover paper to make the pocket and lined it with a pink and white dot paper from 6051 – Mother’s Day Paper Pack. Here are the patterned papers I used to build the paper pieced flower: flower petals (6051 – Mother’s Day Paper Pack), flower center (5892 – Easter S2 Paper Pack), and stem (6033 – Inspirational Easter Paper Pack). I die-cut the petals twice, curled the tips of the petals, and glued them together offset. I used foam tape to pop up the flower center. I attached the flower to the gift card pocket holder with foam tape and then glued the stem into place. I attached the pocket to the left side of the portfolio with double-sided adhesive.


I created a gift tag and pocket for the right side of the portfolio. I used the pink and white dotted paper for the pocket using the pocket die from 5952. The tag was die-cut from the white and pink dotted paper and white cardstock for the back. I glued the two tags together, stamped the sentiment from 6017 in pink, and tied on some pink baker’s twine. The pocket was attached to the right with double-sided tape. I slid the tag into the pocket with the white and pink dotted side up. Foam tape was added to the peeking panda die-cut, avoiding the paws, and attached the panda just above the notch on the pocket. The tag can be used to write a note to the recipient.

To decorate the pocket, I inked the blocks and rattle stamp with N52 and painted them with 703, 725, and 743. 565 was added for shadows. Again, details were added with Dr. Ph. Martin’s and a Fuchsia Pink TwinTone marker. I die-cut the blocks with the coordinating die and attached them to the pocket with glue.


The stamps, patterned paper packs, and template dies really simplified the process. Now this sweet little portfolio is ready for gift giving!


Well, who’s this cute little brown teddy bear? Just for fun—I wanted to show you that the panda stamps can turn into the sweetest little brown bears too!

That’s all for now—thanks so much for stopping by for Watercolor Weekend! If you try out the monochromatic painting style or create a portfolio, we’d love to see what you make. Don’t forget to tag us on social media. Until next time, Happy Painting!


Thursday, May 15, 2025

Show Mom She's Special Challenge #403 Week #2

 Hello Ai fans!

Welcome to week #2 of our Show Mom She's Special challenge.


We want to see your handmade creations honoring moms or mother figures.

Last week Janet was our Featured artist and she made a gorgeous fancy fold card with  a belly band closure. You can visit her post and tutorial here.


Janet created a second card for the challenge as well.
You can find that post here.


Dori created a lovely little tea bag holder here.


She also created these sweet little pocket cards.


Tasha has a gorgeous center stair step card.


Gennette created this pretty in pink teacup card.


Lynn has a lovely pocket card that holds a bookmark. You can find her card and tutorial here.


Sharon also used the new Tea Time Set and you can find her card here.


I created two cards myself. One a tea themed card and the other a floral card with...bees of course.


✻ Please make a new card or handmade crafty creation. You can make any item you wish; this is not limited to cards! (unless specified)

✻ Limit two submissions per person.
 ✻Please include your first name and last initial on your submission. You may include your entire last name, but it's not neccessary.
✻We love to comment on your entries, but keep in mind if you use a private group or a platform that you need to sign up for, we probably won't be able to.
✻ The Ai Challenge is open to everyone, international submissions are welcome!
✻ Include a link back to the Ai Blog or grab our button on the top right of our sidebar!
✻ Share the Ai love if you can, by clicking and commenting on your fellow crafters.
✻ Make sure to get your link up by the deadline to enter your creations.
✻ Good luck and happy stamping! 

You are invited to the Inlinkz link party!

Tea Box for Mom by Dori Mendiola

 Happy Thursday AI Friends!

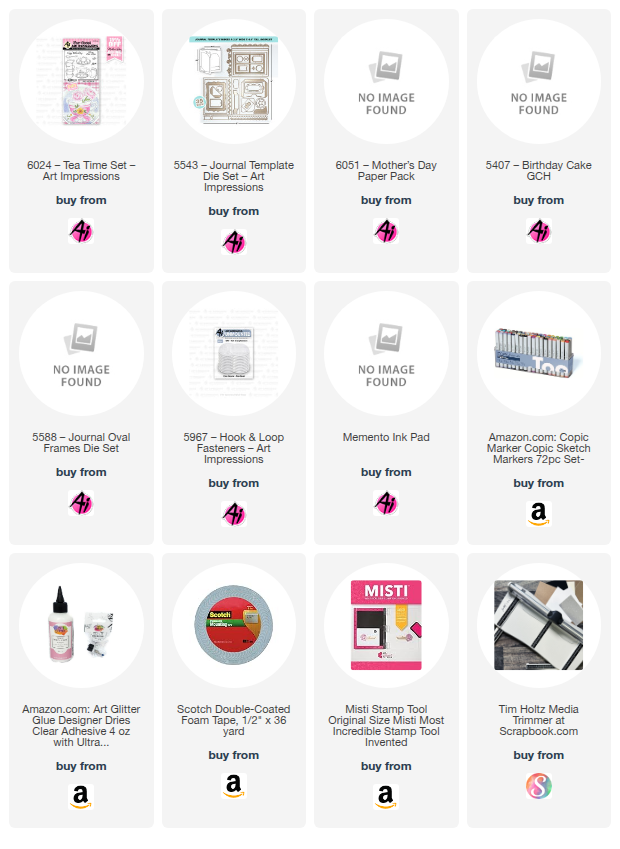
My project for today was inspired by the current blog challenge "Show Mom She's Special".  I decided to use the latest release - #6024 Tea Time stamp set to make my project for any tea lover mom's out there.  This is a cute little tea box that holds 3 tea bags.  I got the idea for this box from The Paper Pixie.  Here is the link to her youtube video - https://www.youtube.com/watch?v=LvgzsJRtjk0

I started out by stamping the images with Memento black ink onto a piece of copic friendly paper
 as well as a few pieces of pattern paper from the #6051 Mothers Day paper pack.   I colored the spoon and also the tea within the cup on the copic paper (see list of copic colors below).  I used the corresponding dies included in this set to cut the full images on the copic paper (spoon and tea cup/saucer).  I used this as my base.   I then fussy cut the tea cup from the floral pattern paper and the saucer from the gingham paper.  I then adhered the tea cup and saucer onto the "base".  I die cut an additional spoon from heavy cardstock and adhered behind the colored spoon for dimension.  
For the steam in the tea, I die cut two pieces of confetti from the #5407 Birthday Cake GCH set.  I used my E21 copic marker around the edges for a little color.  I then popped the tea cup up on the purple scallop circle and then popped that up as well with foam tape.  I stamped the sentiment onto a piece of white cardstock cut with the #5543 Journal Template die set and layered onto the purple decorative frame cut from the same set.


I hope you enjoyed by tea box for mom and it inspires you to make one.  Great little tea box to slip into your purse or travel bag.  Never be without your tea!  😀

Have a wonderful day and keep creating!

Copics used:  C00, C01, C02
E21, E23

Monday, May 12, 2025

Tea Time for Mom by Sharon Caudle

 Hello Ai Fans!!

I truly hope that all Mom's and Mom figures out there had a wonderful day yesterday and was able to celebrate your day with family and friends! I wanted to make a card using the new 6024 Tea Time Set. I stamped the teacup onto a Copic friendly paper using Memento Tuxedo black ink and then created a mask for it so I could stamp the flowers. I knew the flower bouquet stamp wasn't going to fill the top of the teacup, so I stamped it once above the teacup, and then stamped it two more times on a separate piece of cardstock. After coloring them all up, I played around with the additional two bunches of flowers to figure out how I wanted to place them to get the look I wanted, and then got busy fussy cutting the pieces that I decided on. There are two separate pieces that are actually popped up from the flat image of the teacup and flower bouquet. I'm a dimensional girl! LOL! I then stamped the sentiment on one banner, but cut an additional four banners with the same die.  I just glued them together and it comes out like home made thick chipboard. It makes the sentiment so sturdy, adds lots of dimension, and I didn't have to pop it up!  I just love the awesome stitch detailing around that banner die! 


So that's it for me today! Thanks so much for stopping by for a visit and until next time - stay crafty!!


Copic markers used:

RV10, 32, 34, and 69

G40, 43, and 46

B00, 41, and 45

T1 and 2


Sunday, May 11, 2025

Happy Mother's Day and Bakery MB by Gennette Houghton


Hello and Welcome to Watercolor Weekend. Wishing all of the wonderful Mom’s out there a very happy Mother’s Day!!  The new 6024 Tea Time Set has sentiments just for Mom, and is a beautiful set.  

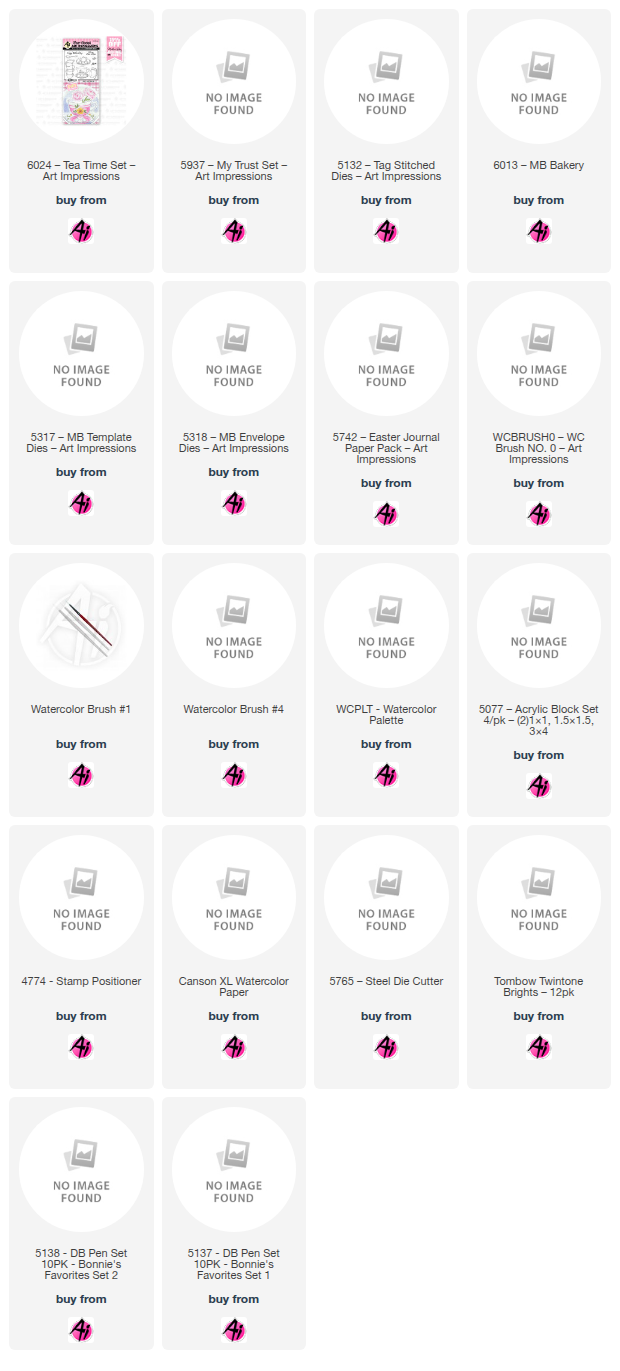
I decided to use the largest tea cup for my card today.  I started off with a piece of watercolor paper and die cut the panel and then die cut out a decorative section in the upper corner. I then stamped my image in N49, after stamping off once in the bottom corner.  I used set 5937 My Trust Set for the flowers. Using the stamp positioner and in N49, stamping off once, and placing the flowers in the teacup.  I started with the flowers first by adding 817. I like to place color in the darkest areas first to set the pedals apart. Pulling that color out to the ends of the pedals and adding more color as necessary.  For the inside of the flowers I added 025 with a touch of 947, which I have found works really well with yellows.  I shaded around the flowers inside the cup with 565, and used the same color to give definition to areas of the cup and saucer.  For the flowers on the cup I used 703, trying to give it dimension without giving it to much.  I wanted it to appear a bit on the “flat” side.  For the leaves and stems I used 126. I also used 565 to shade under the teacup and under the saucer.  I then added just a touch of 703 around the outside edges of the image just to give a bit more dimension to it without adding to much color.   

I matted my image onto some pink cardstock and then attached it to my card base. Now you could leave this as it is, it would make a perfect card for any day occasions.  Going through my dies I decided on 5132 Tag Stitched Dies for my sentiment. I first stamped Happy Mother’s Day on some watercolor paper and then centered my die over it and cut it out.  After attaching this to my card I was going to put a gem over the hole on the tag and then remembered I had some little flowers in my stash and chose to use them instead.


My 2nd project today I used one of the newly released Matchbooks, 6013 Bakery Matchbook, the sweetest scene, look at all those goodies. The MB’s require 2 other additional sets, the 5317 MB Template Dies and the 5318 MB Envelope Dies, these work with all of the other MB sets in Ai’s line. I started out with permanent black ink, mixed media paper, a #1 and #4 brush. Personally I prefer to stamp all of my images, color them, and then die cut them out. I cut out the base template out of 5742 Easter PP, I felt the soft pink was perfect for the Bakery.  There are a lot of elements to this scene, but if you keep your color palette simple, you will breeze right through it. For all of the wood elements I used 947, and 969. For the background on all of the signs I used 761.  The table cloth 990, and 992. Cherries I used 856, and 969.  The bread and rolls 992, 947 and 969. For all of the pink elements I used 761, 772, 817, and 837 was used on the pie.  For the spoon, and the cake stand, I used N60 and N52. The doily and pie stand I shadowed with 565.  Yellow cake I used 025.  Chocolate cake I used 992, 969, and 899.  Books are 817, 243, 403, 025, and 992. Blueberry tart I used 565, and the tin N60, and N52.  Cupcake stand I used 243, 969, and shadowed the glass with 565.  Once everything was colored, I then used the included dies. The dies have score lines so that you can easily fold the tabs on each piece.  I used the 5317 MB Template Die and 5742 Easter PP and assembled the Matchbook together. If you would like to see a tutorial on how to put these together, Bonnie has a wonderful tutorial that you can watch HERE. Don’t hesitate to ask if you have any questions, I will do my best to answer if I can.  Thank you for joining me today, and I hope you enjoyed my projects.  Until next time, Create….Share….Inspire!