Hello Ai fans!
We're so lucky that June has a 5th Sunday because that means we get a bonus treat from Guest Designer Sara Furr. She's created 3 spectacular cards to inspire you this weekend.
Please welcome Sara and enjoy, as she tells you all about how she created her lovely cards.
--------------------------------------------------------------------------------------------------------------------------
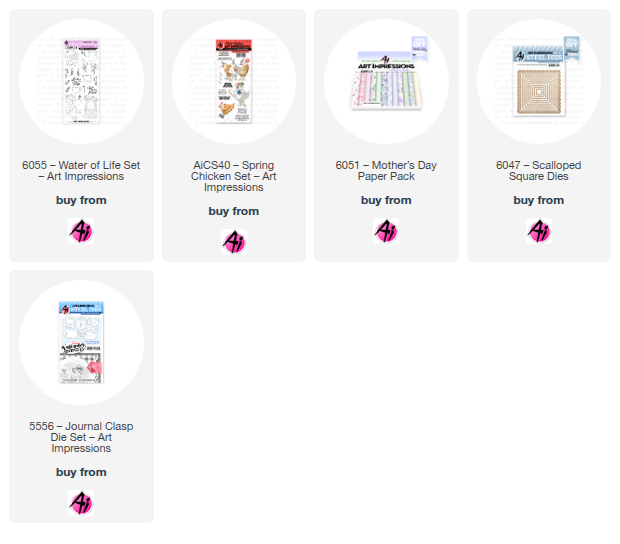
Greetings from the Farm, crafty AI fans! I am Sara Furr, The Crafty Farm Chic, and I am so happy to be here with you on the blog today. I hope you are all enjoying your summer so far. It has been wicked hot where I live and I am always dying of thirst, so I was inspired to create some cards using the new "Water of Life" stamp set #6055. It features some wonderful images; a brook, a well, a pail, a cup, and a water pitcher.

For my first card I used the pitcher. I stamped it and the flower bouquet in Momento black ink and colored them with Copic markers BG11, BG10, YG41, YG45, RV10, V04, and S.U. Stampin' Write Marker in Magenta Madness, then I fussy cut them out. I cut a panel of white cardstock with the largest "Scallop Square" die #6047, from AI, and left the die in place while I ink blended some Tumbled Glass Distress Ink around the perimeter. I removed the die and stamped the bouquet again in Momento ink directly onto the center right of the panel. I colored the flowers again to look like the ones I cut out. I applied foam tape to the pitcher after I adhered the flowers into the pitcher, tilted slightly. I cut a doily in half and adhered it just underneath the stamped flowers, and then adhered the pitcher in place over the stamped bouquet and the doily so that the pitched appears to be sitting on a table.

I stamped the sentiment onto Teal cardstock with Versafine Onyx black ink and die cut it with the 3rd smallest scallop square die and adhered it to the left of the pitcher, sitting on the table as though it was a decorative picture frame. For an added decorative element, I cut out the buckle from the "Journal Clasp die set" #5556, from white cardstock and threaded some Jade green gingham ribbon through it and then adhered a green button on top, and a linen thread bow adhered to the top of the button with a tiny glue dot. In the far right corner I added 2 bubble drops. I adhered fun foam to the back of the panel and set it aside to create my other layers. I cut a 4 3/4" square from the pink striped dsp, a 5 3/4" square from the flowered dsp, and a 5 3/4 x 3" pink polka dot piece, all from the Mother's Day Paper Pack #6051. I rounded the corners of the 2 square panels with a corner rounder punch. I then adhered the floral square to my white 6x6 card base, and then the pink polkadot dsp in the center along with 2 pieces of flowered lace trim. I applied fun foam to the back of the pink striped panel and adhered it in place and then added my focal piece on top of that.
For the inside, I added a 5 3/4" square of Teal cardstock that I again rounded the corners on, and added my left over strips from my front pieces to the bottom. I added a white panel, corners rounded, and stamped the cup in Momento black ink, and colored with Copic B0000 and B00. I added some of the silhouette flowers in black ink, and then stamped the sentiment with Versafine Black ink. I always use Versafine for my sentiments, as it stamps crisp, clean images.
My second card uses the same "Water of Life" stamp set, but this time I wanted to create the look of watercolor, so I colored my scene doing my "hybrid faux watercolor technique ".
How does one do this? Well, I will tell you!

So the main focal, or foundation element should be stamped in Momento so that you can color with alcohol markers, but then once that is colored you can add in your florals and foliage with any dye ink markers, like the Tombow markers Bonnie uses for watercoloring. Then you can blend out those stamped images with lighter versions of the same color of alcohol marker to give you a faux watercolor look without any water or expensive watercolor paper at all!
So, I started out by cutting out a white stitched circle and stamped the pail in Momento black ink so I could color my pail with alcohol markers. I used Stampin Blends L + D Cinnamon Cider for the wood. For the metal rings and handle I added just a bit of Stampin Write Marker in Misty Moonlight (this is dye ink) to the farthest corners and then blended it out with N2 + N5 Artist Loft markers (light gray alcohol ink) making sure to leave some white highlight so that the image appears to be rounded as a pail should be. For the water I added tiny bits of the Misty Moonlight marker to the very edges and corners and then blended that out with Copic BG15 + B00.
OK, now you want to stamp in your foliage grass and florals using your dye ink markers. For the grass, I used Stampin' Write markers in Wild Wasabi and Just Jade. I also used those colors for the stems of the flowers, and the flowers themselves I colored in Purple Posy, Highland Heather, and Misty Moonlight. Once they were all stamped, I used a Stampin Blends marker (alcohol ink) in Soft Seafoam to blend out the grass and the stems so that it appears to look water colored. To add in the sky I applied the circle die back to the circle to act as a mask, and ink blended Tumbled Glass Distress Ink around the edges of the circle making sure to leave the center as a white highlight. I added tiny white dots as filler in my foliage with a white pigment marker. I then stamped the sentiment with Versafine Onyx black ink. Lastly, I added 3 bubble gems for embellishment.
I added this focal piece to a Misty Moonlight circle die and I applied a circle of fun foam to the back before adding it to another decorative circle of teal cardstock. I cut a scallop square of that beautiful Mother's day paper, backed it with fun foam and matted it to a stitched square of Purple Posy, and then to a scalloped square of Misty Moonlight, and then to my 6x6 teal card base. As a final touch, I added one of my hand tied shabby chic crinkle bows.
For the inside I used my negative pieces left over from the pieces I cut for the front. I stamped and colored the cup the same way as I did on the first card.
I have a third bonus card for you all using the same Mother's day paper pack and one of my favorite AI stamp sets, "Spring Chickens". I hope you enjoy it! I would tell you how I made that card too, but I fear you may have already fallen asleep on me! Haha.
I really enjoyed creating these cards for you and I can't wait to be back here on the blog with you again soon! Many blessings to you all and I hope you all have a crafty Summer! Take care friends.
Love ,
The Crafty Farm Chick


1 comment:
Beautiful cards Sara!
Post a Comment