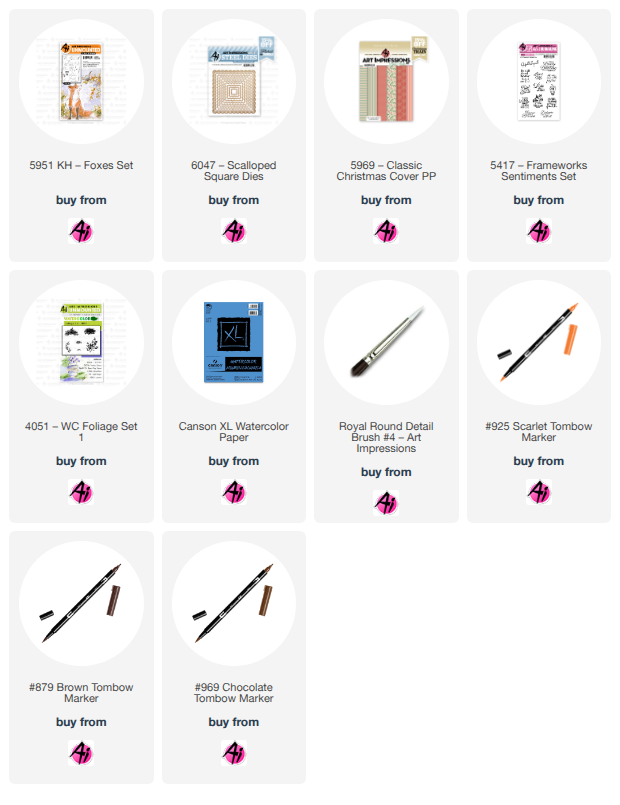
Showing posts with label 6047-Scalloped Squares Dies. Show all posts

Thursday, July 30, 2026

Floral Frenzy Challenge #433

Hello Ai fans!
Welcome to our new challenge.

FLORAL FRENZY

Let's see your floral creations.
Remember, they don't have to be cards. You can create anything you like as long as you use something from Art Impressions. We'd love to see your gift card holders, gift tags, boxes and bags, bookmarks, place cards, cake picks, designer paper, framed art and more. Anything with flowers.

This week Janet is our Featured Artist and she took the theme to heart,
creating the most amazing floral card.
After you browse through her photos and picture tutorial,
be sure to see who the winners from our last challenge are.


Hi everyone! It's time for the newest Ai Challenge - Floral Frenzy. With so many floral stamps and dies to work with, this one is super easy to participate in. For inspiration I've created a card made almost entirely with dies. The only stampingare the two sentiments. Sometimes it's nice to take a break from coloring and with all the great die sets in the store, it's not hard to make something awesome out of imagination and cardstock! For my challenge project, I used 6041 - Flower and Bug Dies with a little help from some other Ai sets.

This card starts with a unique fancy fold. I learned about it from Tarabeth Stamps' blog. It folds flat for mailing but when open, the right front flap tucks under something, in my case buttons. When tucked, the card pops forward thanks to the scored folds in the front panel. When the card is open, there is lots of room to stamp a message and a strip of cardstock plus the buttons just makes it even more charming to open.

Here you can see the dimension of this card when it's opened for display. The center portions of the card front pop out to move the focal point of the card out. It's a little bit surprising as you don't necessarily expect that at first. Tuck the right edges of the card under the buttons and the magic happens!

Start with a 4 1/4" x 11" of cardstock and score 6 lines moving from right to left: 3/4", 2", 3 1/2", 4 3/4", and 5 1'2" as shown here.

Fold the scores so that you create a flat mountain shape in the center of the card front.


Then glue the last scored section and close the card. This creates a flat left edge to the card base.


Next come the mats. Since it's a floral challenge I naturally chose 6205 - Floral Shop Paper Pack. Pick three patterns that coordinate and cut them all at 4 1/8" high. Cut the strips in these widths in the order shown: 5/8", 1 1/8", 1 3/8", 1 1/8", 5/8", and 3/4". This is the same order the strips go on your folds moving from left to right.


Here are the first five strips. The sixth strip is used on the inside but will peak through when the card is tucked and displayed.


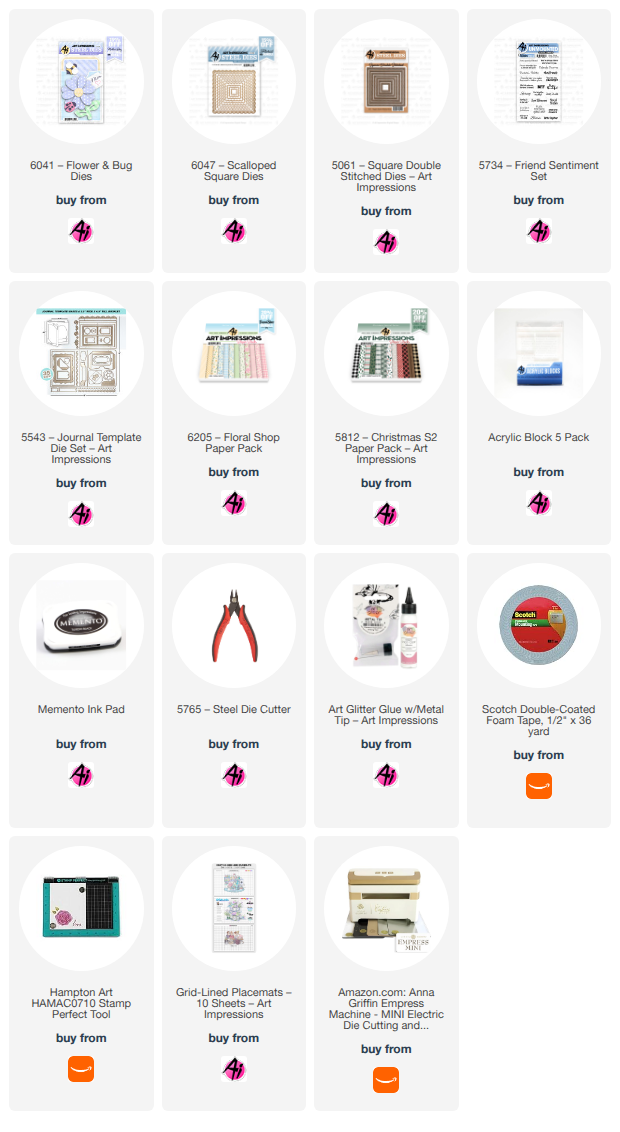
Next I created the mats where the flower and bugs will rest. For this I used a die from 6047 - Scalloped Square Dies and another square from 5061 -Square Double Stitched Dies which nests on top of the scallop square.


I cut all the cardstock shapes from the 6041 - Flower and Bug Dies set. I cut two of the flower pieces and once of everything else. I cut the gold cardstock circle for the flower but decided to use a brad instead at the last minute. For the bee's wings, I used vellum so they would be translucent.


I assembled the flower, the bee and the ladybug. I secured the two flowers together with a clear jewel brad and placed the pieces on the matted square. You might think my buttons are real but they're just cardstock! I used woodgrain paper from the 5812 - Christmas S2 Paper Pack. For this, I used a button die found in the 5543 - Journal Template Die Set. I cut two more buttons which I glued under the woodgrain button. One layer was brown to give the buttons a little more rigidity and I cut a round circle in blue cardstock which peaks through the button holes. For this I used the flower center in the Flower and Bugs set. I also cut the tag from a die in this set and matted it on green cardstock. I cut out the interior white piece 4 9/16" x 4 1/8" and glued the sixth paper strip on the right side. I stamped BFF and the inside sentiment using stamps from 5734 - Friend Sentiment Set.


To finish the card, I glued the finished focal point at a slight angle only to the striped center panel. Don't let your glue go beyond this because if you do, it'll stop the pop-out feature from working. Then I glued the inside sentiment piece. Just the right edges of each button on the inside strip of patterned cardstock are glued. Do not adhere the entire button down because you need room to slip the right front edge of the card under the buttons. Here's another look at the card in case you've forgotten after all the instructions!


This is a simple but unique fancy fold that I think is a fun presentation to someone. You can use anything for the tuck pieces. I used buttons but you could use hearts, stars, flower shapes - basically whatever your heart desires or will work with your theme.

I hope you enjoyed my creation for the Floral Frenzy challenge! I invite you to join in and enter your floral creation in this challenge. Just link it this post in the next two weeks to participate. Easy peasy! 

Thanks for stopping by and spending time with me and Art Impressions today. Please visit the Ai store to pick up your favorite stamps, dies, papers, accessories, and supplies. 
Happy Crafting!


This is such a pretty card and the fun fold just enhances its beauty.
Thank you Janet!

Now, let's see who won our Christmas in July challenge.

For our Top Spot we selected #5
Marianne H.
for her amazing spooky scene.


Please contact Leah at Feedback@artimpressions.com
to claim your free stamp set.


Our Lucky Random Winner was #13 Lynn C.
(which proves the #13 isn't always unlucky...lol!)


Please contact Leah at Feedback@artimpressions.com
to claim your free stamp set.

Congratulations to our winners!
Enjoy your new stamps.

Now, onto the details of our new challenge.

Please make a new project featuring any floral themed
stamps, dies or paper from Art Impressions.
We can't wait to see what your beautiful creations.

Here are the rules...

✻ Please make a new card or handmade crafty creation using either stamps, dies and or designer paper from Art Impressions. You can make any item you wish; this is not limited to cards! (unless specified)

✻ Limit two submissions per person.
✻Top Spot Winner and Lucky Random Winner each receive a free 
stamp set from Art Impressions
 ✻Please include your first name and last initial on your submission. You may include your entire last name, but it's not necessary.
✻We love to comment on your entries, but keep in mind if you use a private group or a platform that you need to sign up for, we probably won't be able to.
✻ The Ai Challenge is open to everyone, international submissions are welcome!
✻ Include a link back to the Ai Blog or grab our button on the top right of our sidebar!
✻ Share the Ai love if you can, by clicking and commenting on your fellow crafters.
✻ Make sure to get your link up by the deadline to enter your creations.
✻ Good luck and happy stamping! 


You are invited to the Inlinkz link party!

Click here to enter

Tuesday, July 28, 2026

Bird Thank You card by Reneé Matarese

 Hello Ai fans and happy Tuesday!

I'm a huge bird lover so I was thrilled when I saw the new 6209 – Corner Bird Bookmark and, as you can see, it doesn't have to be used just as a bookmark. I chose to put it on a card for a co-worker.

At the school I work at, we had a child assigned aide this year. He did a lot for the 5th grade kids so I made a card for them to sign and give to him.

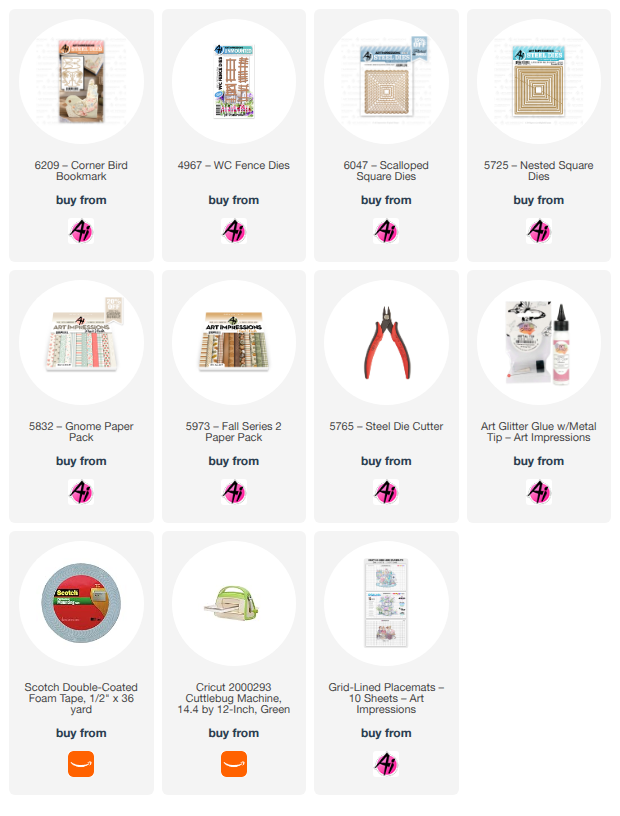
Since the bird is squared off, I chose to mount him on the 5725 – Nested Square Dies framed by the 6047 – Scalloped Square Dies. I added a little fence border at the bottom using 4967 – WC Fence Dies. All of my patterned papers came from two paper packs, 5832 – Gnome Paper Pack and 5973 – Fall Series 2 Paper Pack.

I can see myself using this sweet little bird a lot, whether it be on cards or as
bookmarks for all of my friends who love to read.


Saturday, July 4, 2026

Happy 4th of July by Gennette Houghton


Hello, and Welcome to Watercolor Weekend!  To our U.S. friends I am wishing you a Happy Independence Day.  Since my post actually falls on the 4th, my cards are geared towards honoring the day.  (Someone please explain to me how it is already July?!)

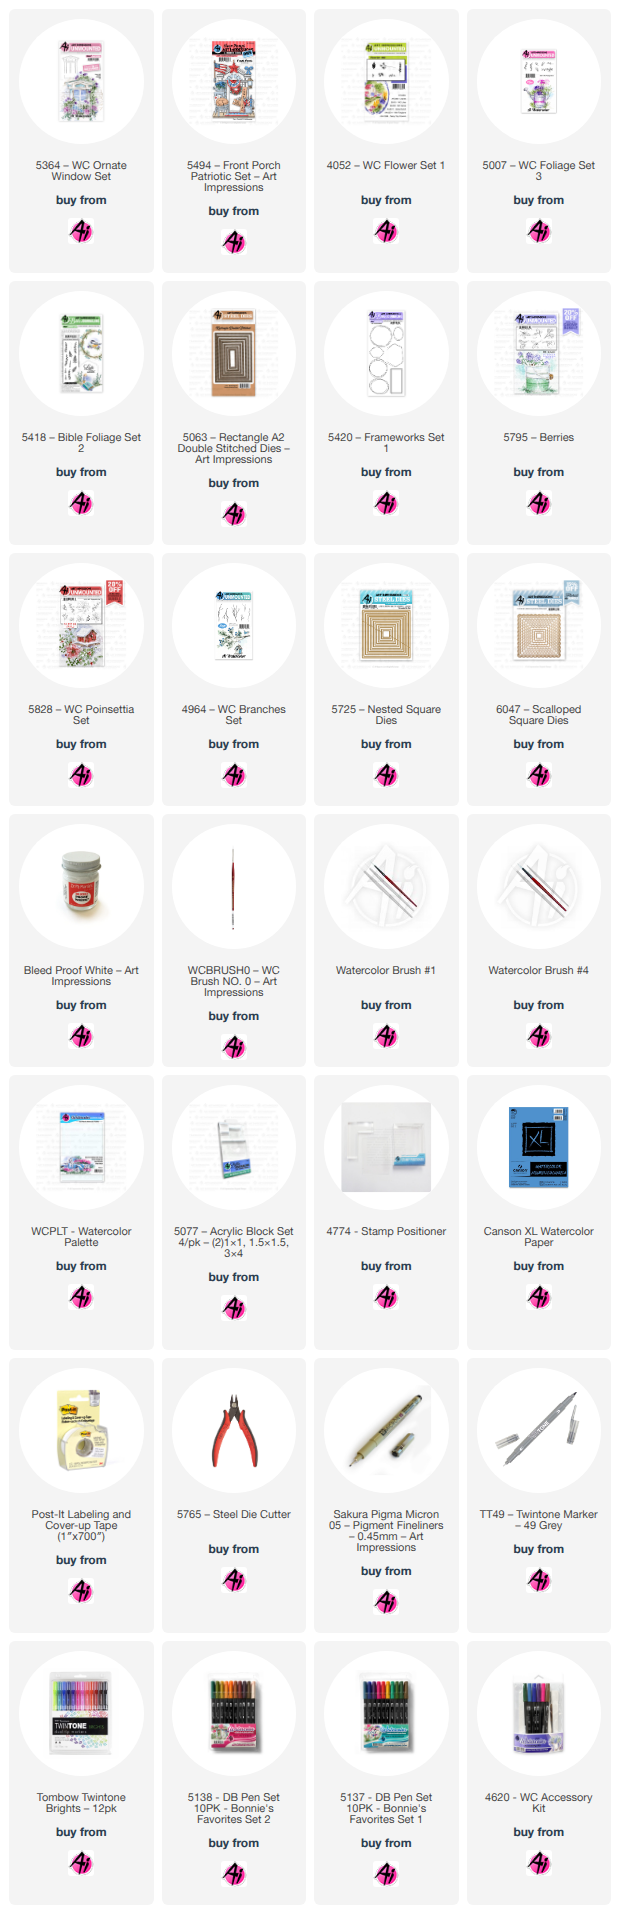
I have always been fond of using the window and door stamps from Art Impressions, they always feel so inviting to me.  Kind of like…HI! I am so glad you are here! Come on in!  For my first card I used 5364 WC Ornate Window Set and 5494 Front Porch Patriotic Set.  Both the window and the bunting were stamped in Distress Ink Pumice Stone and stamped off once.  I started with the bunting and created a mask and then used my stamping platform and a piece of acetate first to make sure that I had the window lined up where I wanted it before stamping onto my watercolor paper.  I used 312 on the main frame and left the trim white.  Going lighter with the 312 close to the window box so it would not compete with the flowers and foliage I am putting in.  Darkening the more shadow areas with the same color and then adding in some 565 to enhance the shadowed areas.  I also added some 312 around the window for a background before adding any of the foliage.  Using a pencil and ruler I added in some windowpanes, and then added in some 526 and 565 around the edges of the window and under the lines I put in for the panes of glass.  A little 969 was used to put in the handles.  On the bunting I started by putting in some shadows in the folds with 565, and then added 569 around the stars and 856 for the red areas.  The daisy bunch from 4052 Flower Set 1 was used in 526 and 885.  I then added the ivy from 5007 WC Foliage Set 3 in 177.  I did use a stamp positioner for some of it because I wanted them in a specific spot and that allows me to do just that.  I softened both the flowers and ivy with a damp brush. After this I dropped in some water downed 555 in and around the vines for a bit more of a contrast.  I also added some 565 to create shadows where the ivy and flowers overhang the window and box.  565 and the dots from 5418 Bible Foliage Set 2 was added throughout the vines and then added in some Bleed Proof White amongst the flowers in the window box, finishing off my image.  


I then took the 2nd largest die from 5063 Rectangle A2 Double Stitched Dies and cut out my image, matting this with a dark blue colored cardstock.  I used some paper from my stash to mat the card base and then attached my image to finish the card off.  I love this window, it has so much character about it, you should check out some of Bonnie’s tutorials with this set, I love the Halloween version she did.


 For my 2nd card I started by placing my stamp from 5420 Frameworks Set 1 in my stamping platform after lining it up on my watercolor paper.  I took a very light gray and marked the spot on the stamp of where I wanted my star to be and stamped it on the WC paper.  This way I knew exactly where I needed to place the star and it wouldn’t interfere with the colors I was putting in.  I then stamped in the star from 5494 FP Patriotic Set in Distress Ink Pumice Stone after stamping off once.  I created a mask and covered the star before going in with 990 on the frame, keeping it really light so I had a guide to go by.  

I then added in leaves from 5795 Berries Set with a stamp positioner, also in Pumice Stone, and stamped off once.  I then used the stamp positioner to put in the berries from 5828 WC Poinsettia Set in Pumice Stone and stamping off once each time.  Once I had all of this in, I put it back in my stamping platform and carefully started adding in 977 on the frame, being careful to stay away from the items I just stamped in.  Then I added in 4964 WC Branches Set in 977 with the stamp positioner and put that in a couple of times going up the other side of the frame.  I then started with the leaves, first using 126 and then contouring and shading with 177.  055 was used first on the star, with 025 for depth, and then added a bit of 026 for the shading.  Keeping the highlights on the upper bends of the star.  I used 569 for the blue, and 856 on the red for the berries, then added just a touch of 837 for more contrast.  I then added 977 on the stems of the berries, also going over any of the lines on the frame that I didn’t darken before.  I then used a Marvy #89 Persimmon with the fine tip to add in the berries on the branches on the other side, softening just a touch with a damp brush.  I added in some 526 for the background, but for whatever reason, and no matter what I did, would not show up in the picture.  Using the 4th from largest in the 5725 Nested Square dies I cut out my image and used a corner rounder so it would match up with the 6047 Scalloped Dies, 3rd from largest that I cut out of dark blue for the mat.  I then matted my card base with paper from my stash and assembled my card.  Thank you for joining me today, and I hope you enjoyed my cards! Until next time, Create….Share….Inspire!


Saturday, May 16, 2026

Pansy Garden by Janet


Hi everyone! Today I'm participating in the current challenge, Mix and Match. To participate, your entry simply needs to include two or more Ai products. My challenge card actually uses four products. It's so easy to combine Ai sets to tell the customized story you want.

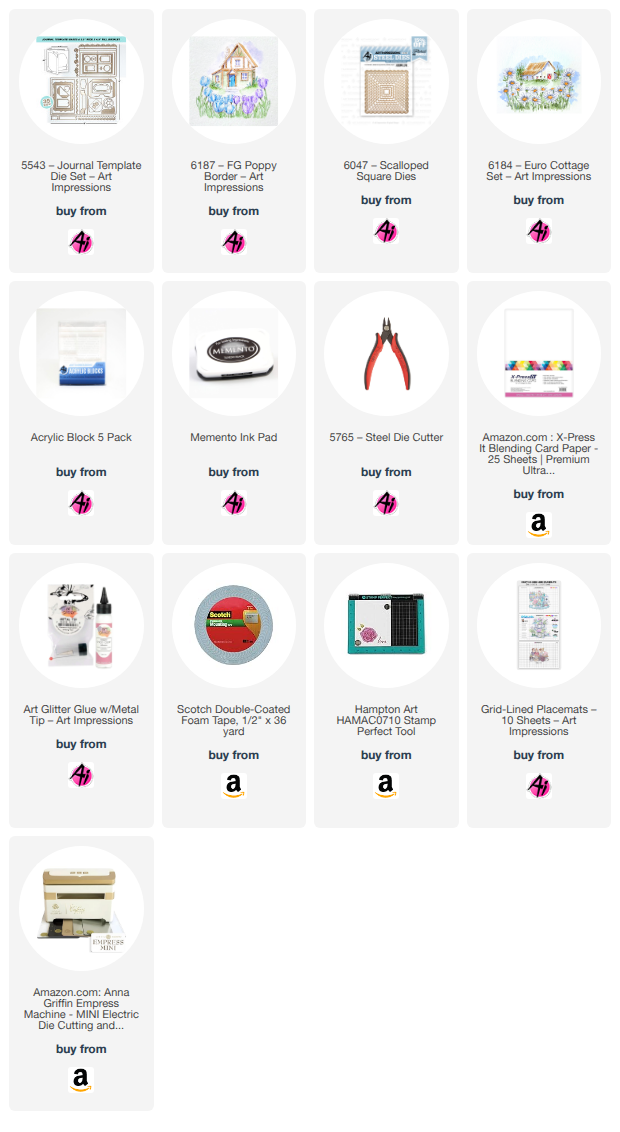
This card features two stamps that happen to be used together, although they also work well by themselves too. I started the card by choosing a house from the 6184-Euro Cottage Set. It comes with 2 houses and I really love the one I used here. It reminds me of the stucco homes and buildings that are traditional German and Swiss style. After stamping it, I added the 6187-FG Poppy Border. It looks like your card has pansies you say? Yes! By changing the way I colored them, it was easy to turn the poppies into pansies. My favorite pansy is lavender and yellow so that's the colors I chose to use. I was thrilled that I could adjust the image to come out this way. I colored this scene with Copic Markers. It doesn't show up well in the photo but I used a light gray marker to create swirl marks that you expect to see in stucco. Isn't it cool how the house is tucked into the pansy border. The perspective works so perfectly. 

Next, I created a fresh green 4 1/4" square card base and cut a peak-a-boo window in the front. Then inside, I added the scene that I cut out using the larges square in the 6047-Scalloped Squares Dies. By doing this I created a window that allows the image to show partially. Once opened, you see the whole image. I also stamped the sentiment in the Poppy Border set on clear vellum. I attached it to the inside of the card and covered my glue spots with butterfly cuts from the 5543-Journal Template Dies Set. Finally on the front of the card, I added a looped bow with a little purple button on top. 


Thanks for joining me on the blog today. As always, find your favorite stamps, dies, papers, and accessories at the Ai Store!

Happy Crafting!


Saturday, May 2, 2026

Friends Are Like Flowers by Janet


Today I'm sharing a card I've made with the new 6188 - FG Daisy Border set. This is part of a new line called Countryside. There are three different floral borders and two more sets with a total of 4 houses that are sized to nestle into the floral borders. These are really charming sets and work wonderfully alone or together, depending on on the scene that you are wanting to compose.

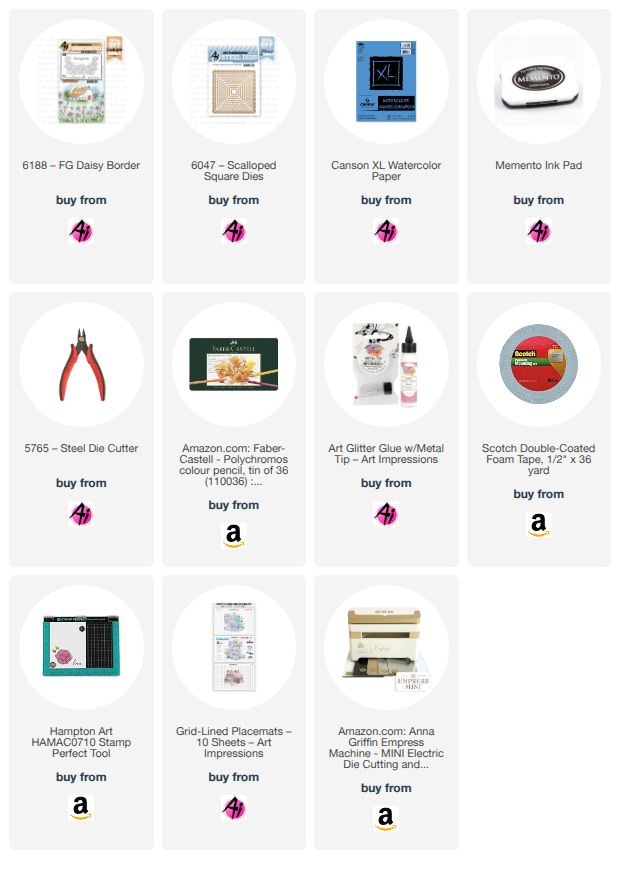
I stamped the daisies on Canson XL WC Paper from the store. I really enjoyed coloring the pink and yellow daisies with polychromo colored pencils. After that I applied a wash of metallic light blue watercolor. Similarly I applied a light green wash of watercolor at the bottom of the daisies. Once the paper dried fully, I stamped the sentiment and heat embossed it with black embossing powder. 

Once complete, I created a 5" square bright pink square card base. I cut out a pink shimmer cardstock mat using 6047 - Scalloped Squares Dies. Then I cut out the daisy piece and layered it on top of the scalloped mat. This grouping was adhered to the center of the card base. 

I love how this turned out. Pencils create a different look to watercolor or alcohol markers. It's bright and rich but also adds texture since the pencils conform to the texture of the watercolor paper. This is such a nice composition and made easy with Art Impressions products designed by the amazingly talented Bonnie! 

Thanks for visiting the Ai Blog and my project today. I hope you enjoyed my take on the set. You can find all the Countryside sets at the Ai store. You'll find your favorite stamps, dies, papers, and accessories at there!

Happy Crafting!


Saturday, April 25, 2026

Fresh Flowers For You by Janet


 Happy Saturday everyone! I'm in such a mood for spring so it's a good thing there are so many great Art Impression sets to explore the season with! Here I've had a great time exploring coloring with pencils and watercolor using the new 6196 - Fresh Flowers stamp set. 

Those of you who see my work here each week, know that I almost exclusively use markers but this set and the other five sets in this line have inspired me to try using two coloring mediums that I'm not very experienced using. Is this perfect? Absolutely not. But I had a wonderful experience using something out of my comfort zone and overall, I'm happy with the result. I hope you agree. 

Sometimes we are afraid to do something we haven't done before. Believe me, there were moments when I was tempted to quit and give up. I was critical of my technique and my skills. But you know what? Art and expression is about the journey not perfection. I'm so glad I didn't quit!

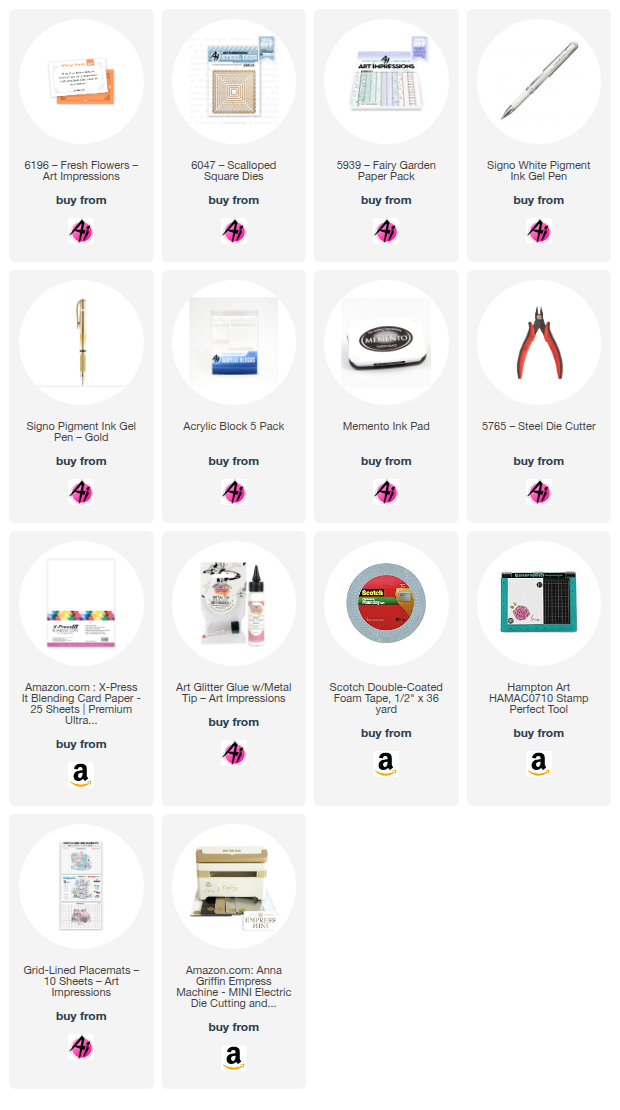
After finishing my coloring, I used a die from 6047 - Scalloped Squares Dies to cut it out for my card. I cut a larger scalloped lace border with the largest die from the set and mounted the two pieces together. I backed this with a slate blue glimmer cardstock. Then I mounted that on a piece of glimmer pink cardstock before mounting the stack on a 5 x 5 square card base. I added the sentiment from the set and I used a gold Signo pen to draw a dash dot border around the card edges. I used a white Signo pen to add some highlights to the canopy and flowers. Finally I added a pink satin bow to the corner.

Thanks for joining me on the blog today. I hope I've inspired you to try a technique that's outside your comfort zone. You might discover something that surprises you!

Please stop by the Ai store. You'll find your favorite stamps, dies, papers, and accessories at the Ai Store!

Happy Crafting!

Friday, March 27, 2026

Bee Happy! Card by Tasha

 Happy Friday Art Impressions Friends!
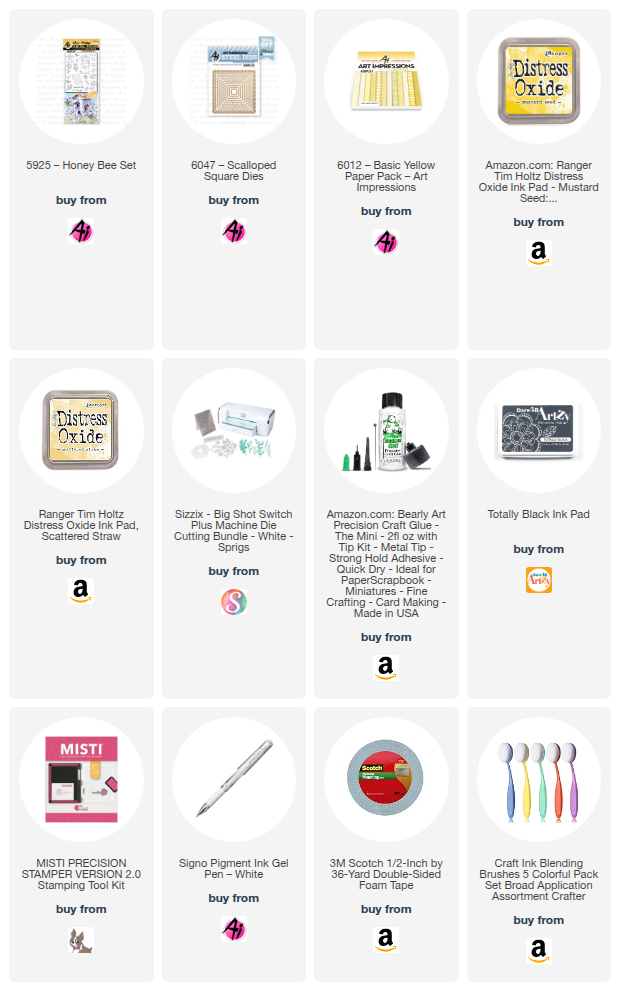
Tasha here sharing a fun new card featuring the Freebie-Honey Bear and 6047-Scalloped Square Dies. I love bee-themed cards and this sweet stamp is perfect for Spring! 
To create this card, I stamped the little bear on to a stitched square before ink blending the edges to bring in more color. I was inspired by the colors of the bee, so I added layers of black card stock, yellow plaid pattern paper, and used white for the largest scalloped frame. I love how the bright white shows the pretty edge and separates the darker colors.

For the greeting, I stamped "Bee Happy!" from the 5925-Honey Bee Set. This set has several greetings that can be used for year-round cards and projects. I also used two scalloped round dies to frame the greeting and coordinate with the scalloped squares.
Lastly, I attached layers of dark yellow and black card stock and another piece of pattern paper and attached three gold dots to complete the design.


Friday, January 30, 2026

A Wildly Fun Birthday Card by Tasha

 Happy Friday Art Impressions friends!

Tasha here sharing a new birthday card featuring the cute lion from the Art Impressions 5400-Birthday Critters Set.


This cheerful little guy felt perfect for a fun and colorful birthday design. I started with an orange background created using alcohol ink blending, then cut it with the 5061-Square Double Stitched Dies. I really love the stitched pattern because it adds texture without overpowering the design. To make the card feel extra festive, I added two stamped gift box images along with a playful star pattern paper that brings in even more birthday energy.

For the layers, I used the 6047-Scalloped Square Dies to cut white and olive green paper. The scalloped design on the large square adds so much detail and helps frame the center image beautifully. To finish things off, I attached a Happy Birthday stamped mini banner and added one final paper layer in a golden color to coordinate with the orange background and pull everything together. This card was so much fun to create and I hope it brings a smile to someone on their special day. 

Thanks so much for stopping by and I hope you are having a great day!