Showing posts with label Spotlight on Simone and Sara. Show all posts

Sunday, December 14, 2025

Simone and Sara's Top 5 of 2025

 Hello Ai fans!

Today kicks off our Top posts of 2025.

Each of our Designer Team members chooses their favorite projects for the year.

We're beginning with our two FABULOUS Guest Designers.


First up we have Simone.
Her style runs from soft to bold,
from stunning to just plain cute and fun!


Please enjoy her choices.
----------------------------------------------------------------------------------------------------------------

Hello my crafty friends!

This year truly flew by! A big heartfelt thank-you to Renee Matarese for inviting me on as a guest designer, and to the entire Krebs family for building such a creative, welcoming, and inspiring brand. I loved every moment of this experience. Narrowing down my five favorite cards of 2025 was definitely a challenge, but I’m excited to share the ones that made the list!

Thank you again!

Simone Carr


Next up we have Sara Furr.

She also has a varied style, which is wonderful!

She ranges from soft, shabby chic pastels, to Faith based cards, to bolder funny cards,
 especially FARM animals!
She doesn't go by The Crafty Farm Chic for no reason!


Dear Ai friends, I was asked to pick my top 5 favorite creations from this year, and I can't begin to tell you how hard this was for me! I have really enjoyed exploring new techniques and trying my hand at watercolor. I can't thank Art Impressions enough for giving me this opportunity to design for them! I absolutely love the versatility of their stamps. I am so excited to share even more with you this coming new year! Love, The Crafty Farm Chick


We love every one of these choices!

Stay tuned in 2026 for something new from Sara.

We can't wait to see what grand new creations 2026 brings
from our FABULOUS Guest Designers!


Saturday, November 1, 2025

November 2025 Monthly Challenge with Sara Furr

 Hello Ai fans!

Welcome to our November Monthly Challenge.

This month we have the amazing Sara Furr as our Guest Designer.


Happy November dearest AI fans! I want to start out by thanking Bonnie and RenΓ©e for giving me this opportunity to guest design for Art Impressions this past year. It has been so much fun creating for all of you. I also want to thank all of you fans and fellow crafters that have supported me, thank you from the bottom of my heart!

I have created 2 totally different themed creations for you this month.... a Faith inspired card, and a fall card. 


I am going to start off with the Faith inspired creation that uses the following products:
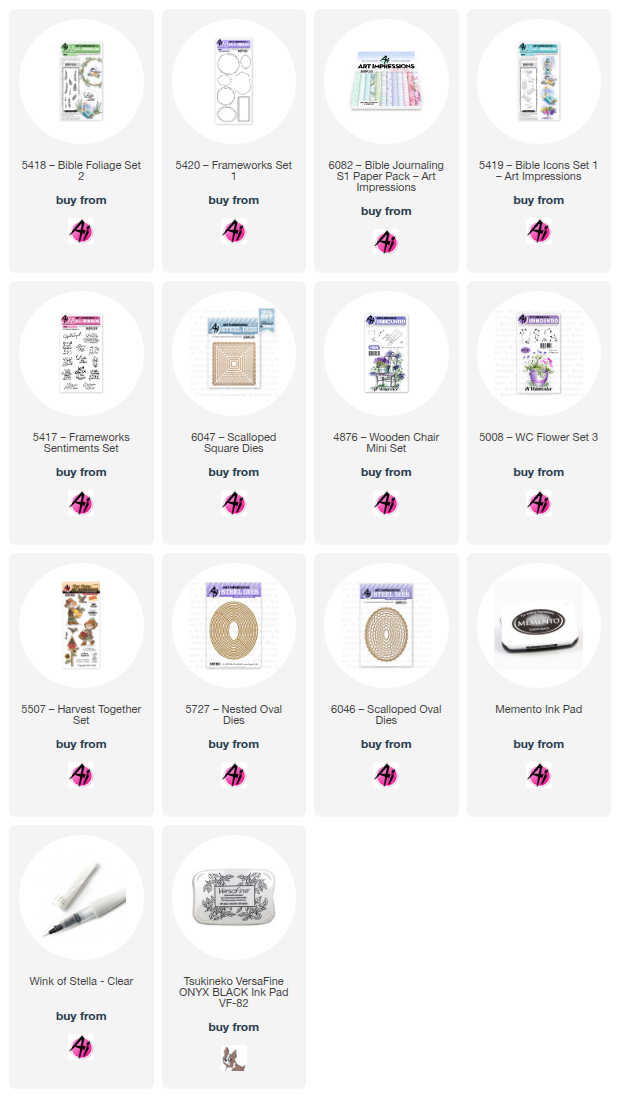
[ ] 5420- Frameworks set 1
[ ] 5419- Bible Icons
[ ] 5417- Frameworks Sentiments 
[ ] 6082- Bible Journaling S1 paper pack
[ ] 5008-Flower set 3
[ ] 5418-Bible Foliage set 2
[ ] 4876- Wooden Chair Mini set
[ ] 6047-Scallop Square die set
[ ] Memento Tuxedo Black ink pad 
[ ] Versafine Onyx Black ink pad 
[ ] Ohuhu markers:
Black120, BG042, BG038, WG170, WG180, WG150, E288, E340, E357, E191
[ ] Stampin' Blends markers: L & D Soft Seafoam 
[ ] Stampin' Write markers: Island Indigo, Orchid Oasis, Pear Pizzazz, Old Olive, Mossy Meadow
[ ] Wink of Stella glitter pen
[ ] Wide White Cotton Lace trim
[ ] Clear and Opal bubble gems


So, to start, I stamped the grapevine wreath from the "Frameworks set 1" stamp set with Memento Tuxedo Black ink and colored it in with E288, E340, E357 and then added the bird on the branch from "Bible Icons" set. I colored the Chickadee with Black120, WG180, WG170, and WG150Then I stamped a leafy branch from the "Bible Foliage "set randomly around the wreath with Pear Pizzazz dye ink marker, as well as the "lavender heads" from the "Wooden Chair" mini set in Mossy Meadow, stamping up to 4 generations and extending to make my wreath nice and full. I stamped the flowers from "Flower set 2" in Island Indigo, and the flower heads from "Wooden Chair" set in Orchid Oasis, the stems are inked in Old Olive. I then went around all the foliage with the Soft Seafoam alcohol markers to blend my greens and give a sort of "faux watercolor" look to it. When that was all dry, I stamped the sentiment with Versafine Black and then as a final touch, I added some Wink of Stella glitter pen to the wings of the bird. I then die cut the whole image with the largest Scallop square die turned so it will look like a diamond shape in the center of my square card base, and then I added fun foam to the back for dimension.


 To assemble my card I created a 5 1/2" square panel from the light blue polka dot pattern paper from the "Bible Journaling S1 Paper pack, and matted it with a 5 3/4" coordinating purplish blue cardstock. I distressed the edges or both panels with the edges of a scissors to give them a shabby chic distressed look, and then adhered them together, and then to my white card base that is 6x6. I adhered 2 pieces of white lace back to back to the center of my panel and then added my focal piece popped up on top in a diamond shape. I added some bubble gems to each corner for added interest, and draw your eye around the card face.


 I created the inside following the same technique, but I only used the bird on the branch and just created a "swag" of sorts.

 This project was a ton of stamping, but I had so much fun playing around designing my wreath and swag.

*** Here is a little tip.... if you want to create your own wreath, but aren't sure how the flowers, foliage, or colors of ink will look together....stamp your wreath on your cardstock inside your stamping tool (MISTI) and then place a piece of clear acetate over the image and start "practice stamping" your design in the colors you want and see how it looks. If you like it, then just remove the clear acetate and re-stamp the images onto the actual cardstock to create your image. That is how I built up each layer of stamping so that I was sure it would look the way I wanted it to.


Now, on to my second creation, which is a fall card using the following products:
[ ] 5507- Harvest Together stamp set
[ ] 6046- Scallop Ovals
[ ] 6047-Scallop Squares
[ ] Oval dies
[ ] Memento Tuxedo Black ink pad 
[ ] Versafine Onyx Black ink pad
[ ] Ohuhu Markers:
R193, R865, R872, R586, R588, YR792, Y696, E679, E357, E280, E288, E191, E340, WG180, WG150, MG109, MG069, MG170, G554, G483
[ ] COPIC markers- B0000, N1
[ ] Distress inks: Vintage Photo, Gathered Twigs, Ground Espresso
[ ] Wink of Stella
[ ] Wide Cream Colored Lace trim
[ ] Burgundy colored self-adhesive pearls


I began by stamping the sweet little Scarecrow boy holding the pumpkin on white cardstock with Memento Tuxedo Black ink, and then I stamped the crow sitting atop his hat. I colored the image with the alcohol markers listed and then stamped the sentiment with Versafine Black ink. I added some Wink of Stella glitter pen to the wings of the crow. I cut out my focal piece with a large Oval die and then ink blended Vintage Photo and Gathered Twigs Distress Inks around the outside edge. I adhered that to the largest Scallop Oval die. I then created my dark brown 6x6 card base and blended some Ground Espresso Distress ink around the outside edge. Then I created to panels.... a burgundy mat and an orangey fall dsp panel and I blended Gathered Twigs Distress ink around the edges of both panels and then distressed the edges with the edge of a scissors. 

**This is one of my favorite ways to not only add softness, but also some wonderful texture. You should try it! 


I layered both mats together and added my pretty cream colored cotton lace trim to the bottom half of the panel, wrapping the tails around the edges and adhering to the back, and then I added fun foam to the back of that whole panel and adhered it to my card base. I added some strips of foam tape above and just below the lace where I wanted to place my focal piece so that it would all lay the same and my Oval wouldn't lay all wonky with the middle pushed up where the lace is. This makes everything the same dimension. I added burgundy self-adhesive pearls in the corners to drawn eye around the card. 


To create the inside, I die cut the largest Scallop Square die out of white cardstock and while the cardstock was still inside the die I blended some Vintage Photo Distress ink around the inside of the die edge and then removed the cardstock from the die and then stamped the flying crow with Memento ink, and colored with alcohol markers, and again added some Wink of Stella to the wings. I stamped the sentiment below him with Versafine Onyx black ink. I layered that focal piece onto another piece of the fall pattern paper I used on the front. I did more inking around the edges of that and then adhered everything to the inside of the card base.

I love to make sure that the insides of my cards coordinate, and look almost as pretty as the outsides. πŸ™‚

And that wraps up my tutorial for today my friends! I hope that you liked my creations and hopefully they inspire you to create something if you have these stamp sets. If you did find my creations inspiring and you create something, please tag me on social media : 
IG- @sarae.furr_thecraftyfarmchick
Facebook- Sara Furr- The Crafty Farm Chick

 because I would LOVE to see what you create! Nothing makes me happier than knowing that I inspired someone. 

Thank you all so very much and I hope you all have a blessed Thanksgiving and Christmas, and a very happy New Year! Blessings to you all😘😘😘.....
Love, Sara


We have our winners from our October Challenge.

The first number to come up was 2, and then 8.

Diana S. wins a free stamp set from Art Impressions.


 Diana, please contact Leah at Feedback@artimpressions.com to 
claim your stamp set.


Barb E. is the winner of a freebie from me.


Please email me at Renee@artimpressions.com with your full name and address and I'll send you a photo of the freebies I have available for you to choose from.


You are invited to the Inlinkz link party!

Click here to enter

Wednesday, October 1, 2025

October 2025 Monthly Challenge with Simone Carr

 Hello Ai fans!

Welcome to our October Monthly Challenge.

This month we have Simone Carr as our Guest Designer.


Hey there, I’ve got a fresh project that’s perfect for the season to share with you.


On watercolor paper, I stamped the stump from the Woodland Critters Set (using the squirrel stamp) in Tombow 565 + 969, using my stamp positioner for precise placement. I then stamped the teapot from the Fairytale Houses Set with the same ink combo. To add a whimsical touch, I positioned the ladder from the Dwelling Foliage Set against the stump, again using the stamp positioner to get it just right.

Once the main elements were in place and stamped, I began coloring. After that, I stamped in the mushrooms from the Whimsical Mushroom Set and brushed in a soft blue sky using Tombow 526. To complete the scene, I stamped the pumpkin foliage and grass from the Harvest Pumpkin Set and Foliage Set 3, and finished with flowers from the Mini Flower Set. I saved the flowers for last to layer in extra detail and color.

For the card design, I die cut the scene with the 4th largest Nested Circle die and layered it on a scalloped circle die cut for a polished frame.

Materials Used

Stamps:

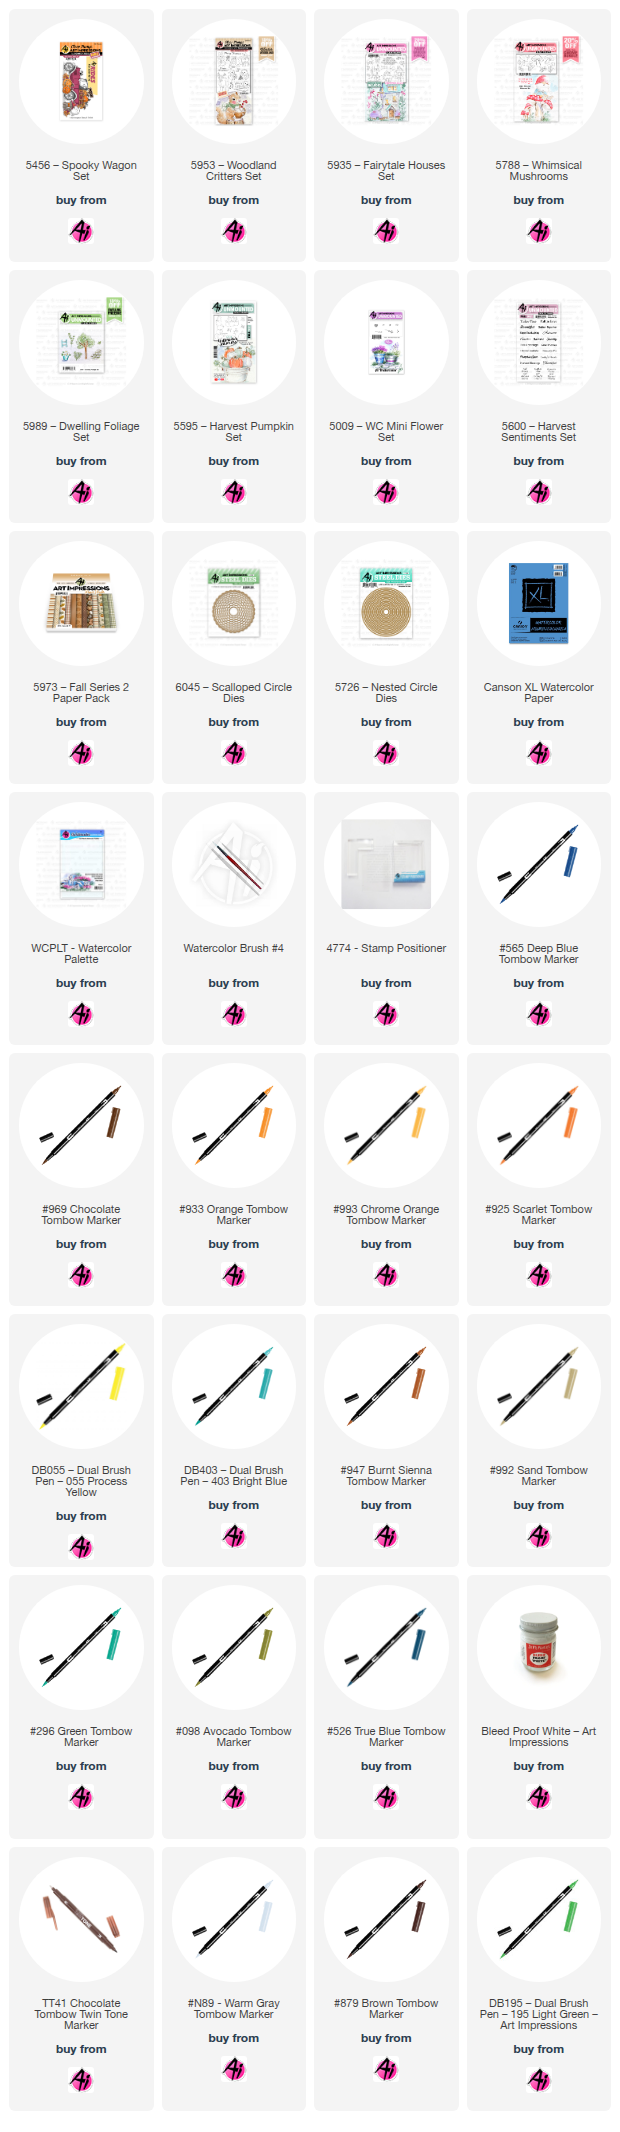
5600 Harvest Sentiments Set

5788 Whimsical Mushroom Set – Small Mushrooms

5595 Harvest Pumpkin Set – Leaves

5007 Foliage Set 3 – Grass

5009 Mini Flower Set

5989 Dwelling Foliage Set – Ladder

5953 Woodland Critters Set – Stump (Squirrel)

5935 Fairytale Houses Set – Teapot

Dies:

5726 Nested Circle Set – 4th Largest

6045 Scalloped Circle 3

Paper:

5973 Fall S2 PP

Canson Watercolor Paper

Inks & Markers:

Tombow: 565 + 969, 933, 993, 925, 905, 055, 403, 947, 117, 992 (teapot), 296 + 992 (mushrooms), 839 (flowers), 098 (grass), 526 (sky)

Bleed Proof White

TwinTone Brown


For my second card I chose to make a Halloween card.


I started by cutting a 2" circle from masking tape to use as a moon mask. To create the background, I placed a stencil measuring 3 ¼" x 4 ¾" over a 4 ¼" x 5 ½" piece of cardstock and taped it down so it wouldn’t shift. With the moon mask in place, I began ink blending—first with Twisted Citron around the moon, then layering Lucky Clover across the panel while leaving a glowing halo around the moon. To deepen the night sky, I blended Chipped Sapphire around the edges.

After blending the background, I watered down Bleed Proof White and then splattered it across the panel for stars, finishing with a mist of Fossil Amber Distress Spritz to add a soft, magical glow. Once everything was dry, I removed the moon mask and placed a moon stencil to add subtle texture with Lost Shadow ink. I then set the panel aside to dry completely.

Next, I stamped all my images from the Spooky Wagon Set (5456) onto Bristol Smooth cardstock using Shadow Grey Archival Ink. I colored them with Tombow markers, then die cut each piece. To assemble, I layered a frame die from my stash (cut twice for extra dimension) over the blended background, arranged my stamped elements, and popped them up with thin foam tape. Everything fits perfectly on an A2 card base (5 ½" x 4 ¼").

The end result is a playful Halloween scene with a glowing sky that makes the spooky wagon really stand out!

Materials Used

Stamps:

Spooky Wagon Set (5456)

Inks:

Distress Inks: Twisted Citron, Lucky Clover, Chipped Sapphire, Lost Shadow

Fossil Amber Distress Spritz

Shadow Grey Archival Ink

Markers:

Tombow: N55, N45, N35 (Truck & Cat); N89 (Ghost); 020, 991 (Truck); 969, 879, 947 (Truck, Sign, Pumpkins); 933, 195 (Hat); 933, 946, 925, 905, 055 (Pumpkins)

TwinTone: Black, Brown

Paper:

Bristol Smooth Cardstock

Glitter Cardstock

Other:

Bleed Proof White

2" Circle Mask (for Moon)

Stencil (3 ¼" x 4 ¾")

Frame Die (from stash)

Foam Tape

Card Base (5 ½" x 4 ¼")

----------------------------------------------------------------------------------------------------------------------------------

WOW! What adorable cards from Simone!
We're sure you're going to be inspired by these.

We hope you'll add your creations to our challenge. Remember, even though Simone created Fall themed cards, our Monthly Challenges have no theme. You may enter ANY crafty project as long as you use some Art Impressions products on what you create.

See below for all the details.


You are invited to the Inlinkz link party!

Click here to enter

Sunday, August 31, 2025

Bonus Watercolor Weekend with Simone Carr

 Hello Ai fans!

We're so lucky that August has 5 Sundays!

That means a bonus Watercolor Weekend which means even more inspiration for you.


Let's welcome Guest Designer Simone Carr and see what pretty things she's created.

--------------------------------------------------------------------------------------------------------------------------

Hello fellow crafters!

I’m excited to be back on the blog to share my latest cards with you. Since fall is right around the corner, I thought it would be the perfect time to create a project that could work as either a Welcome Fall card or even a Thanksgiving card.

For this design, I reached for one of my favorite sets from last year—the Woodland Critters Set. I knew right away that the sweet little hedgehog needed to take center stage!

I started by inking the wheelbarrow (from the Harvest Wheelbarrow Set) with Tombow 565 and 969. I stamped it first onto masking paper, then onto Canson watercolor paper. To make room for the hedgehog, I left off the second handle when stamping the wheelbarrow. After cutting the wheelbarrow mask, I placed it over the stamped image.

Next, I used the stamp positioner to tuck the hedgehog perfectly into place and inked him with the same 565 and 969. Then I added in the small pumpkin, creating another mask so I could easily layer over it. Using the stamp positioner again, I built up the scene with pumpkins and apples, inking them with 565 and 969 (stamped off) for a softer look.

Once the stamping was complete, I removed the masks and began adding color to bring the entire image to life.

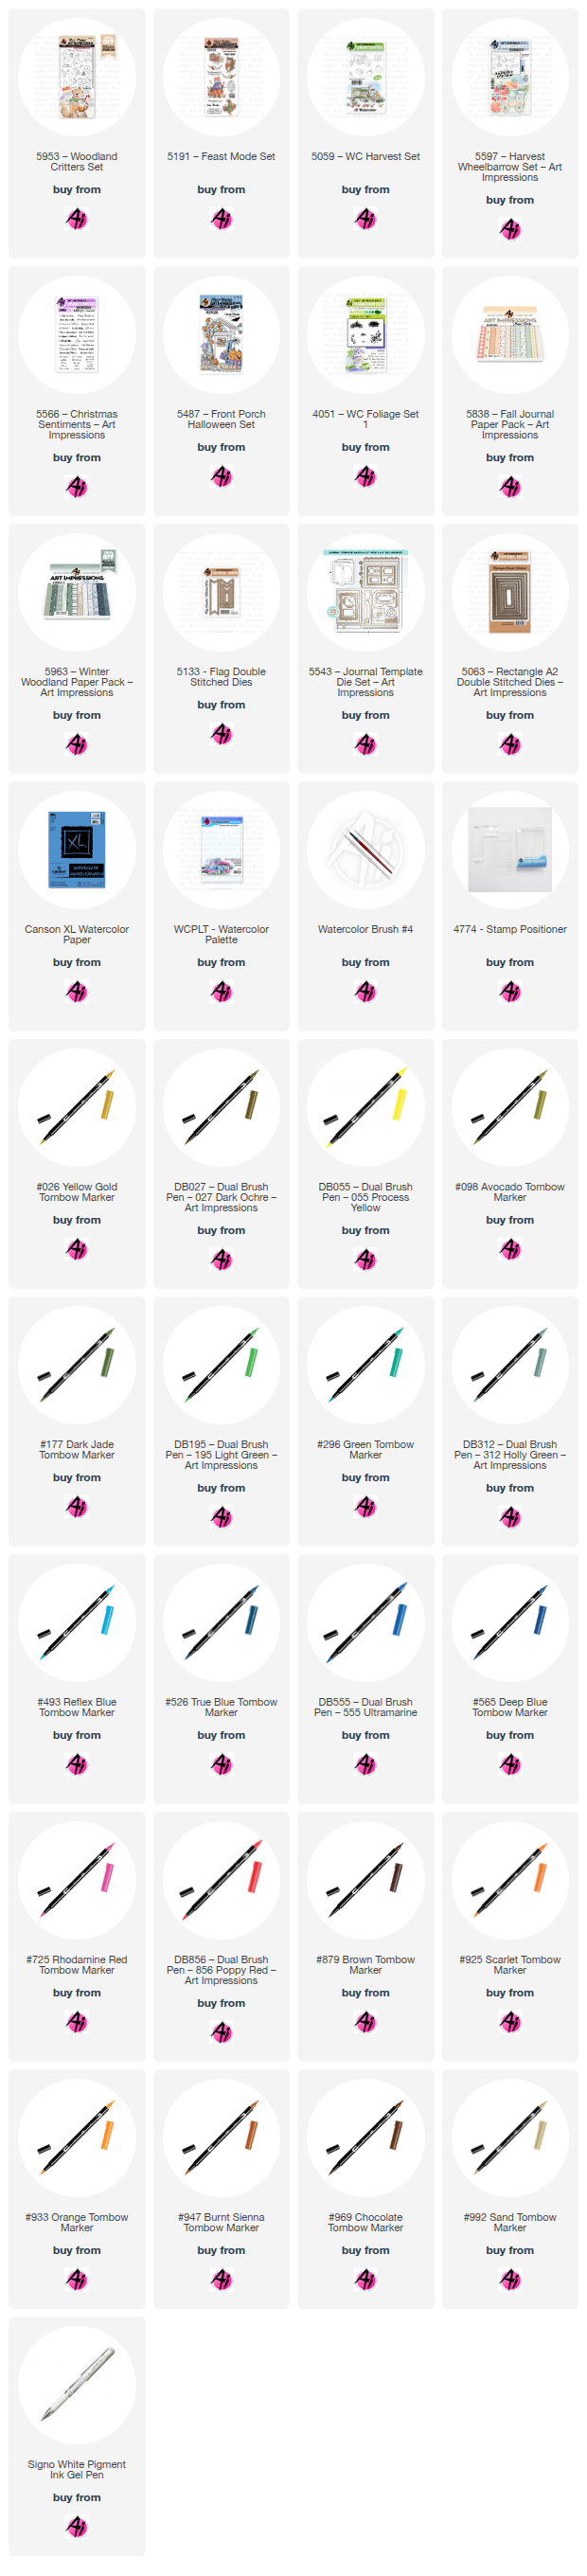
Materials Used

Tombow Dual Brush Pens:

856, 905, 925, 946, 933, 055, 098, 026, 312, 879, 947, 027, 992, 526, 177, 969, 565

Stamp Sets:

5597 Harvest Wheelbarrow

5059 Harvest Set (Apples + Grass)

4051 Foliage Set

5487 Front Porch Halloween Set (Small Pumpkin)

5953 Woodland Critters Set

5063 Rectangle A2 Die Set

5838 Fall Patterned Paper

For my second card, I went with a more wintery theme—not necessarily Christmas, but something versatile that could work as a birthday card, a thank you card, or really just a cheerful design for the colder months. It’s also a fun way to use up those paper scraps we all have on hand!

I began by stamping the sleigh image on Canson watercolor paper using Memento Toffee Crunch ink. For coloring, I used:

Sleigh: 026, 947, N55

Mouse: a mix of 969 + 565, plus 725, 025, 296

Hedgehog: 992, 947, 555

Present: 493, 195 + white gel pen for highlights

The finished card measures 5 1/2" x 4 1/4". To build the background, I ran a piece of white cardstock through a snowflake embossing folder, then trimmed it down to 3" x 4 1/4".

Next, I dug into my scrap pile and pulled out a few pieces from the Winter Woodland patterned paper pack. I cut them into flags and arranged them over the embossed panel to decide on their placement. Once I was happy with the layout, I glued them down, then added a thin strip cut from the leftover embossed paper on top for a clean finish.

The top panel is 2 1/2" x 4 1/4", and I popped the die-cut critters up with foam tape for extra dimension. To finish the card, I cut a small tag, stamped my sentiment (masking part of the stamp so it would fit), and tied a bit of string to it. I tucked the string under the present so it looks like part of the image, which adds a fun little detail.

Materials Used

Dies & Stamps

5133 Flag Double Stitched Dies

5953 Woodland Critters Set

5566 Christmas Sentiments

5543 Journal Template Set

5963 Winter Woodland Patterned Paper

Markers & Paper

Tombow Dual Brush Pens: 026, 947, 992, N55, 555, 493, 296, 195, 725, 025, 969, 565

Canson Watercolor Paper

Bonus Card

I wanted to share a little extra inspiration to show another way of creating this second card using the same methods. For this version, I used the 5191 Feast Mode set. Instead of patterned paper, I stamped my image on Bristol Smooth cardstock and simply adhered the flags underneath.

It’s a quick variation that gives the design a fresh look—and a great reminder that you can easily adapt these techniques with the supplies you already have on hand.

I hope I’ve inspired you to give it a try!

-----------------------------------------------------------------------------------------------------------------------------

Thank you so much Simone for these darling cards.

We hope you're inspired to try something like these. While you're here, be sure to enter our Bi-Weekly Challenge. The theme this time is "When One Door Closes." Make something with a door on it, whether it's stamped or die cut.


Friday, August 1, 2025

August 2025 Monthly Challenge with Sara Furr

Hello Ai fans and welcome to the August Monthly Challenge.
Our Guest Designer for August is Sara Furr and she has two GORGEOUS cards for you.

After enjoying Sara's cards and learning her Faux Watercolor Technique, be sure to scroll down to see who our July winners were.

Here's Sara....


 Greetings from the Farm, crafty AI fans! I am Sara Furr, The Crafty Farm Chick, and I am so happy to be back here on the blog with you today. 


My first card is a Shabby Chic religious creation. These are the supplies that I used:

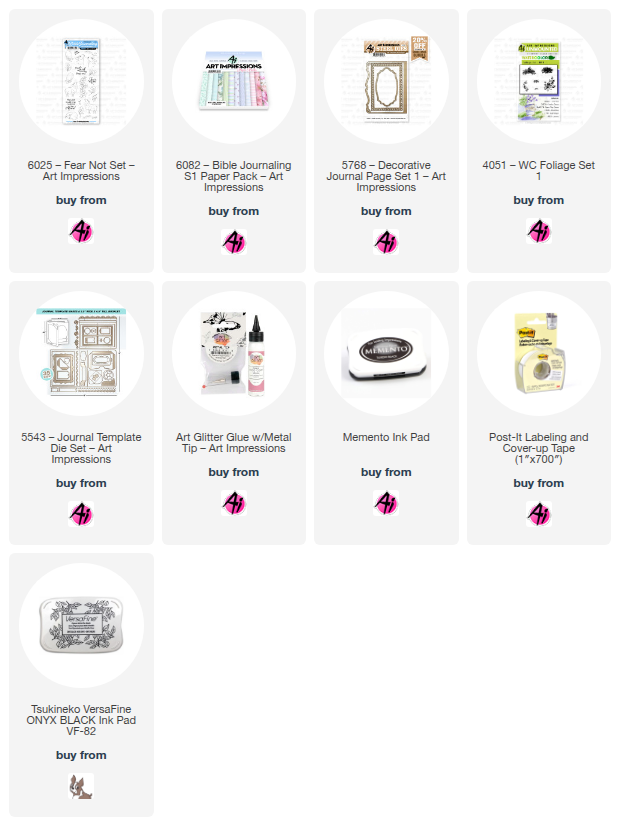
#6025- Fear Not stamp set
#4051- Foliage set 1
#6082- Bible Journal series 1 paper pack
#5543- Journal Template Die set 
#5768- Decorative Journal Page 1 Die set 
Memento tuxedo black ink pad
Versafine Onyx Black ink pad
Dye ink markers
Alcohol ink markers
Tumbled glass distress ink
Blending brush
Seam binding ribbon and Lace
Foam tape
Adhesive
Glue dots
Scissors- to Distress the edges of my cardstock and dsp
Post it tape- for masking sheep


I colored my image using my "hybrid faux watercolor technique". Several people have asked me to do a tutorial for this technique and so I am including it here today. 


To start, I stamped my sheep image from the "Fear Not" stamp set in Memento tuxedo black ink so that I can color the image with alcohol markers.
  I colored the face and legs of my sheep with a black alcohol marker and added little swirls in a light gray ink to mimic the curly wool on the sheep. I also added a touch of pink inside of his ear. 


 Next, I stamped the tufts of grass, from the "Foliage Set", in 2 different shades of green dye based ink markers under his feet. 


Then, I stamped the flowers and foliage with dye ink markers in the right hand corner.


 I created a mask for my sheep's wool and stamped the floral vine image behind his back with Momento ink. 


**Here is a tip** if you are unsure about how an image will look before you stamp it, just use a piece of window sheet over your image and stamp it so that you can see how it will look before you actually stamp it! *this is what is shown here*


 I then removed the window sheet and leaving just the floral vine stamp in place, I did the actual stamping behind the sheep with Momento Black ink. (I washed and removed the sentiment)


 I then colored the floral vine with alcohol markers, but I added in the definition in the flowers with the fine point of a dark blue dye ink marker. 


 I then went in with a light green alcohol ink marker and blended out my grasses and where my sheep is standing. It is this blending of the dye ink by the alcohol ink marker that creates a sort of "faux watercolor" look! 


 Now, to create my sky I added the metal die back to my die cut and ink blended Tumbled Glass Distress ink around the inside perimeter of the die. The die acts like a mask! 


Now, remove the die and voila! A perfectly masked and blended sky! ( you're welcome! πŸ˜‰πŸ˜)


 I stamped the sentiment in Black Versafine Ink and then assembled the front of my card.

I followed the same process to stamp and color the image on the inside.


For my second card I followed the same technique process on the Decorative Journal Page 1 die, except this time I blended my sky first with a blender brush and the Tumbled Glass Distress Ink.  Then I did all my other stamping and blending.
These are all the supplies I used:
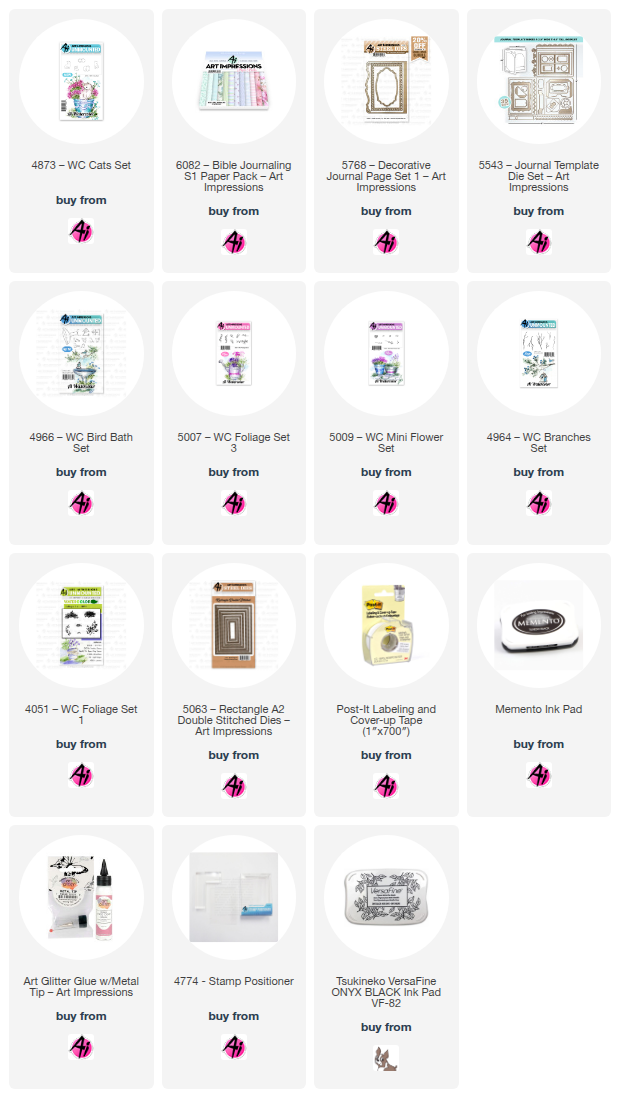
#5543- Journal Template Die set 
#5768- Decorative Journal Page 1 Die set 
#5063- A2 Double Stitched Rectangle dies
#6082- Bible Journal series 1 paper pack 
#4964- WC Branches set
#5009- WC Mini Flower set
#5007- WC FOLIAGE set 3
#4966- WC Bird Bath set
#4873- WC Cats set
Momento Tuxedo Black ink 
Alcohol ink markers 
Dye ink markers 
Window sheet
Liquid glue that dries clear
Foam tape 
Scissors- to Distress the edges of my dsp and to cut out my kitty
Blender brush 
Tumbled Glass Distress Ink 
Stamp positioning tool
Stylus and Foam mat- used to curve my cat


I stamped and colored my kitty and cut her out. I colored her gray to look like my kitty, "Mouse". She is this beautiful lavender gray color, so I did a mix of light grays a very light purple ( all Alcohol ink markers). Once she was cut out I flipped her over and put her onto a foam mat and rubbed over the center of the image with a stylus to round the body so she looks domed. Then, I added two thin pieces of foam tape and set her aside.


To create my window, I first cut three layers of the window from the Journal Template die set. I adhered two layers together with a thin layer of liquid glue, then I cut a piece of window sheet the same size as the window frame and adhered that to the back of the window, and then added the third layer of the window frame to the back so that the window sheet was sandwiched between the layers, creating an actual look of a window pane. I then adhered the window over my stamped panel and added my popped up kitty on the ledge looking at her snack up in the tree! πŸ˜


 I then adhered the whole decorative window panel to a double stitched A2 rectangle die cut out of white card stock, and then adhered that to my beautiful designer paper from the Bible Journal paper pack with foam tape. I distressed the edges of my designer paper with a scissors, and added adhesive to the back, and then added it to my card base. I didn't add any sentiment because I thought it was perfect the way it was😁


I hope you liked my cards and that you got inspired to create something pretty, with a little bit of shabby chic! If you have any questions about my "hybrid faux watercolor technique" please don't hesitate to ask!
Blessings to you all and thank you so much for stopping by!


Now let's see who the two Lucky Random Winners were for our July Monthly Challenge.


The winner of the free stamp set from Art Impressions was Rachel Bankes.

Please contact Leah at Feedback@artimpressions.com
to claim a free stamp set of your choice!!


The winner of a freebie from me was Kathy R.
Please email me at Renee@artimpressions.com with your full name and address and I'll send you a photo of the freebies I have available for you to choose from.


Welcome to the August 2025 Monthly Challenge! There is no theme but you MUST use something from Art Impressions on your project. (Stamps, dies and or paper) First name and last initial is appreciated on your entry. You are allowed 2 entries. Both winners are chosen randomly. The first winner receives a free stamp set from Art Impressions and a random winner with a U.S. address will win a freebie from me. (Renee)

You are invited to the Inlinkz link party!

Click here to enter