Showing posts with label Spring Chicken Set. Show all posts

Sunday, June 29, 2025

Water of Life & Spring Chicken cards by Sara Furr

Hello Ai fans!

We're so lucky that June has a 5th Sunday because that means we get a bonus treat from Guest Designer Sara Furr. She's created 3 spectacular cards to inspire you this weekend.

Please welcome Sara and enjoy, as she tells you all about how she created her lovely cards.


--------------------------------------------------------------------------------------------------------------------------


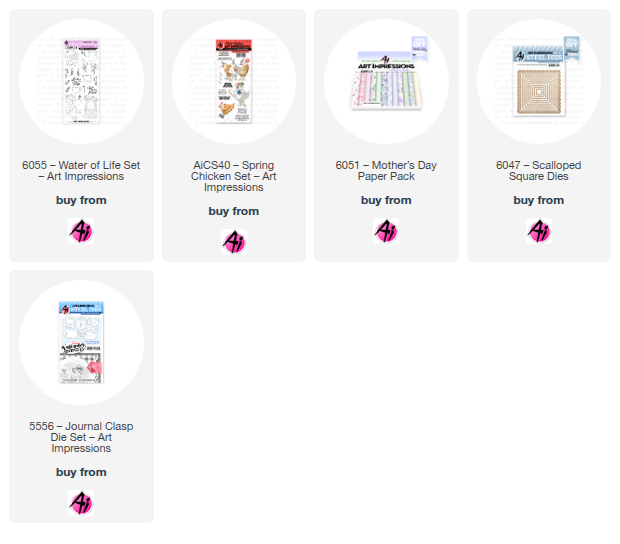
 Greetings from the Farm, crafty AI fans! I am Sara Furr, The Crafty Farm Chic, and I am so happy to be here with you on the blog today. I hope you are all enjoying your summer so far. It has been wicked hot where I live and I am always dying of thirst, so I was inspired to create some cards using the new "Water of Life" stamp set #6055. It features some wonderful images; a brook, a well, a pail, a cup, and a water pitcher. 

For my first card I used the pitcher. I stamped it and the flower bouquet in Momento black ink and colored them with Copic markers BG11, BG10, YG41, YG45, RV10, V04, and S.U. Stampin' Write Marker in Magenta Madness, then I fussy cut them out. I cut a panel of white cardstock with the largest "Scallop Square" die #6047, from AI, and left the die in place while I ink blended some Tumbled Glass Distress Ink around the perimeter. I removed the die and stamped the bouquet again in Momento ink directly onto the center right of the panel. I colored the flowers again to look like the ones I cut out. I applied foam tape to the pitcher after I adhered the flowers into the pitcher, tilted slightly. I cut a doily in half and adhered it just underneath the stamped flowers, and then adhered the pitcher in place over the stamped bouquet and the doily so that the pitched appears to be sitting on a table. 


I stamped the sentiment onto Teal cardstock with Versafine Onyx black ink and die cut it with the 3rd smallest scallop square die and adhered it to the left of the pitcher, sitting on the table as though it was a decorative picture frame. For an added decorative element, I cut out the buckle from the "Journal Clasp die set" #5556, from white cardstock and threaded some Jade green gingham ribbon through it and then adhered a green button on top, and a linen thread bow adhered to the top of the button with a tiny glue dot. In the far right corner I added 2 bubble drops. I adhered fun foam to the back of the panel and set it aside to create my other layers. I cut a 4 3/4" square from the pink striped dsp, a 5 3/4" square from the flowered dsp, and a 5 3/4 x 3" pink polka dot piece, all from the Mother's Day Paper Pack #6051. I rounded the corners of the 2 square panels with a corner rounder punch. I then adhered the floral square to my white 6x6 card base, and then the pink polkadot dsp in the center along with 2 pieces of flowered lace trim. I applied fun foam to the back of the pink striped panel and adhered it in place and then added my focal piece on top of that.


For the inside, I added a 5 3/4" square of Teal cardstock that I again rounded the corners on, and added my left over strips from my front pieces to the bottom. I added a white panel, corners rounded, and stamped the cup in Momento black ink, and colored with Copic B0000 and B00. I added some of the silhouette flowers in black ink, and then stamped the sentiment with Versafine Black ink. I always use Versafine for my sentiments, as it stamps crisp, clean images.

My second card uses the same "Water of Life" stamp set, but this time I wanted to create the look of watercolor, so I colored my scene doing my "hybrid faux watercolor technique ".  
How does one do this? Well, I will tell you!πŸ˜‰ 
So the main focal, or foundation element should be stamped in Momento so that you can color with alcohol markers, but then once that is colored you can add in your florals and foliage with any dye ink markers, like the Tombow markers Bonnie uses for watercoloring. Then you can blend out those stamped images with lighter versions of the same color of alcohol marker to give you a faux watercolor look without any water or expensive watercolor paper at all! 


So, I started out by cutting out a white stitched circle and stamped the pail in Momento black ink so I could color my pail with alcohol markers. I used Stampin Blends L + D Cinnamon Cider for the wood. For the metal rings and handle I added just a bit of Stampin Write Marker in Misty Moonlight (this is dye ink) to the farthest corners and then blended it out with N2 + N5 Artist Loft markers (light gray alcohol ink) making sure to leave some white highlight so that the image appears to be rounded as a pail should be. For the water I added tiny bits of the Misty Moonlight marker to the very edges and corners and then blended that out with Copic BG15 + B00. 


OK, now you want to stamp in your foliage grass and florals using your dye ink markers. For the grass, I used Stampin' Write markers in Wild Wasabi and Just Jade. I also used those colors for the stems of the flowers, and the flowers themselves I colored in Purple Posy, Highland Heather, and Misty Moonlight. Once they were all stamped, I used a Stampin Blends marker (alcohol ink) in Soft Seafoam to blend out the grass and the stems so that it appears to look water colored. To add in the sky I applied the circle die back to the circle to act as a mask, and ink blended Tumbled Glass Distress Ink around the edges of the circle making sure to leave the center as a white highlight. I added tiny white dots as filler in my foliage with a white pigment marker. I then stamped the sentiment with Versafine Onyx black ink. Lastly, I added 3 bubble gems for embellishment. 


I added this focal piece to a Misty Moonlight circle die and I applied a circle of fun foam to the back before adding it to another decorative circle of teal cardstock. I cut a scallop square of that beautiful Mother's day paper, backed it with fun foam and matted it to a stitched square of Purple Posy, and then to a scalloped square of Misty Moonlight, and then to my 6x6 teal card base. As a final touch, I added one of my hand tied shabby chic crinkle bows.


For the inside I used my negative pieces left over from the pieces I cut for the front. I stamped and colored the cup the same way as I did on the first card.

I have a third bonus card for you all using the same Mother's day paper pack and one of my favorite AI stamp sets, "Spring Chickens". I hope you enjoy it! I would tell you how I made that card too, but I fear you may have already fallen asleep on me! Haha.


 I really enjoyed creating these cards for you and I can't wait to be back here on the blog with you again soon! Many blessings to you all and I hope you all have a crafty Summer! Take care friends.
 Love , 
   The Crafty Farm Chick

Saturday, January 11, 2025

See You At Noon With a Latte by Janet


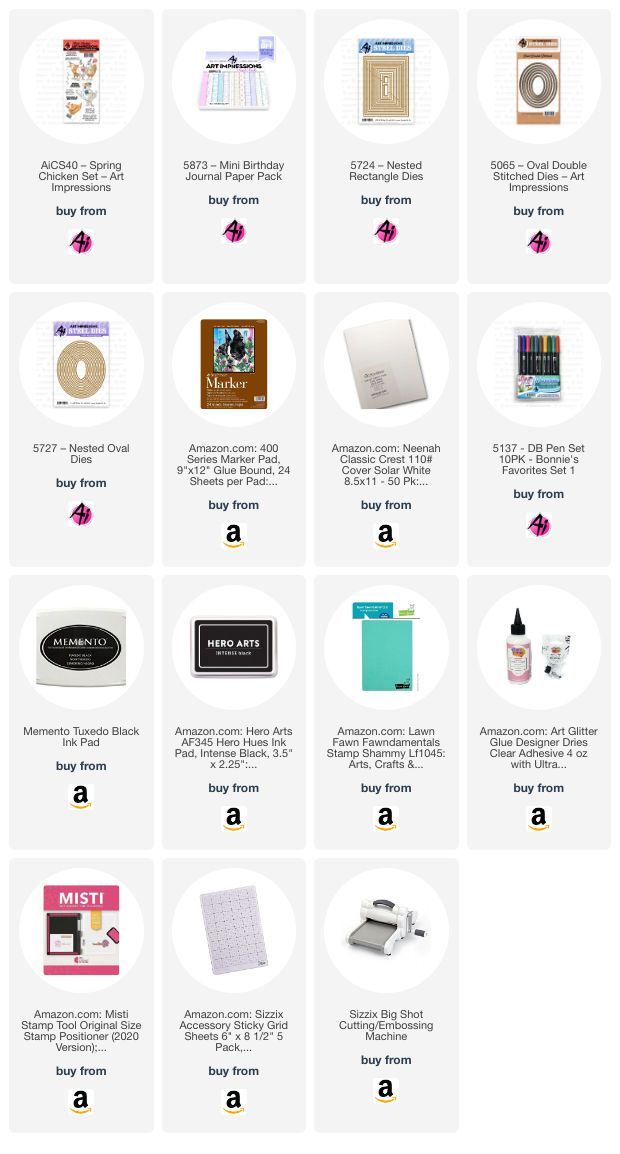
Today I have a quintessential Ai Card with an attitude! It's their cute images and tongue-in-cheek sentiments that originally attracted me to the Art Impression line so many years ago. The slightly irreverent humor just gets me! The set I used for this card is called AiCS40 - Spring Chicken Set. There are three chicken images and several funny sentiments.

The card layout was inspired by a Pinterest sketch which is where I sometimes find ideas when something doesn't pop into my mind. I used several patterns of paper from the 5873 - Mini Birthday Paper Pack. There's a lot of purple hues in these patterns so I chose a dark purple cardstock to use as an accent and dark purple pearls and rhinestones to decorate it. I used 5065 - Oval Double Stitched Dies, 5727 - Oval Nested Dies. and 5724 - Nested Rectangle Dies to create most of the shapes used in the design. 

This image is perfect the way it is but I still decided to add some additional touches to it. I sketched lines in the feet and in the hat to give those items a little more dimension and texture. Otherwise, this was a quick image to color since the chicken is mostly white with shadows in gray that I colored in with markers. I used two colors of gray and a blender to soften them. After coloring, I fussy cut the chicken out and popped it up on foam pads. This chicken has an attitude that makes smile. I hope it puts one on your face too.

Thanks so much for joining me here at the blog today. As always, please visit the Ai store for the products I used and all the things you need for your card, journal, and tag making projects. Happy creating!

Janet YouTube - Blog - Facebook - Instagram - Pinterest


Monday, September 30, 2024

Fluffy Butt Hut featuring Hen House Cubbies by Sharon Caudle

 Hello AI Fans!!

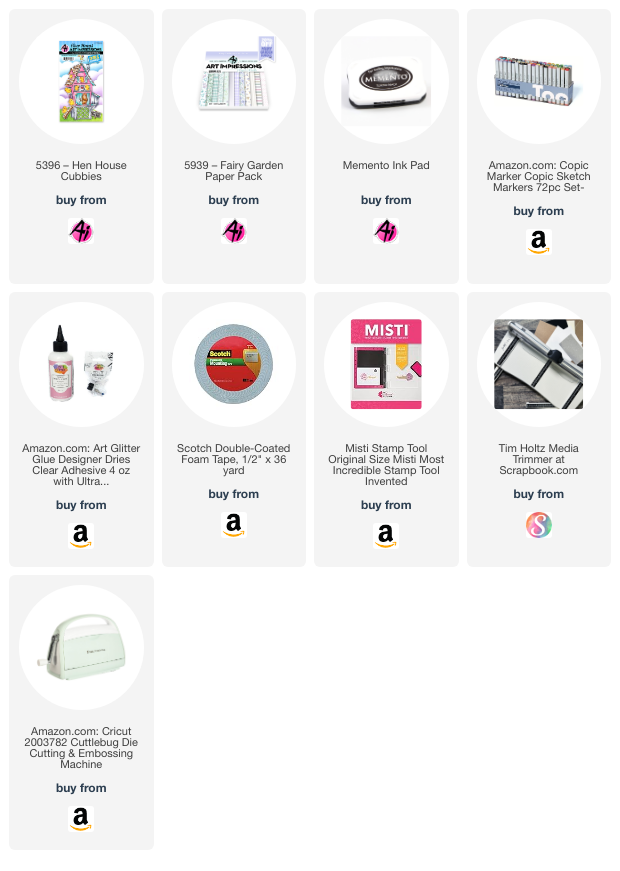
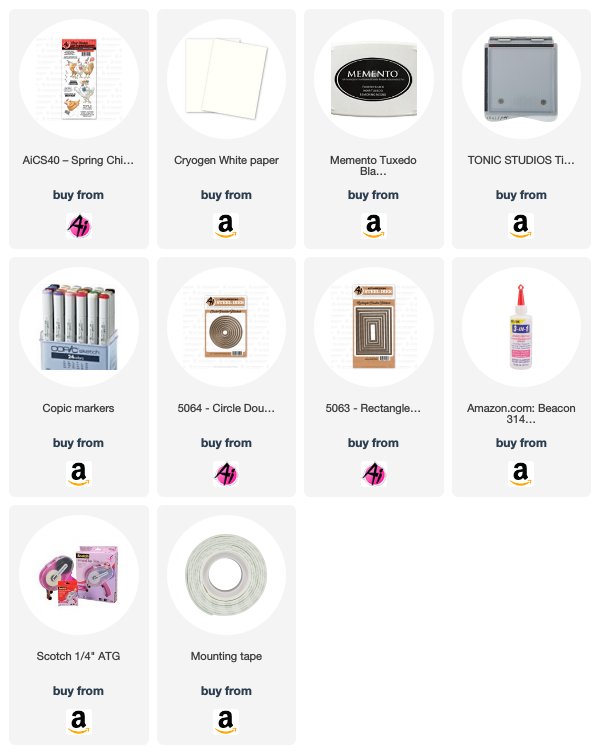
So the new challenge that started Thursday is called Farm Fresh! How fun is that?! So for my card, I used 5396 Hen House Cubbies for this. The Cubbies are such an awesome line of stamps and dies! I stamped all the images onto a Copic friendly paper with Memento Tuxedo black ink and then colored them with Copic markers which are listed below. For the card base I used 5939 Fairy Garden PP.  The sentiment is from AiCS40 Spring Chicken Set. I hope you join in on the challenge for a chance to win a free stamp set of your choice! 


Thanks so much for stopping by for a visit today! Until next time - stay crafty!!


Copic markers used:

Y04, 15, 21, 26, 35, and 38

YR21 and 31

R12, 20, 22, 24, 27, 81, 83, and 85

V12 and 15

E33, 35, 40, 41, 43, and 97

T1 and 2

B91 and 93


Saturday, June 10, 2023

You're A Fabulous Chick! by Janet


 Happy Saturday Ai fans! I just love the AiCS40-Spring Chicken Set. There are three chicken images and they are all full of attitude. It's hard to pick a favorite but I do enjoy this particular hen. She's definitely got a personality and something to say!

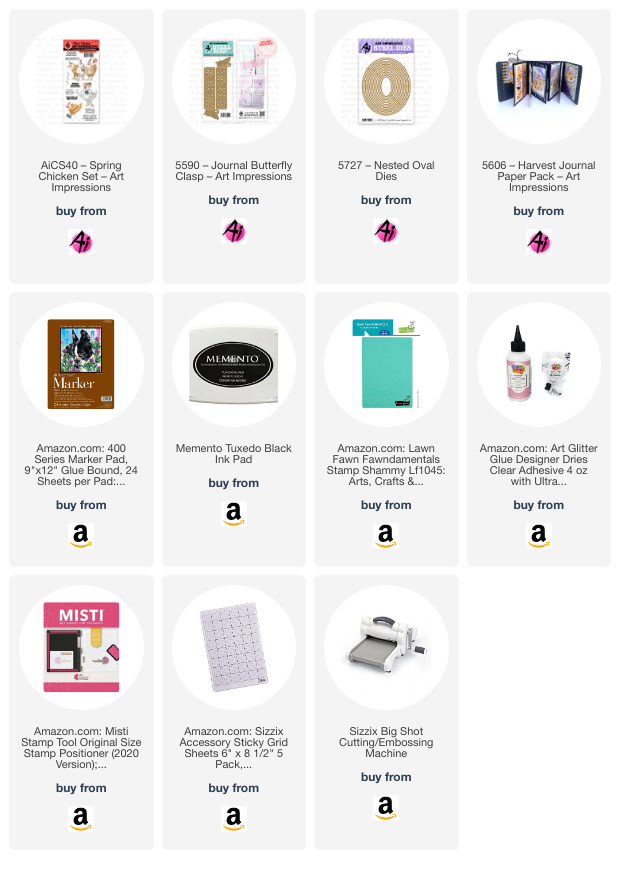
This card is a gate fold with half an oval cut out of each flap. When closed, it appears to be a typical oval window. I used the new 5727-Nested Oval Dies to make the window and the mats inside and out. To keep the card fully closed, I used the 5590-Journal Butterfly Clasp. It works perfectly to make sure the card doesn't open until it's time. The paper comes from the 5606-Harvest Journal Paper Pack. Proof again that the paper packs are not limited to a particular season or holiday even if the pack names suggest that. 


Final touches on this card was the sentiment from the stamp set, gems on the butterfly and a little bit of glitter washi tape.

Thanks so much for stopping by today. I hope you'll stop by the store soon for all your card making needs. 

Wishing you a very crafty day!


Janet YouTube - Blog - Facebook - Instagram - Pinterest 

Sunday, August 8, 2021

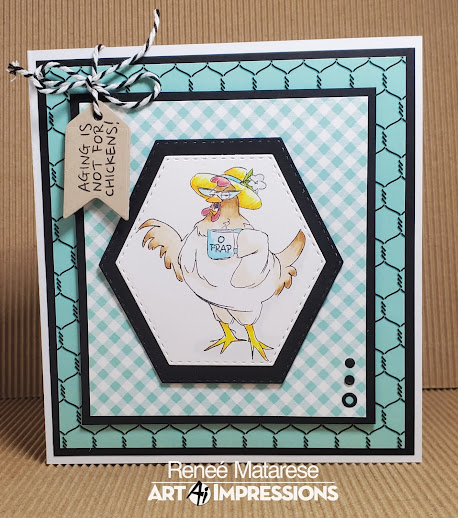
Aging is not for chickens! by ReneΓ© Matarese

 Hello Ai fans!

Today I have two cards for you.
I used the AiCS40 – Spring Chicken Set.

It was my friend's birthday recently and she raises chickens and keeps
me supplied with eggs.  I thought she'd love this chicken.


the chicken on.


Here's the inside of my card.


The tag was cut using 5132 – Tag Stitched Dies.


I just love this set and ALL the Funny Farm series!


My friend received the red one and I made the teal one to
keep on hand for my stash.


Copics used:
Y000, Y08, Y38, E35, E1, B000
BG02, C0, YG25, R5


Saturday, August 3, 2019

Hello Spring Chicken by Sharon Caudle


Hello AI Fans! 

My card today features a stamp set I love soooo much!!  Spring Chicken Set!! I just stamped her up and cut it out using the Circle Double Stitched Die set.  Then the card base is made using the Rectangle Double Stitched Dies. I love gingham paper, it just screams "country" to me, so that is what I put behind her. 


I added as simple little bow and a couple of pearl drops to finish it off.


Thanks so much for stopping by for a visit today! Until next time - stay crafty!!


Copics used:
E21, E23, E33, E35, E51, E53, E97, E99
R24, R27
B000


Thursday, July 25, 2019

Challenge 261 Animal Print WEEK 2! PLUS, Sneak Peeks Coming Soon!


Hello, Ai Fans!

Happy Thursday to you! It's a challenge blog post, and the team is here to share some FABULOUS animal print inspiration for our current challenge! Let's take a look! Don't forget, you can visit the designer's name by clicking their name to visit their blog for more details, and the stamps they used are available at artimpressions.com!


Jil with Office Party Set

Niccole with Spring Chicken Set


Sharon with Dare to be Fabulous


 How cute are these cards??! Let us know what you think in the comments below! Also, be sure to join our terrific card challenge...
Did you know we pick a "Top Spot" entry for a mystery prize pack, and two "Honorable Mentions" to receive an Ai stamp set of their choice! Not a bad deal, right?? But you can't win if you don't enter, so let's see your projects!! Play along with our "Animal Print" theme and follow our rules to enter. As you can see from our designer's cards, you can do anything from leopard print to paw prints to qualify! Let's see what you got!

Here are the Challenge Rules...
✻ Please make a new card or creation. You can make any crafty item you wish; this is not limited to cards!
✻ Limit two submissions per person. You will receive extra votes if you use Art Impressions stamps!
✻ The Ai Challenge is open to everyone, international submissions are welcome!
✻ Include a link back to the Ai Blog or grab our button on the top right of our sidebar!
✻ Share the Ai love by clicking and commenting your fellow crafters.
✻ Make sure to get your link up by the deadline to enter your creations.
✻ Good luck and happy stamping!


You are invited to the Inlinkz link party!
Click here to enter
ASD Market Week

NEW releases are coming soon! This weekend, Art Impressions will be exhibiting at ASD Market Week debuting our Summer 2019 releases to retailers! Beginning Saturday, July 27, catch sneak peeks of brand new stamps and dies before they ship to your local store by following us on Facebook and Instagram!

New products will start shipping to stores mid-August, so contact your favorite retailers to let them know you're interested in Art Impressions products! You can always find your closest independent craft store by searching our dealer locator

*ASD Market Week is a trade only event, not open to the public. To attend, you must register with credentials as a blogger, designer, buyer or category as specified on the ASD Trade Show website. Please contact ASD Market Week with any questions about membership or registration.

Sneak Peek

Happy Stamping!

Saturday, July 20, 2019

What a bird brain by Sharon Caudle

Hello AI Fans! 

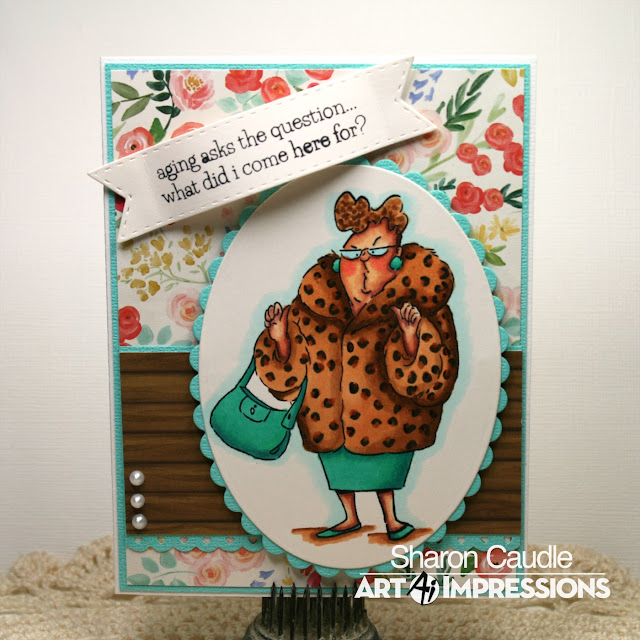
Do you love plain and simple cards?  It doesn't get much simpler than this one!!  I used a scalloped circle die to make the card base, then used AI Double Stitched Circle Dies to make the layers. The stamp is from Spring Chicken Set and I colored her with Copic markers. 


Thanks so much for stopping by for a visit and until next time - stay crafty!!


Copics used:
E21, E23, E33, E35, E51, E53, E95, E97, E99
G21
B000
T1, T2, T4
R02, R22, R24, R27