Hello, and Welcome to Watercolor Weekend! March is the time
of year here, where spring starts popping it’s head up. The slow struggle between winter and spring
begins, where the days bounce between cold days and days that get warmer. We
could have snow, or rain, mud or slush. And if you live on a farm like I do, it
can get pretty messy.
For my first card I decided to use one of my favorite barns,
she is an oldie, but definitely a good one. It is one of the very first stamps
I bought when I discovered Art Impressions.
To me, a timeless classic. I started by inking my stamp with 565 first
and then 969, stamped it off twice on scrap watercolor paper, and then stamped
it on a clean piece of watercolor paper. I pulled the color out of the lines
and then added from my palette, a mix of 565 and 969 for more shading and for
all of the windows and doors. 969 was used on the different sections of the
roofs with a touch of 249 for a more weathered look. I used a pencil to sketch in some boards on
the walls of the barn and then used my kneaded eraser to lighten the
lines. I also added a light touch of 947
for a bit of texture. 565 was used for the shadows under all of the
overhangs. I used a black Twintone in
the peak of the main roof and edged some of the sides on the windows and doors
and anywhere else I thought it was needed.
N60 is a wonderful color to use for those gray days, it is a cool gray
with a hint of blue. I used this to put a wash of sky in first. I also used N52
which is a bit of a darker cool gray and 312 for parts of the ground beside and
in front of the barn, before adding in any of the foliage and trees. I then
masked the barn with post-it tape so I could add in the background trees. First I sketched a hill in the background for
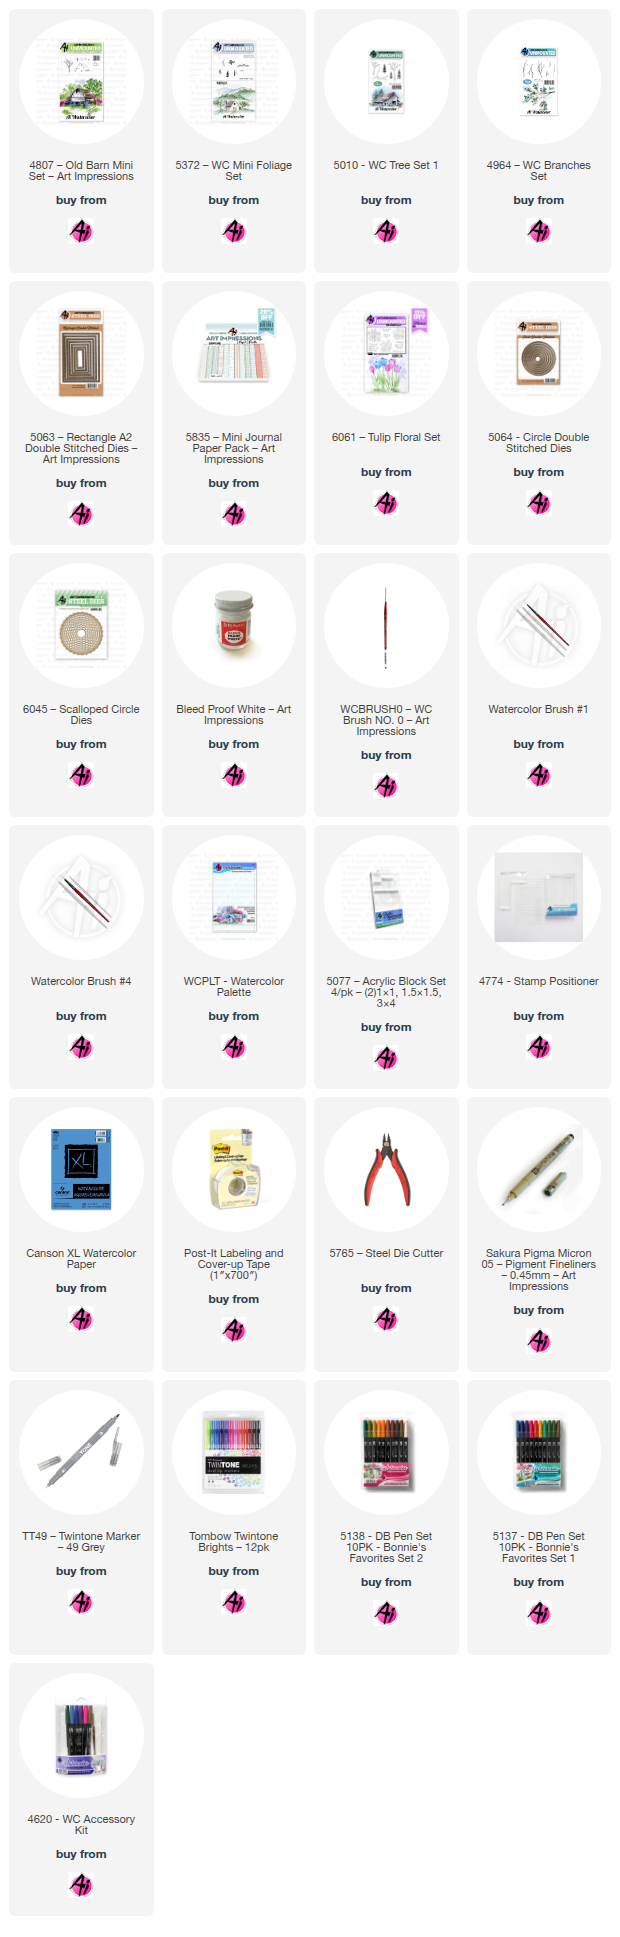
a guide for the pine trees, I used the pine tree from 5372 WC Mini Foliage in
312, stamping multiple times before re-inking the stamp. I then softened these with a damp brush and
added a bit of N52 for the shadows of the trees. While the barn was still masked, I then used
the largest branch from 4964 WC Branches Set in 879. I used the stamp
positioner to make sure it was going where I wanted behind the barn. I then removed the mask off the barn and used
the tree from the Old Barn set, also in 879, out in front of the barn. I then
decided to add a larger pine from 5010 WC Tree Set 1 in 249, and one of the
smaller branches from the branch set in 969 against the barn, shading all 3
with N52. In 027 I used the grass from the Mini Foliage Set in a couple of
areas. I also added some 969 to create a path to the main door of the
barn. I then used the Bleed Proof White
to add snow to the ground and trees. I wanted it to look like the snow had been
melting and there were just piles of it left in areas with the ground showing
through. I then cut out my image with a die from 5063 Rectangle A2 Double
Stitched Dies, matting it with a solid cardstock, and used 5835 Mini Paper Pack
on the card base and finished my card.
Daffodils are one of the very first flowers here that will
poke through the snow if the days get warm enough. There is something beautiful
about seeing that pop of color when the days can be gray for days on end. It’s
like having sunshine coming out of the ground!
For my second card I am using 6061 Tulip Floral Set, which
includes some beautiful sentiments that you can include on your cards, along
with 3 different florals. Irises are another favorite of mine and there are
also tulips. If you like this set, I
also recommend checking out the 6062 Hydrangea Set that also has daisies and
pansies and included sentiments as well.
I started by inking the daffodils in Distress Ink Lost Shadow, and then
went over the flowers with 055 as a base. I then started from the areas that
would be shadowed with 025 to create depth to the flower and then added 026 to
the darkest areas. For the stems I started with 126 and then used 177 for the
shaded areas, making sure I darkened the areas just below the flowers and any
areas that overlapped. I filled in the background with 526, darkening around
the image because I planned on splattering with Bleed Proof White and wanted to
make sure it would show up. I decided I wanted to cut this image out with one
of the 5064 Circle Double Stitched Dies and chose the 4th from the
largest and used a pencil on the bottom of the image inside the die for a
guideline for the snow. I then used Bleed Proof White to create a mound of snow
at the base of the stems, and used 565 to add dimension to the snow. Before
cutting out my image I splattered some water downed Bleed Proof White to create
snowflakes.
I then used the same die to cut out my image and matted it on solid
cardstock cut out with the 4th from the largest 6045 Scalloped
Circle Dies. Then I took some vellum and the 5th Scalloped Circle
for added interest. Using the same solid cardstock I used on the image, I
stamped the sentiment and heat embossed it and then used the 5th
Circle Double Stitched Die to cut it out, also backing this with the vellum
using the 6th Scalloped Circle Die.
I matted my card base with paper from my stash and glued down my image.
I popped up the sentiment with foam tape completing my card. Thank you for joining me today and I hope you
enjoyed my cards. Until next time,
Create….Share….Inspire!!


4 comments:
Stunning cards as usual, Gennette! I love daffodils and you couldn't have painted them any more beautifully! And of course I always love your barn scenes!
Beautiful cards Gennette! Love the barn scene and daffodils.
Thank you so much Sharon! My mom always had daffodils, they remind me of her.
Kathy thank you so much!
Post a Comment