Showing posts with label 6045 Scalloped Circle Dies. Show all posts

Saturday, June 27, 2026

Tiny Teapot House by Janet

Have you seen the latest Ai challenge? It’s the Artful Architecture challenge. I was really excited for this one because there are just so many Ai stamps that feature whimsical houses. For my card, I chose to use the adorable teapot house found in the 5935-Fairytale House set. It’s a great set because it comes with matching dies for all the images. Just so cute and convenient!

To make this, I first decided on a circle shape to stamp the teapot. It works well on a circle because of the rounded bottom of the pot. To cut the circle I used 5726-Nested Circle Dies. The smallest was cut from marker friendly cardstock. I cut another circle out of plain white cardstock with a circle die in the set that is three circles larger. To create a set of stacked circles, I cut two more scalloped circles out of blue frosted cardstock using 6045-Scalloped Circle Dies. I cut, stamped, and shaded two fence images and did the same with three flowers, a butterfly, and bee images. It’s so great to have the stamps and the dies for all these little accents.

The next step was to stamp the teapot house and color it with Copic markers. I’m not that great at creating grass with markers so I used the grass dies in the set and tucked the grass cuts into the base of the scene. I trimmed excess that hung over the circle. I then layered all the circles in graduating sizes. I glued the two fence pieces in place which slightly overhang the first circle. This gives a more finished effect with a touch more dimension and texture. I added the flowers and bee to the scene. Before gluing the butterfly, I folded the wings up and glued the center to the scene so that the wings pop up and give even more dimension. I will point out that I used the white Signo Pigment Ink Gel Pen from the store to draw in the white stripes on the teapot, reflections in the windows, and accents on the butterflies.

I chose a preprinted patterned card base and glued in a strip of delicate cream crocheted lace. I collect old buttons and I had this beautiful shabby chic blue button in my stash. It’s just perfect as an accent to the lace and the house. The finished card is whimsical and full of color and texture.

Thanks for stopping by and spending time with me and Art Impressions today. Please visit the Ai store to pick up your favorite stamps, dies, papers, accessories, and supplies. 

Happy Crafting!


Tuesday, June 23, 2026

Cozy Cottage Floral Card by Reneé Matarese

The current challenge here on the Art Impressions blog is Artful Architecture.
I was inspired to make this floral card and, you'll never guess where this house is from.

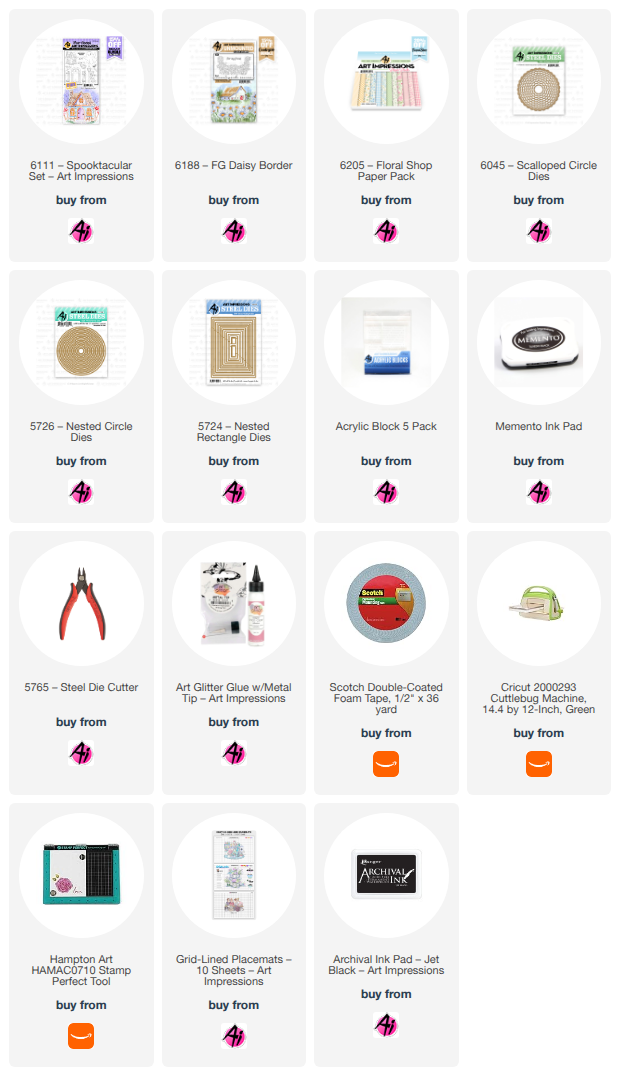
I used the 6111 – Spooktacular Set. You can find links for all of the other products below in my InLinkz. 


This was so fun to make. I love thinking outside the box and using stamps and dies in new ways.
I think this spooky little cottage looks a little less spooky when it's nestled among beautiful daisies.


This card is perfect for so many occasions!
The front simply says "For my friend," so depending on what you stamp or write inside, it could be used in a lot of different ways.


Thursday, June 18, 2026

Artful Architecture Challenge #430 Week #1

Hello Ai fans!

Welcome to our new challenge.
Artful Architecture


We want to see your cards using any sort of a building.
This can be houses, barns, castles, churches, lighthouses, schools, cabins, cottages
and more!

After seeing how creative you got with our Enjoy the Ride challenge, I'm sure
you'll come up with lots of things that I didn't think of.

Our featured designer this week is Lynn and you're going to LOVE her sweet card.

Once you finish checking it out, scroll down to see who won our last challenge.

Take it away Lynn!


 Scalloped Tri-fold "Princess" Card by Lynn Dionne


Watch video tutorial here!

I’m excited to be the featured artist for the brand-new Ai “Architecture” Blog Challenge which is to include anything architectural in your card or project. This can include houses, barns, cottages, or even a castle like we will be using today!

To make this trifold card design really easy we will be using the Ai Tryfolds Cards and Envelopes Pack and add a pretty border to each flap on the card using a pretty scalloped edge die. 

We will also add some beautiful, patterned papers to the two front flaps and the inside panel of the card. To do this we will be using the Ai Floral Shop PP 6205). I’ll show you in today’s video how to easily line these up to create the double scalloped edge on your card. The double-sided paper packs are perfect for mixing and matching the layers on your cards.

Next, we can stamp the cute little castle using the Ai Woodland Castle Set (5916) and quickly color it in using the Zig Clean Color Real Brush Pens in the following colors: Blender, Lt Pink, Pink, Sage Green, Aquamarine Blue, Gray Tint, Lt Beige, Beige. Now, using our detail scissors, we can fussy cut the castle.

Let’s also stamp our sweet “Princess” sentiments on the second flap and the inside panel of the card.

Now we can add our patterned papers, but before we add the focal image, we will add some Dusty Rose twine around the card for a pretty closure. To do this we will cut another panel from some white cardstock and sandwich the twine between these two layers. This will also thicken up the card a bit more and keep the twine from falling off when the card is opened by the recipient.

For the castle we will die cut two scalloped circles from the Ai Scalloped Circles Die Set (6045). This will coordinate nicely with the scallops on the flaps. Add your castle image and pop it up with some 3D Foam Squares.

Finally, let’s add some pretty sequins and tie a bow!

Thank you so much for joining me today! Have a fun and crafty day!

Ai Woodland Castle Set (5916)

Ai Scalloped Circle Dies (6045)

Ai Floral Shop PP (6205)

Ai Tryfolds Cards and Envelopes (4437)

------------------------------------------------------------------------------------------------------------------

Fabulous Lynn! Thank you for the inspiration and wonderful tutorial.

Now let's see who won our Enjoy the Ride challenge.

For our Top Spot we selected #9 Trish G.


Please contact Leah at Feedback@artimpressions.com
to claim your free stamp set.


Our Lucky Random Winner was #5 Patty S.


Please e-mail Leah at Feedback@artimpressions.com
to claim your free set.

Congratulations to our winners.

Now for our new challenge!


 ✻ Please make a new card or handmade crafty creation using either stamps, dies and or designer paper from Art Impressions. You can make any item you wish; this is not limited to cards! (unless specified)

✻ Limit two submissions per person.
✻Top Spot Winner and Lucky Random Winner each receive a free 
stamp set from Art Impressions
 ✻Please include your first name and last initial on your submission. You may include your entire last name, but it's not necessary.
✻We love to comment on your entries, but keep in mind if you use a private group or a platform that you need to sign up for, we probably won't be able to.
✻ The Ai Challenge is open to everyone, international submissions are welcome!
✻ Include a link back to the Ai Blog or grab our button on the top right of our sidebar!
✻ Share the Ai love if you can, by clicking and commenting on your fellow crafters.
✻ Make sure to get your link up by the deadline to enter your creations.
✻ Good luck and happy stamping! 

You are invited to the Inlinkz link party!

Click here to enter

Tuesday, June 16, 2026

I Love Rock & Roll! by Reneé Matarese

Hello Ai fans!

What do you make when you have a request for a birthday card for a 14 year old who loves 80's music? A rock & roll shaker card of course, complete with boom box!


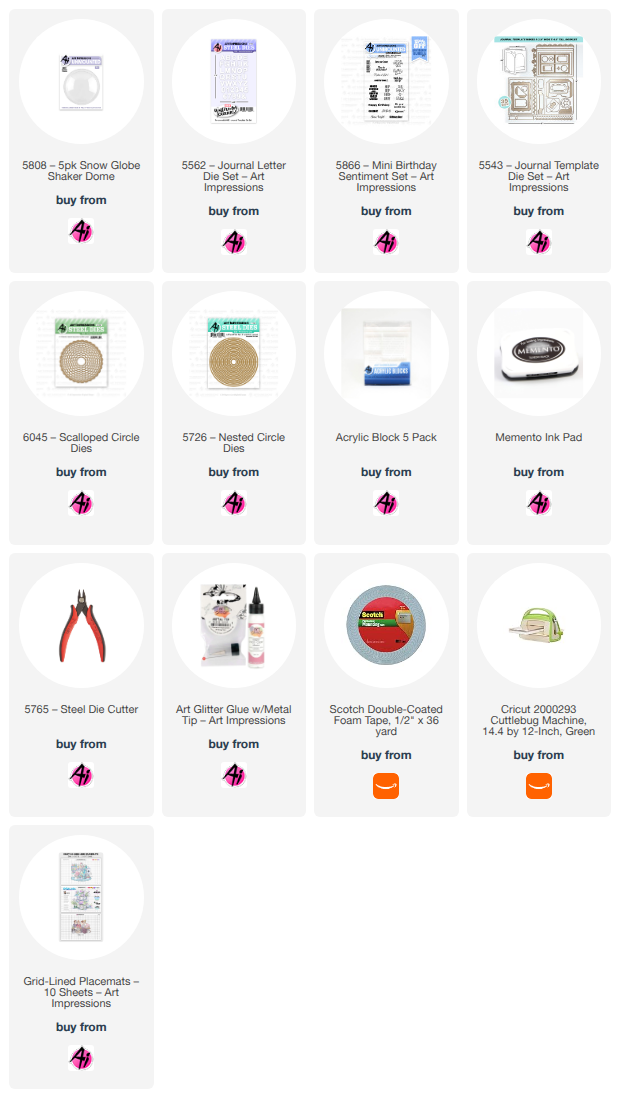
I used the super fun 5808 – 5pk Snow Globe Shaker Dome.
Inside the dome, I used the radio from 4999 Perfect Duet Set (Retired)


On the inside of her card I used 5866 – Mini Birthday Sentiment Set
and 5562 – Journal Letter Die Set to spell out I LOVE ROCK AND ROLL.
Think Joan Jett!

The border die on the front and on the inside is from
5543 – Journal Template Die Set


Saturday, June 6, 2026

Flower Foundations by Gennette Houghton


Hello, and Welcome to Watercolor Weekend! It’s hard to believe that I have officially been on the Design Team for 2 years now, and it has been amazing so far!  I can’t wait to see what comes next! 

I am in love with the Flower Foundations, these are soooo beautiful! Even though they were created for the Holiday Lane Series, they are great as standalones for cards. 

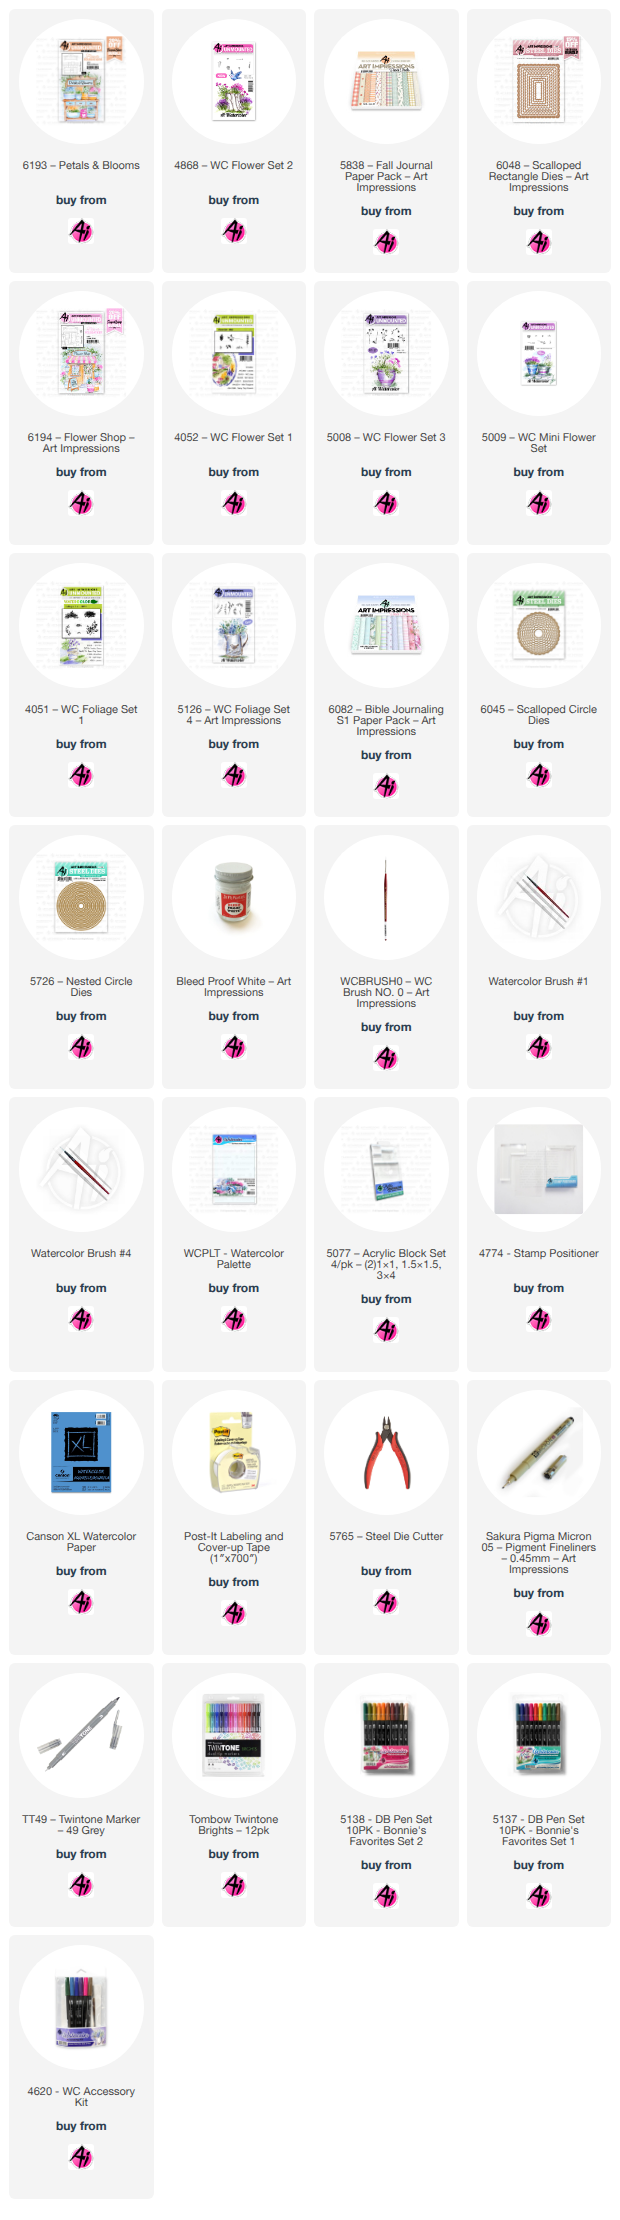
For this card I used 6193 Petals and Blooms.  I started by stamping in Distress Ink Pumice Stone on my watercolor paper after stamping off once.  The main frame of the stand was painted with 228, the rest I used 947.  I really love how this combo turned out! The drawer handles were done in 026, which I feel is the closest to a gold color in the Tombow line.  For the pots on the counter, going left to right, I created a mask by stamping on some post-it tape and masked the pots after I had them colored.  I shaded the first pot with 565, and then added lines in with 817. Using the large foliage from 4051 Foliage Set 1, in 126 first using one of the short ends, and then added just a touch of 177.  4868 Flower Set 2 was used to add in the flowers by just inking the flowers with 025 and then separately with 905 in just spots for more of a contrast.  The 2nd pot I used 905, 5009 Mini Flower Set in the smaller version that I used on the first pot in 177 and 526.  I shaded the 3rd pot with 565 first and then added the detail in with 817. 5126 Foliage Set 4, small vine in 249. The last pot I used 636, and used a stamp positioner to place in the cat from 5324 MB Cat Accessories. I then masked off the cat and used 5126 Foliage Set 4, small vine in 126, and a line of 177 up the middle of the area that I colored with 126.  I stamped this multiple times going up and over the top of the stand, I also inked the stamp in just 177 and stamped a couple for a darker variation.  Going left to right on the bottom shelf, I also created a mask for these as well. I used 027 on the first pot and then added dots with the same color, I then took the large foliage again, and using one of the short sides and did the same thing I did for the pot above, but left the flowers out.  Next, the top pot, I shaded with 565, and the top rim I used 676.  The bottom pot I also shaded with 565, and used 905 on the bottom section.  I used the small vine in the combo of 126 and 177, I then decided I actually wanted it darker so I stamped in some more with just 177.  For the last pot I used 817 and added a darker line just below the top. I inked the daisy bunch from 4052 Flower Set 1 first in 703, and then only inked 1 flower and the dots beside it with 725 and stamped that in just a few times.  After removing the mask I added the small vine in 249.  I then went in with a damp brush and softened all of the flowers and foliage, making sure I cleaned off my brush between colors.  I added some shading with 565 around and under the stand.  I placed my piece in my stamp platform to add in the Petals & Blooms with 947.  Bleed Proof White was used throughout the scene for the white flowers. I then cut out my image with the 3rd from largest 6048 Scalloped Rectangle Dies, I also used the next one up to cut my mat for my image.  5838 Fall Paper Pack was used to mat my card base to finish off my card.   

For my 2nd card I used the 6194 Flower Shop. I stamped it on my watercolor paper with Distress Ink Pumice Stone after stamping off once.  I started with 312 for the walls and I also added some brick detail with the same color.  A light wash of 312 was also used on the sign and door, adding a bit of 565 to shade the top of the door.  I used a pencil and ruler to put in the grid panes on the window.  565 and 969 mixed to shade in the steps with an additional amount of 565 for a little more shading.  969 was used for all of the wood trim throughout the scene.  For the glass on the lantern I used 526 and shaded a bit with 565.  I also used 526 on the window, adding in a bit of 177, 025, 725, and shaded with 565. I finished off the lantern with N15, making sure I left a highlight in the middle.  For the door knob I used 026, and shaded just the bottom portion with a little bit of 947.  I masked around the top of the canopy with post-it tape and used the daisy bunch from 4052 Flower Set 1 with 817, stamping multiple times to get a variation, I blended these out with a damp brush and spreading the color out a bit.  I shaded the top and sides with 565.  I also added 817 to every other sections of the overhang, and shaded the ones left white with a bit of 565.  For the sprig on the door I used 5008 Flower Set 3, and a stamp positioner, inking just one of the flowers with 676 and a touch of 636, stamping several times with the aid of the positioner to get the flowers where I wanted them. I then took the foliage from 5009 Mini Flower Set in 177, and using the positioner again stamped it twice.  Using my brush and 177 I added two little ribbons hanging down.  For the hanging pot, I shaded with 565 first and then added details in with 817.  Using the vine from 5126 Foliage set 4, I inked it first in 126 and added a line up through the stamp with 177, stamping multiple times before re-inking the stamp.  For the top of the building I started with 5126 Foliage Set 4, using the leafy branch with the same combo of 126 and 177.  Stamping it a couple of times overhanging both sides.  I then masked off the sign and used the vine from 4051 Foliage Set 1, again using the same combo.  For the pot on the far right I used 947 and used 4051 Foliage Set 1, using the large foliage I inked first with 126 on one of the short sides, and then went back in inking just a very small section with 177 to add a bit of depth.  For the pot next to it, I used 565 to shade the pot first and then added in details with 905.  I then masked off the pot to stamp in the same flowers I used on the door, in the same colors, I then removed the mask and used the small vine from 5126 Foliage Set 4 in 249.  For the pot on the far left, I shaded with 565 on the top rim and used 676 on the bottom also using this color for the details.  I masked off the edge of the open sign with post-it tape and used the small vine from 5126 in the 126, 177 combo.  I then put my project in my stamping platform to add in the Flower Shop in 312, and the Now Open in 177.  A helpful tip if you need it, I use a piece of acetate to cover my project and stamp on this first before committing to the placement.  It allows for you to see how it looks before stamping on your project and lets you adjust if need be.  I then used Bleed Proof White to add in all of the white flowers.  I decided I wanted to add some color to this so I used 676, 026, 725, 526, and 565, using a different color for each set of flowers.  I cut out my image with a circle die from my stash, and matted this with purple cardstock cut out with the largest die of the 6045 Scalloped Circle Dies.  I matted my card base with paper from 6082 Bible Journaling S1 Paper Pack, completing my card.  Thank you for joining me today, I hope you enjoyed my projects.  Until next time! Create....Share....Inspire!


Thursday, May 7, 2026

Mix & Match Challenge #427 Week #1

Hello Ai fans and welcome to our latest challenge.


All you need to do is use at least 2 different items from Art Impressions.
2 different stamp sets, a stamp and a die set, papers and dies...etc.
Mix & Match all your favorite products.

Our Featured Designer this week is Janet and she has a really fun birthday card to share with you.
After you check out her lovely card and tutorial, be sure to look and see if you were one of our winners from the last challenge.

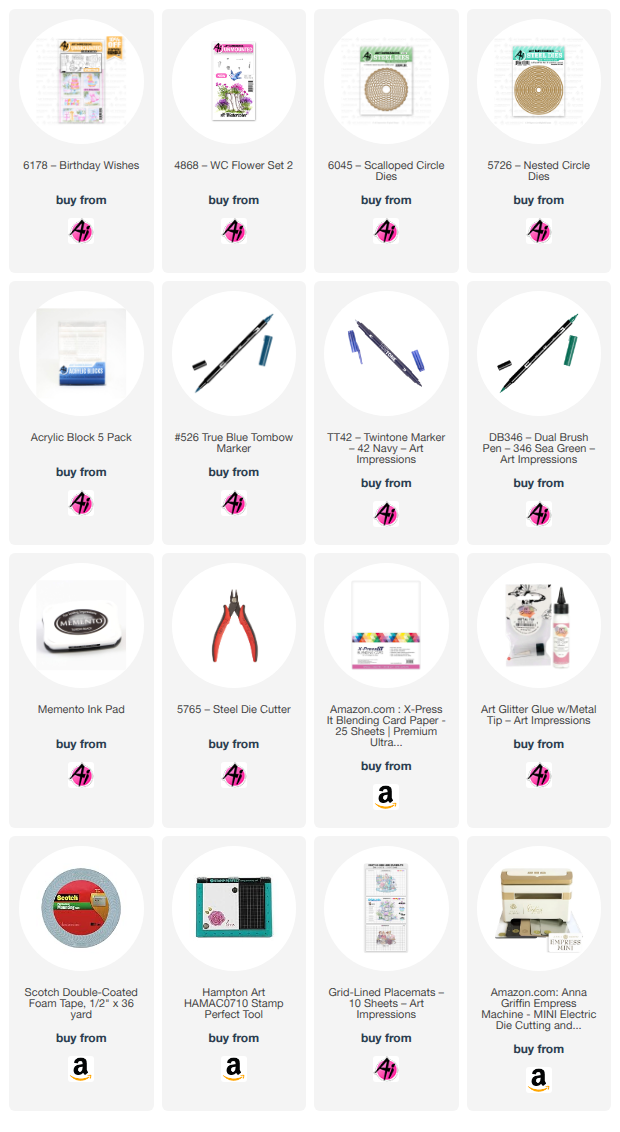
Welcome to Art Impression's newest challenge, Mix and Match! It's an opportunity to mix at least 2 Art Impression's sets together in a creation. For this challenge I've chosen two sets for my card. The first is 6178 - Birthday Wishes. This set has several cute birthday related images to choose from and I picked the cake with a pot that's waiting to be filled with the flowers of your choice. To fill the pot, I picked a stamp from the 4868 - WC Flower Set 2.


This card is full of many layers. Below are all the pieces that I cut to make the card front. These are layered on an A2 card base in order from 1 to 6, with the bottom layer starting with 1. The circle layer is cut with 5726-Nested Circle Dies and the scallop circle is cut with 6045-Scalloped Circle Dies. 

I stamped the birthday cake image on the plain circle. I masked off the top of the pot and stamped the flowers into it. I added a full stamped flower image and then added another 1/2 of the flowers in order to fill the pot entirely. I used Tombow Dual Brush markers, #346 and #526 for the flowers. The cake and pot was colored with Copic markers.

Copic Markers Used:
BV000, BV02, BV04
BG000, BG11, BG15
BG01, BG5
BV23, BV31, C1, Y17, 
plus Tombow Twin Tone-Blue

While I was working on the cake, my darkest blue Copic marker leaked a large drop of ink as shown in the picture below. I'm sharing this boo boo to show that I made this work by placing blue enamel dots to cover this and saving the time and work that I'd put into the card. When something unexpected like this happens, think creatively on how you can recover. Usually there is a way to strategically recover as I did in this example.


Next I stamped the balloons and sentiment from the birthday set and colored them with markers. The sentiment was cut out with 6048-Scalloped Rectangle Dies and layered with a piece of light brown cardstock. I fussy cut the balloon image. I then arranged all the elements on the card to complete the project.
I hope you've enjoyed today's tutorial. I invite you show off your own creation using two or more Ai sets and upload it to the Mix and Match Challenge. You can win free stamps for your efforts!

For our Top Spot we selected: Kathy R.
We loved her gorgeous little hummingbird!


Please contact Leah at Feedback@artimpressions.com
to claim a free stamp set of your choice!!
Be sure to grab your winner's badge to display on your social media.


Our Lucky Random Winner was: Lynn C.


Please contact Leah at Feedback@artimpressions.com
to claim a free stamp set of your choice!!

Be sure to grab your winner's badge to display on your social media.

Congratulations to both of our winners and thank you
Janet for the amazing inspiration for the new challenge!


Now for our new challenge!

 ✻ Please make a new card or handmade crafty creation using either stamps, dies and or designer paper from Art Impressions. You can make any item you wish; this is not limited to cards! (unless specified)

✻ Limit two submissions per person.
✻Top Spot Winner and Lucky Random Winner each receive a free stamp set from Art Impressions
 ✻Please include your first name and last initial on your submission. You may include your entire last name, but it's not necessary.
✻We love to comment on your entries, but keep in mind if you use a private group or a platform that you need to sign up for, we probably won't be able to.
✻ The Ai Challenge is open to everyone, international submissions are welcome!
✻ Include a link back to the Ai Blog or grab our button on the top right of our sidebar!
✻ Share the Ai love if you can, by clicking and commenting on your fellow crafters.
✻ Make sure to get your link up by the deadline to enter your creations.
✻ Good luck and happy stamping! 

You are invited to the Inlinkz link party!

Click here to enter

Saturday, May 2, 2026

Blooms for Mom by Gennette Houghton


Hello, and Welcome to Watercolor Weekend!  May is the time of year here where the garden nurseries start gearing up for the season just in time for Mother’s Day.  There is something about all of the flowers that let you know the warmer months are here and everything is coming out of the deep sleep of winter.  We are usually not out of the woods here until around the end of May, I have seen frost clear into June, and as early as August.  Spring and Fall are my favorite seasons, the colors of both can be extraordinary.

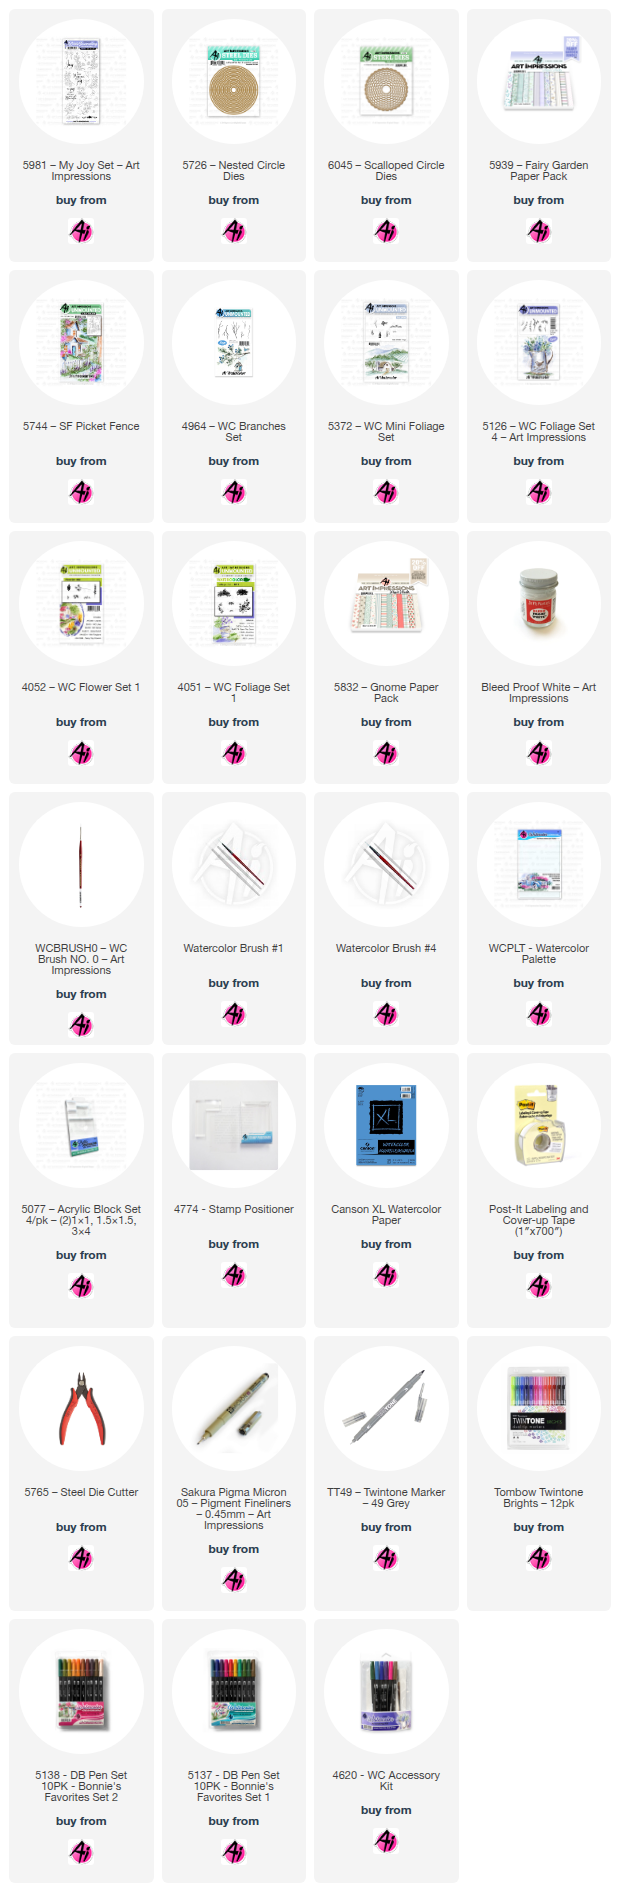
For my 1st card I used 5981 My Joy Set, I inked my stamps with Distress Ink in Pumice Stone and stamped off once.  I started with a circle die to use as my guide, tracing the inside with a pencil on my watercolor paper.  I took both of the flower sprigs, overlapping the stems just a bit to fill the outside of the circle.  I then used the stamp positioner to place my butterflies, leaving the very bottom one off.  For the stems and leaves I started with 126 and then shaded with 177.  The flower petals I used 676, focusing most of the color to the center and shaded areas.  For the centers, I started with 055 as the base, I then used 025 to paint a “C” on the shaded area. I use just a bit of 026 right at the bottom of the “C” to add a bit more depth.  For the butterflies, I started with a black micron for the bodies and antennae. For the pink butterfly I used 725 and 947, the blue butterfly I used 526 and 565, the yellow butterfly 055 and 025, and the purple butterfly I used 636.  I then added a background with a mix of 526 and 177, and then decided to add a bit more of the 177.  I then went through and added 565 for a shadow throughout the whole scene.  I die cut my image with my original circle die, and then used a matching green cardstock and cut that out with 6045 Scalloped Circle Dies, using the largest.  5939 Fairy Garden Paper Pack is what I used to mat my card base and then assembled my card.


 For my 2nd card I used 5744 SF Picket Fence.  I stamped this also in Pumice Stone and stamped off once.  I have a piece of acetate that is cut down to 2 ¾ x 4 ¼ that I use as a guide for the scenic foundations.  After stamping on my watercolor paper, I place and center the guide over my image and trace out some guidelines with a pencil.  This helps to keep the edges clean so you are not trying to fill in unnecessary space.  For any edges that I am stamping in flowers or foliage, I use post-it tape along the guide.  I started with the house, keeping everything towards the left edge light, focusing more of the color towards the front of the house.  For the roof, trim, and porch, I used a mix of 947 and 177.  Then I shaded with 565.  For the dormers and door I used 312, adding extra details in with the same color.  For the door knob I used 969.  I started with a pencil and ruler on the windows to draw in some guides for the panes of glass, and then used a mix of 249 and 565.  Adding in some more 565 for the shadow areas, and then decided to add a bit of 177 as reflections.  For the tree trunk I started with 947 and then shaded with 969.  I put in a wash of 249 on the back hills, and 177 on everything towards the front with the exception of the shading by the porch where I added in some 249.  I shaded the path with 565, and added 526 to the sky before putting any foliage in.  For the birdhouse I used 969 on the pole, 947 and 969 on the roof.  For the hole and perch I used 969, 312 and 565 for the main part of the house.  I shaded both the fence and trellis with 565.   These are the sets and colors I used for the foliage and flowers.


4964 WC Branches Set / 969

5372 WC Mini Foliage Set / brush line 249, shaded with 565

Tree foliage 126 and 177 together

5126 WC Foliage Set 4 / Vines, by the mailbox mix of 126 and 177

House, Trellis, fence, front corner 177 (vines)

4052 Flower Set 1 / daisy bunch 905

Salvia 565

4051 Foliage Set 1 / grass, mix of 126 and 177 

For the shadows in the pathway, I stamped both the vines and salvia in N60 stamping off once first.

Bleed Proof White


I then matted my card base with paper from 5832 Gnome Paper Pack.  After cutting my image down leaving a bit of a white border I then matted it onto a dark brown cardstock and assembled my card.  Thanks for joining me today, I hope you enjoyed my creations! Until next time! Create….Share….Inspire!