Showing posts with label 5064 Circle Double Stitched Dies. Show all posts

Friday, April 17, 2026

Have a Magical Day! Card by Tasha

 Happy Friday, Art Impressions friends!

Tasha here sharing a new shaker card inspired by the current “I See Right Through You” challenge. This one was really fun to put together with all the soft, magical touches.

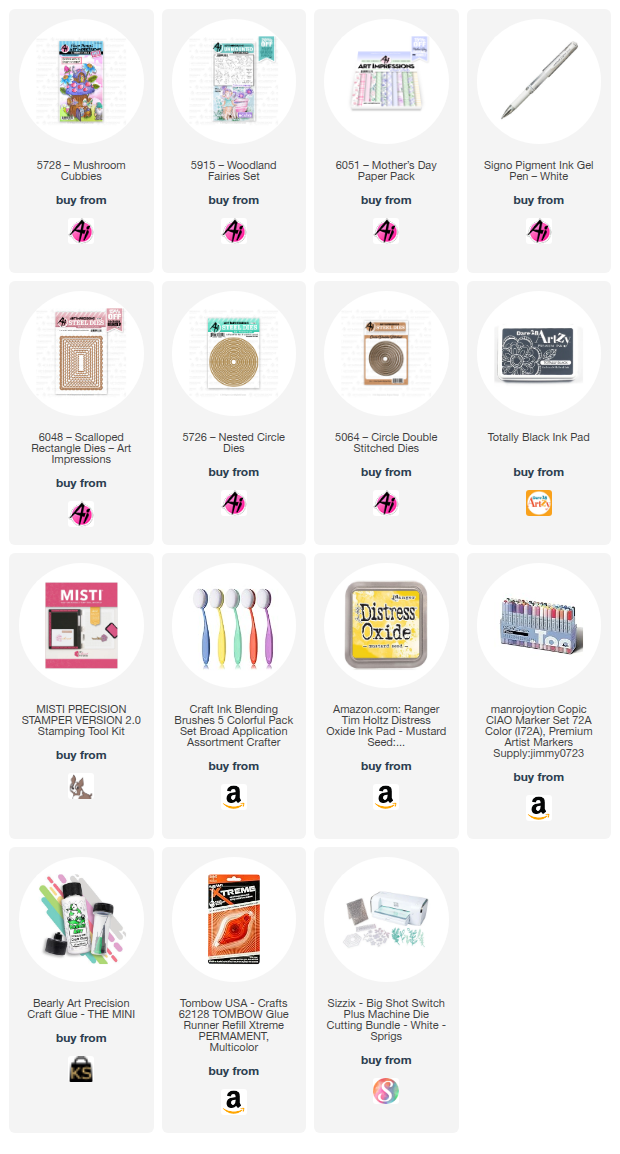
I started by stamping one of the sweet fairies from the 5915 Woodland Fairy Set. I used the coordinating dies to cut her out before coloring. I colored everything with Copic markers, keeping the colors light and whimsical.

For the shaker, I used circle dies to cut out the center window, then used two different circle dies to create the frame. I love the sparkly paper for this part since it adds just the right amount of shine.

For the greeting, I stamped “Hope Your Day is Magical” onto white cardstock and added two butterflies from the 5728 Mushroom Cubbies Set. I lightly ink blended around the sentiment with yellow ink to add a soft glow.

Inside the shaker, I used a mix of pastel hearts, stars, and sequins. The mix works really well with the fairy theme and adds a fun, playful look.

To finish the card, I used scalloped rectangle dies to cut layers of pastel purple cardstock and floral patterned paper. I also added layers of white, blue, and pink cardstock to complete the design.

Thanks so much for stopping by today. I hope you enjoyed the card and will join in the challenge!


Saturday, April 4, 2026

Dreaming of Spring by Gennette Houghton


Hello, and Welcome, to Watercolor Weekend!  Technically, it is Spring, but the weather says otherwise. It’s coming, but the tug-of-war continues, we call these the yo-yo months, it is enough to drive one batty when you just want warmth and sun! (Yes, yes, I know…..I will be complaining of it being too warm soon enough!  LOL!) I can not tell you how happy it makes me to create colorful creations right now, I may enjoy a good snowman, but I do love when things start coming back to life! 

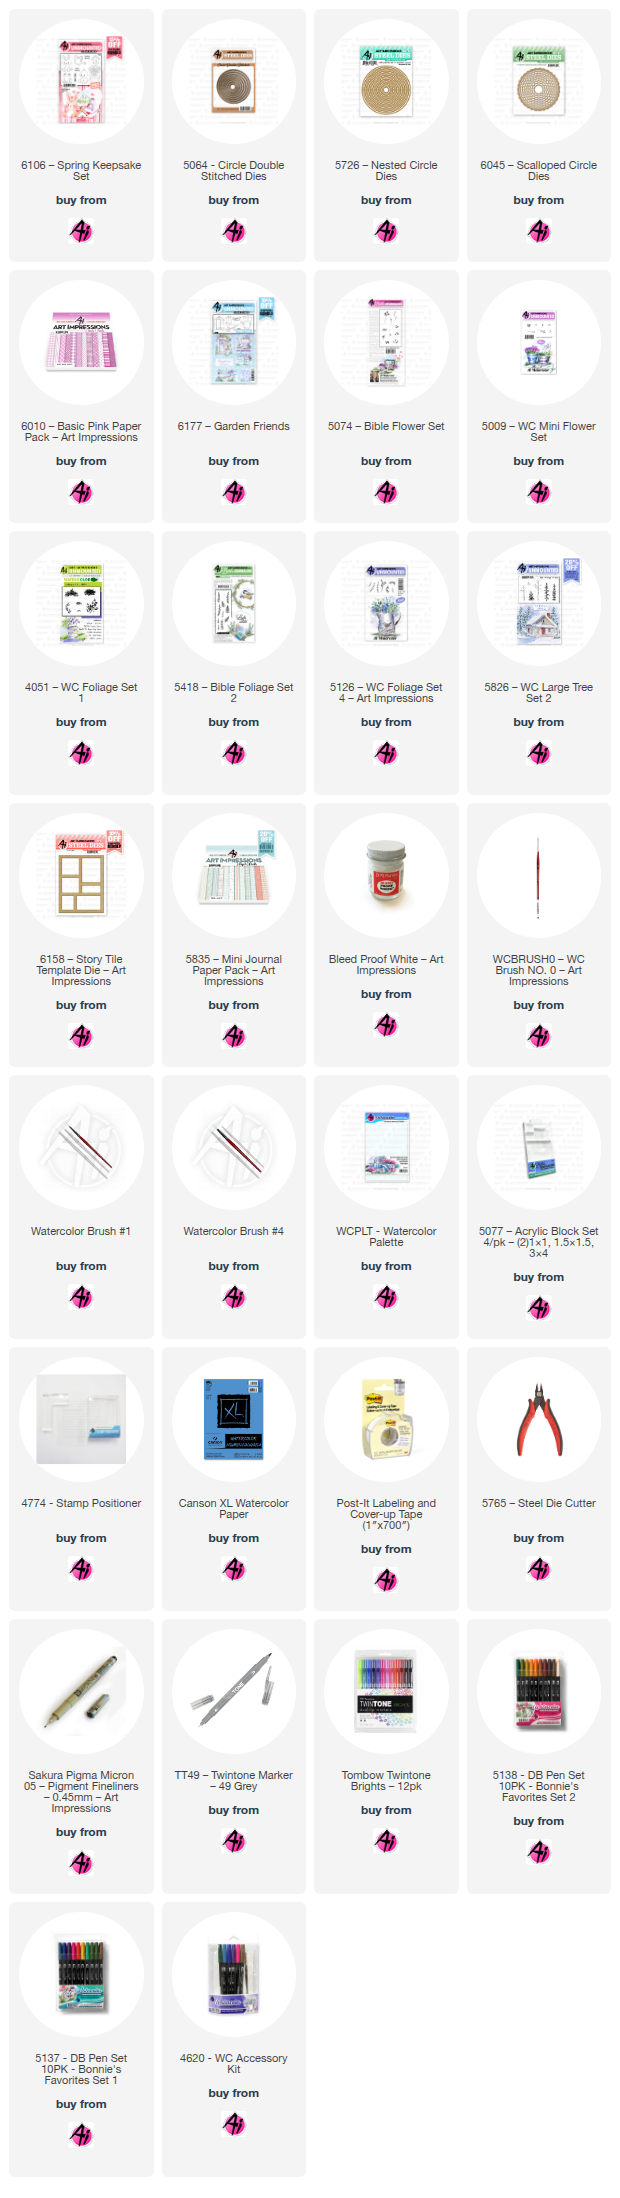
Daffodils are usually one of our first flowers to show up here, there is something about that pop of bright sunny yellow after months of gray days.  The irony of them getting covered in snow is not lost on me.  The 6106 Spring Keepsake Set was a big hit for the frog alone, he is cute isn’t he! I started out with a piece of watercolor paper and stamped in the frog with Distress Ink Pumice Stone after stamping off once.  I created a mask and covered him, and then using a stamp positioner I stamped in the pot like I did the frog.  I then masked the pot and stamped in the flowers.   Starting with the frog, I used 126 as the base color, adding in 177 especially around the edges and shadowed areas.  N15 for the pupils, with a touch of 565 along the edges of the white. This really helps the eyes to pop! For the tulips I used 725 and shaded with 676 for more dimension.  The daffodils I started with 025 and then used 026 for some depth, with 947 for shading.  I added a couple of dots of 969 right in the centers.  The stems and leaves I used 126 as the base and contoured with 177.  For some of the areas farther back I also used a bit of 249.  I added some 969 inside the pot, darkening the back edge for dimension.  For the pot itself I used 636, darkening the sides and leaving a highlight in the middle which helps make the pot look rounded.  I also added a stripe with the same color.  The sky I used 526, and put a light wash of 969 for the ground.  Using my favorite grass from 5826 WC Large Tree Set 2, I masked off the frog again to place the grass behind him and on the other side of the pot using 177 with two small spots of 969 towards the bottom and then used a damp brush to soften.  Bleed Proof White was used for the little flowers.  I added a bit more 969 for the shadows at the base of the pot and frog.  5064 Circle Double Stitched Die, 2nd from the largest, was used to cut the image out. I then matted this with silver cardstock using dies from my stash, and then backed this with a dark purple solid cardstock, cut out from the 2nd largest 6045 Scalloped Circle Dies.  I matted my card base with paper from the 6010 Basic Pink Paper Pack.  Before attaching my image, I stamped in the sentiment in the bottom corner with Versafine Clair in Nocturne.  I then added my image to finish off the card.  I still can’t get over how cute this frog is!!  Ah, Spring, I am waiting for you!


 For my 2nd card I used 6177 Garden Friends from the new Story Tile Series. There are currently 3 other sets in this line, and boy are they good ones! I made a card using the 6179 Cottage Charm, and kept that one pretty simple, you haven’t seen this one yet, but it is coming. I did, however, learn a valuable lesson making that card. Not thinking, I traced my openings using the die on my watercolor paper with the cut side up. I figured out pretty fast my mistake when I cut out the template. (Opps!) This time I made a template for tracing with heavy cardstock that I now keep with the die and use that instead.  The beautiful thing about these sets is that you can mix and match to create different versions. 6158 Story Tile Template Die can be used with any number of sets as well.  I am so looking forward to what Art Impressions has in store for this series! With the foliage and flower sets there are so many things you can do to change the look of this set, your only limitations are your imagination.  Bonnie, however, made some beautiful samples that are on the stamp cards to get you started.  After cutting down my watercolor paper to 4 ¼ x 5 ½, I used my cut out template to trace the openings with a pencil. I then used the stamp positioner to stamp my images where I wanted those, using Distress Ink Pumice Stone, and stamping off once. Here are the other sets I used throughout this project.

5126 Foliage 4 – small vine

4051 Foliage Set 1 – small grass, large foliage

5826 Large Tree Set 2 – grass

5418 Bible Foliage Set 2 – dots

5009 Mini Flower – 4 flowers

5074 Bible Flower Set  – daisy bunch

 Tombow colors used: 565, 969, 312, 947, 025, 026, 177, 676, 555, 526, 126, 249, N15. Also Bleed Proof White. 

I used paper from 5835 Mini Paper Pack for the Story Tile Template and adhered it to my watercolor paper after erasing the pencil lines. Mounting this on my card base. (This time in the right orientation!!) Thank you for joining me, I hope you enjoyed my cards, until next time!  Create….Share….Inspire! 


Saturday, March 7, 2026

Tug of War between Winter and Spring by Gennette Houghton


Hello, and Welcome to Watercolor Weekend! March is the time of year here, where spring starts popping it’s head up.  The slow struggle between winter and spring begins, where the days bounce between cold days and days that get warmer. We could have snow, or rain, mud or slush. And if you live on a farm like I do, it can get pretty messy. 


For my first card I decided to use one of my favorite barns, she is an oldie, but definitely a good one. It is one of the very first stamps I bought when I discovered Art Impressions.
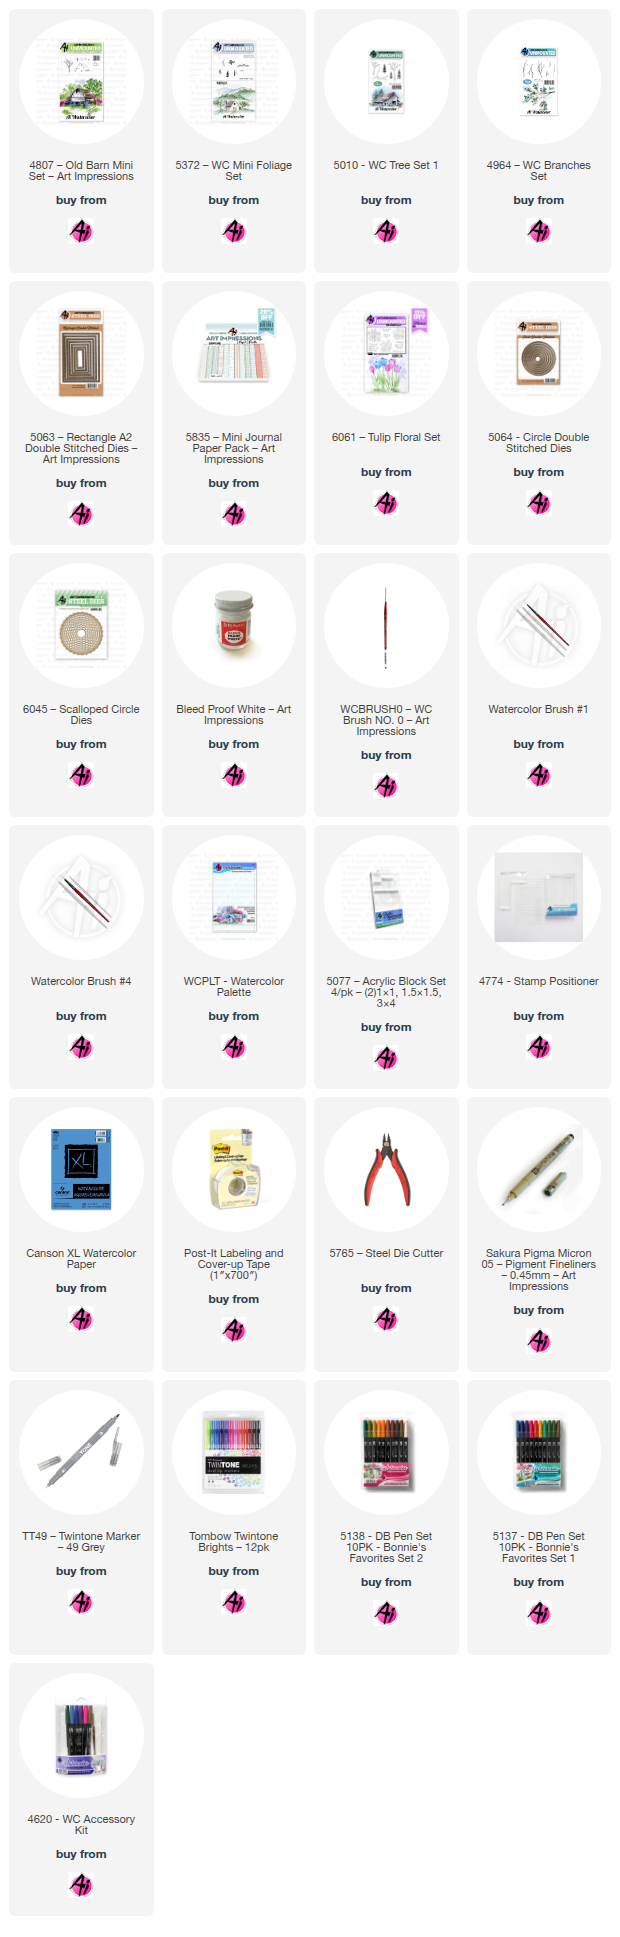
  To me, a timeless classic. I started by inking my stamp with 565 first and then 969, stamped it off twice on scrap watercolor paper, and then stamped it on a clean piece of watercolor paper. I pulled the color out of the lines and then added from my palette, a mix of 565 and 969 for more shading and for all of the windows and doors. 969 was used on the different sections of the roofs with a touch of 249 for a more weathered look.  I used a pencil to sketch in some boards on the walls of the barn and then used my kneaded eraser to lighten the lines.  I also added a light touch of 947 for a bit of texture. 565 was used for the shadows under all of the overhangs.  I used a black Twintone in the peak of the main roof and edged some of the sides on the windows and doors and anywhere else I thought it was needed.  N60 is a wonderful color to use for those gray days, it is a cool gray with a hint of blue. I used this to put a wash of sky in first. I also used N52 which is a bit of a darker cool gray and 312 for parts of the ground beside and in front of the barn, before adding in any of the foliage and trees. I then masked the barn with post-it tape so I could add in the background trees.  First I sketched a hill in the background for a guide for the pine trees, I used the pine tree from 5372 WC Mini Foliage in 312, stamping multiple times before re-inking the stamp.  I then softened these with a damp brush and added a bit of N52 for the shadows of the trees.  While the barn was still masked, I then used the largest branch from 4964 WC Branches Set in 879. I used the stamp positioner to make sure it was going where I wanted behind the barn.  I then removed the mask off the barn and used the tree from the Old Barn set, also in 879, out in front of the barn. I then decided to add a larger pine from 5010 WC Tree Set 1 in 249, and one of the smaller branches from the branch set in 969 against the barn, shading all 3 with N52. In 027 I used the grass from the Mini Foliage Set in a couple of areas. I also added some 969 to create a path to the main door of the barn.  I then used the Bleed Proof White to add snow to the ground and trees. I wanted it to look like the snow had been melting and there were just piles of it left in areas with the ground showing through. I then cut out my image with a die from 5063 Rectangle A2 Double Stitched Dies, matting it with a solid cardstock, and used 5835 Mini Paper Pack on the card base and finished my card.


Daffodils are one of the very first flowers here that will poke through the snow if the days get warm enough. There is something beautiful about seeing that pop of color when the days can be gray for days on end. It’s like having sunshine coming out of the ground! 


For my second card I am using 6061 Tulip Floral Set, which includes some beautiful sentiments that you can include on your cards, along with 3 different florals. Irises are another favorite of mine and there are also tulips.
  If you like this set, I also recommend checking out the 6062 Hydrangea Set that also has daisies and pansies and included sentiments as well.   I started by inking the daffodils in Distress Ink Lost Shadow, and then went over the flowers with 055 as a base. I then started from the areas that would be shadowed with 025 to create depth to the flower and then added 026 to the darkest areas. For the stems I started with 126 and then used 177 for the shaded areas, making sure I darkened the areas just below the flowers and any areas that overlapped. I filled in the background with 526, darkening around the image because I planned on splattering with Bleed Proof White and wanted to make sure it would show up. I decided I wanted to cut this image out with one of the 5064 Circle Double Stitched Dies and chose the 4th from the largest and used a pencil on the bottom of the image inside the die for a guideline for the snow. I then used Bleed Proof White to create a mound of snow at the base of the stems, and used 565 to add dimension to the snow. Before cutting out my image I splattered some water downed Bleed Proof White to create snowflakes.


I then used the same die to cut out my image and matted it on solid cardstock cut out with the 4th from the largest 6045 Scalloped Circle Dies. Then I took some vellum and the 5th Scalloped Circle for added interest. Using the same solid cardstock I used on the image, I stamped the sentiment and heat embossed it and then used the 5th Circle Double Stitched Die to cut it out, also backing this with the vellum using the 6th Scalloped Circle Die.  I matted my card base with paper from my stash and glued down my image. I popped up the sentiment with foam tape completing my card.  
Thank you for joining me today and I hope you enjoyed my cards.  Until next time, Create….Share….Inspire!!


Thursday, October 23, 2025

Full of Surprises Halloween Card by Dori Mendiola

 Happy Thursday AI Friends!

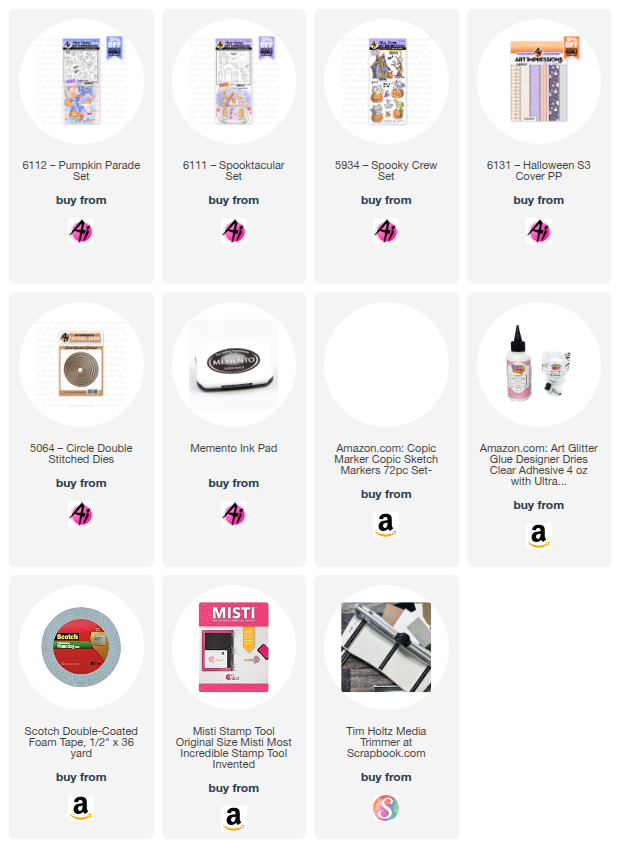
I had soooo much fun creating this card today!  Cute little interactive surprises using the stamp sets #6111 - Spooktacular and #6112 - Pumpkin Parade sets. 

Before I get started, I want to thank design team member, Sharon Caudle, for her great sidewalk idea.    She used this on one of her cards, of late, and I loved it.  What a cute and easy ground panel!  Simple, but effective!  Thanks, Sharon! 

Okay, back to my card.  I created a corner fun fold card.  You can find this fold design on Pinterest but it's pretty simple.  Start with a 5 3/4" x 7" piece of pattern paper.  Front of card design face up, score at 2" along the left edge of the 7" side.  Turn paper to the left and score along the 5 3/4" side at 2".  This will create a square in the bottom left corner.  Turn the paper over, fold and burnish the score lines towards you so that the front side is coming forward.  Make a small mark at 2" from each of the folds of the square.  Score diagonally from mark to mark.  Fold and burnish this score line in opposite direction of the others.  Unfold all and with inside paper face up, bring in the diagonal folds and let the square come up over the top creating a square in the top left corner.  See Pic 3 showing the fold opening.

Pic 1:

Top Panel - create how you choose (mine is 3" x 3 3/4").  Adhere to top square only.  Do not place glue on the full panel as this is how it opens.  See video below.

Pic 2

The peek a boo ghost is from the #6111 - Spooktacular set.  The die cut will score and cut the ghost so it folds as intended.  The arms fold in similar to the card.  Stamp your sentiment onto the moon.  Adhere the bottom of the ghost to the fold of the moon.  Place glue on the top half of the ghost and shut the moon down to adhere.  Do NOT glue the arms of the ghost.  When you lift the moon, the arms will fold outward.  I placed a magnet under the "lift" cloud and the other one under the inside cloud.  

Pic 3

The inside panel has a sentiment and another cute surprise image with treats.


Thanks for joining me today!  I hope you enjoyed my card!

Have a wonderful day and keep creating!

Copics used:  T0, T2, T4, R20
Y13, Y15, Y17
YR12, YR14, YR16, YR18
V12, V15, V17
BG32, BG45

Saturday, October 4, 2025

Double Feature - Two Cards Using the New Spooktacular Set! by Janet


It's the time of the year when Art Impressions wows us once again with their newest sets for the season. This week's release does not disappoint! I've got a double feature here for you today. I couldn't just make one card with this Spooktacular Set.

Today I'm showing off a card which uses most of the many stamps included in the 6111-Spooktacular Set. I cannot believe all the goodness in this single set! Here's one card I made for the In The Navy blog challenge. Note the adorable ghost and how it stands out from the card surface. This is achieved thanks to scoring and folding lines that are part of the die set included. In the card above, I didn't use the fold lines but they are subtle enough not to be noticeable when you choose not to take advantage of that feature. You can make the ghost stand out like I did or you can put him under a flap or inside the card. He's made to collapse and comes out to full size when what he's underneath is open. How cool is that! The fun background is a pattern from the 5849 - Halloween S2 Paper Pack.


This card has a floating panel so that when you open the card, the ghost panel pops up and hovers. Can't get a more perfect treatment for a cute little ghost! I love all the dimension you can get by folding the score lines the die makes on the ghost. The panel is made even more interested by including stitch lines on the edge thanks to 5063 - Rectangle A2 Double Stitched Dies. 


So let's get back to my first card. To make this, I started with an A2 sized white panel that I cut down once my ink blending was done. I stenciled in some colorful clouds and inked a dark bottom with Oxide inks. I stamped in the sidewalk and also cut a golden yellow moon using 5064 - Circle Double Stitched Dies. Last I die cut a few sprigs out of brown from my stash which just happen to double as bare trees in this card.


Next, I stamped and colored all the elements I needed for my card. Then I set about arranging the scene. I glued all the pieces down with Art Glitter Glue except for the light post image. I placed that on foam tape so that it appeared even closer to the front. The frog is certainly made to be a peeker so I positioned him behind the lamp post. I used my scissor to cut around his arm so I could keep it up front as if he was holding on to the post.I added two bats and a spider and it was complete! I mounted the panel on a black and cream card base to finish it off.

Thanks for joining me here today. As always, don't forget to find your favorite stamps, dies, papers, and accessories at the Ai Store! You'll always find something that calls to you. 
Happy Crafting!

Janet YouTube - Blog - Facebook - Instagram - Pinterest  

Thursday, August 21, 2025

Golfer Gal - Birdie Betty by Dori Mendiola

 Happy Thursday AI Friends!

I have a fun interactive card to share with you today that meets the bi-weekly challenge 
"Sports & Leisure".
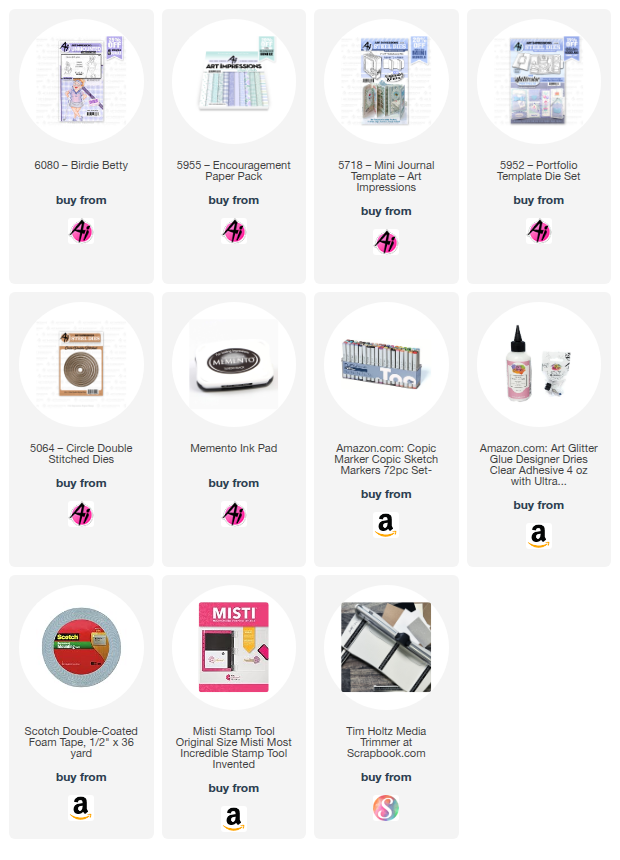
By now, I'm sure, you have seen lots of cards using these fun new AI ladies.  They are just so fun, so expect to see more.  My card features #6080 -Birdie Betty.  What a fun cute golfer gal!  The expressions on these ladies are absolutely the best and the glasses add so much to their character.  Gotta love them!!

I started off by stamping the images onto copic friendly paper with Memento black ink and coloring with my copic markers listed below.  I then cut the images out with the coordinating dies that are included with the set.  The sentiments are also included with this set.

This interactive card is fairly simple but adds such a fun element to the card.  I saw this on "Purple Girl Crafts" youtube tutorial called - Diamond Slider card.

I recommend using 80 lb or less cardstock for the slider card.  If you use heavier cardstock, it doesn't seem to fold as nicely and it's too bulky.  I then mounted this to the card base (which can be heavier cardstock).

I hope you try making one of these interactive cards.  They are so fun and easy to make.

Also, make sure to join in on the blog challenge for a chance to win a free stamp set of your choice.  We love to see what you create!

Have a wonderful day and keep creating!!

Copics used:  E000, E01, E11, E51, E53, E55
N0, N1, N3
R20, R24
BV00, BV01, BV04

Monday, July 7, 2025

Rusty bucket of daisies by Sharon Caudle

 Hello AI Fans!!

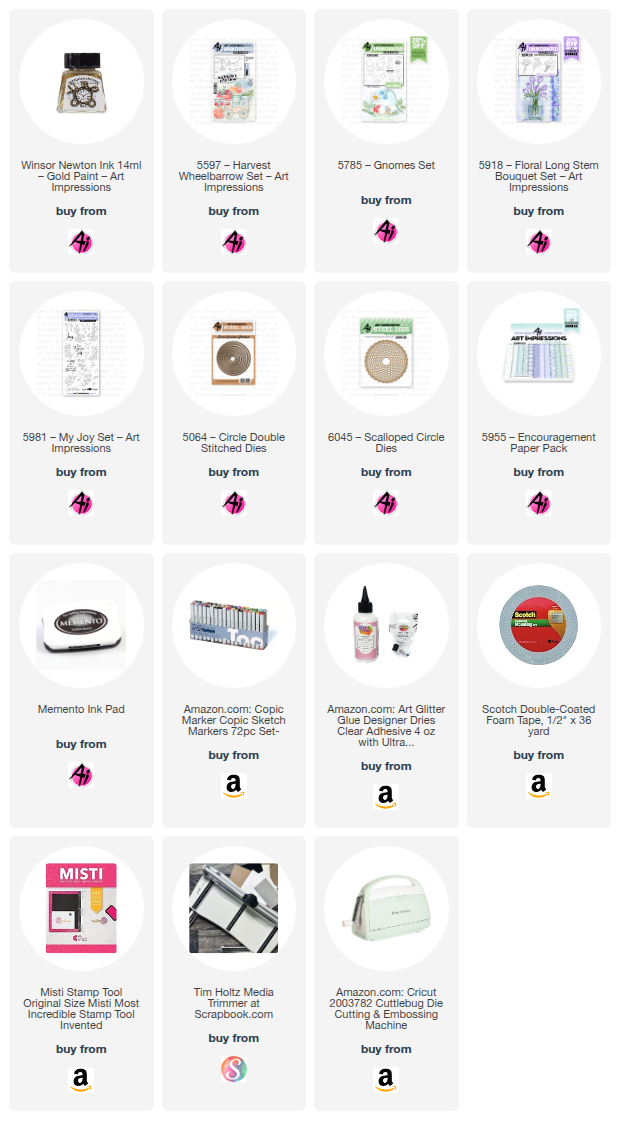
I hope you've had a wonderful weekend and a safe and happy 4th of July if you celebrate! So, who doesn't love old rusty buckets, daisies, and gnomes?! LOL! I created a cute summer scene for you today using several different sets from Art Impressions. I started out using the bucket from 5597 Harvest Wheelbarrow Set. When I stamped it onto my Copic friendly paper, I also stamped another one onto masking paper. After applying the mask, I stamped one set of the daisies from 5918 Floral Long Stem Bouquet Set and also created a mask for that stamp.  That allowed me to stamp another set of them on the other side of the bucket to fill it up. Have you seen the new Winsor & Newton Gold Paint that Art Impressions is carrying now? Gorgeous and so easy to use! I grabbed it and a butterfly from 5981 My Joy Set. I messed one of them up (sad face), but I still love the way they look! I also added the paint to the centers of the flowers, the leaves, and the belt and button on one of the gnomes! I love the glimmer it added to the card! 


So that's it for me today! Thanks so much for stopping by for a visit and until next time - stay crafty!!


Thursday, June 26, 2025

Christmas Magic by Dori Mendiola

 Happy Thursday AI Friends!

Today I have a Christmas card inspired by the "Leon" blog challenge.  "Leon" is Noel backwards and since we are halfway to Christmas, a "Leon" challenge makes perfect sense.  Now is the time to start getting in the mood for creating our annual Christmas cards/tags/etc.  Hope you will join us and enter the blog challenge for a chance to win a free stamp set of your choice. 

I used the #5775 - Front/Back Santa.  He is just the cutest peeking Santa Claus!  I also used the presents in the #5457 - Christmas Truck set.

I began by stamping the santa and the presents on copic friendly paper with Memento black ink and coloring with my copic markers listed below.  I then die cut each of the images with the corresponding dies that come in each of the sets.  I added Dr. PH Martin's bleed proof white paint to Santa's fur.

I cut three trees from the #5853 - Christmas Magic PP using a die I had in my stash.  I scored each tree in half and glued the fold into the next scored tree until all three trees were adhered together by the folds.  This allows for the trees to flair out for dimension.   I adhered the stripe pattern paper onto a green base and then added a strip of red cardstock to the bottom.  I then glued the bottom tree stack, at the fold, to the pattern paper card base.  I glued the santa front to the third layer tree and adhered his backside to the back of that layer.  I adhered the colored presents on each layer at the base of the trees.


Lastly, I added streamers to the tree, the sentiment, bow and jewels.  

I hope you enjoyed my "Leon" card and you enter the challenge.  We love to see what you all create!

Have a great day and keep creating!

Copics used:  E000, E01, E11
N0, N2, N4
R20, R22, R24, R27
Y13, Y15, Y17, Y26
BG53, BG57
G24, G28

Thursday, April 3, 2025

Birthday Humor Reveal Wheel by Dori Mendiola

 Happy Thursday AI Friends!

Today I have a humorous birthday card for the "Milestones" challenge using the #5279 Be Happy Laugh Lines set.  If you haven't checked out these Laugh Lines sets yet, make sure you go to the website and check them out.  Bonnie hit the mark on these.  The sayings are perfect as well as the images!  

I stamped the image on copic friendly paper with Memento black ink and colored with copic markers listed below.  I die cut the image panel with the largest #5062 Rounded Rectangle A2 Double Stitch Die.  I then used a smaller circle die from the #5064 Double Stitched Circles die set to cut out the notch for the reveal wheel.  Measure a circle die over each of the sentiments to make sure that you can read each within the circle.  Once you find the circle die that fits the sentiments, make sure that where you cut the hole on the image panel is low enough for the wheel to fit without popping out on the sides.  Place a brad in the center of the wheel and through the pattern paper border.  Pop the image panel up with foam dots, avoiding the wheel area, and place down over the pattern paper panel.  I then placed a circle frame over the reveal hole to finish it off.


I hope you enjoy my card today and that you will join in the fun with the current challenge - "Milestone Birthdays".  Play along for a chance to win a free stamp set.

Have a wonderful day and keep creating!
Copics used:  E000, E00, E11, B000
R20, R22, R24, R27
C1, C3, C5
G12, G16, G17

Thursday, March 6, 2025

"Case" a design - Split Window card by Dori Mendiola

 Happy Thursday AI Friends!

The current challenge this week on the Art Impressions blog is "Case That Card".  What a fun idea!  I decided to recreate a split window card by Jennifer McGuire.  See below for her card and a link to her video/blog post. 

I started making Thank You cards and then decided to make a few more variations of this style.  I did find one suggestion to make them easier and create layers on the inside.  Before you adhere the sentiment panel down (circle), I recommend placing your layers (mats) on the inside first.  Then place the sentiment panel down over the mats.  Easier to cut a rectangle panel then to cut a partial circle into it and get it even.  You could even place a full panel down on the inside and then adhere the left side down.  This will create a sturdier and more finished card.

Here are a couple other versions.  I used stickles on the butterflies.  I like the look on kraft paper.  Makes it look bronze.


Below are Jennifer McGuire's cards that inspired me.  Here is the link to her video - Split Window cards


I hope you enjoyed my cased cards today.  I also hope you play along with the challenge.  See tab above for details and a chance to win a free stamp set.

Have a great day and Happy Creating!