Showing posts with label 5063 - Rectangle A2 Double Stitched Dies. Show all posts

Saturday, July 4, 2026

Happy 4th of July by Gennette Houghton


Hello, and Welcome to Watercolor Weekend!  To our U.S. friends I am wishing you a Happy Independence Day.  Since my post actually falls on the 4th, my cards are geared towards honoring the day.  (Someone please explain to me how it is already July?!)

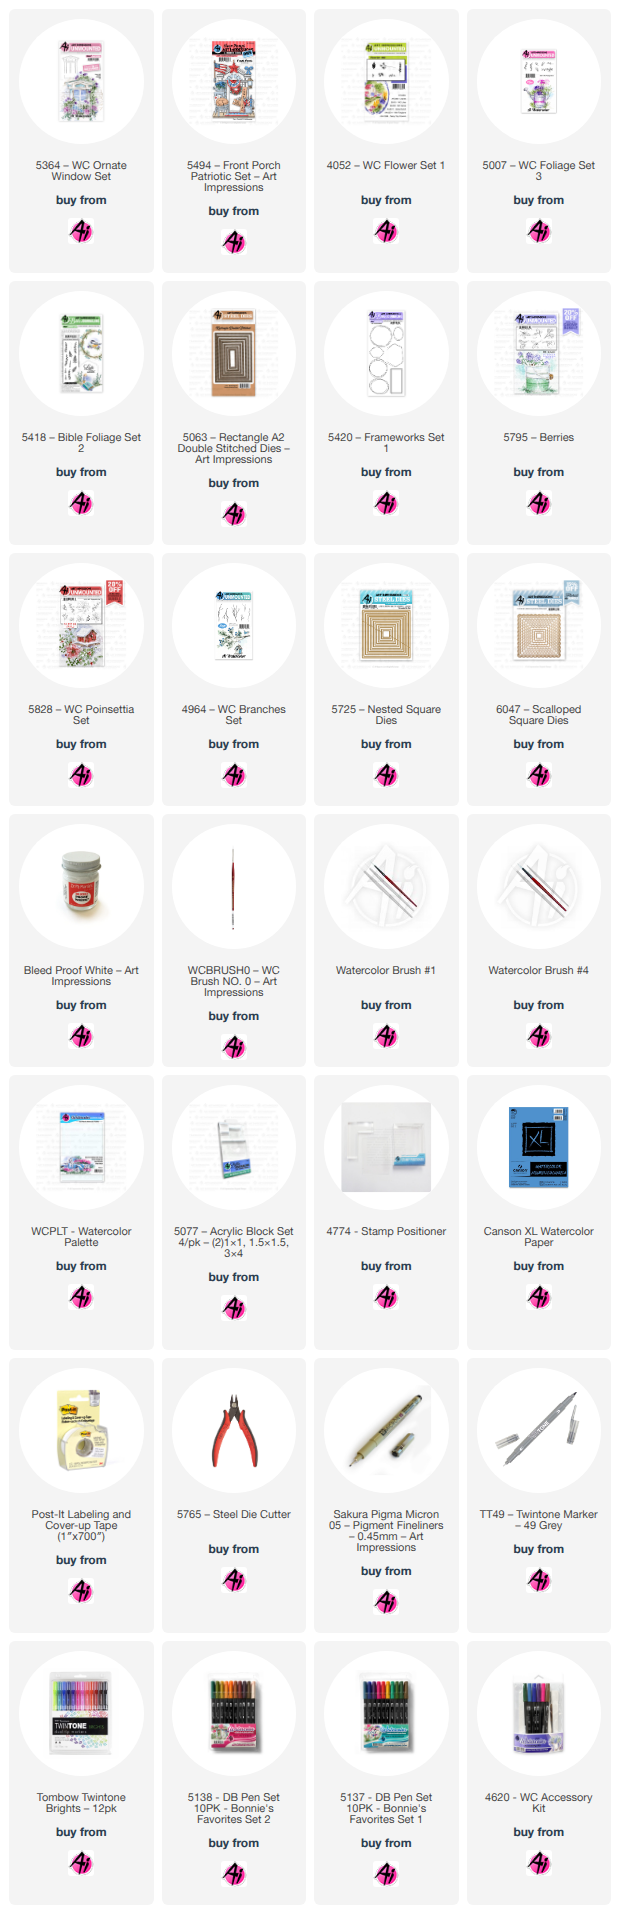
I have always been fond of using the window and door stamps from Art Impressions, they always feel so inviting to me.  Kind of like…HI! I am so glad you are here! Come on in!  For my first card I used 5364 WC Ornate Window Set and 5494 Front Porch Patriotic Set.  Both the window and the bunting were stamped in Distress Ink Pumice Stone and stamped off once.  I started with the bunting and created a mask and then used my stamping platform and a piece of acetate first to make sure that I had the window lined up where I wanted it before stamping onto my watercolor paper.  I used 312 on the main frame and left the trim white.  Going lighter with the 312 close to the window box so it would not compete with the flowers and foliage I am putting in.  Darkening the more shadow areas with the same color and then adding in some 565 to enhance the shadowed areas.  I also added some 312 around the window for a background before adding any of the foliage.  Using a pencil and ruler I added in some windowpanes, and then added in some 526 and 565 around the edges of the window and under the lines I put in for the panes of glass.  A little 969 was used to put in the handles.  On the bunting I started by putting in some shadows in the folds with 565, and then added 569 around the stars and 856 for the red areas.  The daisy bunch from 4052 Flower Set 1 was used in 526 and 885.  I then added the ivy from 5007 WC Foliage Set 3 in 177.  I did use a stamp positioner for some of it because I wanted them in a specific spot and that allows me to do just that.  I softened both the flowers and ivy with a damp brush. After this I dropped in some water downed 555 in and around the vines for a bit more of a contrast.  I also added some 565 to create shadows where the ivy and flowers overhang the window and box.  565 and the dots from 5418 Bible Foliage Set 2 was added throughout the vines and then added in some Bleed Proof White amongst the flowers in the window box, finishing off my image.  


I then took the 2nd largest die from 5063 Rectangle A2 Double Stitched Dies and cut out my image, matting this with a dark blue colored cardstock.  I used some paper from my stash to mat the card base and then attached my image to finish the card off.  I love this window, it has so much character about it, you should check out some of Bonnie’s tutorials with this set, I love the Halloween version she did.


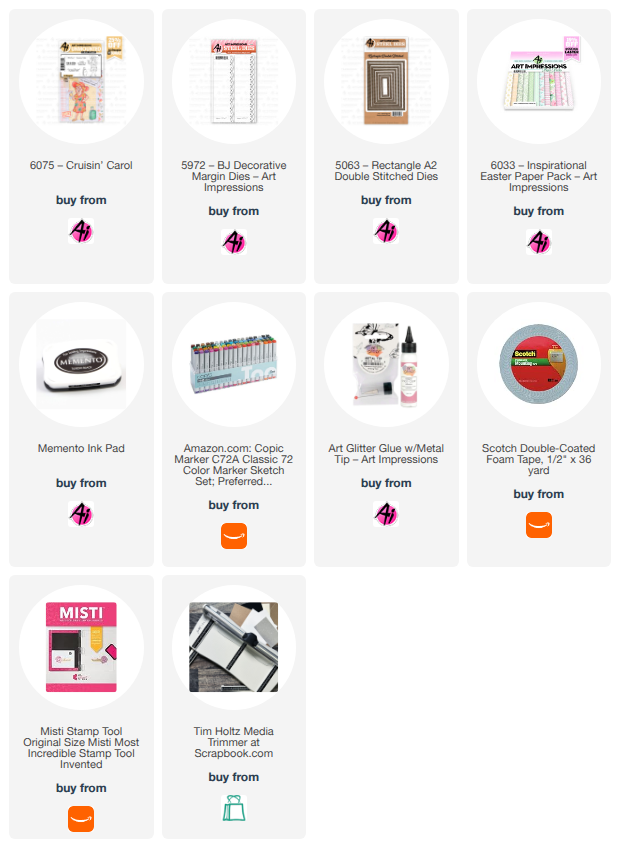
 For my 2nd card I started by placing my stamp from 5420 Frameworks Set 1 in my stamping platform after lining it up on my watercolor paper.  I took a very light gray and marked the spot on the stamp of where I wanted my star to be and stamped it on the WC paper.  This way I knew exactly where I needed to place the star and it wouldn’t interfere with the colors I was putting in.  I then stamped in the star from 5494 FP Patriotic Set in Distress Ink Pumice Stone after stamping off once.  I created a mask and covered the star before going in with 990 on the frame, keeping it really light so I had a guide to go by.  

I then added in leaves from 5795 Berries Set with a stamp positioner, also in Pumice Stone, and stamped off once.  I then used the stamp positioner to put in the berries from 5828 WC Poinsettia Set in Pumice Stone and stamping off once each time.  Once I had all of this in, I put it back in my stamping platform and carefully started adding in 977 on the frame, being careful to stay away from the items I just stamped in.  Then I added in 4964 WC Branches Set in 977 with the stamp positioner and put that in a couple of times going up the other side of the frame.  I then started with the leaves, first using 126 and then contouring and shading with 177.  055 was used first on the star, with 025 for depth, and then added a bit of 026 for the shading.  Keeping the highlights on the upper bends of the star.  I used 569 for the blue, and 856 on the red for the berries, then added just a touch of 837 for more contrast.  I then added 977 on the stems of the berries, also going over any of the lines on the frame that I didn’t darken before.  I then used a Marvy #89 Persimmon with the fine tip to add in the berries on the branches on the other side, softening just a touch with a damp brush.  I added in some 526 for the background, but for whatever reason, and no matter what I did, would not show up in the picture.  Using the 4th from largest in the 5725 Nested Square dies I cut out my image and used a corner rounder so it would match up with the 6047 Scalloped Dies, 3rd from largest that I cut out of dark blue for the mat.  I then matted my card base with paper from my stash and assembled my card.  Thank you for joining me today, and I hope you enjoyed my cards! Until next time, Create….Share….Inspire!


Saturday, March 7, 2026

Tug of War between Winter and Spring by Gennette Houghton


Hello, and Welcome to Watercolor Weekend! March is the time of year here, where spring starts popping it’s head up.  The slow struggle between winter and spring begins, where the days bounce between cold days and days that get warmer. We could have snow, or rain, mud or slush. And if you live on a farm like I do, it can get pretty messy. 


For my first card I decided to use one of my favorite barns, she is an oldie, but definitely a good one. It is one of the very first stamps I bought when I discovered Art Impressions.
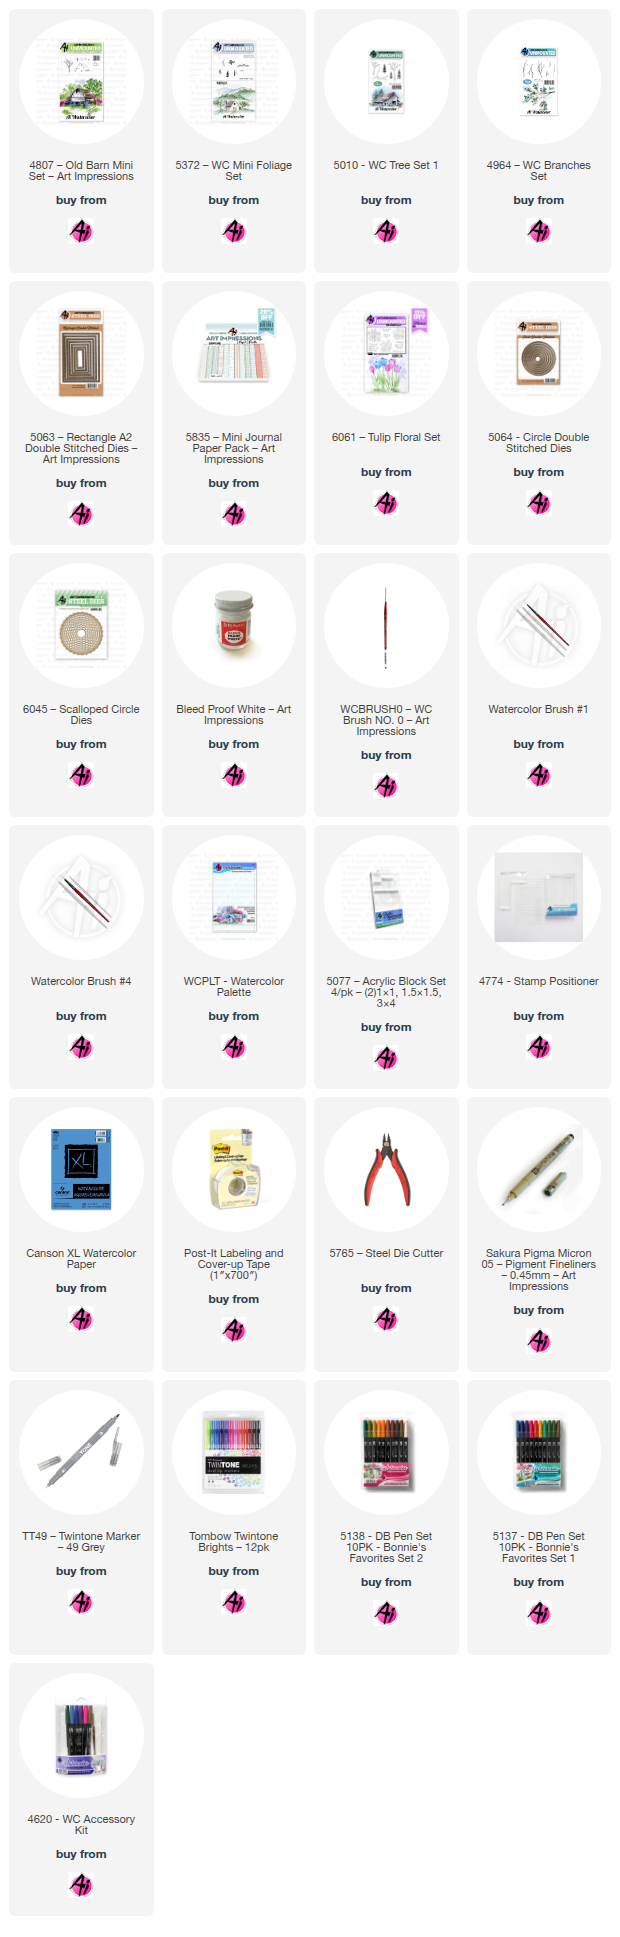
  To me, a timeless classic. I started by inking my stamp with 565 first and then 969, stamped it off twice on scrap watercolor paper, and then stamped it on a clean piece of watercolor paper. I pulled the color out of the lines and then added from my palette, a mix of 565 and 969 for more shading and for all of the windows and doors. 969 was used on the different sections of the roofs with a touch of 249 for a more weathered look.  I used a pencil to sketch in some boards on the walls of the barn and then used my kneaded eraser to lighten the lines.  I also added a light touch of 947 for a bit of texture. 565 was used for the shadows under all of the overhangs.  I used a black Twintone in the peak of the main roof and edged some of the sides on the windows and doors and anywhere else I thought it was needed.  N60 is a wonderful color to use for those gray days, it is a cool gray with a hint of blue. I used this to put a wash of sky in first. I also used N52 which is a bit of a darker cool gray and 312 for parts of the ground beside and in front of the barn, before adding in any of the foliage and trees. I then masked the barn with post-it tape so I could add in the background trees.  First I sketched a hill in the background for a guide for the pine trees, I used the pine tree from 5372 WC Mini Foliage in 312, stamping multiple times before re-inking the stamp.  I then softened these with a damp brush and added a bit of N52 for the shadows of the trees.  While the barn was still masked, I then used the largest branch from 4964 WC Branches Set in 879. I used the stamp positioner to make sure it was going where I wanted behind the barn.  I then removed the mask off the barn and used the tree from the Old Barn set, also in 879, out in front of the barn. I then decided to add a larger pine from 5010 WC Tree Set 1 in 249, and one of the smaller branches from the branch set in 969 against the barn, shading all 3 with N52. In 027 I used the grass from the Mini Foliage Set in a couple of areas. I also added some 969 to create a path to the main door of the barn.  I then used the Bleed Proof White to add snow to the ground and trees. I wanted it to look like the snow had been melting and there were just piles of it left in areas with the ground showing through. I then cut out my image with a die from 5063 Rectangle A2 Double Stitched Dies, matting it with a solid cardstock, and used 5835 Mini Paper Pack on the card base and finished my card.


Daffodils are one of the very first flowers here that will poke through the snow if the days get warm enough. There is something beautiful about seeing that pop of color when the days can be gray for days on end. It’s like having sunshine coming out of the ground! 


For my second card I am using 6061 Tulip Floral Set, which includes some beautiful sentiments that you can include on your cards, along with 3 different florals. Irises are another favorite of mine and there are also tulips.
  If you like this set, I also recommend checking out the 6062 Hydrangea Set that also has daisies and pansies and included sentiments as well.   I started by inking the daffodils in Distress Ink Lost Shadow, and then went over the flowers with 055 as a base. I then started from the areas that would be shadowed with 025 to create depth to the flower and then added 026 to the darkest areas. For the stems I started with 126 and then used 177 for the shaded areas, making sure I darkened the areas just below the flowers and any areas that overlapped. I filled in the background with 526, darkening around the image because I planned on splattering with Bleed Proof White and wanted to make sure it would show up. I decided I wanted to cut this image out with one of the 5064 Circle Double Stitched Dies and chose the 4th from the largest and used a pencil on the bottom of the image inside the die for a guideline for the snow. I then used Bleed Proof White to create a mound of snow at the base of the stems, and used 565 to add dimension to the snow. Before cutting out my image I splattered some water downed Bleed Proof White to create snowflakes.


I then used the same die to cut out my image and matted it on solid cardstock cut out with the 4th from the largest 6045 Scalloped Circle Dies. Then I took some vellum and the 5th Scalloped Circle for added interest. Using the same solid cardstock I used on the image, I stamped the sentiment and heat embossed it and then used the 5th Circle Double Stitched Die to cut it out, also backing this with the vellum using the 6th Scalloped Circle Die.  I matted my card base with paper from my stash and glued down my image. I popped up the sentiment with foam tape completing my card.  
Thank you for joining me today and I hope you enjoyed my cards.  Until next time, Create….Share….Inspire!!


Saturday, October 4, 2025

Double Feature - Two Cards Using the New Spooktacular Set! by Janet


It's the time of the year when Art Impressions wows us once again with their newest sets for the season. This week's release does not disappoint! I've got a double feature here for you today. I couldn't just make one card with this Spooktacular Set.

Today I'm showing off a card which uses most of the many stamps included in the 6111-Spooktacular Set. I cannot believe all the goodness in this single set! Here's one card I made for the In The Navy blog challenge. Note the adorable ghost and how it stands out from the card surface. This is achieved thanks to scoring and folding lines that are part of the die set included. In the card above, I didn't use the fold lines but they are subtle enough not to be noticeable when you choose not to take advantage of that feature. You can make the ghost stand out like I did or you can put him under a flap or inside the card. He's made to collapse and comes out to full size when what he's underneath is open. How cool is that! The fun background is a pattern from the 5849 - Halloween S2 Paper Pack.


This card has a floating panel so that when you open the card, the ghost panel pops up and hovers. Can't get a more perfect treatment for a cute little ghost! I love all the dimension you can get by folding the score lines the die makes on the ghost. The panel is made even more interested by including stitch lines on the edge thanks to 5063 - Rectangle A2 Double Stitched Dies. 


So let's get back to my first card. To make this, I started with an A2 sized white panel that I cut down once my ink blending was done. I stenciled in some colorful clouds and inked a dark bottom with Oxide inks. I stamped in the sidewalk and also cut a golden yellow moon using 5064 - Circle Double Stitched Dies. Last I die cut a few sprigs out of brown from my stash which just happen to double as bare trees in this card.


Next, I stamped and colored all the elements I needed for my card. Then I set about arranging the scene. I glued all the pieces down with Art Glitter Glue except for the light post image. I placed that on foam tape so that it appeared even closer to the front. The frog is certainly made to be a peeker so I positioned him behind the lamp post. I used my scissor to cut around his arm so I could keep it up front as if he was holding on to the post.I added two bats and a spider and it was complete! I mounted the panel on a black and cream card base to finish it off.

Thanks for joining me here today. As always, don't forget to find your favorite stamps, dies, papers, and accessories at the Ai Store! You'll always find something that calls to you. 

Happy Crafting!

Janet YouTube - Blog - Facebook - Instagram - Pinterest  

Thursday, October 2, 2025

Winter Wonderland by Dori Mendiola

 Happy Thursday AI Friends!

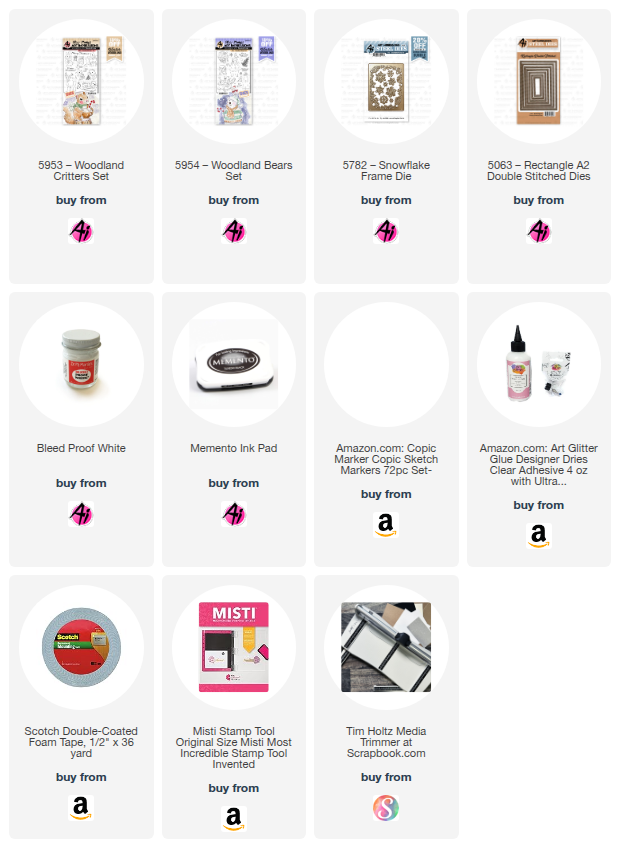
I was having too much fun making cards for the current Blog challenge "In The Navy" so I'm sharing two of the them with you today.   I used the #5953 Woodland Critters and #5954 Woodland Bears.  These would make such a cute gift set for that special someone that has everything.  What's better than giving/receiving handmade gifts?


I started out by stamping the images onto copic friendly paper with Memento black ink and colored with my copic markers listed below.  Each of the images in both sets come with corresponding dies.  As usual, I die cut an extra set from heavy cardstock.   I love the dimension and stability.

Card #1:  I created a fun pull tab interactive card where the critters slide down the hill when pulling the tab.  This is a square 4 3/4 inch card.  To make the stitch border, I partial cut two sides using the largest #5063 Rectangle A2 Double Stitch die and then cut the other sides to make this large square.   I spattered Dr. PH Martin's Bleed Proof White paint onto the navy blue cardstock base to create a snowy background and also glued some of the snow die cuts that were left over from card #2.  The stitch snowy hills were using dies from my stash. 
Card #2:  I created a popped up frame card.  Using the #5782 Snowflake Frame die, I die cut two frames with heavy cardstock and glued them together.  Saved some of the snowflake pieces from the frame die cuts and used on card #1.  This card measures 3 1/4 x 4 1/4 inches.  I spattered Dr. PH Martin's Bleed Proof White paint onto the navy blue cardstock base to create a snowy background.  Again, I used a curvy stitched die from my stash to create the snowy hillside.  I popped the frame and the images up using foam tape onto the hillside.  Added a bow and the card is finished. 
Hope you enjoyed my cards today and you decide to join us in the Blog challenge.  See above tab for details and a chance to win a free stamp set.  We love to see your creations!

Have a great day and keep creating!

Copics used:  E30, E33, D35, E37, E40, E41, E43, E44
E51, E53, E55, E57, E59
N1, N2, N3, N4
Y13, Y17, Y19, 23, Y26, 
R20, R22, R24, R27
BG90, BG93, BG96, BG99
BV20, BV23

Saturday, September 13, 2025

🍂 Hello Ber Months: A First Fall Card of the Season! by Janet

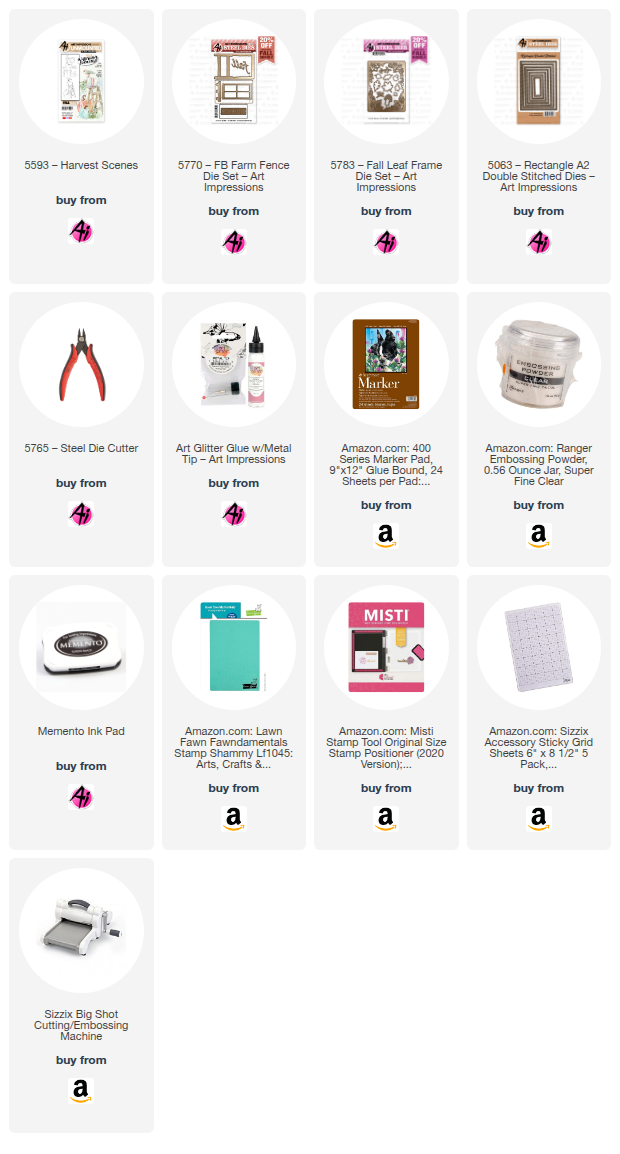
The Ber months (September, October, November & December) are finally here! Today I'm using a charming stamp from the Watercolor Journals line. It's called 5593 - Harvest Scenes Set. I picked it up sometime in the spring or early summer and I've been eyeing it ever since, waiting for it to be the right time. Finally, the moment has come!

I started this scene by cutting a rectangle with 5063 - Rectangle A2 Double Stitched Dies from marker friendly cardstock. Then I  stamped one of the two fall images in the set with the ladder. I colored it with Copic markers in pretty fall colors. I chose a card base with a pre-printed foil frame from my stash. I attached my colored panel with foam tape and centered it in the middle of the frame. 

The ladder image is designed so that you can stamp in flowers or greens coming out of the pot. I had another idea and instead I cut a slit along the rim of the pot with my craft knife. Then I cut some sprigs in fall colors from the 5783 - Fall Leaf Frame Die Set and slipped each under the slit. I secured them on the other side with a piece of washi tape. I also cut two leaves that I placed in the bottom corner. The last touch comes from the word die, "fall," which is found in the 5770 - Farm FB Fence Set. I cut it twice in different colors and stacked them together to get a little dimension and a two-tone color effect.

I love how this turned out and it just proves again that the watercolor sets can be used with Copic markers or pencils and you aren't limited to just watercolor. Some of the cutest stamps in the store are labelled for watercolor but don't let that stop you if you prefer another medium. They can all be adapted to your favorite coloring tools.

Thanks for joining me here today. As always, don't forget to find your favorite stamps, dies, papers, and accessories at the Ai Store! You'll always find something that calls to you. 

Happy Crafting!

Janet YouTube - Blog - Facebook - Instagram - Pinterest  

Friday, September 5, 2025

Cozy Fall Card by Tasha!

 Happy Friday Art Impressions friends!

Tasha here sharing a new card inspired by the When One Door Closes challenge. Since Fall is right around the corner (my favorite season!), I used the 5492-Front Porch Harvest Set to create a cozy autumn scene; pumpkins included, of course! 🎃

For the background, I stenciled a soft brick design with beige distress ink and popped up the stamped images with foam tape for extra dimension. To finish, I layered brown, golden yellow, and white card stock with a touch of leafy patterned paper to tie in the fall colors. A stitched die cut panel and a few white gel pen details pulled everything together.

I hope you enjoyed today's card and will join in the fun When One Door Closes challenge!


Saturday, August 23, 2025

Gardening Gail Pop-Up Card by Janet


Hello Ai Friends! Today I was inspired to create a pop-up card featuring the new 6076 - Gardener Gail Ai People Set. Isn't she fabulous! Or should I say, "She's So Bloomin' Cute!"

Before I go into how this was constructed, I want to show you the front of my card which is simple but still hints at what might be inside. It features a scene from the 6099 - Garden PP along with a sentiment cut out with the 5727 - Nested Oval Dies. It couldn't be more simple!

This is a top fold card. When it's opened, the fabulous pop-up scene appears. The background garden scene inside really sets the theme. It's another piece from the Garden Paper Pack. I colored and cut cute Gail and two pots with flowers. I also cut two fence pieces from the 5807 - Journal Fence Dies and used a full fence in the middle and half of a fence on each side to make the fence go across the width of the card. I added some grass and used the 5063 - Rectangle A2 Double Stitched Dies and another sentiment from the Gail set to create the inside sentiment.

To create the raised stage of the pop up, I folded the bottom half of the A2 top folding card base to form the stage. Then I glued another 4 1/4" x 5 1/2" panel to the bottom of the raised base. This gives the illusion of the card being a single piece. Once the raised stage was formed, I went about adding the pop-up mechanisms to support Gail, the grass, fences and flower pots. You can see below that there's nothing complex about the 3D mechanism. I did not use any special dies to create it. I just measured and folded before gluing it in place.

I had fun making this card and I hope it inspires you to try this pop-up mechanism to stage any of your favorite Ai sets. It's really fun and it allows you to use your imagination to create some really unique scenes.

Thanks so much for stopping by today! Don't forget to find your favorite stamps, dies, papers, and accessories at the Ai Store! You'll always find something that calls to you.

Happy Crafting!

Janet YouTube - Blog - Facebook - Instagram - Pinterest