
.jpg)
Hello Ai Friends
I can't believe August is already here; July went by so fast! It was a busy month for me because I participated in World Watercolor Month, creating a daily video featuring stamps from Art Impressions. You can watch the entire series on my YouTube channel, Crafts and Designs by Neema: https://youtube.com/@craftsanddesignsbyneema?si=Pjt4hG9TRIHgFmBf
This week, I took a break from videos to paint a few pictures and create the two cards I am sharing with you today.

Card 1: Easy Shaker Card
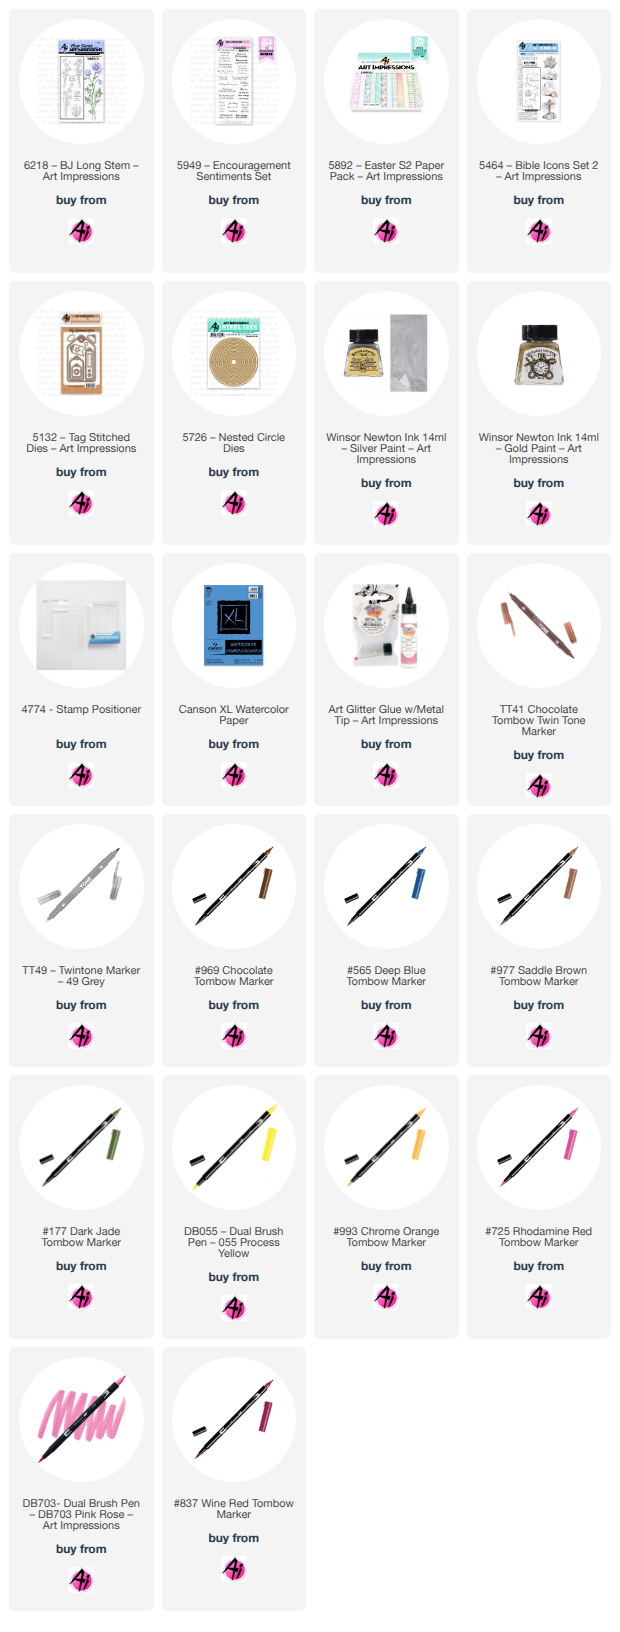
I love shaker cards because they are fun, elegant, and perfect for any celebration. For this card, I used a flower from the newest release, 6218 BJ Long Stem Set. However, you can easily customize this project by using a different focal point, shape, color scheme, or shaker bits.
Step-by-Step Guide:
1. Cut an A2-size card base (4 1/4" x 5 1/2") and another layer of the same size from patterned paper.
2. Cut a front panel from watercolor paper to 3 3/4" x 5".
3. Select a circle die for your shaker opening and lightly trace the circle with a pencil.
4. Flex the long-stem flower stamp to create a curved shape that fits along one side of the circle, then stamp the image. I used Archival ink, Shadow gray.


5. Color the stamped image. I used Tombow markers, but you can use any medium.
6. Use a partial die-cutting technique to cut the circle up to the point where the stamped image begins by positioning the upper cutting plate only over the area you want to cut. Fussy cut the flower side on the inner circle.


7. Cover the back of the opening with acetate, then frame it with foam tape.
8. Place your shaker bits on the card and adhere the front panel to the card base.


9. Decorate the card by adding a few golden dots and a bow to the flower stem. Finish by adding a strip sentiment.


Card 2: Simple and Sweet Baby Shower Card
Note: For this card, I used the Artistro Watercolor Paint Set.

Step-by-Step Guide:
1. Cut an A2-size card base (4 1/4" x 5 1/2") and another layer of the same size from watercolor paper.
2. Create the background by layering dark blue paint (Midnight Blue, Cobalt, and Azure) on the watercolor paper, letting each layer dry before applying the next. Once completely dry, add splatters using Windsor & Newton silver ink.
3. On a separate piece of watercolor paper, stamp a little lamb toward the center, leaving enough space for the moon.
4. Use a 3" circle die to draw around the stamp, then draw a crescent moon using a smaller circle die as a template. Paint the moon using different shades of yellow (I used Artistro colors: Pineapple, Yellow Tulip, and Apricot). Once dry, use the 3" die to cut around it, and fussy cut the crescent moon and the lamb. Paint the border of the moon with the Windsor & Newton gold ink (do not paint around the lamb).
5. Paint a piece of paper with Windsor & Newton gold ink, cut out a star, and tie it to the moon using embroidery floss.
6. Assemble the card by gluing the moon down. To create dimension, add a cardstock layer under the moon, leave the star hanging freely, and add your sentiment.
I hope you enjoy my cards and get inspired to make your own. Don't forget to visit my YouTube channel and check out the videos for the July World Watercolor Series. In the meantime, here are some pictures of the 31 little paintings.
6. Assemble the card by gluing the moon down. To create dimension, add a cardstock layer under the moon, leave the star hanging freely, and add your sentiment.
I hope you enjoy my cards and get inspired to make your own. Don't forget to visit my YouTube channel and check out the videos for the July World Watercolor Series. In the meantime, here are some pictures of the 31 little paintings.


Happy crafting,
Neema
1 comment:
Wow! So many beautiful paintings Neema!
Post a Comment